
New Year Greeting Card – Golden Stars and Snowflakes on a Red Background in Adobe Photoshop CS6
Put the group into a rasterized layer (select the group for the beginning in Layers panel and then press CTRL+E to Merge Down). On the rasterized layer apply the Free Transform (Ctrl+T) command to incline the star the same way from below:

Make four copies of the rasterized layer containing the star and choose the Free Transform (Ctrl+T) command to change the copies’ sizes, placing them as below:

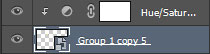
Select in Layers panel the layer of the indicated star:


Click Create new fill or adjustment layer from bottom part of the Layers panel and select Hue/Saturation. Drag the slider to the left to decrease the Hue of the color range and increase the Lightness and Saturation as shown.

Hold down Alt (Windows) or Option (Mac OS) and click between Hue/Saturation adjustment layer and the layer with indicated star in the Layers panel to create a clipping mask. This way the Hue/Saturation settings will be applied on the star’s layer.
We’ve got the next result:

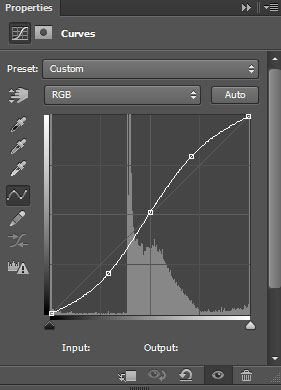
Click Create new fill or adjustment layer from bottom part of the Layers panel and click to Curves to adjust the curve shape as shown to make a little color corrections.
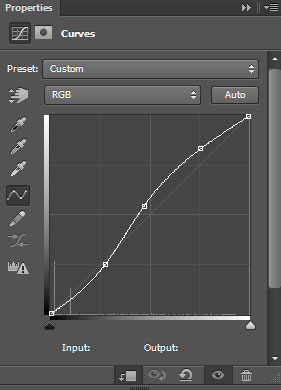
Hold down Alt (Windows) or Option (Mac OS) and click between Curves adjustment layer and the layer with indicated star in the Layers panel to create a clipping mask.

We’ve got the next result:

Next we’ll represent a sphere, applying the Ellipse Tool (U) draw the next ellipse.

Click on Add a layer style icon from bottom part of the Layers panel and select Bevel and Emboss.
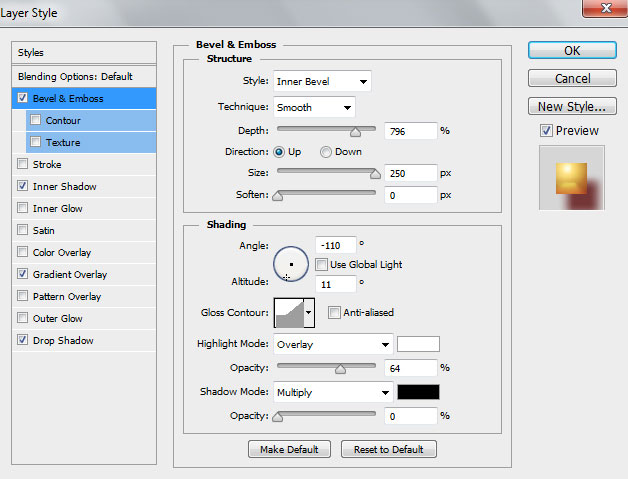
Add Inner Shadow:

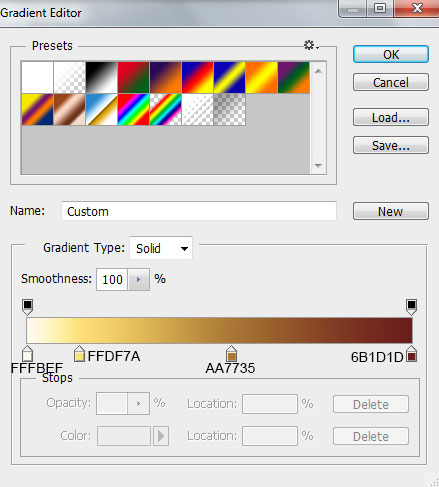
Apply Gradient Overlay:

Click in the color bar to open the Gradient Editor and set the color stops as shown. Click OK to close the Gradient Editor dialog box.
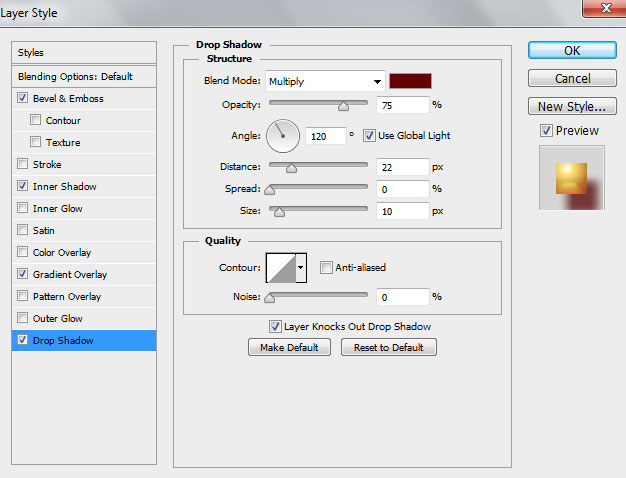
Add Drop Shadow:
We’ve got the next sphere:

Combine in a group the layer containing the sphere (press CTRL button to select the necessary layers and hold on the left mouse’s button while dragging the selected layers on Create a new group icon from bottom part of the Layers panel).
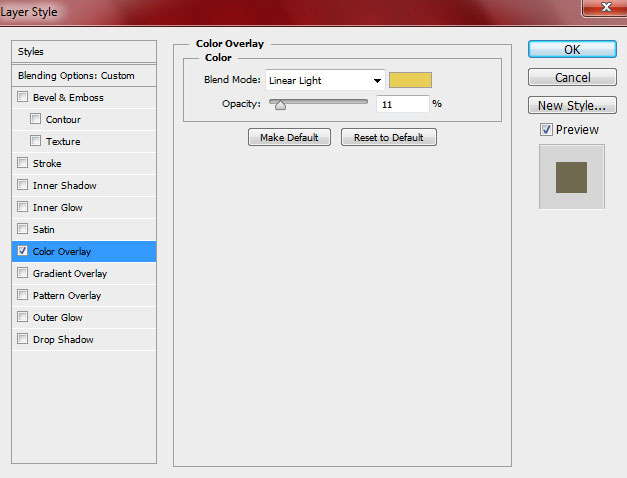
Click on Add a layer style icon from bottom part of the Layers panel and select Color Overlay.
We’ve got the next result:

Put the group containing the sphere into a rasterized layer (select the group for the beginning in Layers panel and then press CTRL+E to Merge Down).
Make five copies of the rasterized layer and choose the Free Transform (Ctrl+T) command as usually to change the copies’ sizes and to place them the same way demonstrated on the next picture:

The indicated spheres must be put into a group:

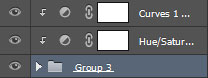
Next make copies of the both layers containing Hue/Saturation and Curves adjustment layers and place their copies above the spheres’ group in Layers panel.
Hold down Alt (Windows) or Option (Mac OS) and click between adjustments layers and the spheres’ group in the Layers panel to create a clipping mask.
We’ve got the next result:

Select the very top layer in Layers panel and click Create new fill or adjustment layer from bottom part of the Layers panel and click to Curves to adjust the curve shape as shown to make a little color corrections.
We’ve got the next result:

Our New Year Greeting Card with Golden Stars and Snowflakes is finished!
Merry Christmas and Happy New Year!
View full size here.
Download free Layered PSD file.
Page: 1 2
Comments