
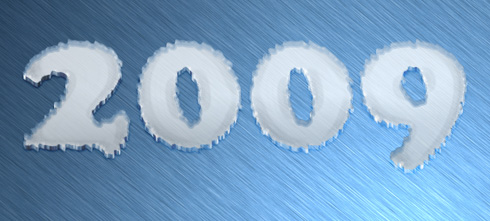
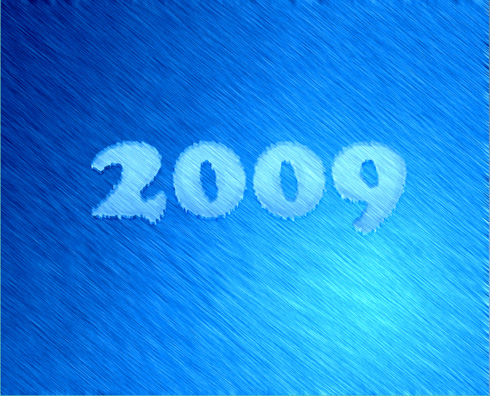
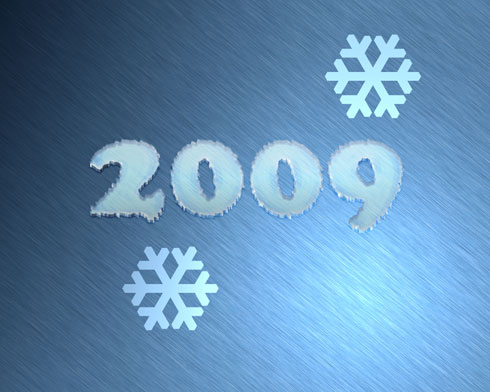
New Year 2009 – ice text effect
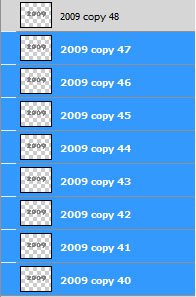
Next press Ctrl button to mark out all the doubled layers, except the top one and then press Ctrl+E. Hide for a while the top layer:
Choose for the new layer the next parameters: Blending mode-Screen
Set the next parameters for the top layer: Opacity 50%, Blending Options>Drop Shadow
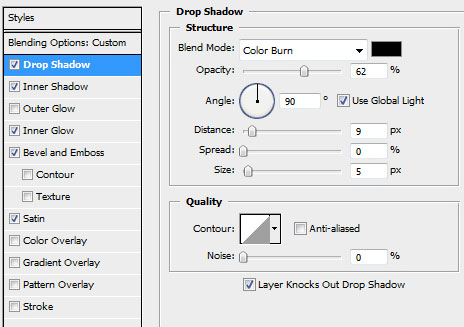

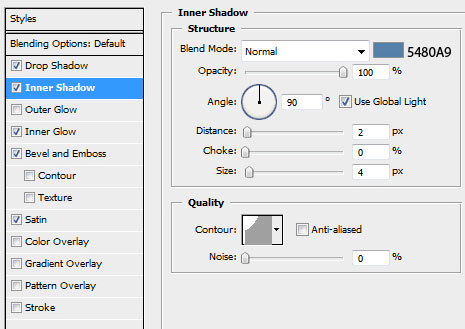
Blending Options>Inner Shadow
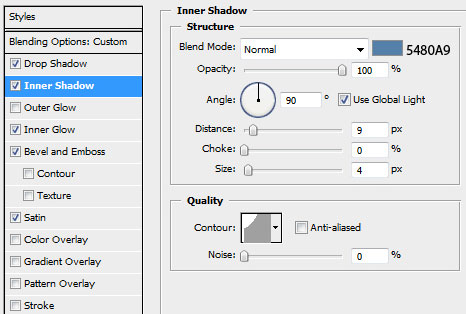
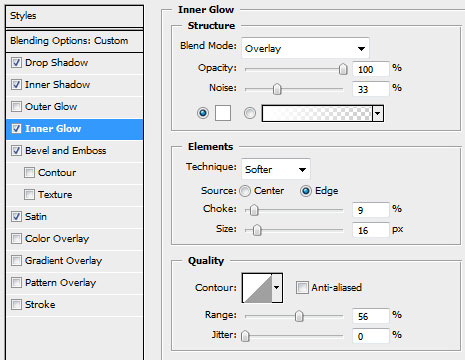
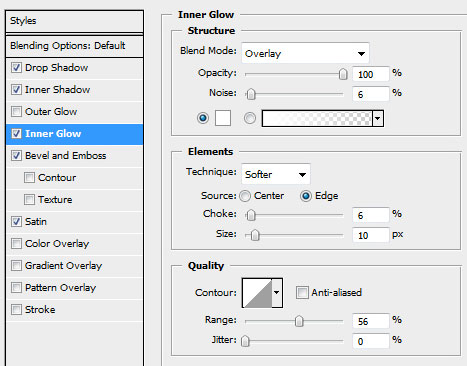
Blending Options>Inner Glow
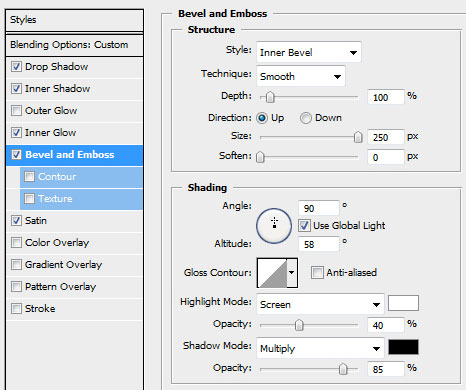
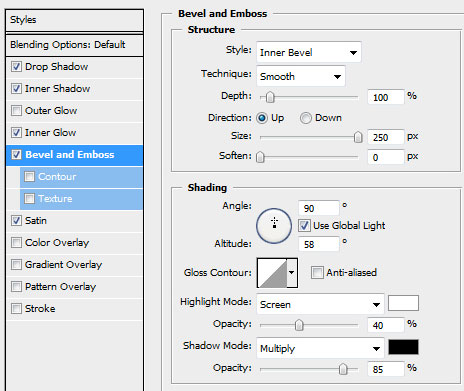
Blending Options>Bevel and Emboss
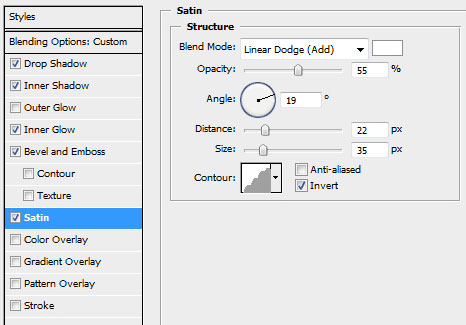
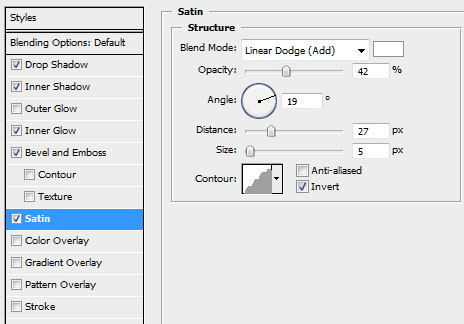
Blending Options>Satin
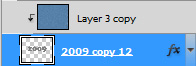
Make a copy of the very first background’s layer containing the filters we’ve applied on it. Place this new copy above all the layers, setting also the parameters: Blending mode-Linear Light
Keeping pressed Alt button, make a mouse click between the copy of the first layer and the previous layer on the layers’ palette.
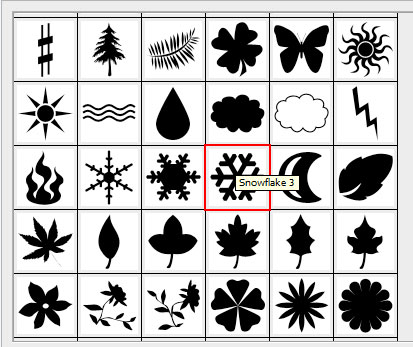
Using the Custom Shape Tool (U), draw two snowflakes:
Do the same operations we did with the layers containing the ciphers, meaning rasterizing the layer, pressing Alt button and doubling them 8 times and then moving them on the up direction. Mark out the layers processed with the Move Tool (V), except the very top layer and rasterize them into a single one. Set also the next indication Blending mode-Linear Light, instead of Screen one.
Apply for the top layer different parameters demonstrated below: Blending Options>Drop Shadow

Blending Options>Inner Shadow
Blending Options>Inner Glow
Blending Options>Bevel and Emboss
Blending Options>Satin
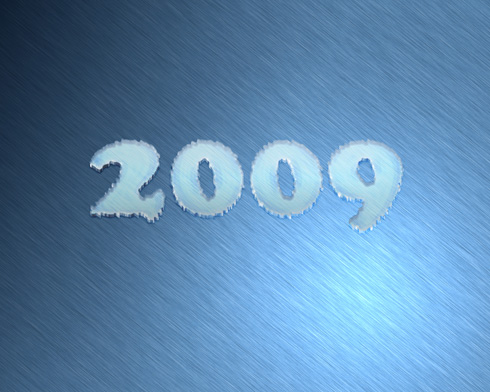
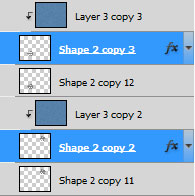
Place the copies of the background’s primary layer containing the effects above the top snowflakes’ layers. Press Alt button and make a mouse click between the layers containing the background’s copies and the top layers containing the snowflakes:
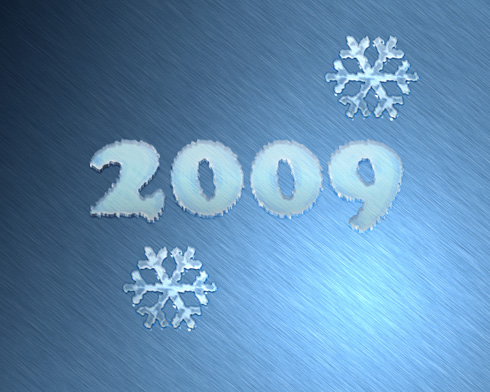
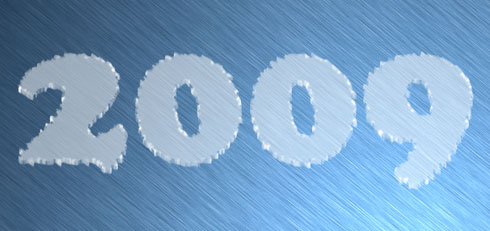
Finished!
View full size here.
Page: 1 2
Comments