
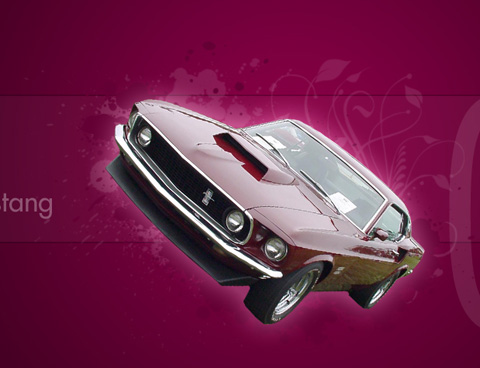
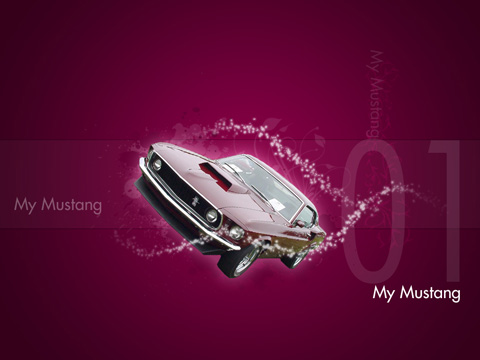
My Classic Mustang
Select for the layer next shown parameters: Fill 10%
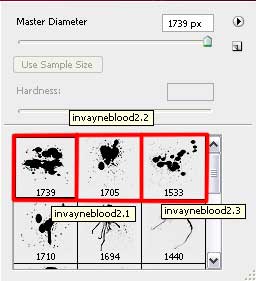
Create a new layer and use on it the next set of brushes, named bloodbrushes2_invaynestock. The brushes’ color is white. Place the layer containing the brushes lower than the car’s layer on the layers’ panel:
The layer’s parameters: Fill 10%

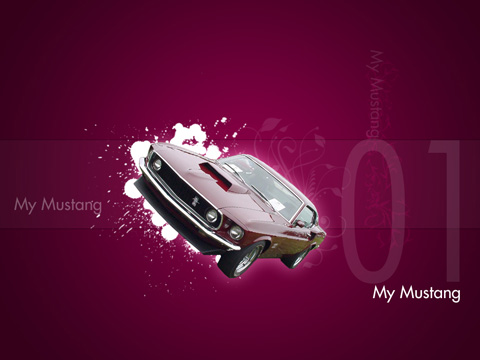
Create a new layer again and use on it the above mentioned set of brushes. This time select the next color for the brushes: #650034. This layer should be also placed lower than the car’s layer on the layers’ panel:
Create a new layer and apply a standard brush of white color for drawing a kind of train made of many points.
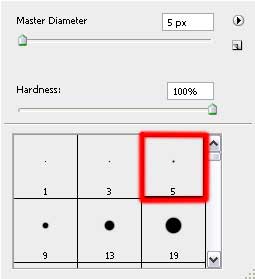
Apply the next parameter for the brush:


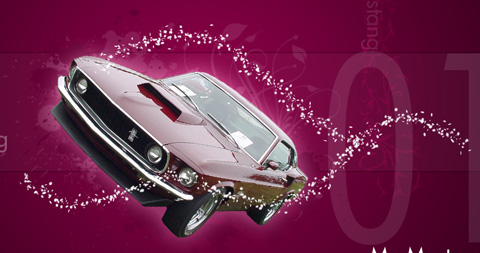
Use the Eraser Tool (E) (Opacity of 30%) to erase the train’s edges, selecting the next parameters for it:
Fill 70%
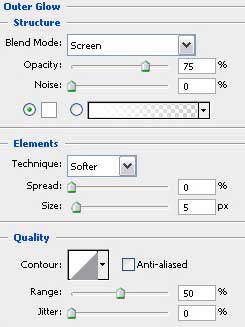
Blending Options>Outer Glow
Finished!
View full size here.
Comments