
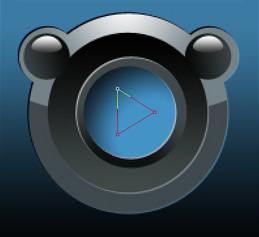
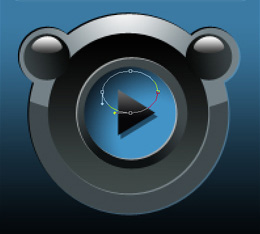
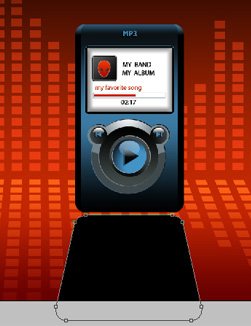
MP3 Player Illustration
Selecting the same instrument, it’s possible to create the layer, reserved for the left player’s button.
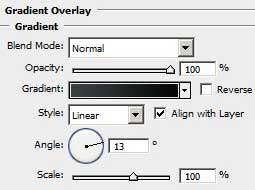
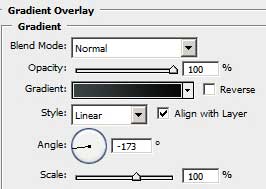
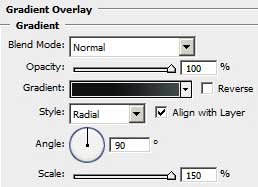
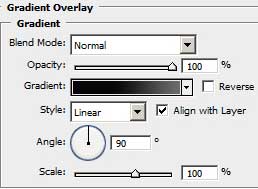
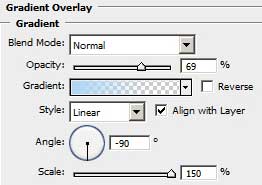
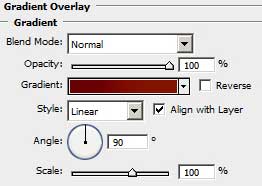
The layer’s parameters: Blending Options>Gradient Overlay
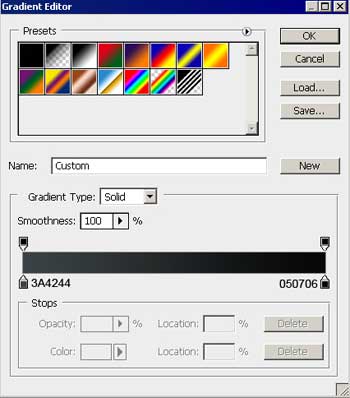
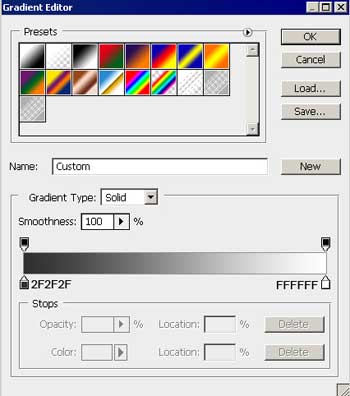
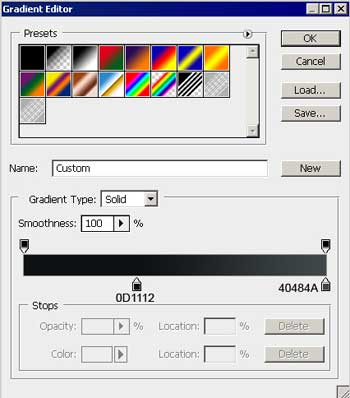
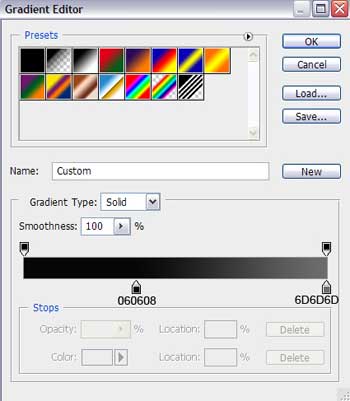
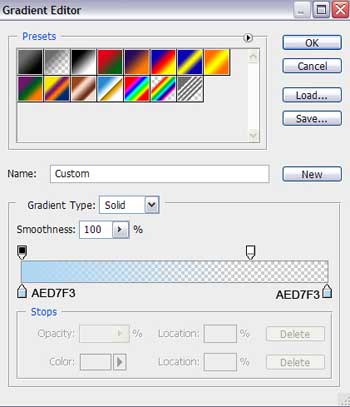
Gradient’s parameters:

Make a copy of the last made layer and select the Free Transform option to place the copy exactly it is demonstrated below and select the given parameters below: The layer’s parameters: Blending Options>Gradient Overlay
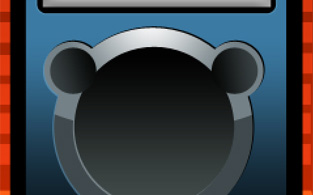
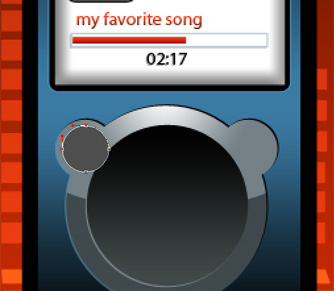
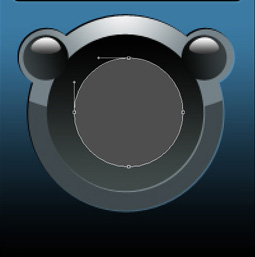
Choose now the Ellipse Tool (U) and represent the highlight on the button situated on the left side and make the corrections on its shape with the Convert Point Tool.
The layer’s parameters: Blending Options>Gradient Overlay
Gradient’s parameters:

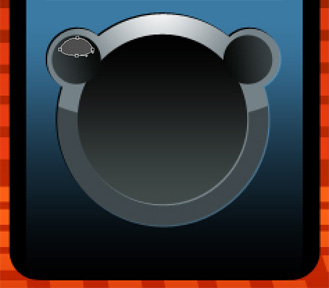
Make a copy of the last made layer and select again the Free Transform option to place the copy like in the next image:
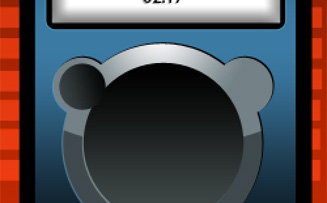
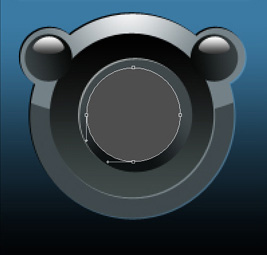
 Using the last instrument, try to make the layer reserved for the central player’s button.
The layer’s parameters: Blending Options>Inner Shadow

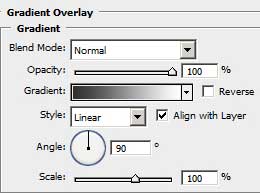
Blending Options>Gradient Overlay
Gradient’s parameters:

Next layer must be made with the same Ellipse Tool (U).
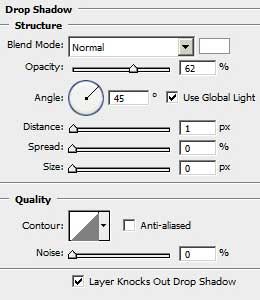
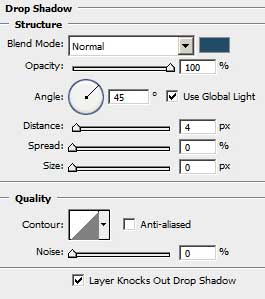
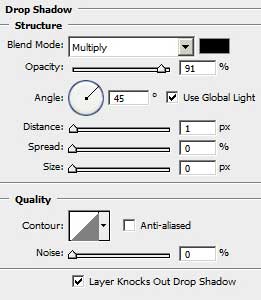
The layer’s parameters: Blending Options>Drop Shadow
Blending Options>Gradient Overlay
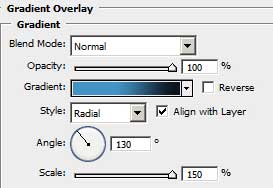
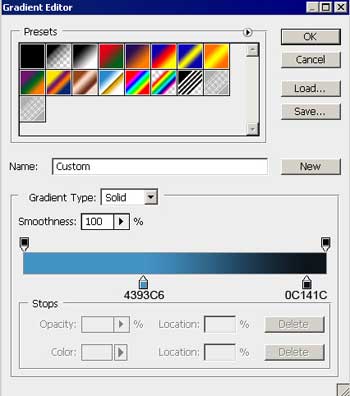
Gradient’s parameters:

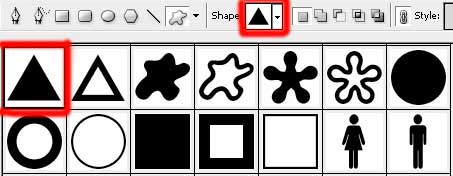
Next select the Custom Shape Tool (U) to represent the Play symbol on the player’s button.

The symbol may be turned around with the Free Transform option and placed the way you may see below. The layer’s parameters: Fill 0%
Blending Options>Drop Shadow
 Blending Options>Gradient Overlay
Gradient’s parameters:

Using the Ellipse Tool (U) try to make the highlight on the Play button and make the corrections on the figure’s shape with the usual instrument applied in this case – Convert Point Tool.
The layer’s parameters: Fill 0%
Blending Options>Gradient Overlay
Gradient’s parameters:

Next we have to represent the symbol on the left player’s button. Use for this operation the Rectangle Tool (U) and make a vertical line, but the triangle may be done with the Custom Shape Tool (U). The color is #3D85B7

The layers’ parameters are the same. Blending Options>Drop Shadow

For your convenience, we have to combine in a group all the layers composing the symbols on the left button. (press Ctrl button and mark out the corresponding layers and hold on the left mouse’s button to take the layers down on Create a new group option). Make a copy of the last made group and select the Free Transform option to turn it around and place it the way it is shown below.

 The player’s shadow should be done with the Rounded Rectangle Tool (U) and applying the Free Transform option for the perspective, we have to stretch laterally the low shadow’s corners.

The layer’s parameters: Blending Options>Gradient Overlay
Comments