
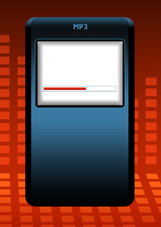
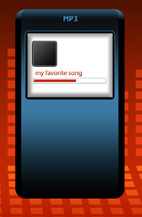
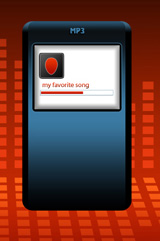
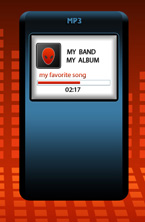
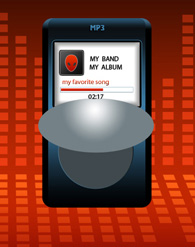
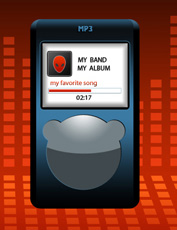
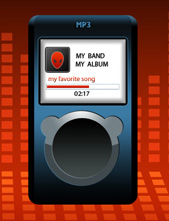
MP3 Player Illustration
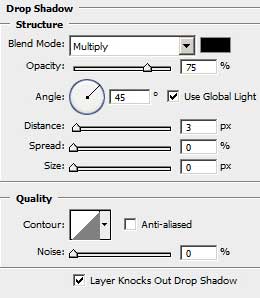
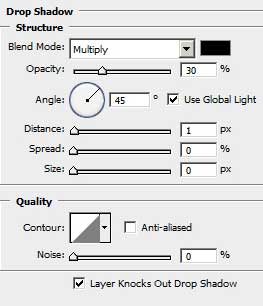
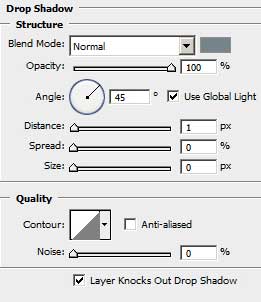
The layer’s parameters: Blending Options>Drop Shadow
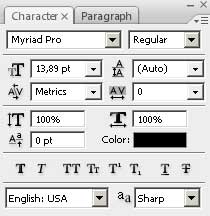
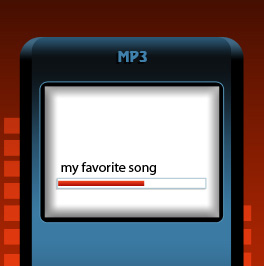
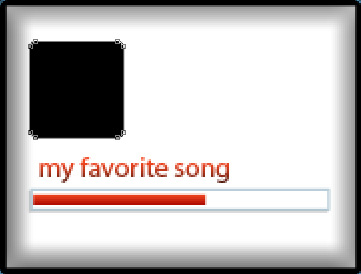
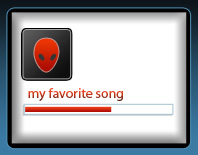
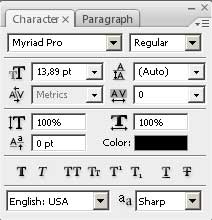
Insert also the track’s name.
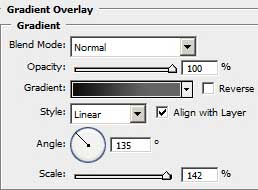
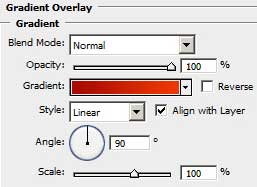
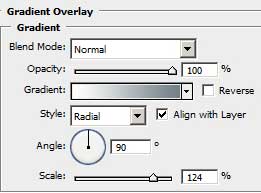
The layer’s parameters: Blending Options>Gradient Overlay

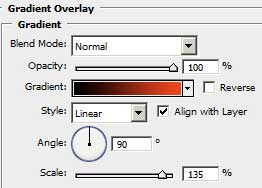
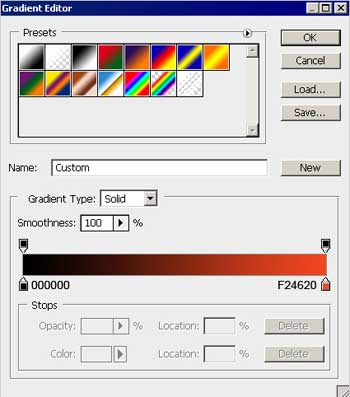
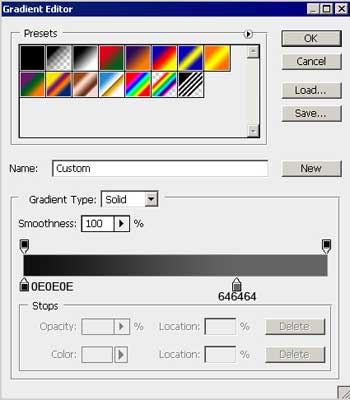
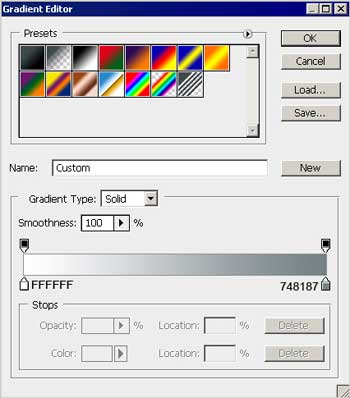
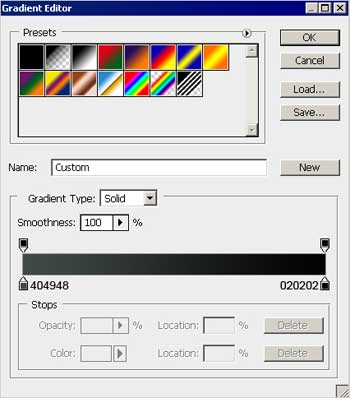
Gradient’s parameters:

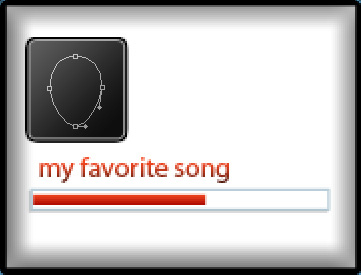
Next take the Rounded Rectangle Tool (U) to make the primary layer of the player’s logotype.

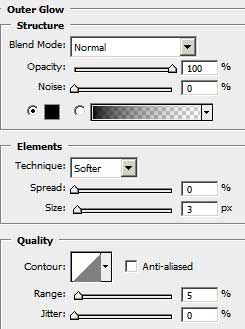
The layer’s parameters: Blending Options>Outer Glow
Blending Options>Gradient Overlay
Gradient’s parameters:
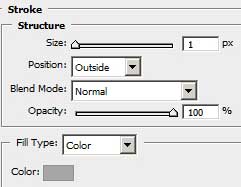
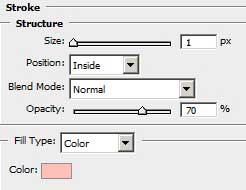
 Blending Options>Stroke
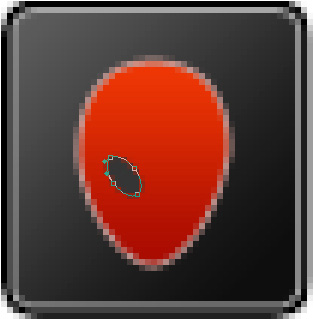
Select the Ellipse Tool (U) to represent a head of an alien, correcting the shape with the Convert Point Tool.
The layer’s parameters: Fill 0%
Blending Options>Gradient Overlay
Gradient’s parameters:

Blending Options>Stroke
Using the same instrument, we have to make now the alien’s eye, colored with #353535. The eye’s shape may be corrected by applying the same Convert Point Tool.
Make a copy of the last made layer and select the Free Transform option to turn over the copy and place the copy exactly the way it is shown below.
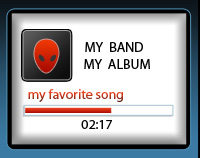
Insert the album’s name and the track’s time indicator.
The layers’ parameters are the same:
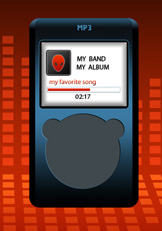
 Using the Ellipse Tool (U), we can create the layer under the player’s buttons. First represent the layer under the big button and then press the Shift button to represent the layers for the left and right buttons. The color in this case is #3F494D

The layer’s parameters: Blending Options>Drop Shadow
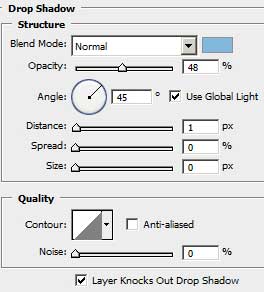
Blending Options>Inner Shadow

Using the same instrument, try to represent the highlight.

The layer’s parameters: Blending Options>Gradient Overlay
Gradient’s parameters:
Keep pressed the Alt button and make a mouse’s click between the highlight’s layer and the player’s buttons’ layer (on the layers’ palette) for the highlight to be applied in the limits of the previous layer.
Select the Ellipse Tool (U) to represent one more layer reserved for the player’s buttons.

The layer’s parameters: Blending Options>Drop Shadow
Blending Options>Gradient Overlay
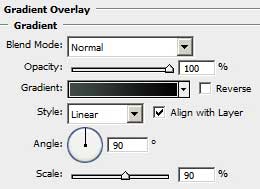 Gradient’s parameters:
Comments