

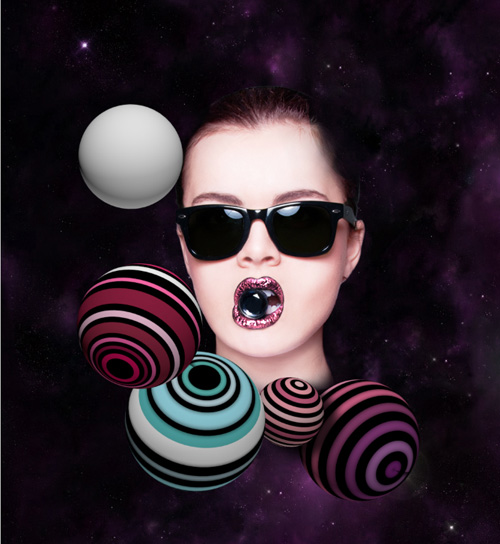
Mixing 3D Elements and Photography to Create a Vibrant and Playful Photomontage

The next sphere’s texture. Firstly fill the extension file in black and then represent the colored rectangles as we did in the previous example.
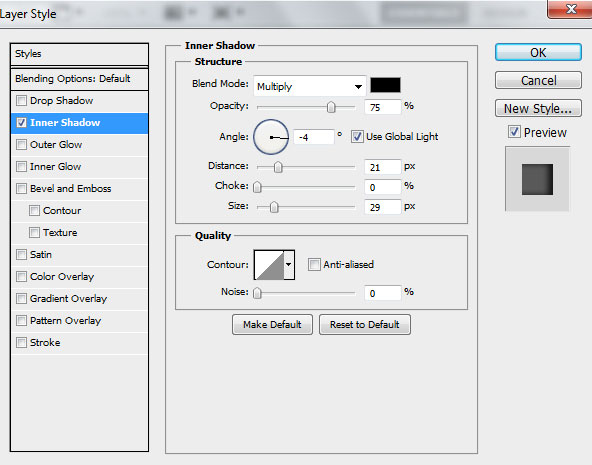
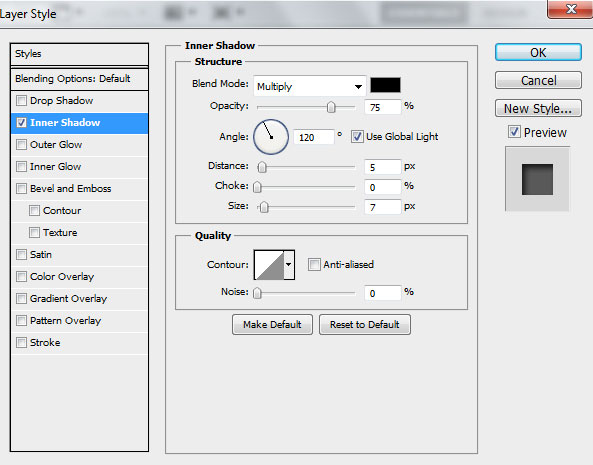
Click on Add a layer style icon from bottom part of the Layers panel and select Inner Shadow.
We’ve got the next result:


Save & Close the file extension.

Represent the next shpere. 3D > New Shape from Layer > Sphere:

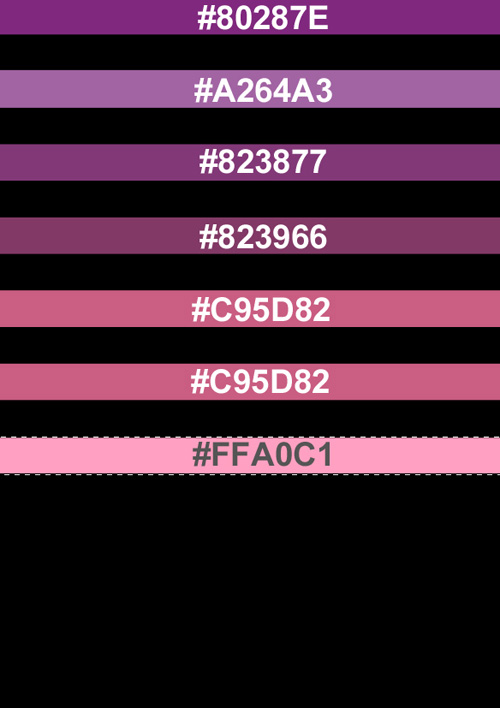
The next texture has the same rectangles too. You may see the colors’ codes for the rectangles and the rest of them will be represented by copying method, using the same tools.

Save & Close the file extension.

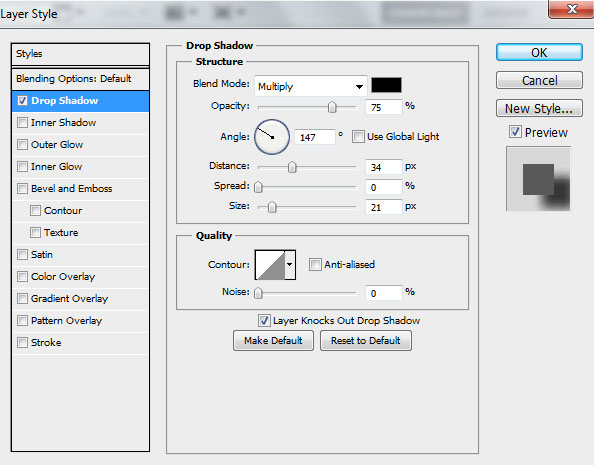
Click on Add a layer style icon from bottom part of the Layers panel and select Drop Shadow.
We’ve got the next result:

The next sphere should be represented righter than the previous one. Its layer will be situated lower on the Layers panel:

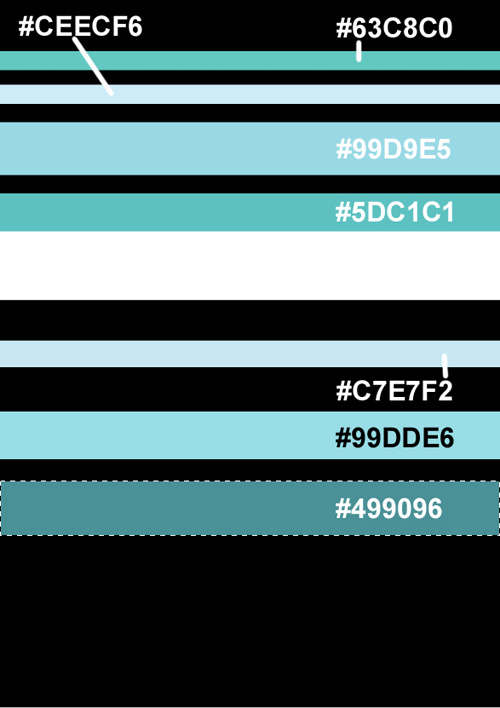
The sphere’s texture. Firstly fill the extension file in black using the Paint Bucket Tool (G). Select the Rectangular Marquee Tool (M) to represent horizontal rectangles which may be filled with the Paint Bucket Tool (G).
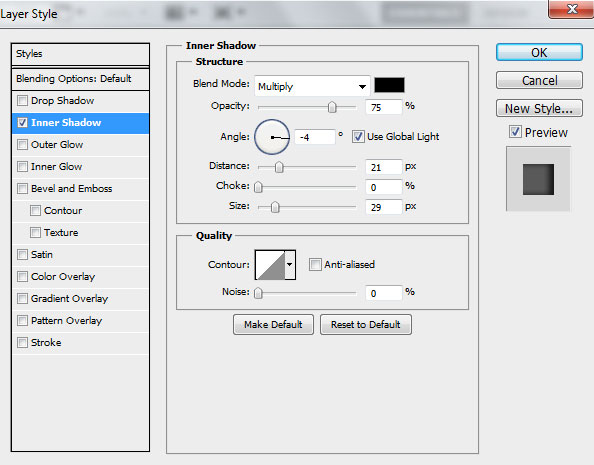
On the rectangles’ layer apply the Inner Shadow:
We’ve got the next result:

Save & Close the file extension.

Continue representing the spheres. 3D > New Shape from Layer > Sphere:
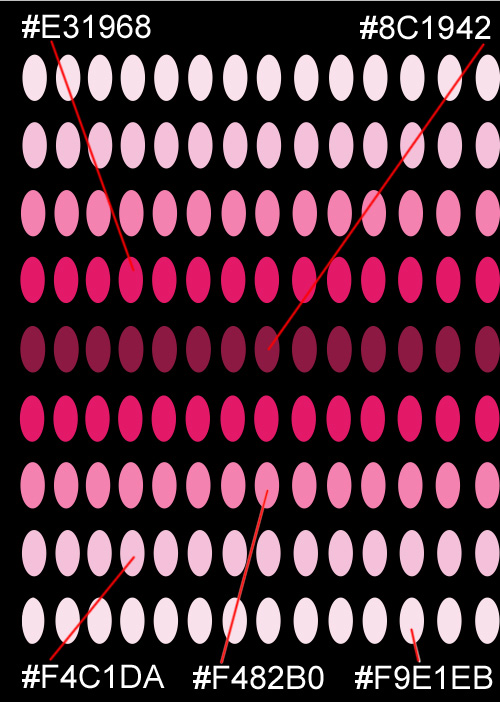
The next texture needs a different tool. Fill the layer in black the way we did before and create a new layer. Then choose the Elliptical Marquee Tool (M) to make an elliptical selection, which must be filled as on the picture below. Make copies of the made ellipse, using the Move Tool (V), holding Alt button.
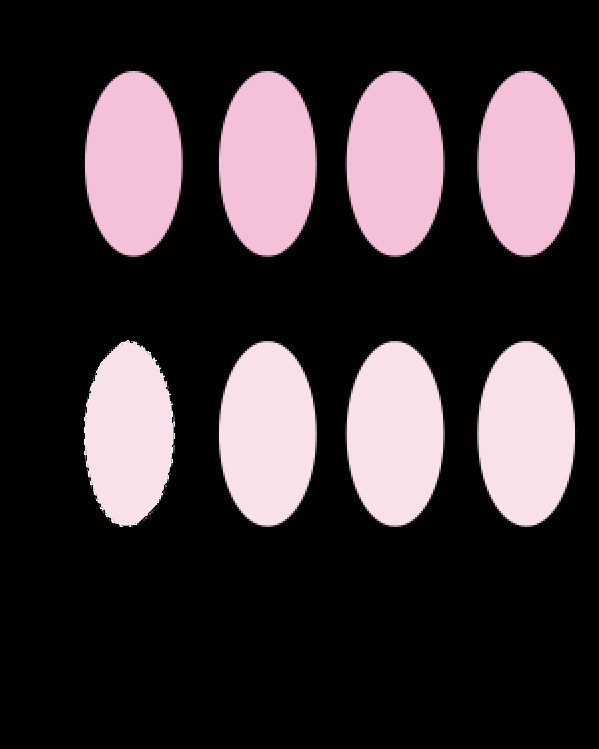
The ellipses need to be represented by rows, each one having a different color. Until the mid part the colors are different and then they repeat themselves.
Click on Add a layer style icon from bottom part of the Layers panel and select Inner Shadow.
We’ve got the next result:

Save & Close the file extension.

Make copies of the spheres’ layers and apply the Free Transform (Ctrl+T) command to change the copies’ sizes, placing them as it is shown below. The spheres’ inclination may be changed with the Object Rotate Tool (K).
Comments