
Merry Christmas Greeting Card
Combine in a group all the layers composing the brilliance (press Ctrl button to mark out the corresponding layers and after that hold on left mouse’s button while taking the marked layers on Create a new group selection). Make three copies of the last created group and select the Free Transform option to change the copies’ sizes, placing them as it is shown next picture:

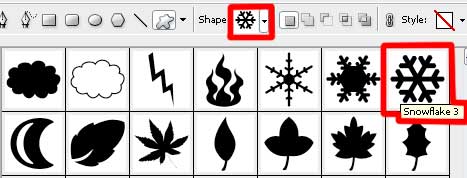
Select now the Custom Shape Tool (U) to draw s white small snowflake:

The layer’s parameters: Fill 50%


Make a lot of copies of the last represented layer and choose the Free Transform selection that is helpful when changing the copies’ sizes and their placement on the picture.

Use the Rectangle Tool (U) for picturing a paraffin candle.

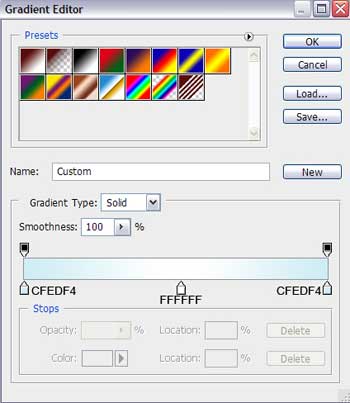
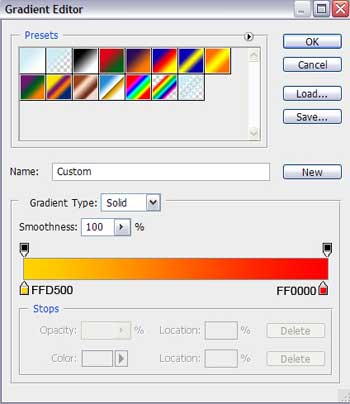
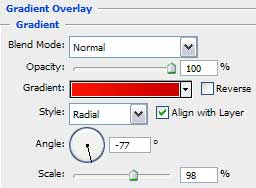
The layer’s parameters: Blending Options>Gradient Overlay
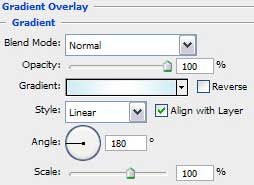
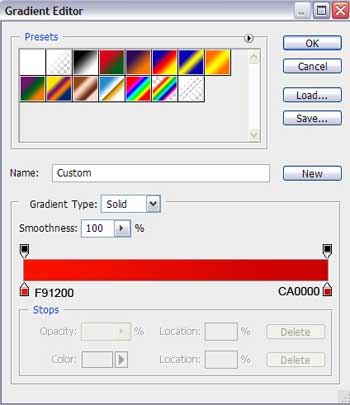
Gradient’s parameters:

On the candle’s top part we’ll try to represent a melt wax, colored with #CCECF4. Select for this operation the Pen Tool (P) and make the corresponding correction on the element’s shape with the Convert Point Tool.

Now we shall draw the primary layer of the candle’s flame, applying the Ellipse Tool (U) and lifting up a little the flame’s top with the Convert Point Tool.

The layer’s parameters: Fill 0%
Blending Options>Gradient Overlay
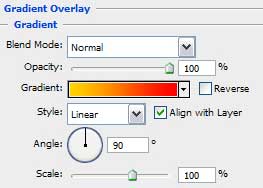
Gradient’s parameters:

Make a copy of the last made layer and choose the Free Transform option to make the copy smaller and placing it the way indicated next image. The color this time should be #FFEC00. Move off the copy the next parameter: Blending Options>Gradient Overlay

Take the Rectangle Tool (U) and draw next the candle’s wick, colored with #98726E

Combine in a group all the layers composing the candle and its flame (press Ctrl button to accentuate the necessary layers and then hold on left mouse’s button when moving the marked layers on Create a new group selection). Make a copy of the last made group and select the Free Transform option to make the copy smaller and place it as it is represented next image:

We may introduce on our picture near the candle a fir tree’s twig, selecting in this case the Pen Tool (P).

Make three copies of the twig’s layer and select again the Free Transform option to turn the copies over and place them as it is shown next picture:

Use the previous tool to make another fir tree’s twig, colored with #005F26
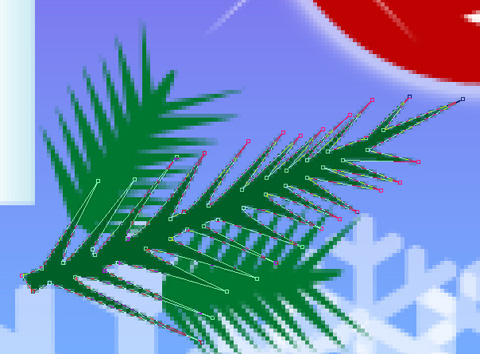
Make again three copies of the last made layer and select the Free Transform option to turn the copies over as it is demonstrated below:

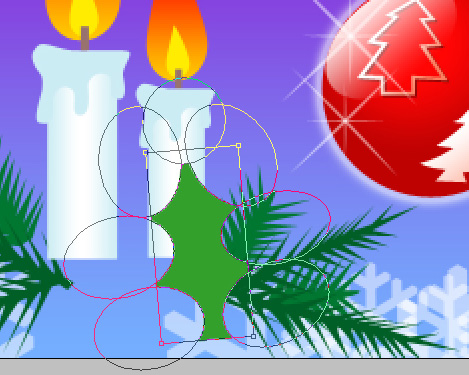
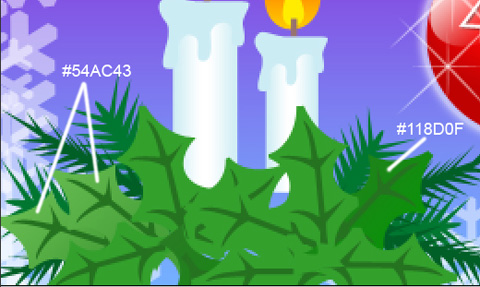
Next we should draw a leaf, colored in the next presented color – #33A02C. This time we’ll choose also the Rectangle Tool (U) and then press Alt button when using another tool – Ellipse Tool (U) to make the drawn element looking like a real leaf.
Try to represent the leaf’s veins with the Pen Tool (P) and the color #257320
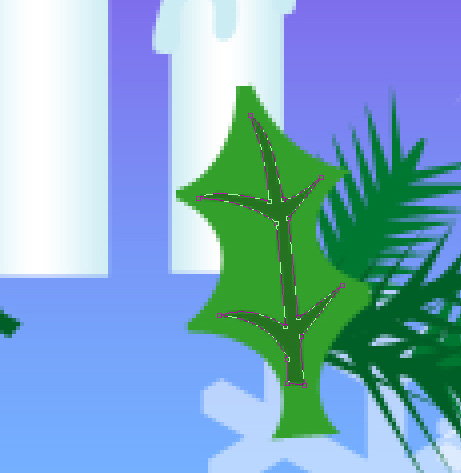 It’s time to combine in a group all the layers composing the leaf and its veins (press Ctrl button for marking out the necessary layers and then hold on left mouse’s button to take down the accentuated layers on Create a new group option). Make several copies of the last made group and select the Free Transform option to turn over the copies, making them look a little inclined. Some of the copies need their basic color to be changed on #118D0F and #54AC43.
Next we shall draw a berry and insert it on the picture, applying the Ellipse Tool (U).

The layer’s parameters: Blending Options>Gradient Overlay
Gradient’s parameters:

Choose the same Ellipse Tool (U) to represent several highlights of white color on the made berry.
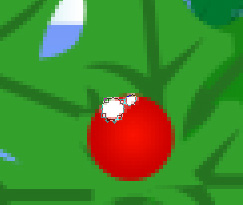
Combine in a group all the layers composing the berry. Make five copies of the group and select the Free Transform option to place the copies as it is represented next image:


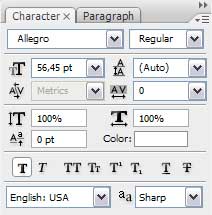
Write now the holiday congratulation inscription, keeping the demands from the table below:

The picture is finished!
View full size here.
Comments