
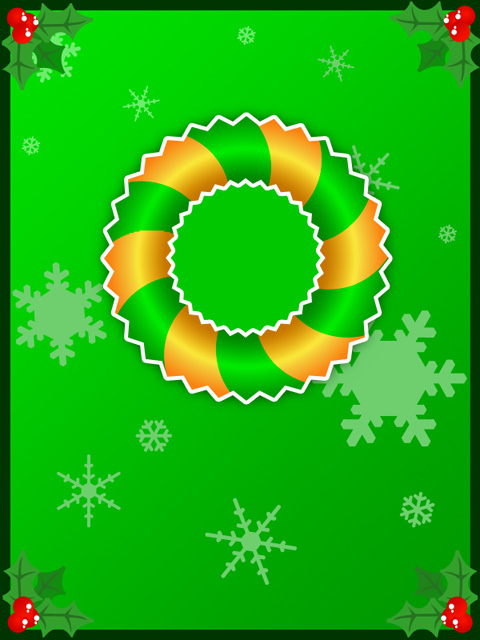
Merry Christmas Card
The layer’s parameters: Blending Options>Outer Glow
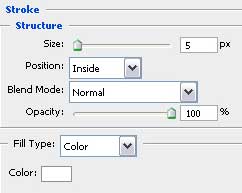
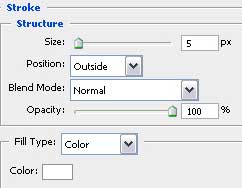
Blending Options>Stroke

Take the Ellipse Tool (U) and try to represent a highlight on the garland:


The layer’s parameters: Fill 0%
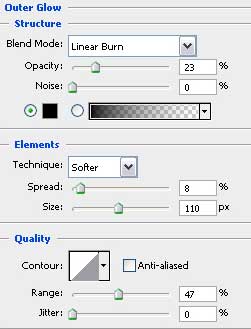
Blending Options>Outer Glow
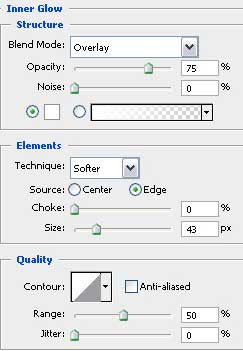
Blending Options>Inner Glow

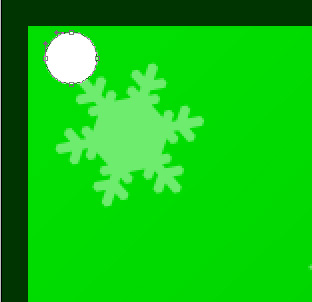
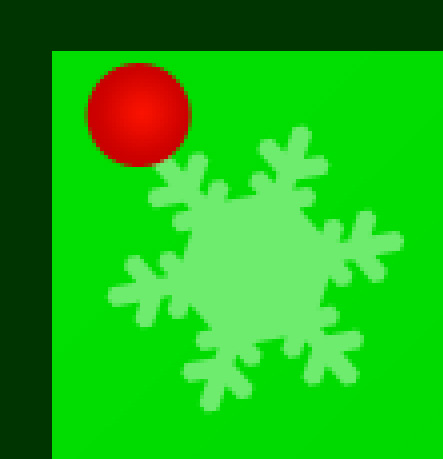
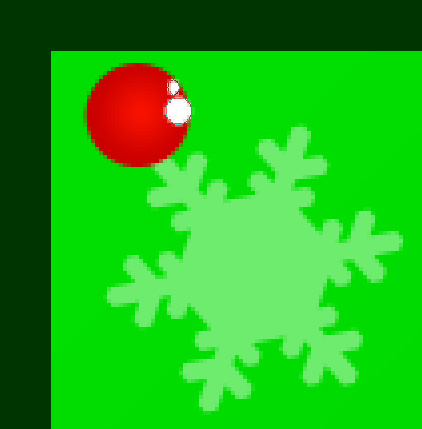
Draw now a berry on the upper left picture’s corner, selecting preliminary the Ellipse Tool (U) too.
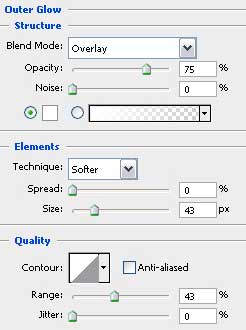
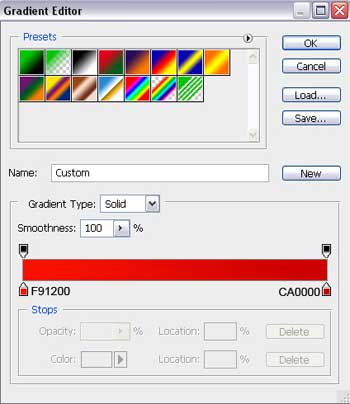
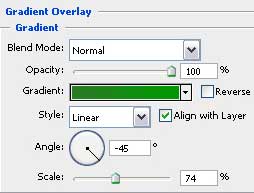
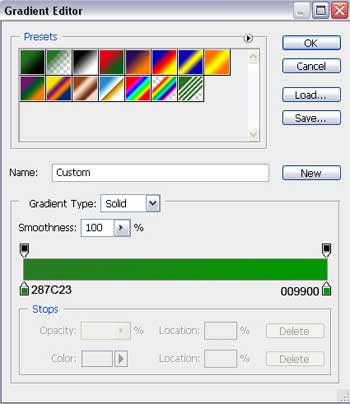
The layer’s parameters: Blending Options>Gradient Overlay
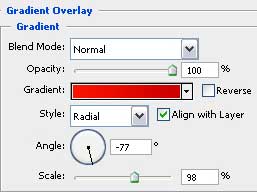
Gradient’s parameters:
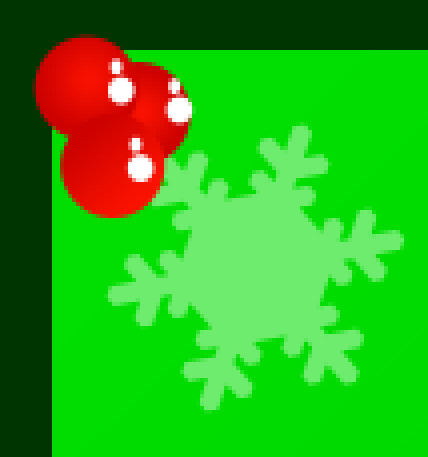
Next we’ll try to make a highlight on the drawn berry, choosing the same instrument of white color. Press SHIFT button when doing this operation.
 For the best result, we’ll try to combine in a group all the layers containing the berry and its highlight (hold on Ctrl button to mark out the necessary layers and click on the left mouse’s button when taking down the marked layers on Create a new group selection). Make three copies of the last made group and select Free Transform option to place the copies the way represented below:
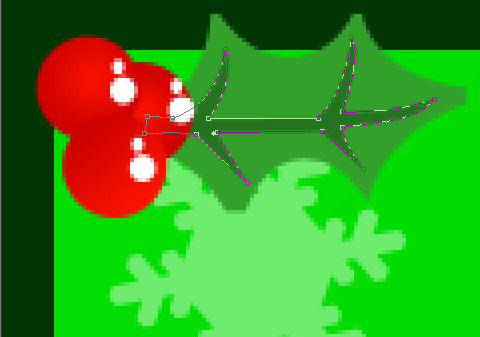
It’s time to represent now the primary layer of a small leaf, colored with #33A02C. For the beginning we’ll choose the Rectangle Tool (U) to represent the leaf’s pattern and then press on Alt button and use the Ellipse Tool (U) to make the made pattern looking like a real leaf. Place this layer lower than the group containing the red berries (on the layers’ panel).
We have to picture also the leaf’s so-called veins, colored with #257320, applying the Pen Tool (P). Their shape may be corrected with the Convert Point Tool.
Combine in a group all the layers containing the small leaf (press Ctrl button to mark out the corresponding layers and make a click on the left mouse’s button when taking the marked layers on Create a new group selection). Make two copies of the leaf’s group and choose again the Free Transform option to make the copies looking like on the picture below. Apply the parameters of the leaf’s primary layer for the copy of the leaf situated in the middle. Blending Options>Gradient Overlay
Gradient’s parameters:

Combine in a group all the layers containing the red berries and three leafs (holding on Ctrl button, mark out the appropriate layers and press the left mouse’s button to move the accentuated layers on Create a new group selection). Make three copies of the last made layer and choose Free Transform option to turn over the copies or turn them around and place them the way indicated below:
Insert now the congratulation inscription, taking care of the demands shown next table:


Apply the next parameters for the text’s layer: Blending Options>Stroke

The postcard is finished!
View full size here.
Page: 1 2
Comments