
Magic Flying of the Butterfly
Create a new layer again, picturing on it white highlights with the Brush Tool, getting the same picture from below.
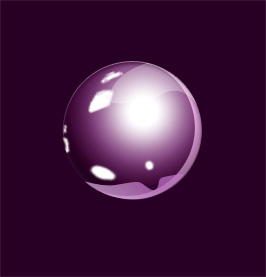
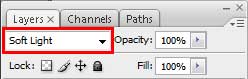
Change for the layer the Blending mode – Soft Light.
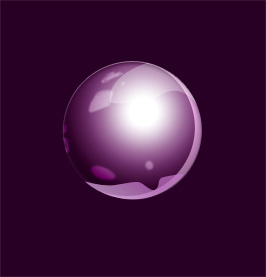
This is the sphere that we must get:

Now it’s time to position correctly the spheres on our picture. Making the spheres smaller, we may get the effect of the space’s deepness.

Create another new layer and situate it under the layers containing the spheres. Using the Brush Tool (B), try to make the contour around the spheres, choosing the color #954782

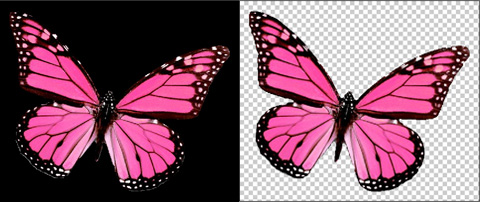
Find in Internet a pink butterfly and cut it out of the original picture, applying the Eraser Tool (E).
Place it on our picture the way demonstrated next image:

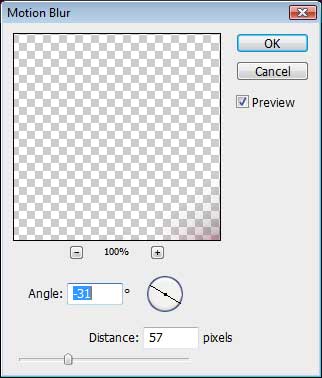
Make a copy of this layer and select the next filter for the copied layer: Filter>Blur>Motion Blur.

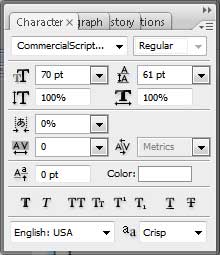
Now we have to write a text:

…applying the demands from here for the text we want to insert:
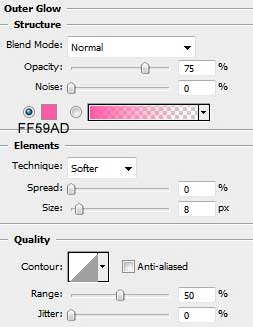
Set the next Blending Options – Outer Glow:

Finished!
View full size here.
Comments