
Magic and special light effects
Press Alt button while clicking between the layers of the rasterized group’s copy and the lateral highlight (on the layers’ panel).
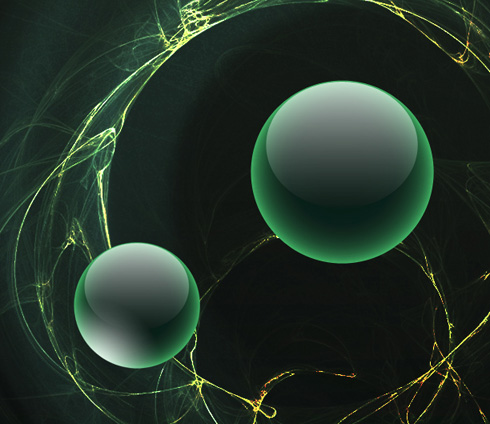
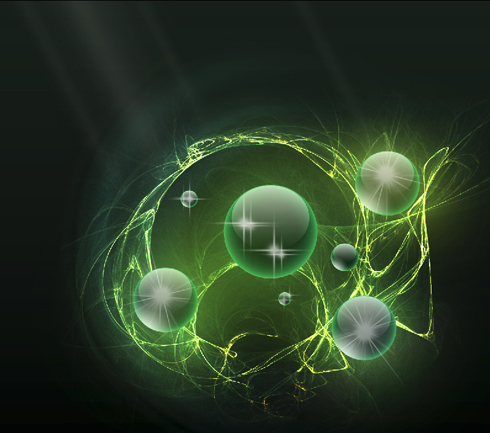
Combine in a group the lateral highlight and the rasterized copy. The new group must be copied five times. Applying Free Transform option, change the sizes of the copies and place all of them the same way indicated next picture:
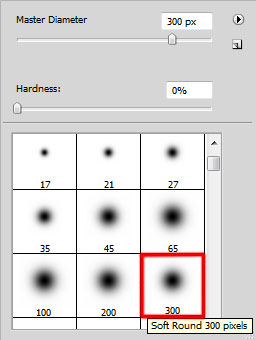
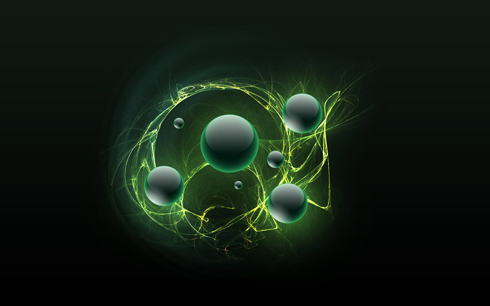
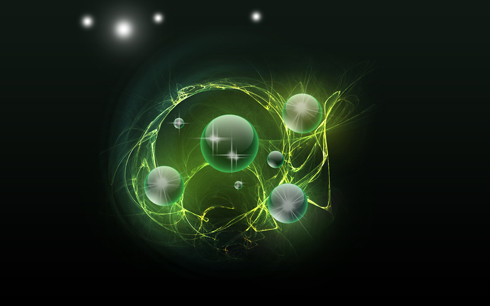
Create a new layer and select for it a standard brush to represent the spheres’ shining. This layer needs to be situated lower than the layer with the fractal picture. The brush is of the color #3D6F2F

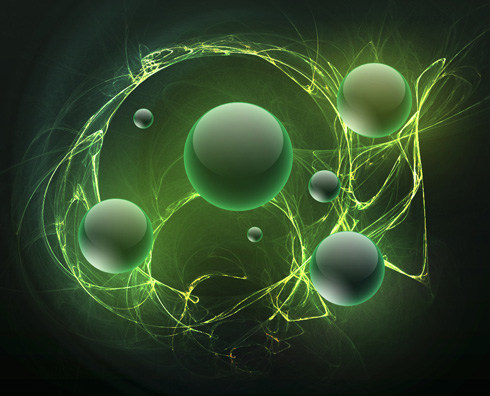
Create a new layer again where we’ll apply the above mentioned standard brush to add some yellow color on the spheres’ shining (Opacity 15%). This layer should be placed above the layers containing the spheres.
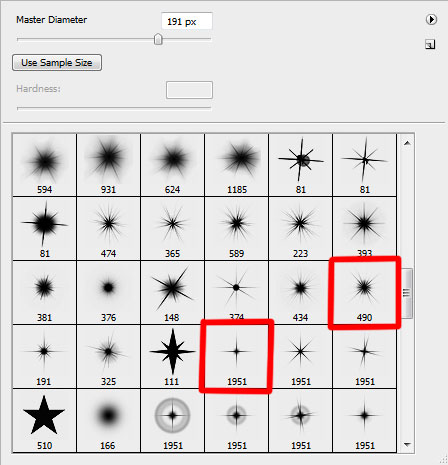
Download a set of brushes for Adobe Photoshop, named Shining Stars Brush Set.
Then we need to create a new layer and apply here the downloaded brushes. The color used in this case is white (Opacity 50%).
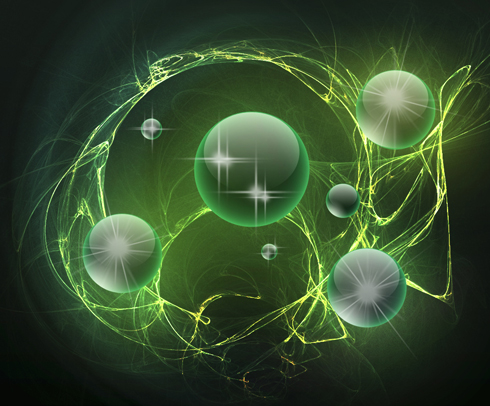
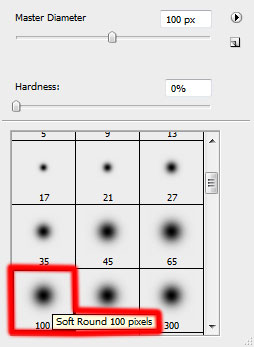
On a new layer we’ll apply the standard brush of white color to represent several spots.
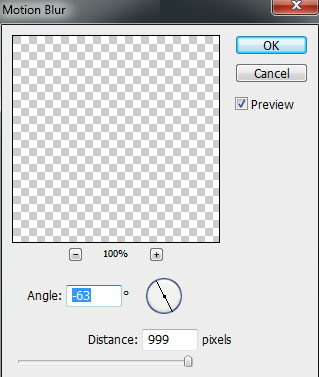
Select for the layer containing the spots next option: Filter>Blur>Motion blur
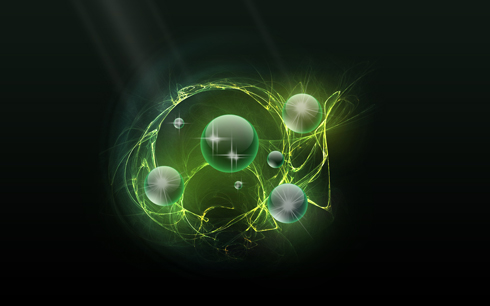
Make a click on the same layer on the bottom part of the layers’ panel on Add a Mask option and choose a standard brush of black color to clean out a part of the rays crossing the picture’s fractal:
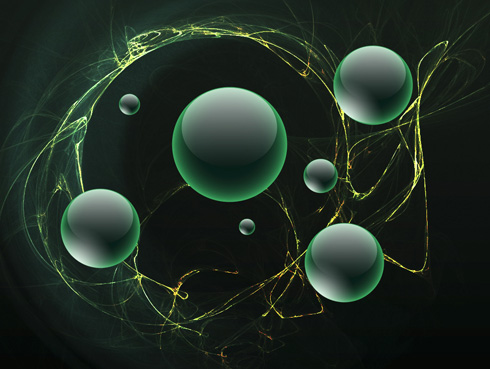
Make a copy of the layer with the rays on it:

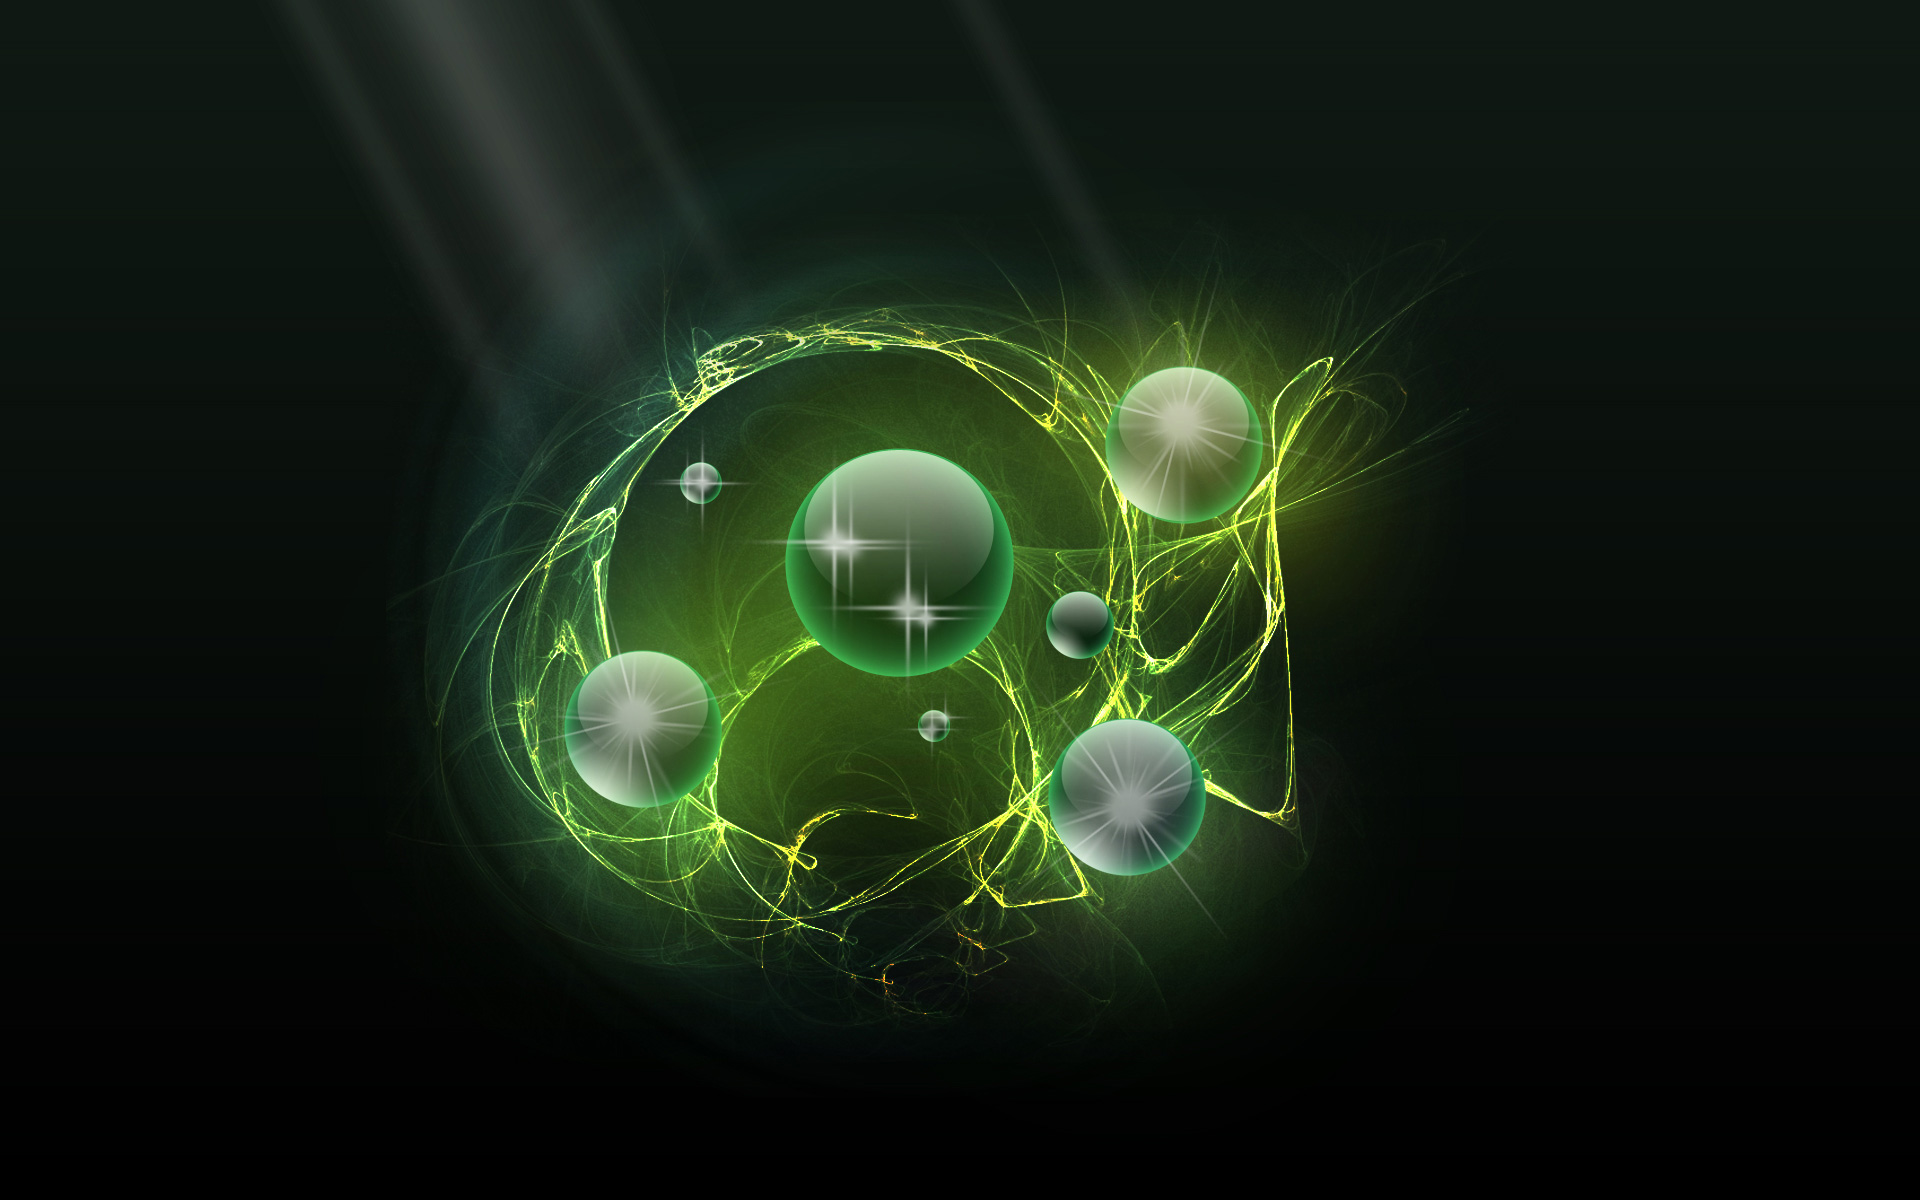
Finished!
View full size here.
Comments