
Mac OS X
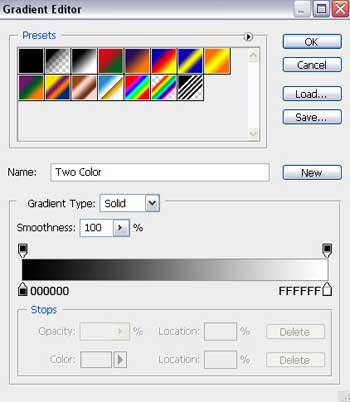
Gradient’s parameters:
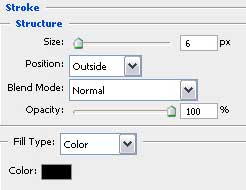
Blending Options>Stroke
Make a copy of the recently created layer and select the Free Transform option to make the copy a little smaller and apply the next parameters for the copy:

The layer’s parameters: Fill 0%
Blending Options>Color Overlay
 Blending Options>Pattern Overlay (the same pattern as in the apple’s case).
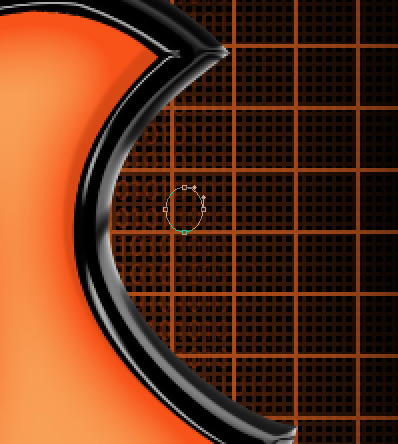
Make a copy of the last made layer and make it of white color. Choosing the Ellipse Tool (U) and keeping pressed Alt button may help us to erase the unnecessary elements.
Apply the next parameters for the layer: Fill 30%
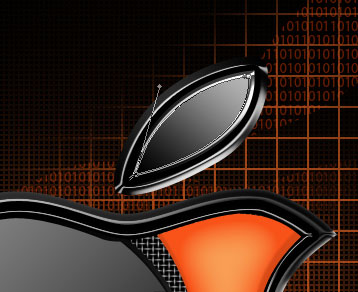
Combine in a group all the layers composing the metallic apple and its leaf (press Ctrl button and mark out the appropriate layers and make a click on the left mouse’s button when moving the marked layers on Create a new group option). Using the Ellipse Tool (U), we can represent a small ball now:
The layer’s parameters: Fill 0%
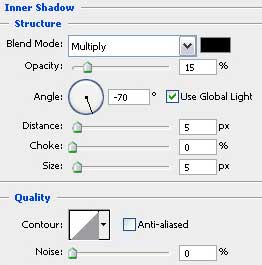
Blending Options>Inner Shadow
Blending Options>Gradient Overlay
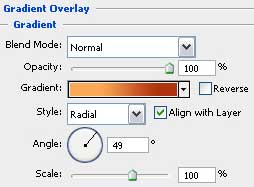
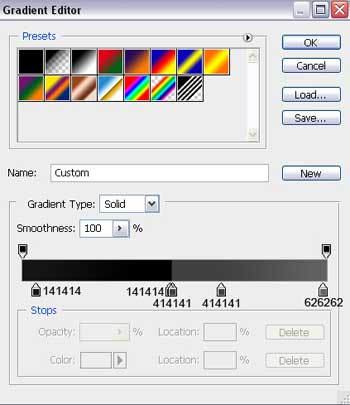
Gradient’s parameters:

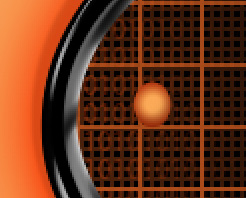
Make many copies of the ball’s layer and place the copies as it is shown below. The Free Transform selection may help use to change the copies’ sizes if necessary. The layers containing the balls should be placed lower than the group containing the metallic apple and the leaf (on the layers’ panel).
Make the necessary inscriptions now of the famous operation system:
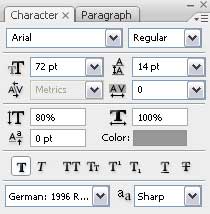
(MAC)
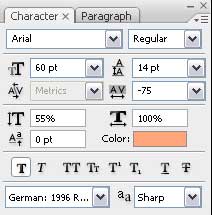
(OS)
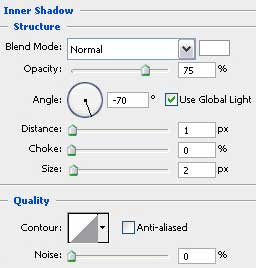
 The parameters for the MAC inscription: Blending Options>Inner Shadow
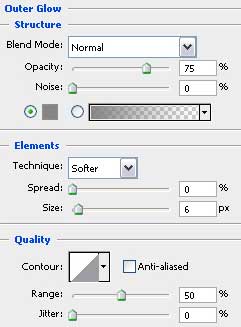
Blending Options>Outer Glow
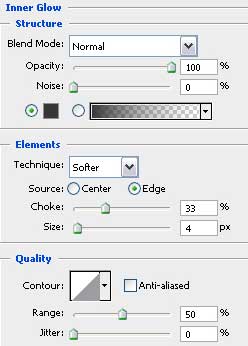
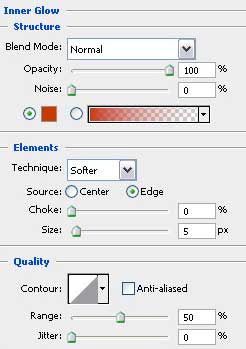
Blending Options>Inner Glow
Blending Options>Gradient Overlay
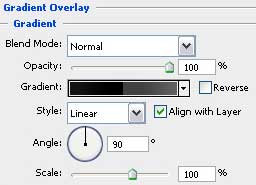
Gradient’s parameters:
The parameters of the next inscription: OS
Blending Options>Inner Glow

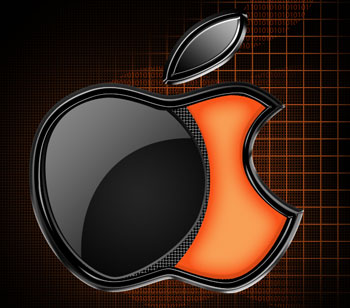
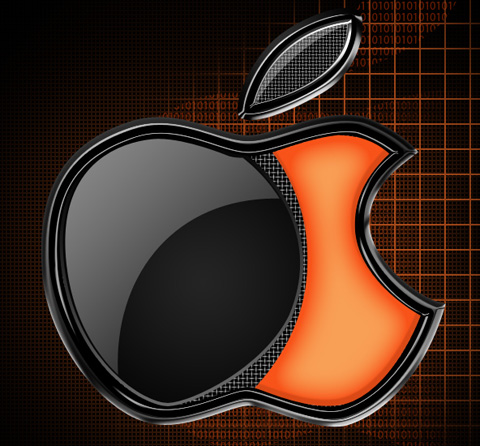
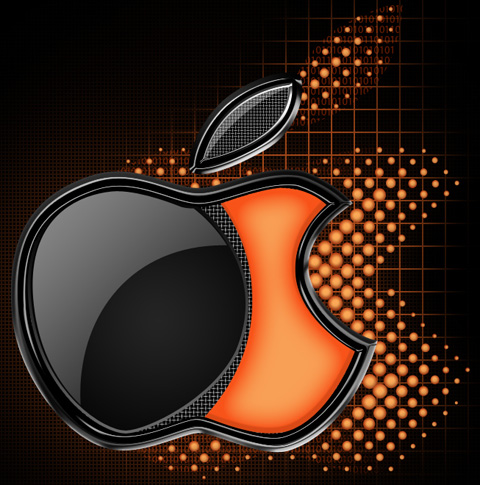
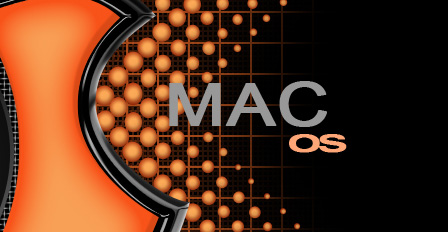
The final result!
View full size here.
Comments