
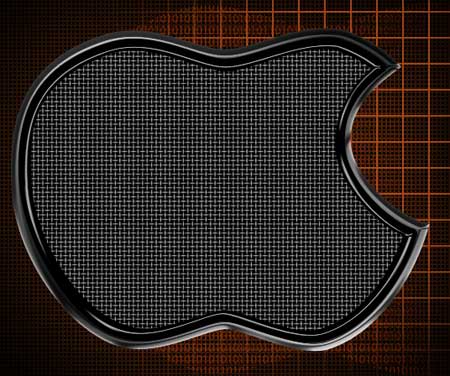
Mac OS X
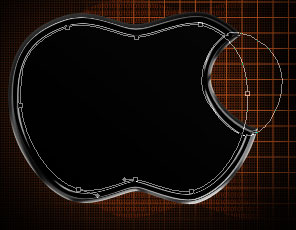
Make another copy of the layer containing the apple’s silhouette and choose one more time the Free Transform option to make the copy smaller and to apply for it the next parameters:
The layer’s parameters: Fill 0%
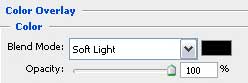
Blending Options>Color Overlay
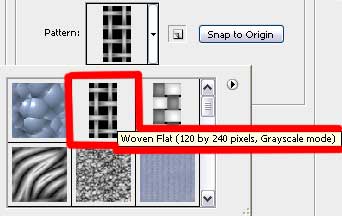
Blending Options>Pattern Overlay

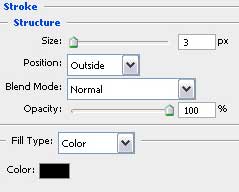
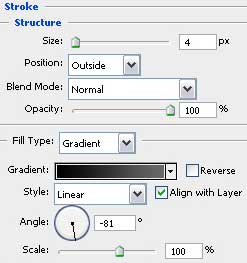
Blending Options>Stroke

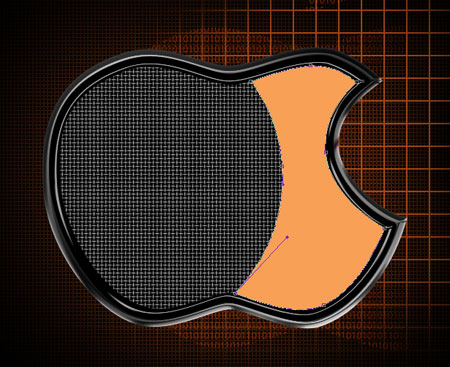
Next step includes applying the Pen Tool (P) for representing the inside element of the apple, colored this time in # F8A056 which shape may be corrected with the Convert Point Tool.
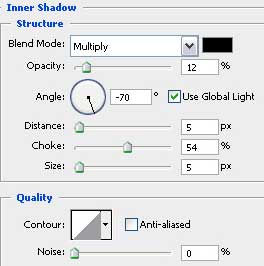
 The layer’s parameters: Blending Options>Inner Shadow
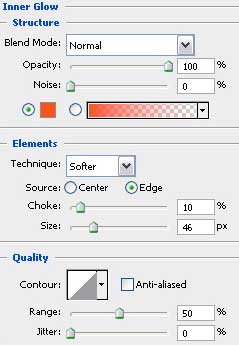
Blending Options>Inner Glow
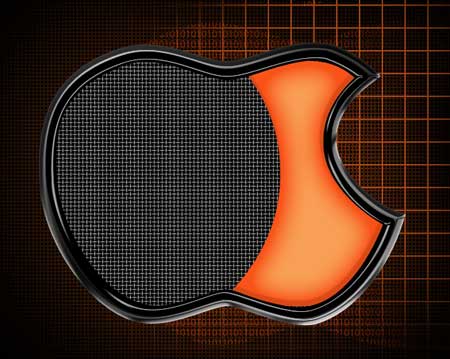
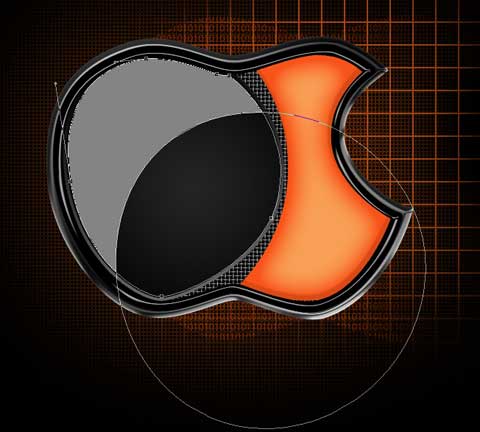
We have to select again the Pen Tool (P) for representing one more element situated inside apple which shape may be corrected also with the Convert Point Tool.
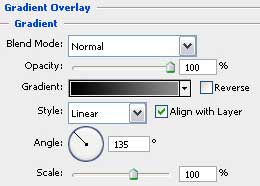
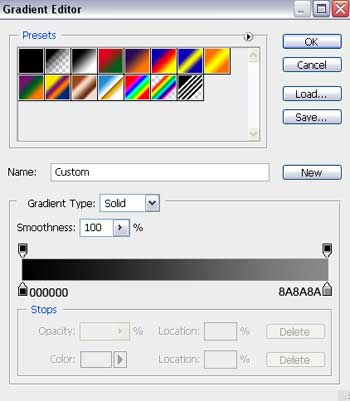
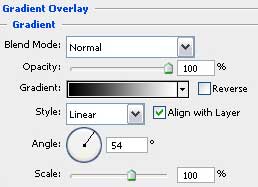
The layer’s parameters: Blending Options>Gradient Overlay
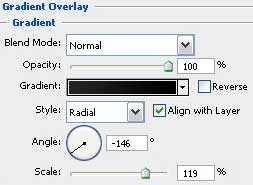
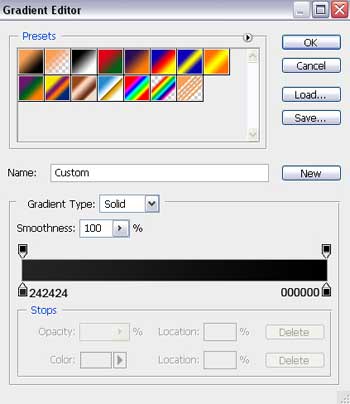
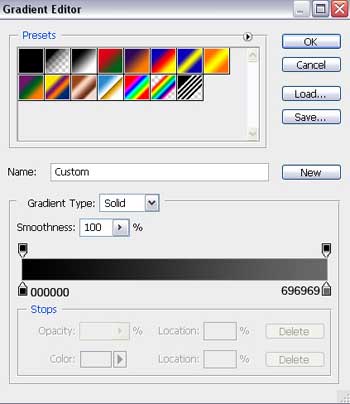
Gradient’s parameters:
Blending Options>Stroke
Gradient’s parameters:

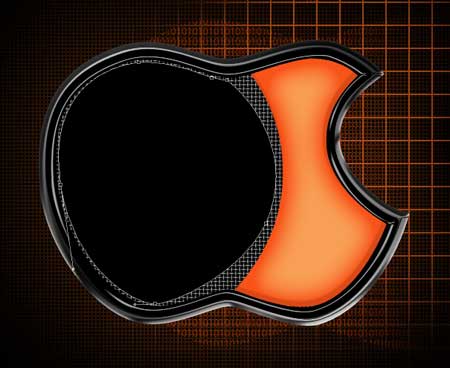
Make a copy of the recently made layer and choose the Ellipse Tool (U) to erase the unnecessary zones, while keeping pressed the Alt button. Apply for the copy different parameters, those indicated below:
The layer’s parameters: Blending Options>Gradient Overlay
Gradient’s parameters:
 Take the Ellipse Tool (U) now and represent an apple’s leaf, turning over the ellipse with Free Transform option and correcting its shape with the Convert Point Tool.

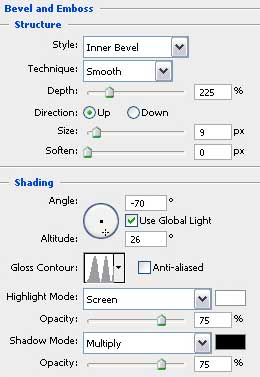
The layer’s parameters: Blending Options>Bevel and Emboss
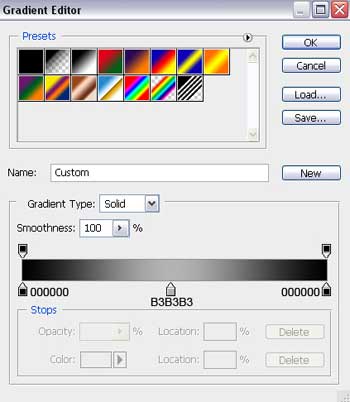
Blending Options>Gradient Overlay

Gradient’s parameters:

Create another layer inside the leaf and choose for this operation the Pen Tool (P). Making the corrections on its shape is possible with the Convert Point Tool.

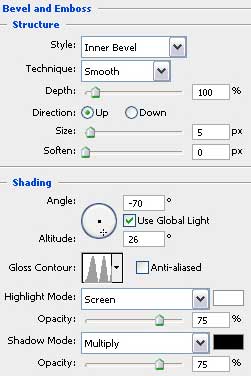
The layer’s parameters: Blending Options>Bevel and Emboss
Blending Options>Gradient Overlay
Comments