
Love Wallpaper for the desktop
Create a new layer and apply the same brush used before – fingerprints brushes by hawksmont and represent several fingers’ prints and patches. The color’s code is #660000.
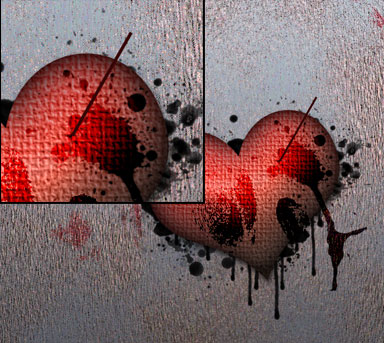
Next we have to choose the Rectangle Tool (U) and represent a thin stripe colored in #330000 and after that we’ll select the Free Transform option to turn over the stripe the way it is shown next image.
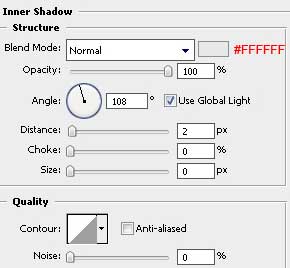
Apply the here presented Blending Options> Inner Shadow.

We should get a metallic effect:

Now make a copy of this stripe:
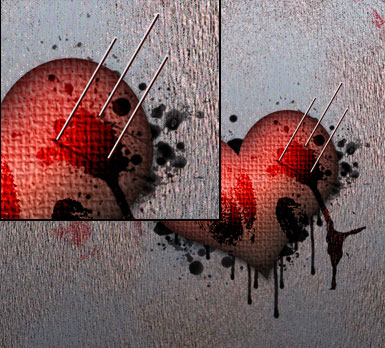
Next we’ll create three more stripes, colored in black and place them as it is demonstrated next image. The layers must be placed under those created earlier.
Create a new layer and apply on it the Brush Tool (B), Opacity of 20% to represent the needle’s dents.
Create a new layer and after that a rectangle on it, choosing the Rectangular Marquee Tool (M) for representing the dent. The Paint Bucket Tool (G) is necessary to paint the marked zone. The color’s code in this case is #FFFFCC
We have to block out this layer just not to get outside the stripe’s edges when working with it in the future.
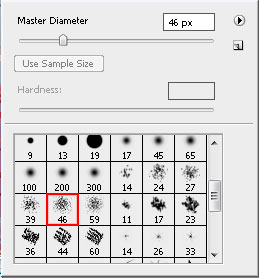
Choose a kind of brush like that one from below with the Opacity of 10%. We’ll use it for creating the effect of the blood, hachuring the picture. The color’s code is #993333
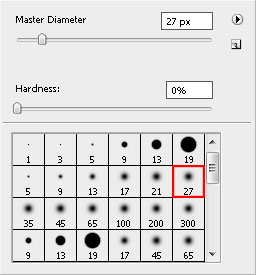
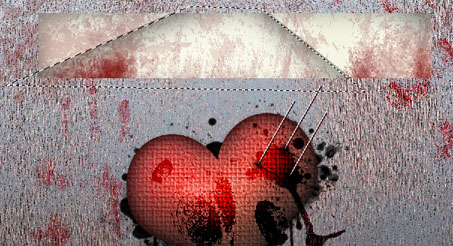
Take the Polygonal Lasso Tool (L) and mark out the place shown below. Next select the Burn Tool (O) and put a shadow on the picture by hachuring the necessary place, imitating the paper’s bends.
The Burn Tool (O) must have the next parameters:

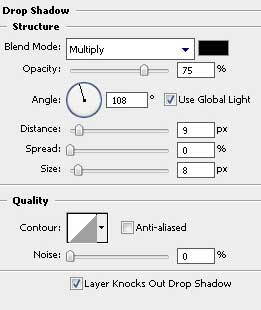
Apply next the Blending Options>Drop Shadow.
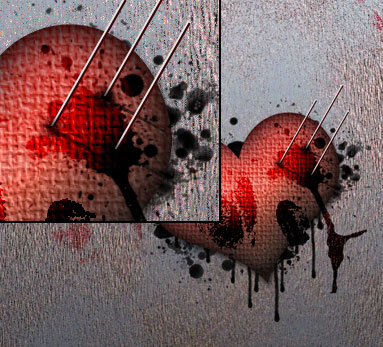
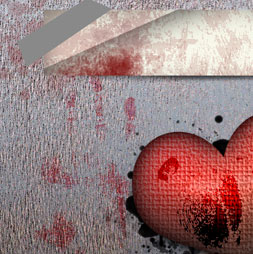
It’s the result that we have at this moment:
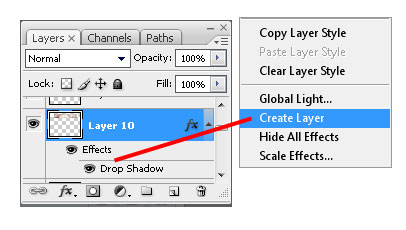
 Make a click on the right mouse’s button on the layer and select the Create Layer option as it is shown below:
Select the separate layer containing the shadow and apply the Eraser Tool (E) to erase the upper edges and the lateral shadow’s parts.

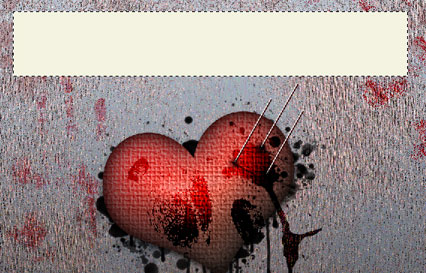
Create again a new layer and use on it the Polygonal Lasso Tool (L) to represent a marking, looking like a stripe created when tearing off the sticky band and then select the Burn Tool (O) to paint the marking with the color #999999
Apply for this layer the Blending Options>Drop Shadow.
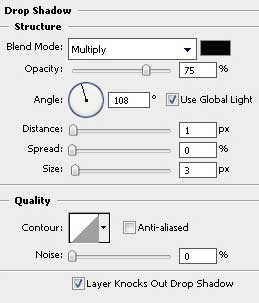
Apply the layers’ parameters for the layer in case:
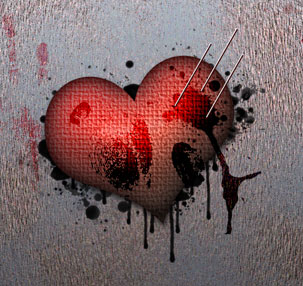
We should get the same result as this one:
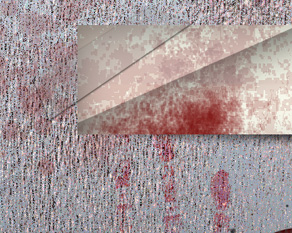 We should make the sticky band look more visible, that is why we’ll create a new layer and place it under the band’s layer. Make several clicks with the brush (Opacity – 10%) to get the same result like this one from next image:
Make a copy of the sticky band’s layer and turn it over together with the shadow’s layer, placing them on the opposite side.
Next step includes writing the corresponding text on the band:
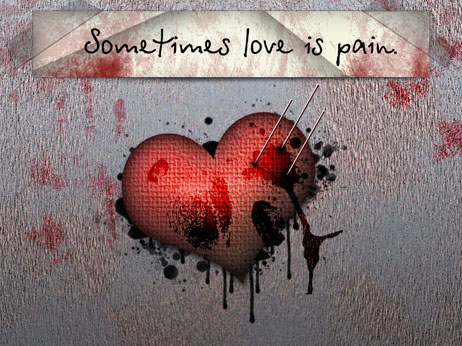
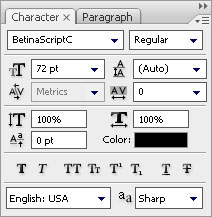
The text’s parameters are included in this table:
Next we have to create one more new layer and mark it out both with the text’s layer. Press after that on the next combination of buttons: Ctrl+E, for the layers to stick together. Choose now the Eraser Tool (E) with the Opacity of 10% and erase the new image as it is demonstrated below:

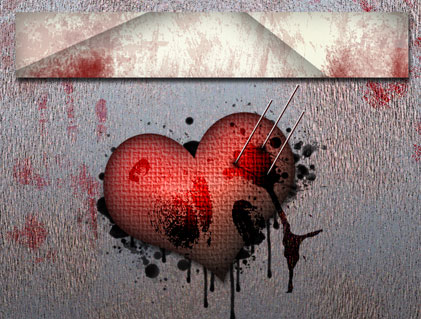
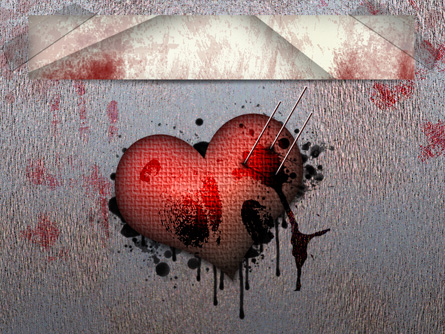
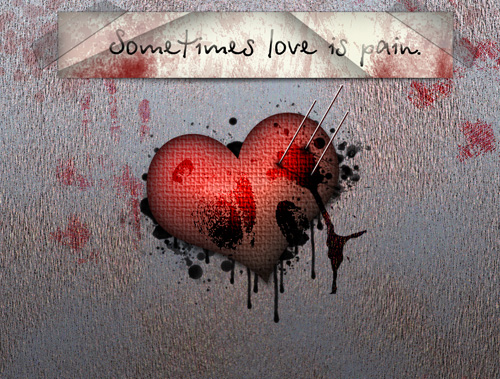
Finished!
View full size here.
Page: 1 2
Comments