
Loading Interface
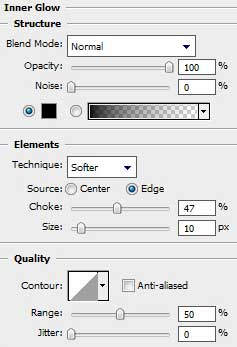
The layer’s parameters: Blending Options>Inner Glow
Blending Options>Gradient Overlay 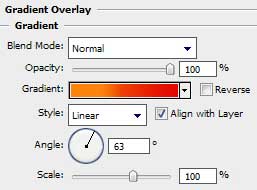
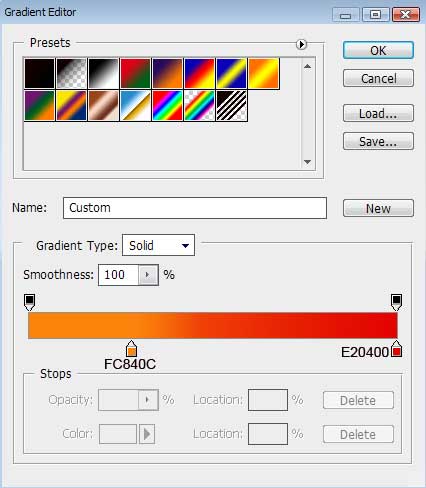
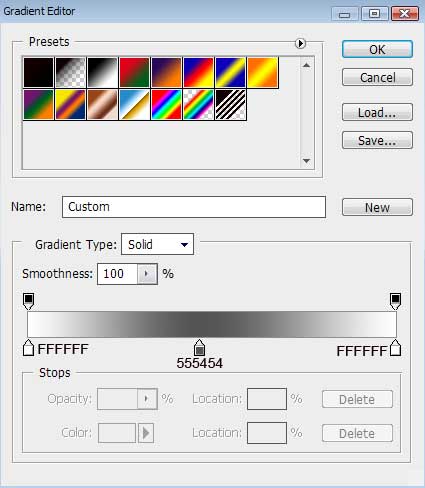
Gradient’s parameters:
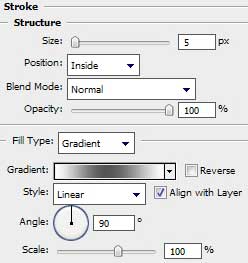
Blending Options>Stroke

 Gradient’s parameters:
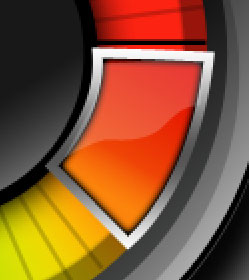
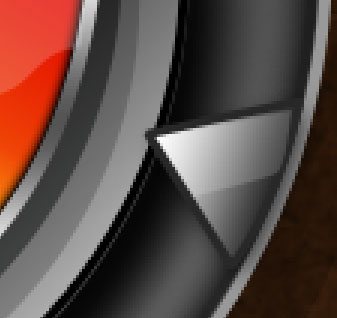
Select once again the Pen Tool (P) to picture a highlight of white color which shape is possible to correct with the Convert Point Tool.

Choose the next demonstrated parameters for the layer: Fill 20%
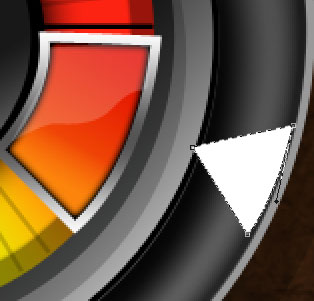
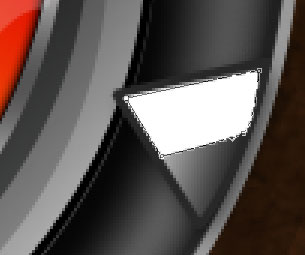
Select the same Pen Tool (P) to create a triangle which shape must be corrected with the Convert Point Tool.
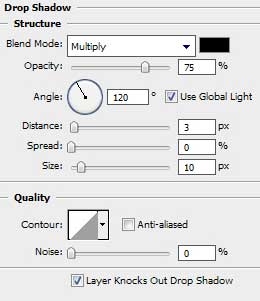
The layer’s parameters: Blending Options>Drop Shadow
Blending Options>Gradient Overlay
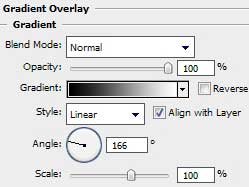
Gradient’s parameters: 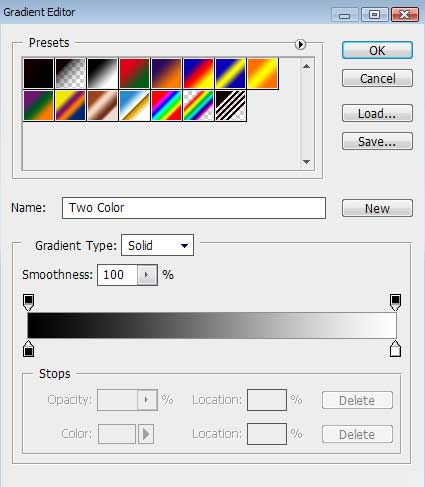
Blending Options>Stroke 
 Applying the earlier chosen instruments (Pen Tool (U) and Convert Point Tool), it is possible to draw another highlight of white color:
Set the next parameters for the last made layer: Fill 17%
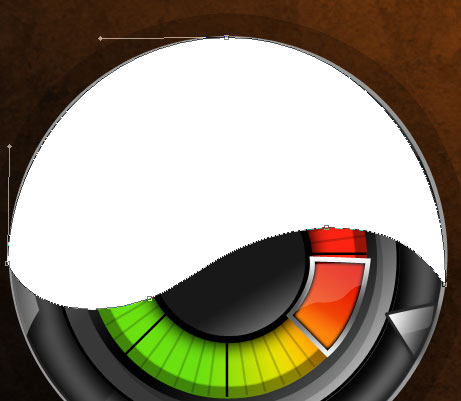
Now we shall use the Ellipse Tool (U) to draw a highlight of white color. Next there will be used the Add Anchior Point Tool to insert a top on the bottom part, as it is shown next image and then make the appropriate corrections the same way from below:
The layer’s parameters: Fill 20%
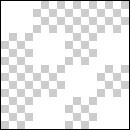
Create a new file (File>New) of 4×4 px and 72 dpi. We shall use on it the Pencil Tool (B) (brush 1 px) to represent the same pattern from next picture of white color.
Edit>Define Pattern
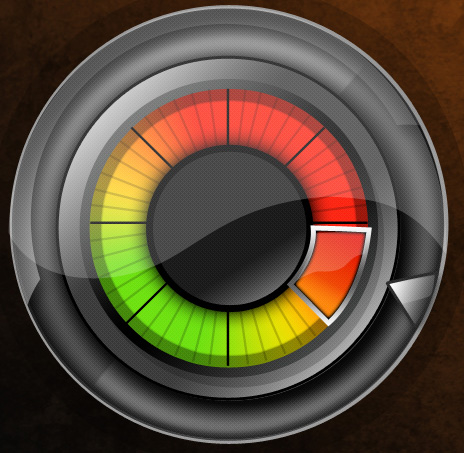
Next step includes using the Ellipse Tool (U) on a new layer (Create new layer) on which must be inserted the last made pattern.
The layer’s parameters: Opacity 20%, Fill 0%
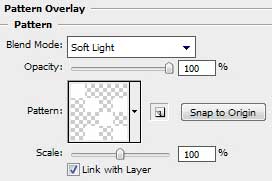
Blending Options>Pattern Overlay
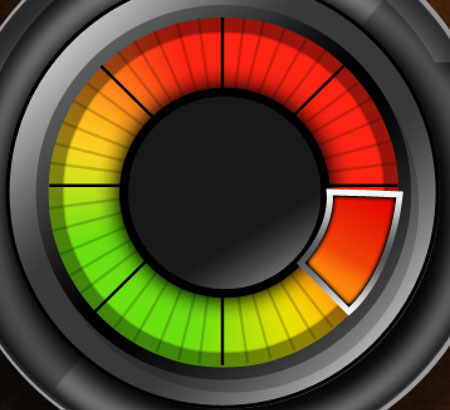
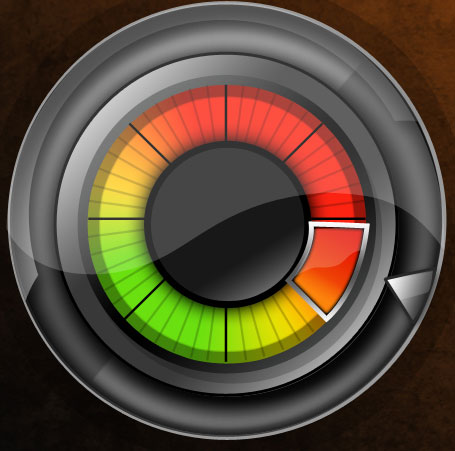
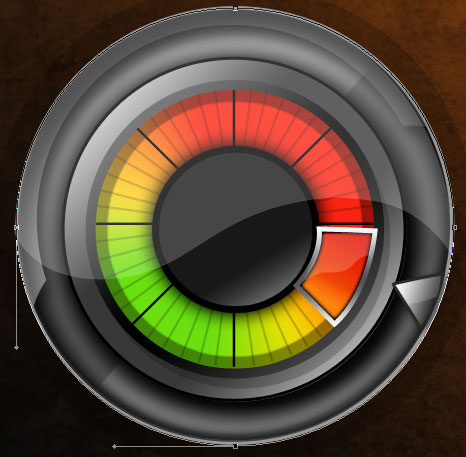
The loading interface is finished!
View full size here.
Comments