
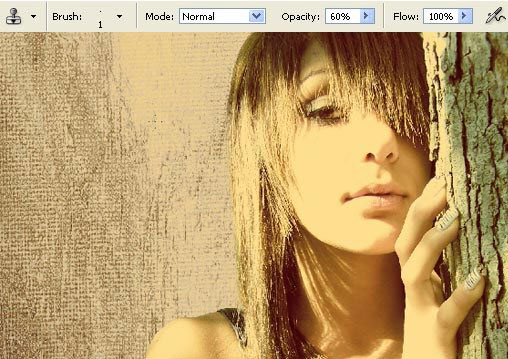
Lady Nature Photo effect
This lesson we’ll try to
erase the luminescence effects on the picture, we’ll learn several
methods of changing the colors, give the eyes an effect of shining,
imitate the decorative glasses, change the source of light and create
the effect of having tear picture’s edges.
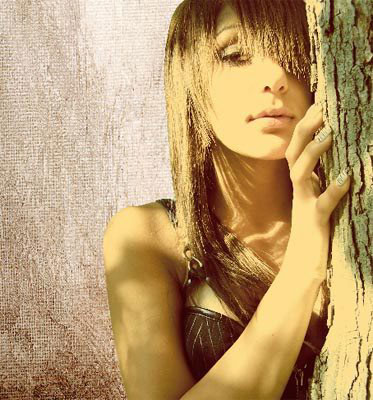
First we need to open
in a new window a photo representing a young girl: File – Open.(ctrl+o)
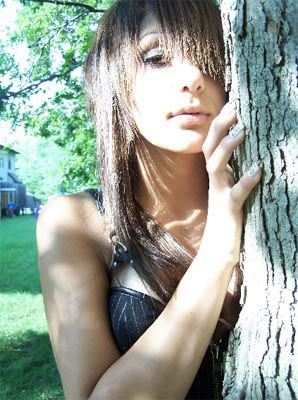
Then make a copy of this layer to be easier to work with it: Layer
– Duplicate Layer (ctrl+j). The previous layer should be
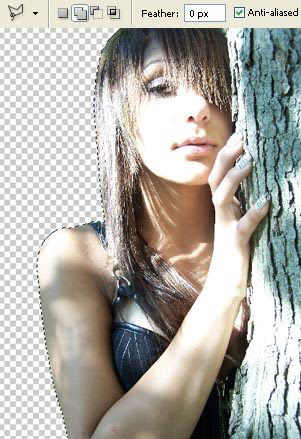
erased: Layer – Delete – Layer. Now we should mark out
the background the girl is situated on by using the Polygonal
Lasso Tool and erase it, applying the Delete
button on the keyboard.
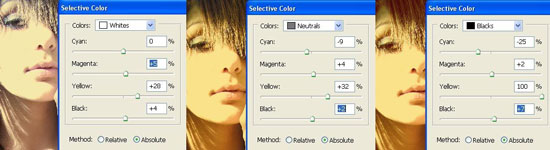
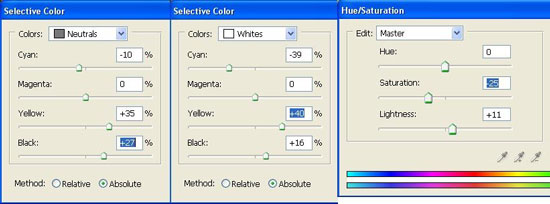
Make the corrections on the layer’s colors by moving these
luminescence effects on the girl with the next combination: Image
– Adjustments – Selective Color.

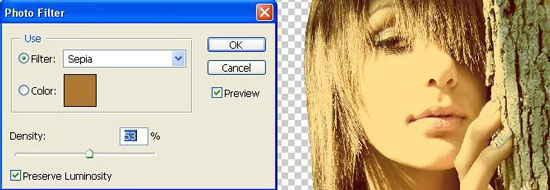
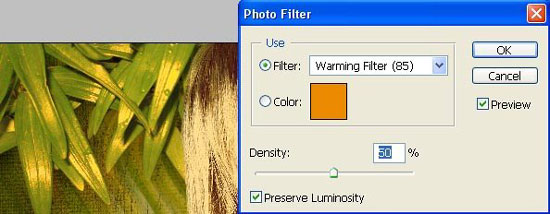
Merge down now all the elements of the picture selecting the
next filter designed for this operation: Image – Adjustments –
Photo Filter.
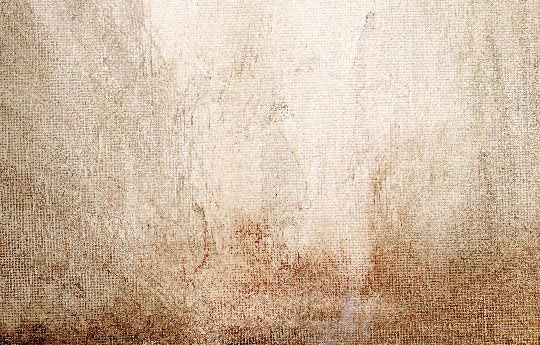
Open after that in a new window that kind of texture we’ll use
for the background to be.
Mark it out for the beginning,
selecting the Rectangular Marquee Tool and make a copy
of it: Edit – Copy (ctrl+c). Get back to the window
containing the picture and insert the texture on a new layer: Edit
– Paste (ctrl+v). Place the texture’s layer under the girl’s
one and make the corrections on its size and background’s placement. Use
for this operation the command shown here: Edit – Free
Transform (ctrl+t).
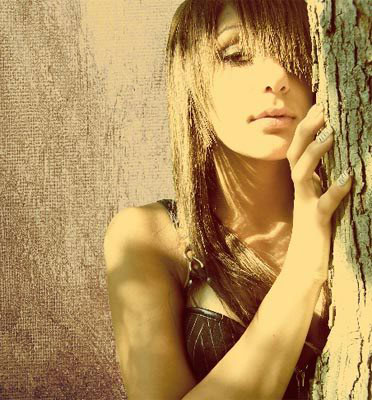
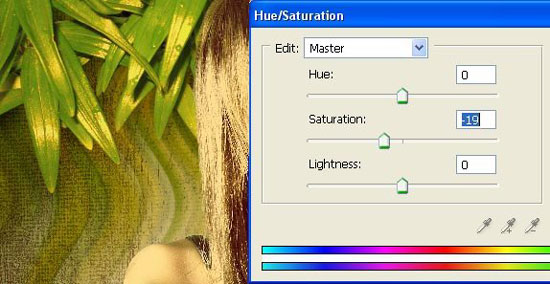
Correct also the color of the background, applying Image
– Adjustments – Selective Color and Image –
Adjustments – Hue/Saturation (ctrl+u).
Select now the Clone Stamp Tool and use this
instrument as a brush to make the girl’s hair livelier on that place we
cut out the background along:
Now make the girl’s eye shining. It’s necessary to open first a
new layer: Layer – New – Layer, then select the Brush
Tool with smooth edges and represent a half circle on the
eye’s pupil.
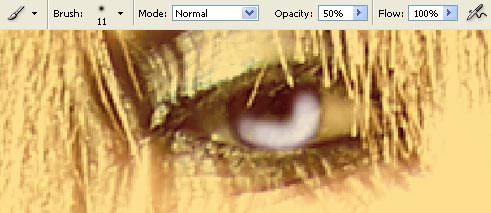
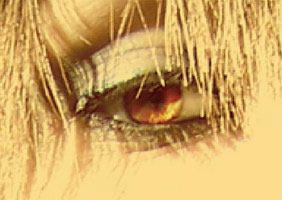
Change now the layer’s type on Overlay.
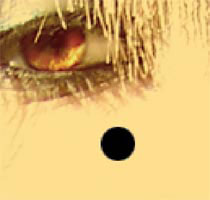
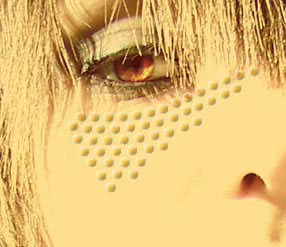
We have to represent on the girl’s
cheek a kind of ornament created from decorative small glasses. First,
draw on her cheek a small circle, selecting the Ellipse Tool
and keeping pressed the shift button.
Then apply to this layer the command shown here: Layer –
Layer Style – Blending Options with the following adjustments:
Change the layer’s type on Overlay:
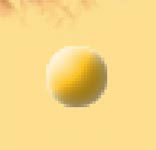
Make the circle smaller now (ctrl+t) and make a lot of copies
of this layer, setting the necessary ornament out of the copies with the
Move Tool.
Open in a new window now a picture representing a small snail
(ctrl+o).
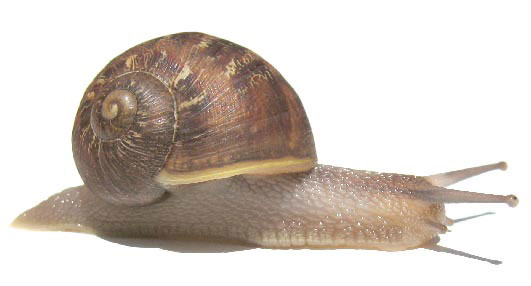
Mark it out with Polygonal
Lasso Tool, make a copy of it (ctrl+c), place it on the layer
above the girl, on the necessary place (ctrl+t) and copy two times this
layer (ctrl+j). The size of the copies must be changed.
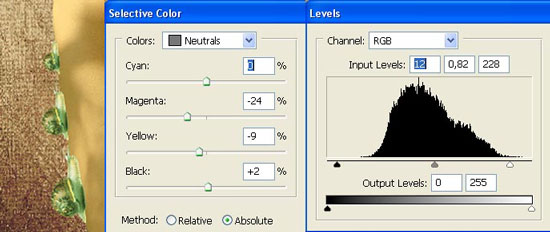
As not to lose our snails on this color gamma, we have to
correct a little their colors (Selective Color), the
brightness and the contrast: Image – Adjustments – Levels
(ctrl+l).
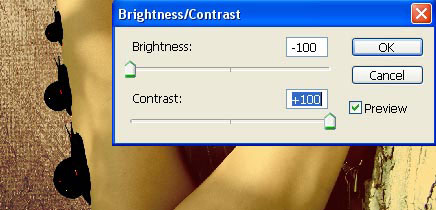
As for the snails to look livelier, insert their shadows on the
picture. But we need first to copy the layer (ctrl+j) and make it
entirely black with the next command: Image – Adjustments –
Brightness/Contrast.
Then place this layer under the basic layer with the snails and
group it with that layer the girl is situated on: Layer –
Create Clipping Mask (ctrl+g). Distort it a little selecting
next combination Edit – Transform – Distort.
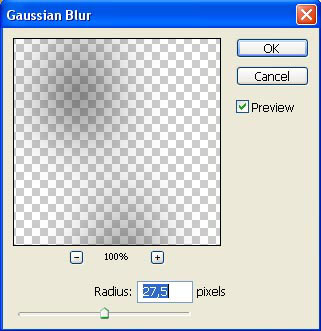
Blur the shadow by applying the filter indicated here: Filter
– Blur – Gaussian Blur.
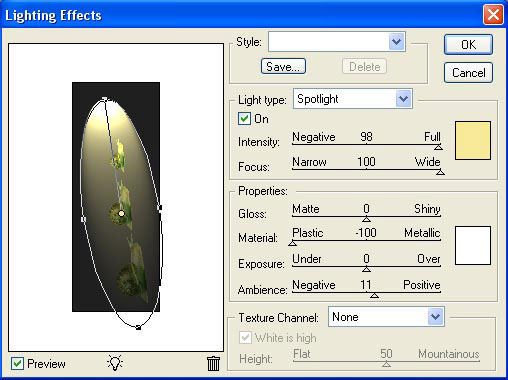
Get back to the basic layer with the snails and apply on it
another filter, for changing the lightness effects: Filter –
Render – Lightness Effects.
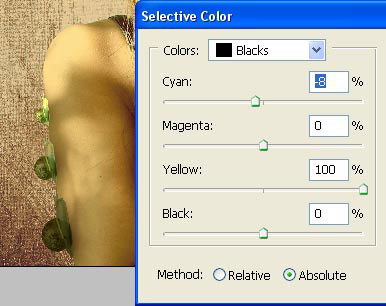
And finally change a little the shadow’s color, because we’ll
never have a totally black shadow: (Selective Color).
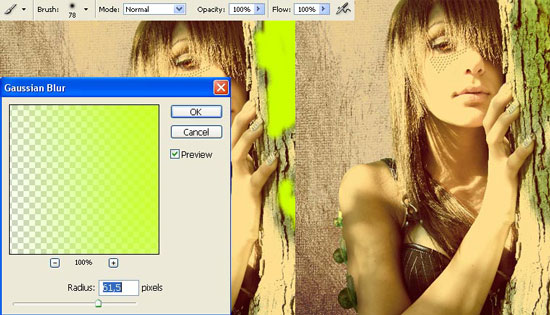
Now we should make brighter the color patch on the tree’s rind. It’s necessary to paint with the
appropriate color on a new layer the right place with the Brush
Tool having smooth edges. Then blur out the copy (Gaussian
Blur) and change the layer’s type on Overlay
and minimize the Opacity till 40%.
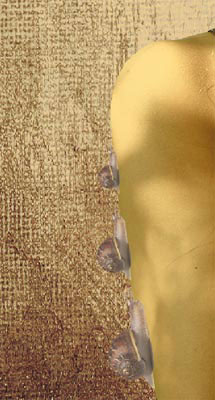
Cut
out several leaves from a picture:
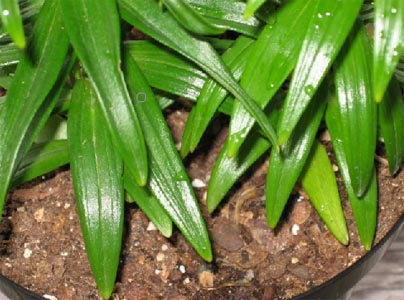
Place
them under the girl’s layer:

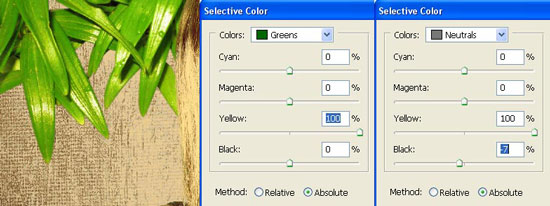
And
make the corrections on their color, using the Selective
Color:
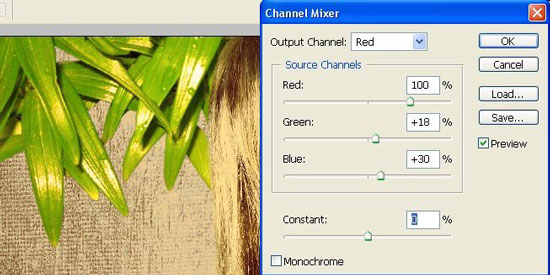
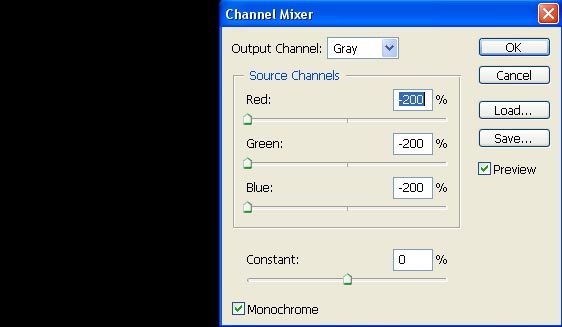
Then
make use of the next combination: Image
–
Adjustments – Channel Mixer.
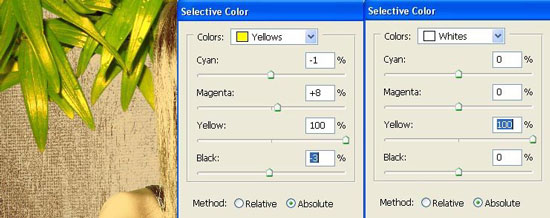
And
again this option: Image –
Adjustments – Selective
Color.
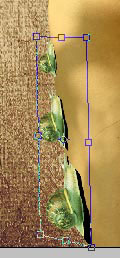
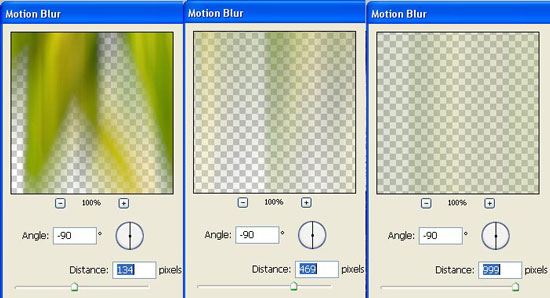
Make
three copies now of the layer
containing the leafage as for the
copies to be placed lower than the
basic layer of the leaves. Blur
out each of the copies selecting the
next filter options: Filter – Blur – Motion Blur.
Increase the blurring value
on each of the new layers:
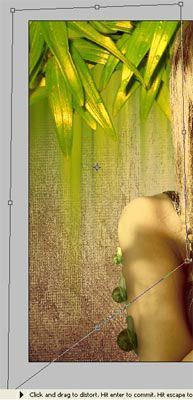
Combine
now all these three layers: Layer
– Merge Down
(ctrl+e)
and distort them a little with Edit
– Transform –
Distort.
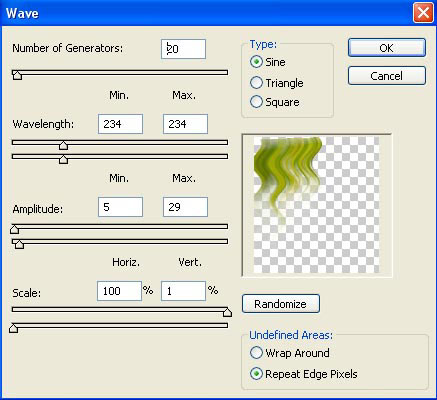
Make
the stripes wavier, applying Filter
– Distort –
Wave.
Change
the layer’s type on Multiply:

Stretch
it out in its length (ctrl+t). Then make use of the
same method we
applied when representing the snails’ shadows for drawing
now the
leaves’ shadows:
Then
minimize a little the intensity of the basic layer
containing the
leafage (ctrl+u).
Apply
to this layer the next photo filter shown below:
Merge down all the layers now: Layer
– Merge Visible (shift+ctrl+e) and create a new
layer, lower
than the layer containing the picture itself. Then
enlarge very
accurately the zone around it, selecting the Crop Tool
and
paint the empty layer in white.
Create
out of this picture’s layer a mask: Layer
– Add
Layer Mask – Reveal All
and choose the Brush Tool
with unequal edges of black
color to paint partially the picture’s
edges just to create an effect
of tear paper.

Apply
the next command now: Layer –
Remove Layer Mask –
Apply
and make a copy of the layer (ctrl+j). Then transform
the copy in
black selecting the Channel
Mixer.
Place
the layer under the layer containing the picture and blur
it out (Gaussian Blur).
Choose
now Pattern Stamp Tool with the next
shown
adjustments:

Paint
in this color the layer’s background:

Change
the color also (ctrl+u):

Merge
down all the layers now
(shift+ctrl+e) and apply the next options: Filter – Sharpen –
Sharpen just to increase the sharpness
of the picture:
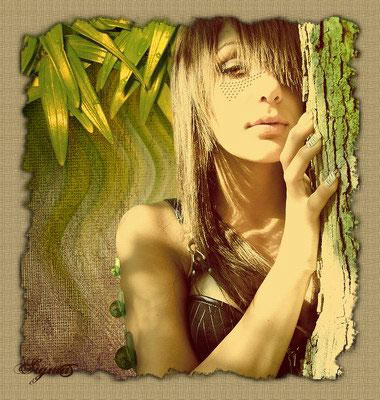
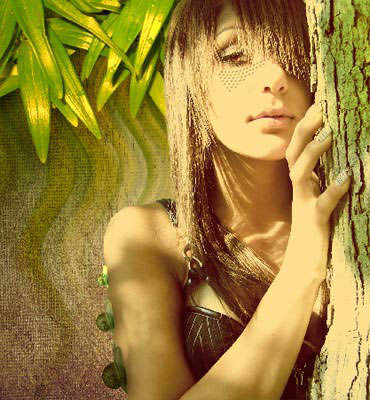
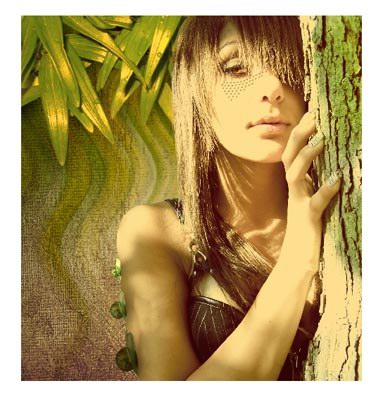
The
picture is finished!
Made
by Sigma
Comments