
Iron Man Wallpaper
Select the next parameters for the layer by making a mouse click on the processed layer on the layers’ palette. Blending Options>Inner Shadow

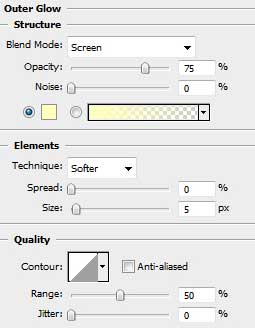
Blending Options>Outer Glow
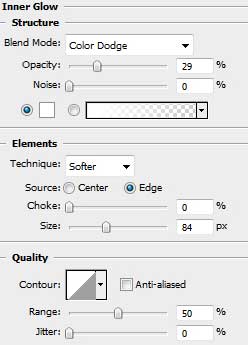
Blending Options>Inner Glow

Blending Options>Bevel and Emboss

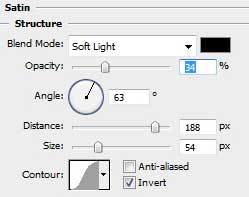
Blending Options>Satin
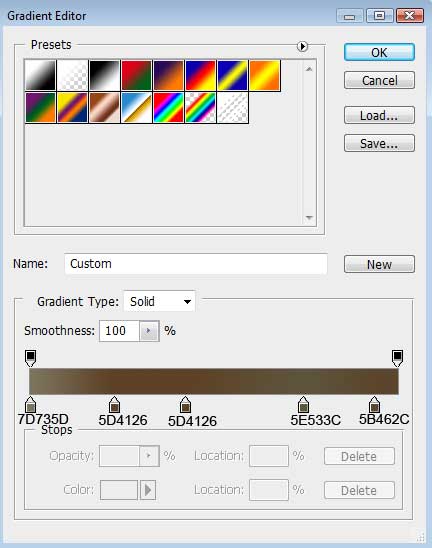
Blending Options>Gradient Overlay 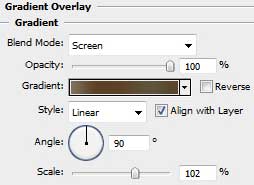
Gradient’s parameters:
Make visible again the layer with the black background. The text’s layer needs to be placed upper than the background’s layer, but lower than the earlier made layer.

Press Alt button, while making a mouse click between the text’s layers and the earlier made layer (on the layers’ palette).
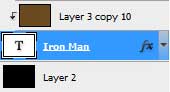

Next we need to combine all the layers composing the text and the two special layers into a group (press Ctrl button to mark out the corresponding layers and hold on the left mouse’s button when moving down the accentuated layers on Create a new group option).
Make a copy of the recently got group and the group’s copy need to be rasterized (mark out the group, press Ctrl+E). Place the rasterized group’s layer under original layers (on the layers’ palette). Select Free Transform option to turn over the copy.
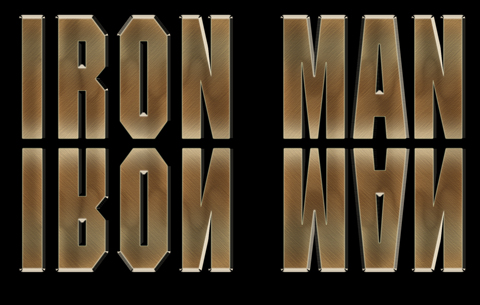
Make a mouse click on the bottom part of the layers’ palette on Add a Mask selection. Choose the Gradient Tool (G) of black color to represent the reflection’s darkening.


Finished!
View full size here.
Page: 1 2
Comments