
How to use texture effects to create beautiful compositions in Photoshop CS5
Set the Blending mode for this layer to Color Burn.

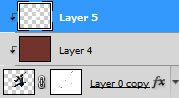
Create a new layer above the dancer’s layer and choose the Paint Bucket Tool (G) to fill the layer with #72332C color.

Hold down Alt (Windows) or Option (Mac OS) and click between the created layer and the dancer’s layer in the Layers panel to create a clipping mask.

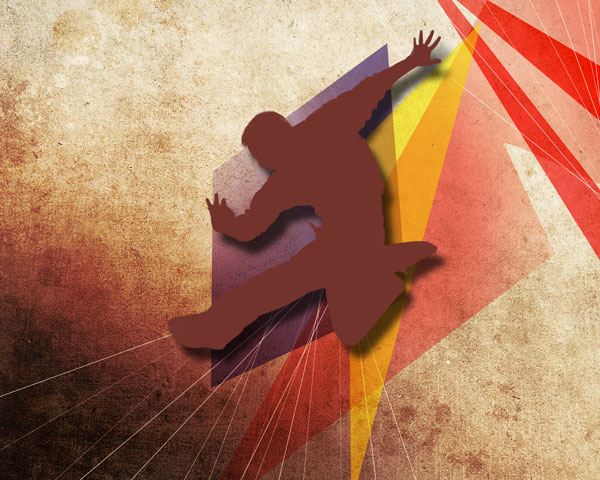
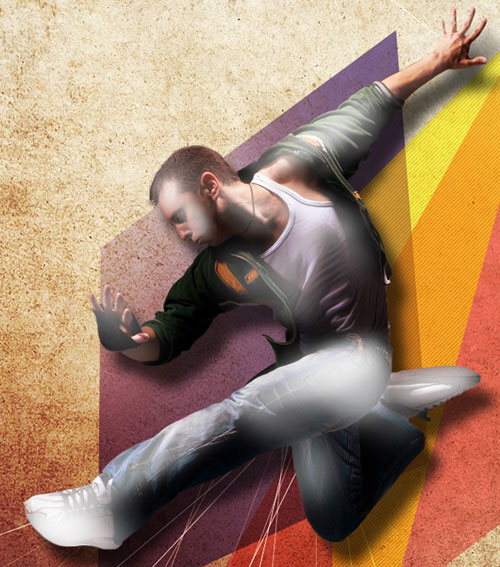
We’ve got the next result:
Set Fill to 57% for this layer and change the Blending mode to Overlay.

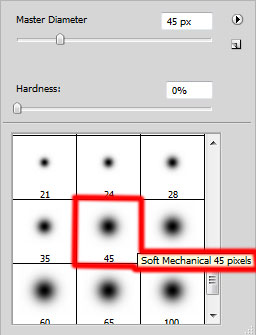
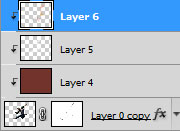
Create a new layer and choose the Soft Mechanical brush of white color (Opacity – 30%).
Use this brush to paint the light zones on the dancer.
Hold down Alt (Windows) or Option (Mac OS) and click between layers in the Layers panel to create a clipping mask.
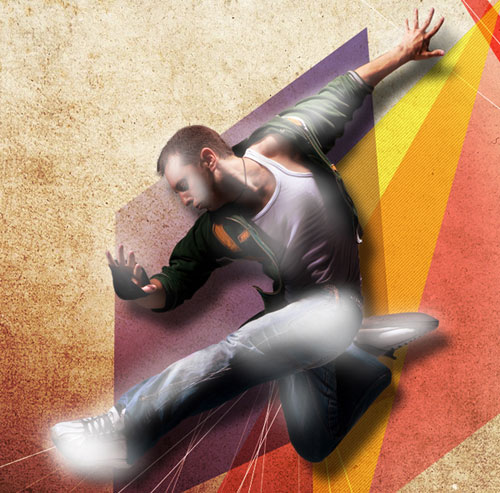
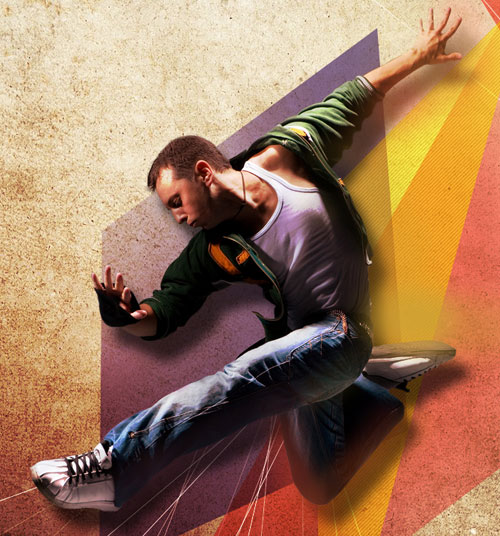
We’ve got the next result:
Set the Blending mode for this layer to Overlay.

Create a new layer and select the Soft Mechanical brush (Opacity – 20%).

Use this brush to paint the dancer and his shadow in the near represented colors. In this case we’ll use the Eyedropper Tool (I) to get the samples of the near colors.
Hold down Alt (Windows) or Option (Mac OS) and click between layers in the Layers panel to create a clipping mask.
Set Fill to 45% for this layer and change the Blending mode to Linear Dodge.

Next we’ll choose the Pen Tool (P) to drawn the next shape:
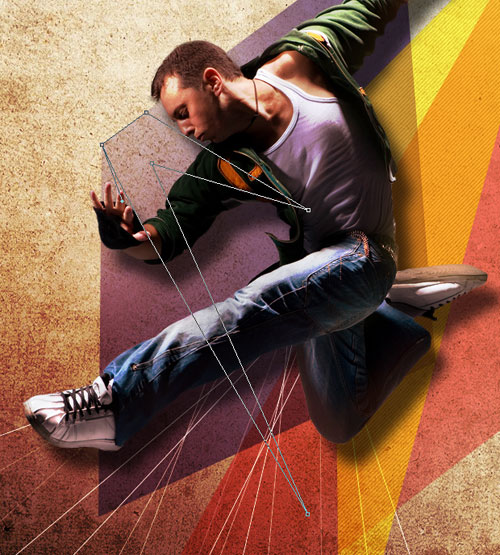
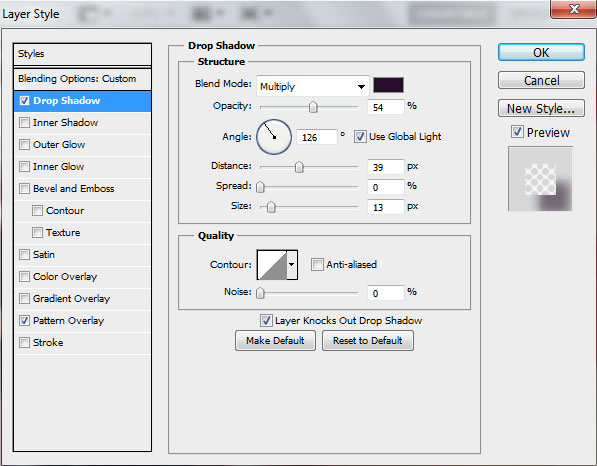
Set Fill to 0% for this layer. Click on Add a layer style icon from bottom part of the Layers panel and select Drop Shadow.
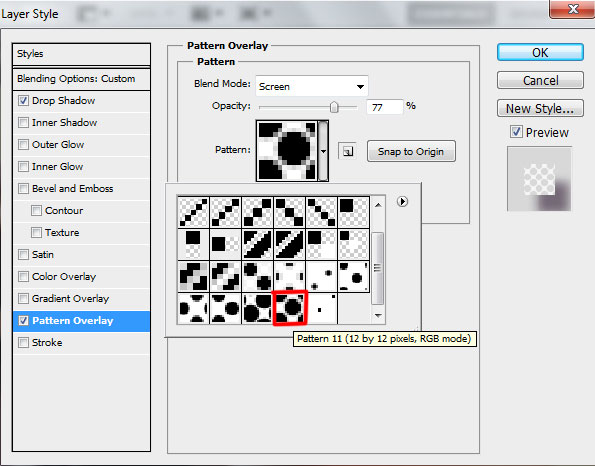
Add Pattern Overlay. Click the Pattern Preset Picker and select the next pattern. Apply the next settings for Pattern Overlay:
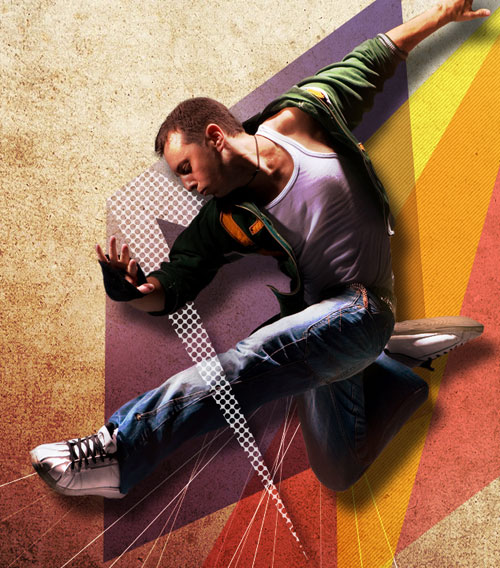
We’ve got the next result:

Insert the mask on the layer by choosing Add layer mask on the bottom part of the Layers panel and choose the Soft Mechanical brush of black color.

Paint in the mask using this brush to hide the next zones on the shape to get the same effect as on the picture below:
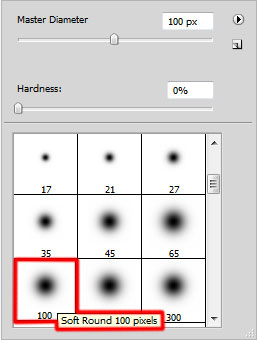
On the next new layer we’ll choose the Soft Round brush (Opacity – 20%).
Use this brush to paint the canvas with #F51A00 color.

Set Fill to 45% for this layer and change the Blending mode to Color Dodge.

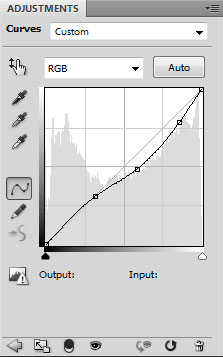
Click Create new fill or adjustment layer from bottom part of the Layers panel and click to Curves to adjust the curve shape as shown to make a little color corrections.
We’ve got the next result:

View full size here.
Page: 1 2
Comments