
How to use brushes to enhance your portraits in Adobe Photoshop CS5
Create a new layer and choose again the Paint Bucket Tool (G) to fill it with #0A1116 color.

Set the Blending mode for this layer to Hue.

Create a new layer again and use Paint Bucket Tool (G) to fill it with the color #7B88A1.


Set Fill to 22% for this layer and change the Blending mode to Linear Light.
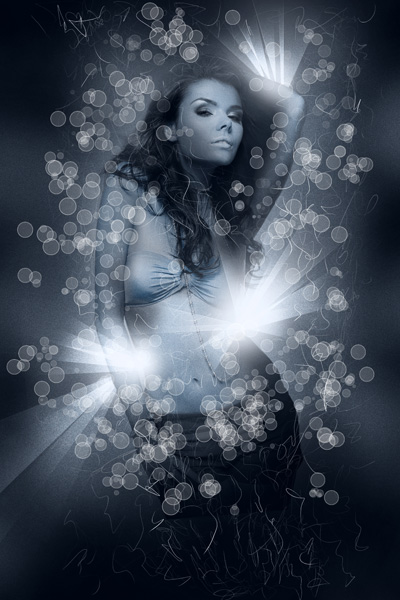
Click Create new fill or adjustment layer from bottom part of the Layers panel and click to Curves to adjust the curve shape as shown to make a little color corrections.
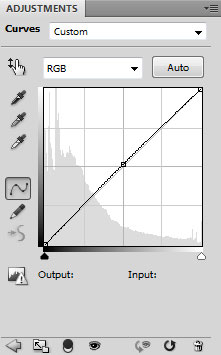
We’ve got the next result:

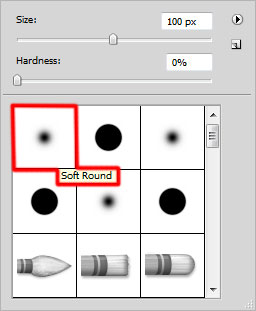
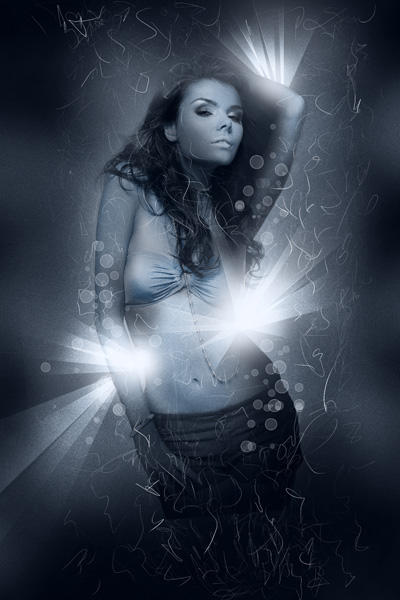
Then create a new layer and select on it the Soft Round brush of white color to represent the next abstract lines as shown.

Insert the mask on the made layer by choosing Add layer mask on the bottom part of the Layers panel and choose the Soft Round brush of black color (set Opacity to 15% in Options bar).
Paint in the mask using this brush to change the visibility of the layer containing the abstract lines.

Make a copy of the last made layer and remove the mask from this layer. Choose the Eraser Tool (E) to erase the next zones along the copy’s edges.

Set the Blending mode for this layer to Overlay.

Insert then the mask on the layer by choosing Add layer mask on the bottom part of the Layers panel and choose the Soft Round brush of black color (set Opacity to 15% in Options bar).
Paint in the mask using this brush to change the visibility of the layer containing the abstract lines.
Create a new layer and select from Brush Tool (B) the early created brush (brush Opacity – 50%) to draw many circles on the zone near the woman’s head.

Create another new layer and choose the mentioned brush to represent other small circles.
Set Fill to 25% for this layer and set the Blending mode to Hard Mix.

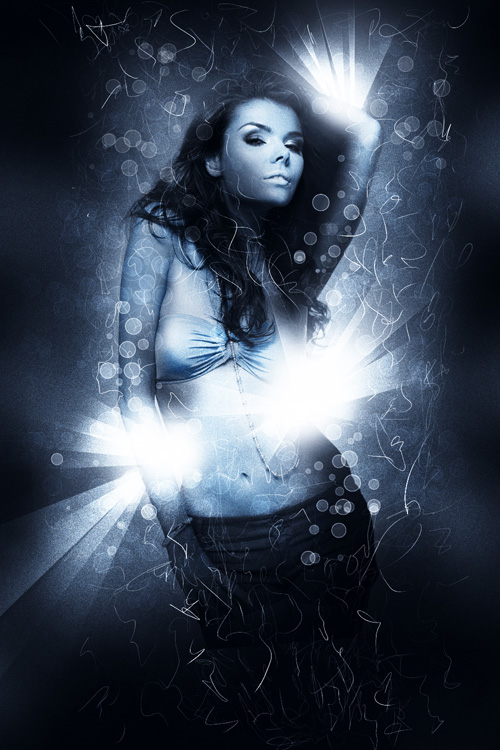
Click Create new fill or adjustment layer from bottom part of the Layers panel and click to Curves to adjust the curve shape as shown to make a little color corrections.

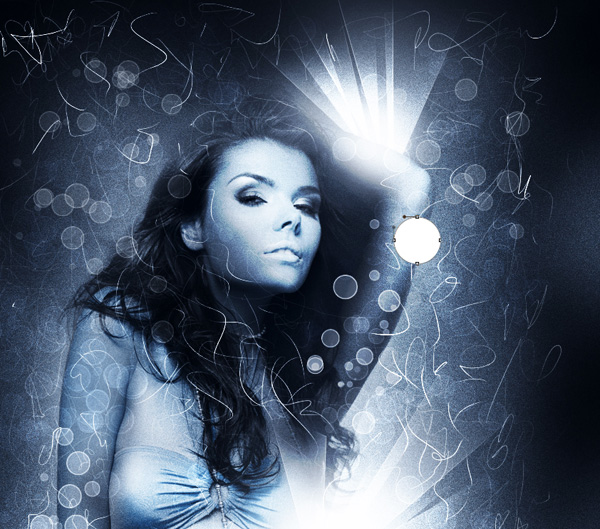
We’ve got the next result:
Create a new layer and choose the Soft Round brush of white color (brush Opacity – 20%).

Use this brush to represent a highlight as shown
Set Fill to 54% for this layer and set the Blending mode to Overlay.
Next we’ll select the Ellipse Tool (U) to represent a white circle.
Set Fill to 20% for this layer and set the Blending mode to Linear Dodge.
Click on Add a layer style icon from bottom part of the Layers panel and select Gradient Overlay.
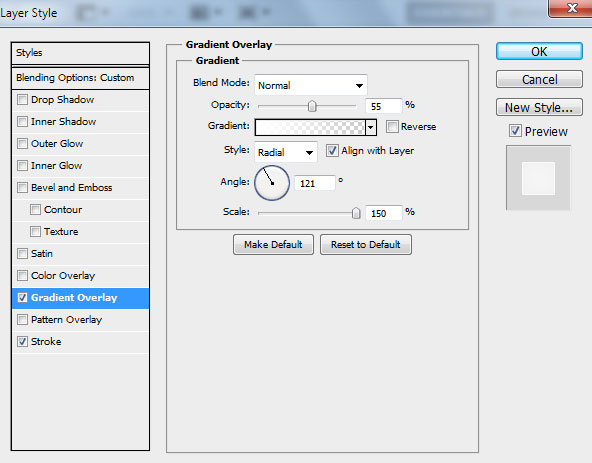
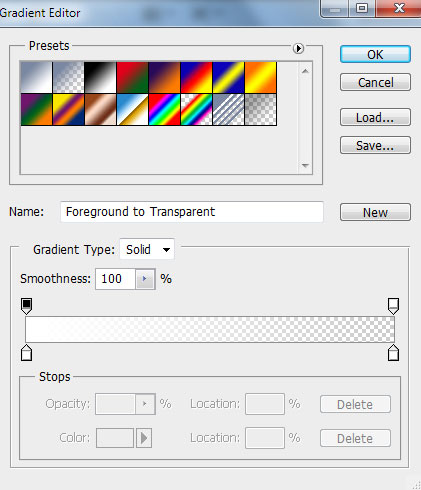
Click in the color bar to open the Gradient Editor and set the color stops as shown. Click OK to close the Gradient Editor dialog box.
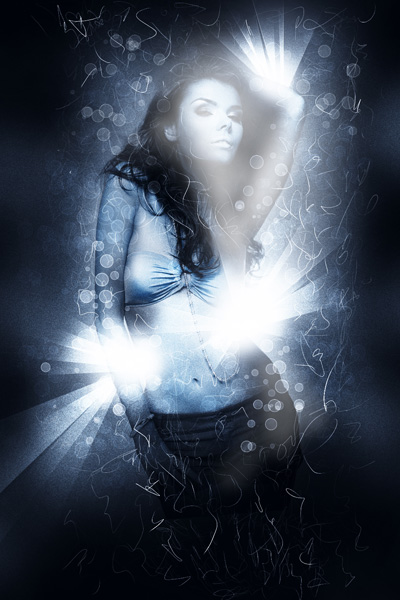
Add Stroke:

We’ve got the next result:
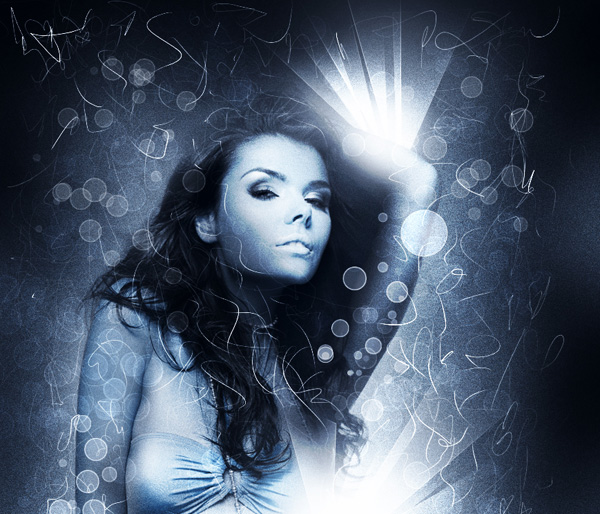
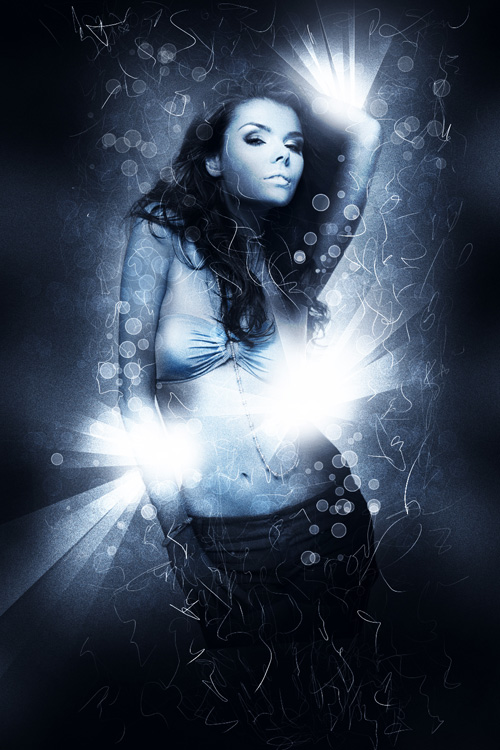
Make many copies of the layer containing the small last made circle and choose the Free Transform (Ctrl+T) command to change the copies’ sizes, placing them as it is demonstrated below.
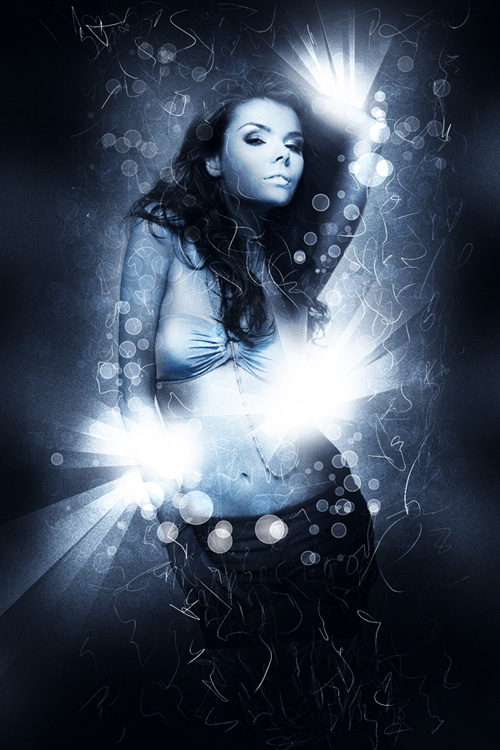
We’re done!
View full size here.
Files for this tutorial can be downloaded from here.
Comments