

How to Turn your Image into a Color Mixture Photo in Adobe Photoshop CS5
Insert the mask on last made layer by choosing Add layer mask on the bottom part of the Layers panel and choose the Soft Round brush of black color. Paint in the mask to hide out the highlight on its right side.

Set the Blending mode for this layer to Pin Light.

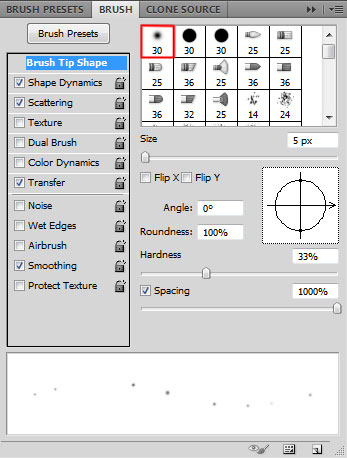
For the next step we’ll need a customized brush, open Brushes panel (F5), select the Brush Tip Shape. Click and drag any of the sliders to change the Size, Hardness and brush Spacing as show. The Preview window displays the changed brushstroke.

Go to Shape Dynamics and apply the next settings:

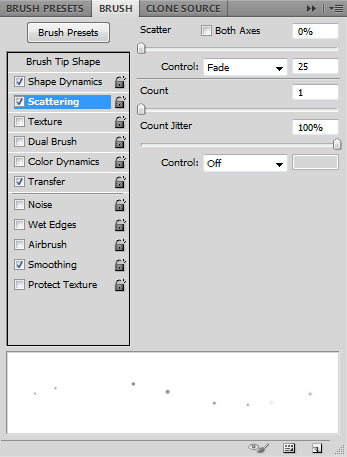
Apply Scattering:
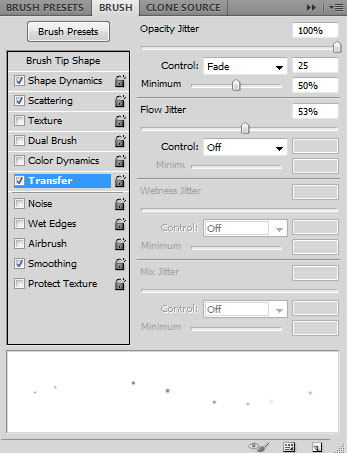
Go to Transfer and apply the next settings:
Create a new layer and use on it the customized brush of the color #FFB9BD to represent many dots:

Insert the mask on the layer by choosing Add layer mask on the bottom part of the Layers panel and choose the Soft Round brush of black color (set Opacity to 15% in Options bar).

Paint in the mask to hide out some dots.

Create a new layer and use on it the earlier customized brush of a larger diameter to insert more larger dots having the color #C99990:

Set Fill to 57% for this layer and change the Blending mode to Pin Light.

Next we’ll represent a rectangle, applying the Rectangle Tool (U).
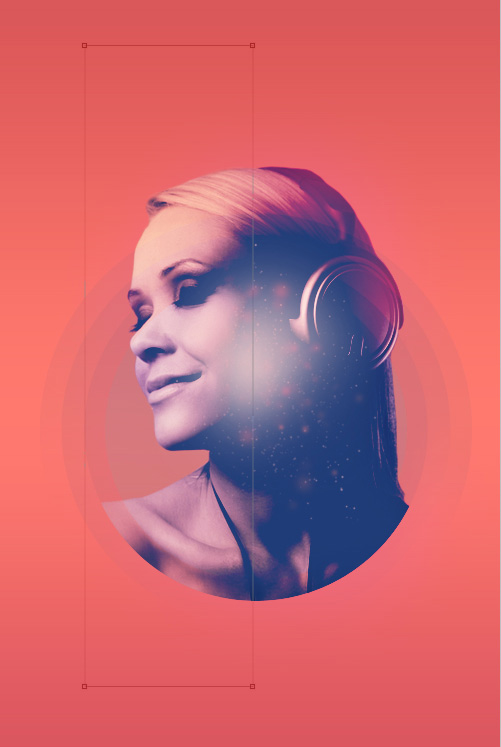
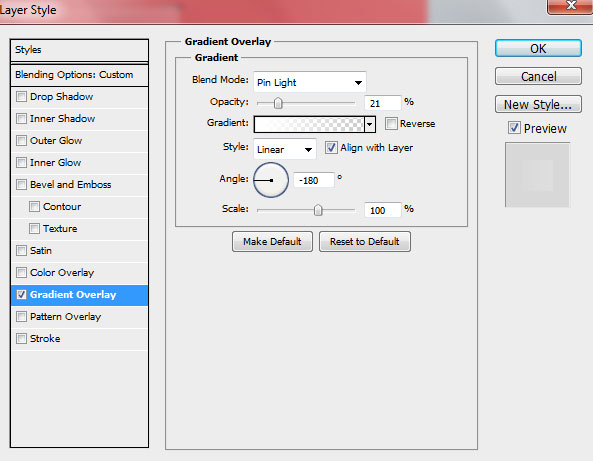
Set Fill to 0% for this layer and click on Add a layer style icon from bottom part of the Layers panel to select Gradient Overlay.
Comments