
How to stylise model shoot using colourful shapes in Photoshop
Create now a new layer and use on it the Paint Bucket Tool (G) to fill it with #B23E1B color.

Set Fill to 45% for this layer and change the Blending mode to Multiply.
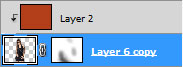
Hold down Alt (Windows) or Option (Mac OS) and click between layers in the Layers panel to create a clipping mask.

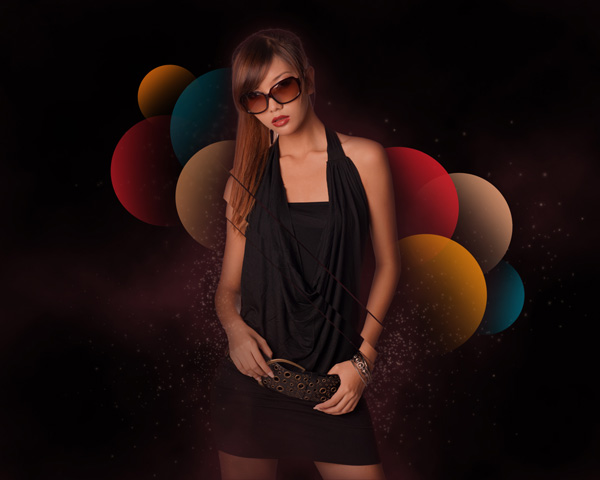
We’ve got the next result:
Create a new layer and choose the Paint Bucket Tool (G) to fill it with white color.

Set now the Foreground and Background color as shown in the Tools bar.

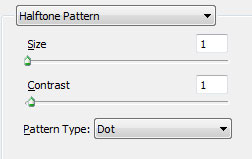
… and apply for the layer the next filter: Filter > Filter Gallery > Sketch > Halftone Pattern.
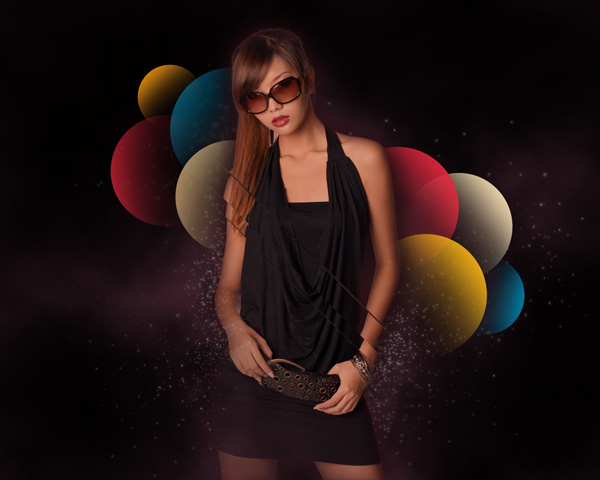
We’ve got the next result:
Set Fill to 24% for this layer and change the Blending mode to Soft Light.
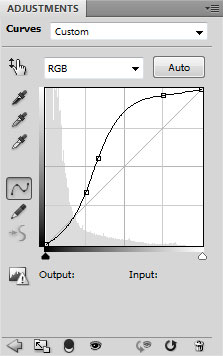
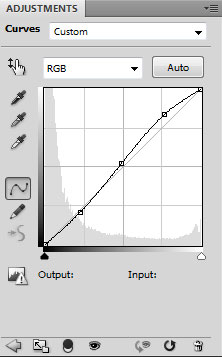
Click Create new fill or adjustment layer from bottom part of the Layers panel and click to Curves to adjust the curve shape as shown to make a little color corrections.
We’ve got the next result:

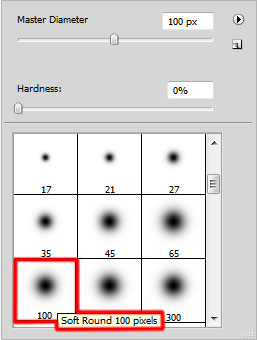
Create a new layer again and take again the Soft Round brush.
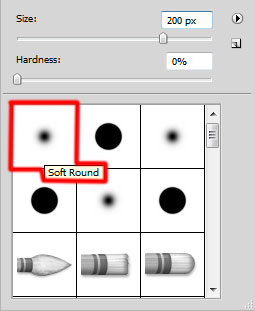
Use this brush to paint on the canvas the same way demonstrated on the picture. The brush’s color is #DF882B.

Set Fill to 80% for this layer and change the Blending mode to Linear Dodge.

On the next new layer we’ll use the Soft Round brush of white color (Opacity – 15%) to draw a kind of highlight.
We’ve got the next result:

Click again Create new fill or adjustment layer from bottom part of the Layers panel and click to Curves to adjust the curve shape as shown to make a little color corrections.
We’ve got the next result:

Next we have to represent a line of the color #FF9D56, using for the operation the Line Tool (U) (set Weight to 1px in Options bar).

Set Fill to 80% for this layer and change the Blending mode to Color Dodge.

Make five copies of the layer containing the line and choose the Free Transform (Ctrl+T) command to place the copies as it is shown below:

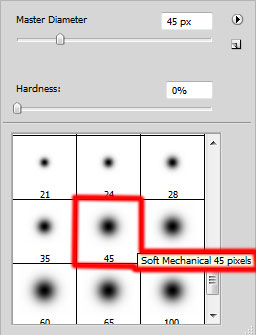
Insert now the mask on each layer containing the line by choosing Add layer mask on the bottom part of the Layers panel and choose the Soft Mechanical brush of black color (set Opacity to 20% in Options bar).
Paint in the mask using this brush to hide the lines’ edges.

Now we have to combine in a group all the lines’ layers (press CTRL button to select the necessary layers and hold on the left mouse’s button while dragging the selected layers on Create a new group icon from bottom part of the Layers panel). Make a copy of the new got group which must be rasterized by selecting it and then press CTRL+E to Merge Down.
Apply for the rasterzied layer the next filter: Filter > Blur > Gaussian blur.

We’ve got the next result:
Set the Blending mode for this layer to Linear Dodge.

Make a copy of the new layer we’ve got and set the Blending mode to Darker Color.

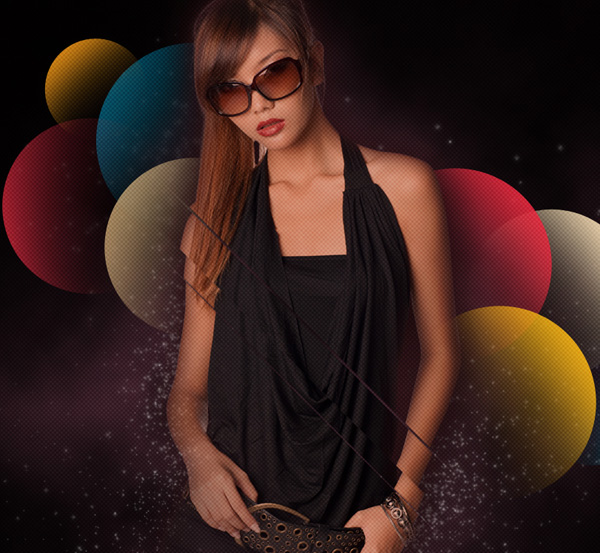
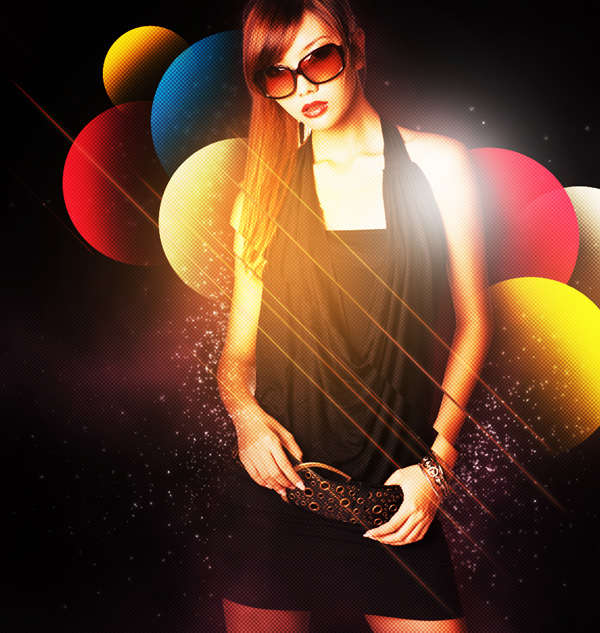
Finished!
View full size here.
Page: 1 2
Comments