
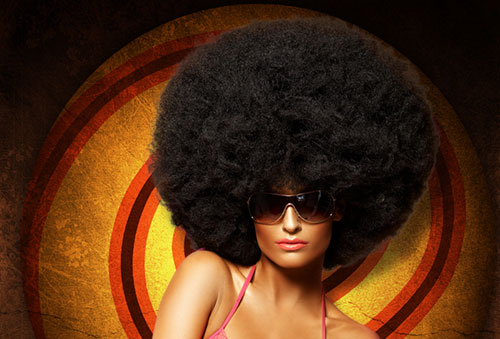
How to Make a Style Poster in Adobe Photoshop CS5
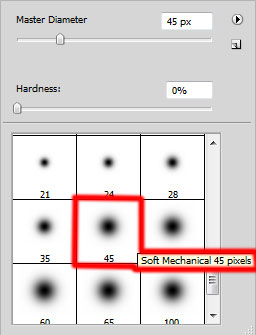
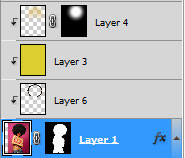
Create a new layer and apply the Soft Mechanical brush to paint along the contour of the model’s hair. The brush’s color is #150800.
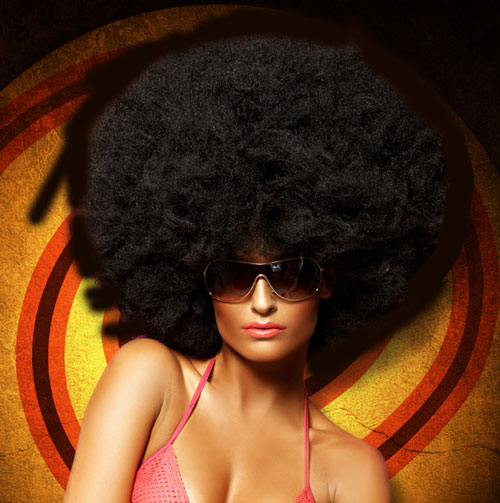
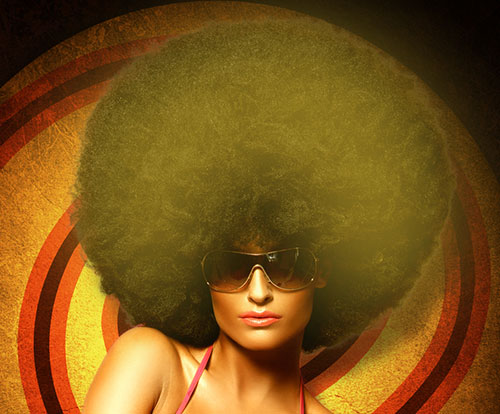
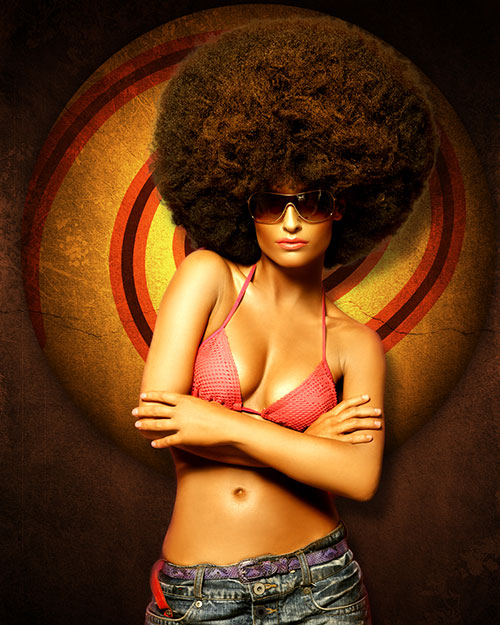
We’ve got the next result:
Set the Blending mode for this layer to Color.

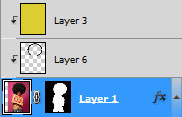
Hold down Alt (Windows) or Option (Mac OS) and click between model’s layers and the brush’s one in the Layers panel to create a clipping mask.
We’ve got the next result:
Create a new layer and use the Paint Bucket Tool (G) to fill the layer with yellow color.

Set Fill to 11% for this layer and change the Blending mode to Hard Mix.
Hold down Alt (Windows) or Option (Mac OS) and click between layers in the Layers panel to create a clipping mask.
We’ve got the next result:
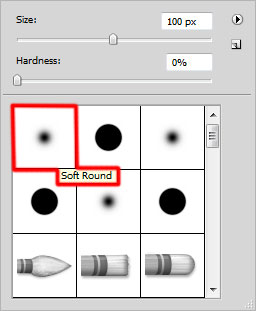
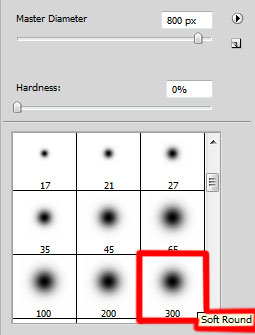
Create a new layer and apply here the Soft Round brush to continue painting the model’s hair. The brush’s color is yellow (brush Opacity – 40%).
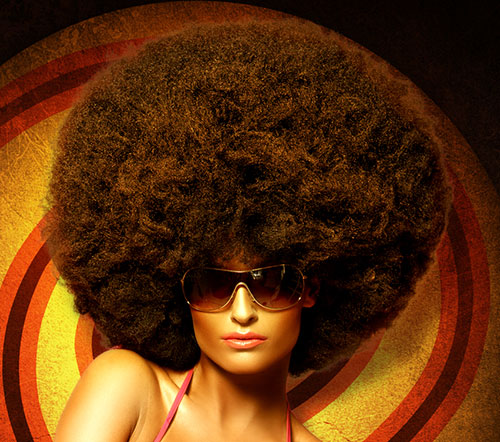
We’ve got the next result:
Set the Blending mode for this layer to Vivid Light.
Insert the mask on the layer by choosing Add layer mask on the bottom part of the Layers panel and press CTRL+I. Choose the Soft Round brush of white color and click on the girl’s head and hair.

Hold down Alt (Windows) or Option (Mac OS) and click between layers in the Layers panel to create a clipping mask.
We’ve got the next result:
Click Create new fill or adjustment layer from bottom part of the Layers panel and click to Curves to adjust the curve shape as shown to make a little color corrections.
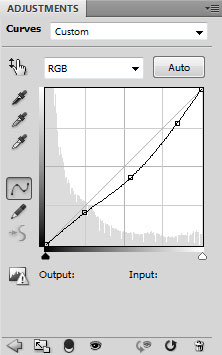
We’ve got the next result:

Find another stock photo with grey grunge textured wall like the next one:
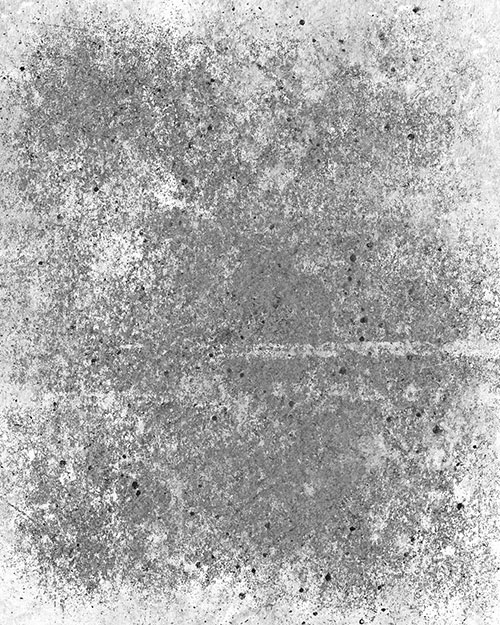
… and insert it on the main document.
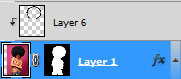
Insert the mask on the texture layer by choosing Add layer mask on the bottom part of the Layers panel and choose the Hard Round brush of black color.
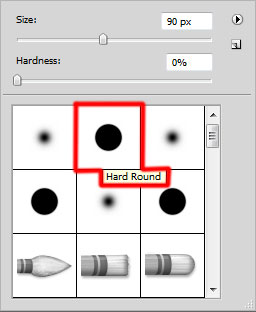
Paint in the mask to clean out smoothly the shown below zones on the model’s body.
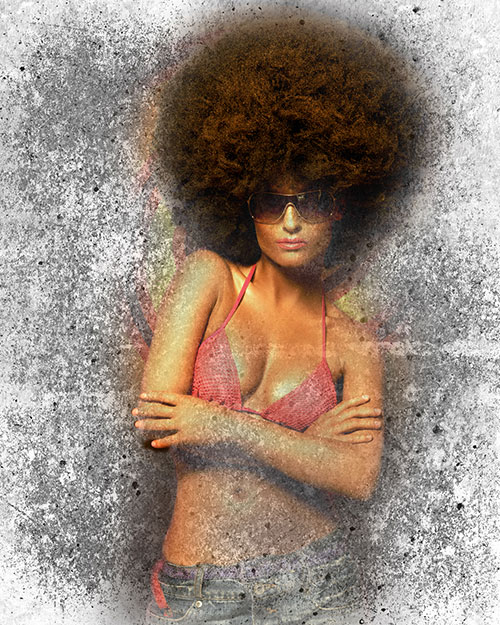
Set Fill to 45% for this layer and change the Blending mode to Divide.
On the last stage we’ll represent the frame, using the Rectangle Tool (U).
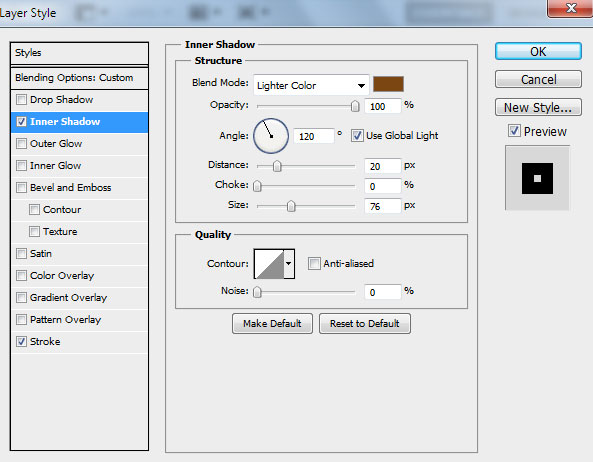
Set Fill to 0% for this layer. Click on Add a layer style icon from bottom part of the Layers panel and select Inner Shadow.
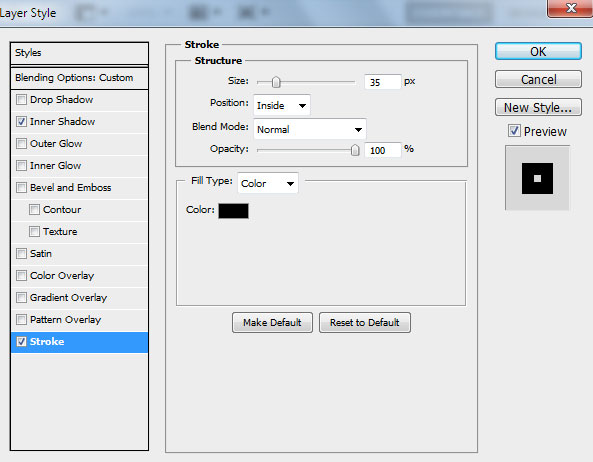
Add Stroke:
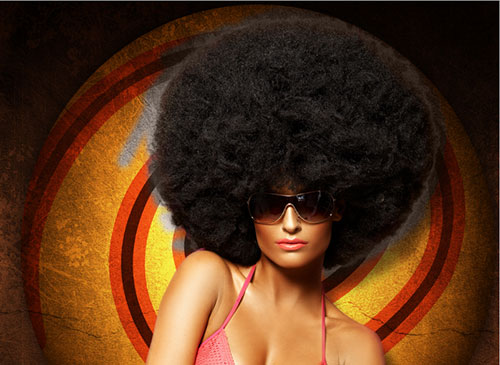
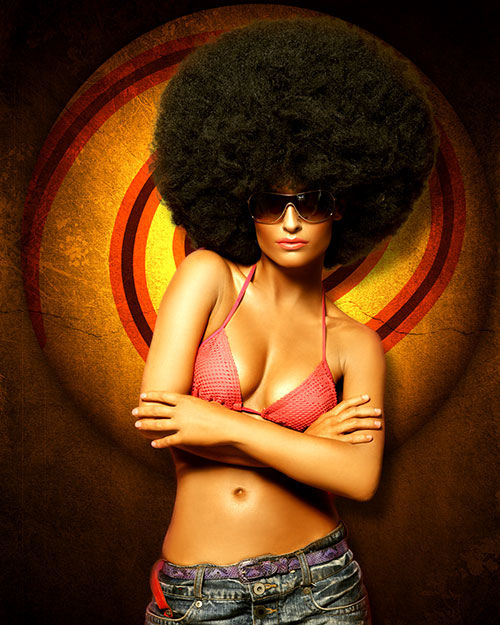
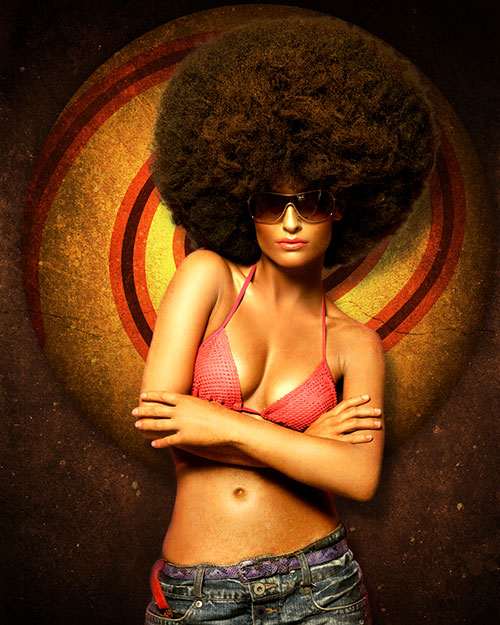
We’ve got the next result:
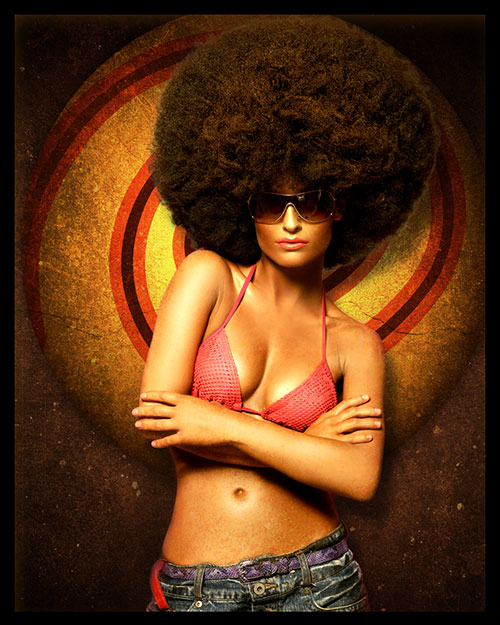
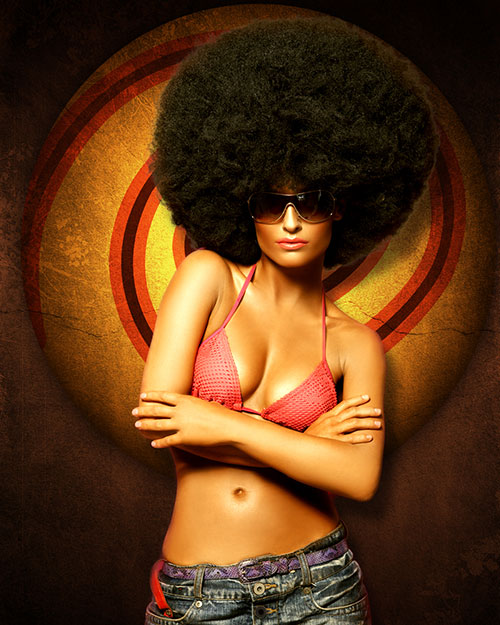
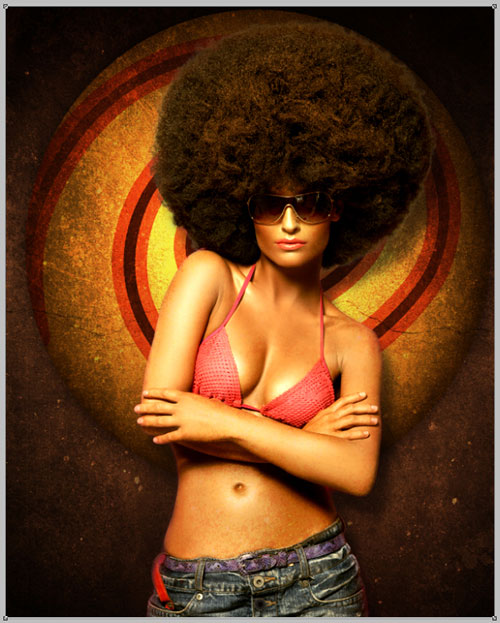
The final result!
View full size here.
Download free Layered PSD file.
Page: 1 2
Comments