
How to design an abstract Christmas illustration with colorful shapes and glass baubles in Photoshop CS5
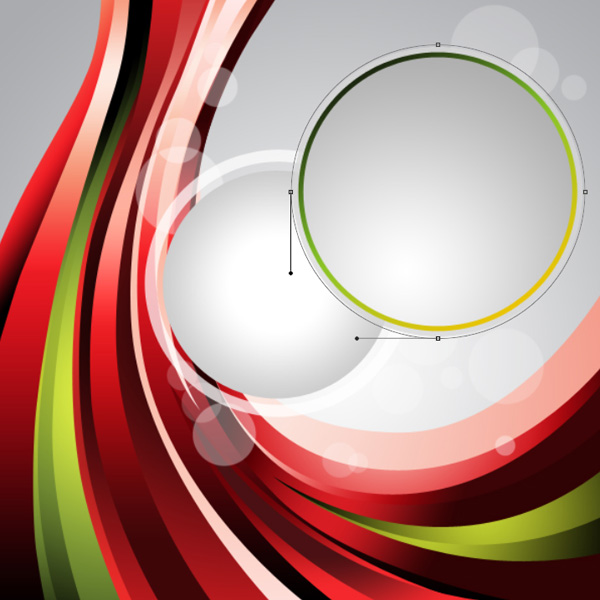
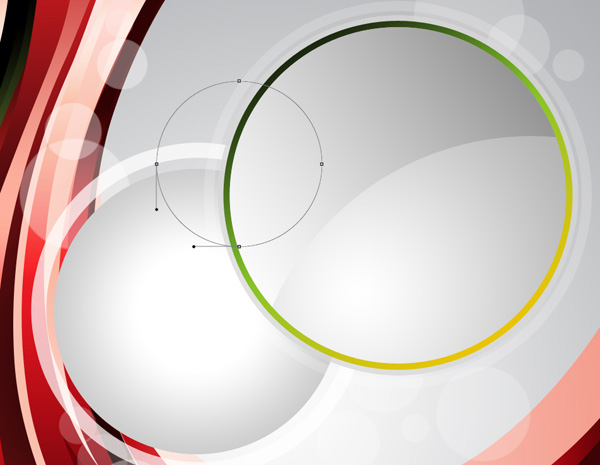
Using the same tool, try to make another ellipse inside the already made ring.
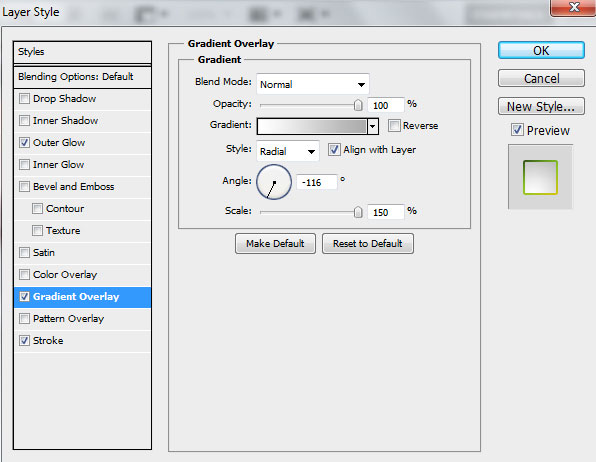
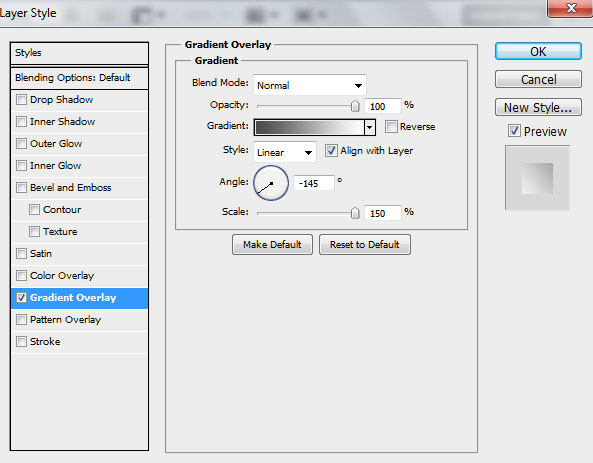
Click on Add a layer style icon from bottom part of the Layers panel and select Gradient Overlay.
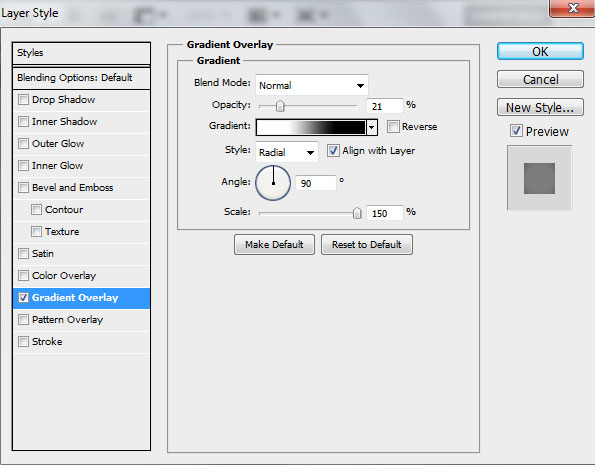
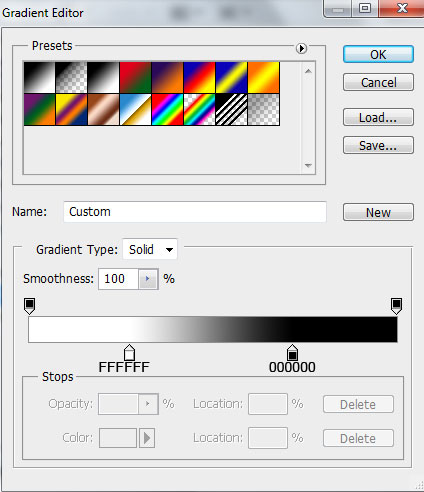
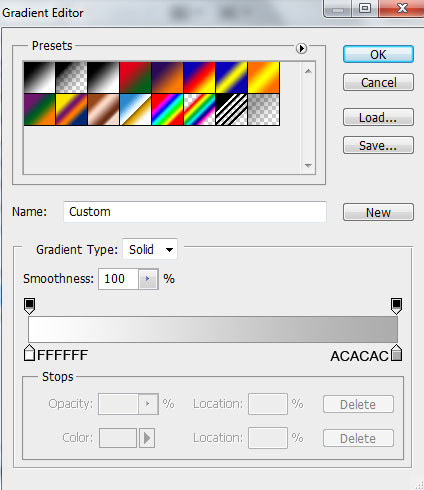
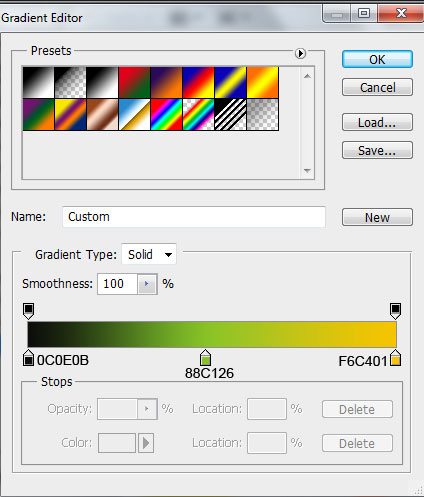
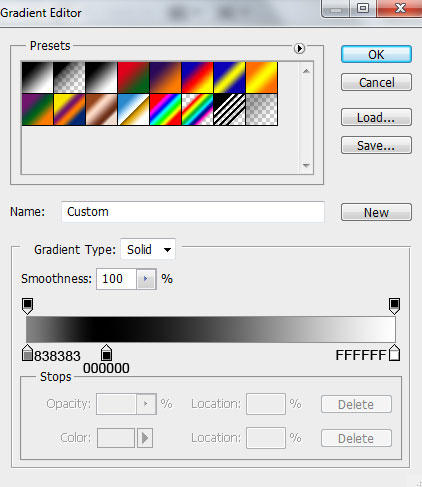
Click in the color bar to open the Gradient Editor and set the color stops as shown. Click OK to close the Gradient Editor dialog box.

We’ve got the next result:

Draw another ellipse using Ellipse Tool (U) as shown.
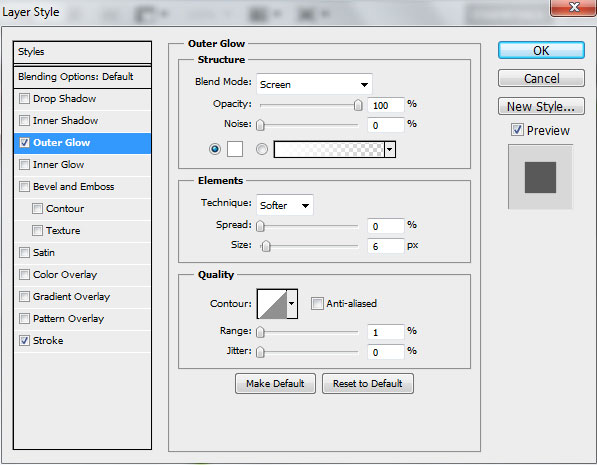
Click on Add a layer style icon from bottom part of the Layers panel and select Outer Glow.
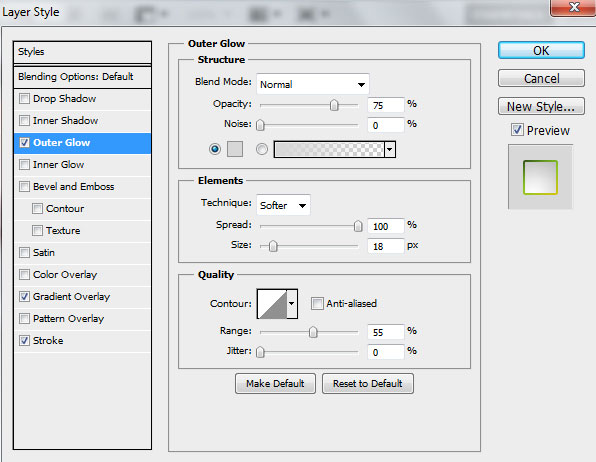
Apply Gradient Overlay.
Click in the color bar to open the Gradient Editor and set the color stops as shown. Click OK to close the Gradient Editor dialog box.
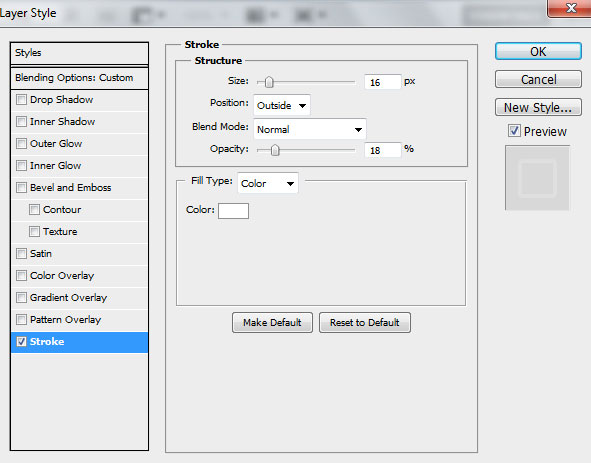
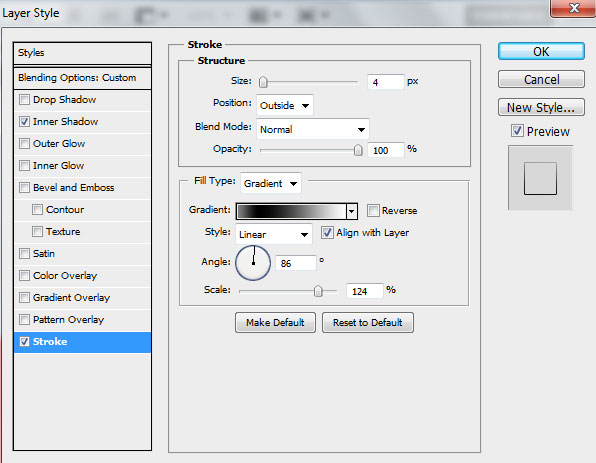
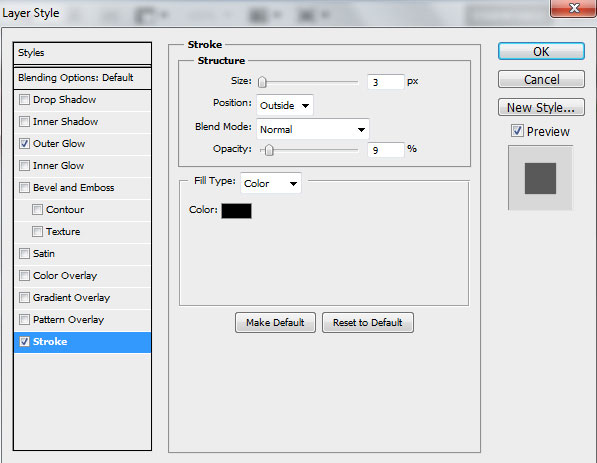
Add Stroke:
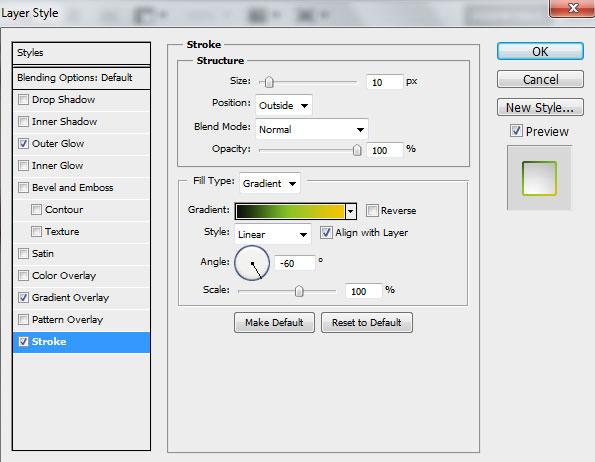
Select Fill Type – Gradient and click in the color bar to open the Gradient Editor and set the color stops as shown. Click OK to close the Gradient Editor dialog box.
We’ve got the next result:
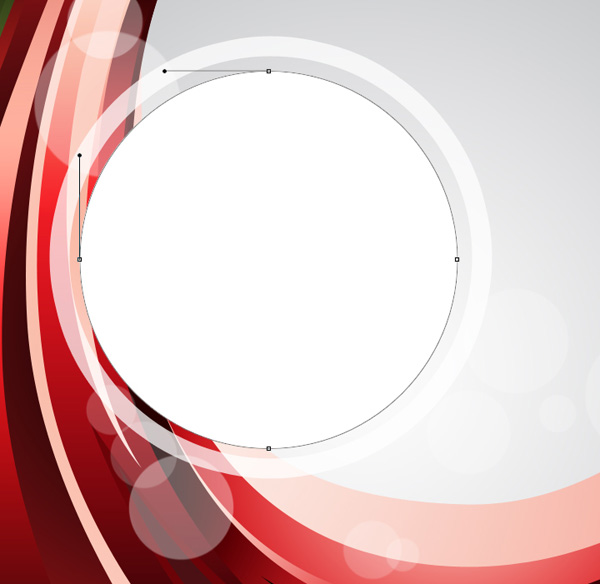
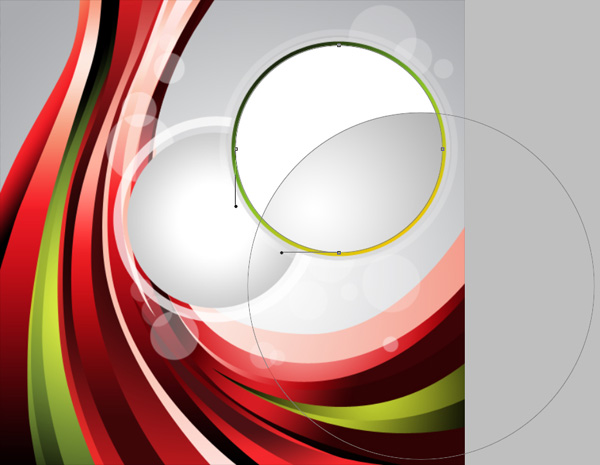
Using the Ellipse Tool (U), we have to draw a ellipse around the last made one.
Set Fill to 0% for this layer and click on Add a layer style icon from bottom part of the Layers panel, select Stroke.
We’ve got the next result:
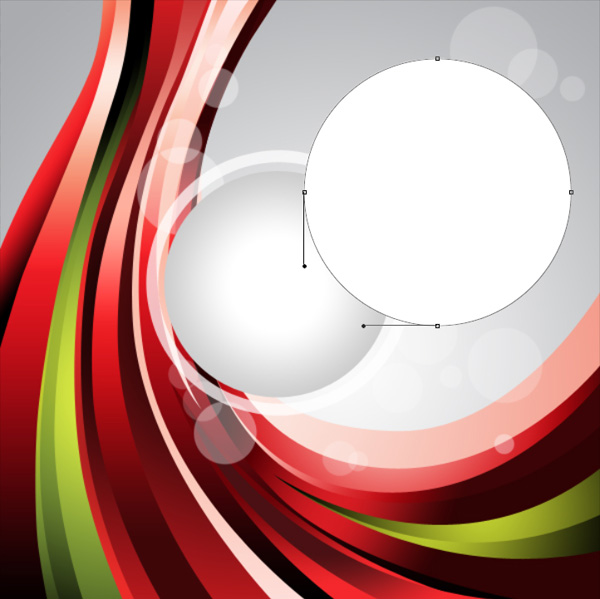
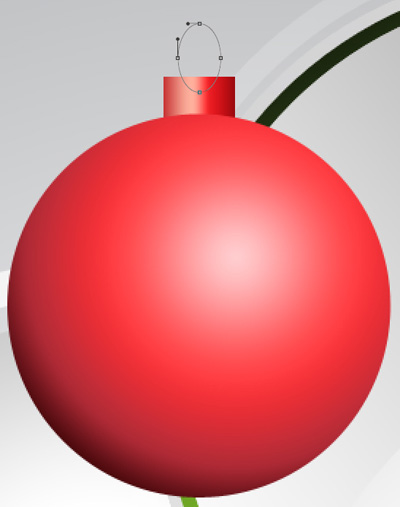
Let’s represent now the highlight on the top by representing firstly a ellipse with the Ellipse Tool (U), then press Alt button or select Subtract from shape area (-) from Options bar and draw another ellipse to cut the lowest part.
Click on Add a layer style icon from bottom part of the Layers panel and select Gradient Overlay.
Click in the color bar to open the Gradient Editor and set the color stops as shown. Click OK to close the Gradient Editor dialog box.

We’ve got the next result:

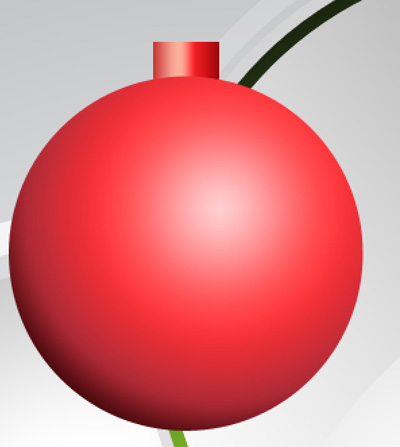
Next we’ll draw a Christmas bauble, use the Ellipse Tool (U) to draw the next ellipse.
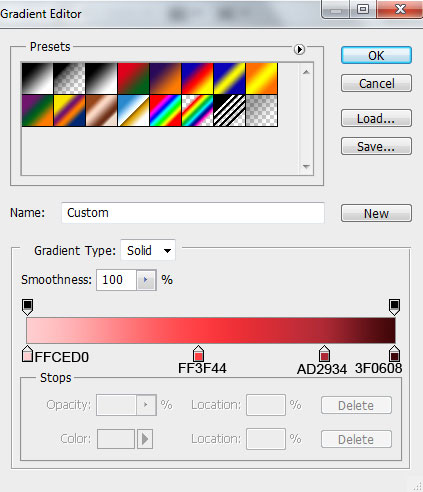
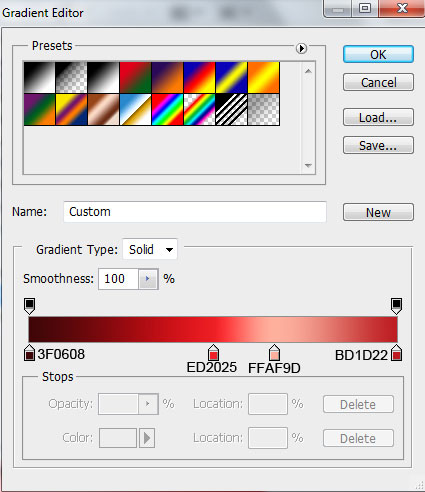
Set Fill to 0% for this layer and click on Add a layer style icon from bottom part of the Layers panel, select Gradient Overlay.
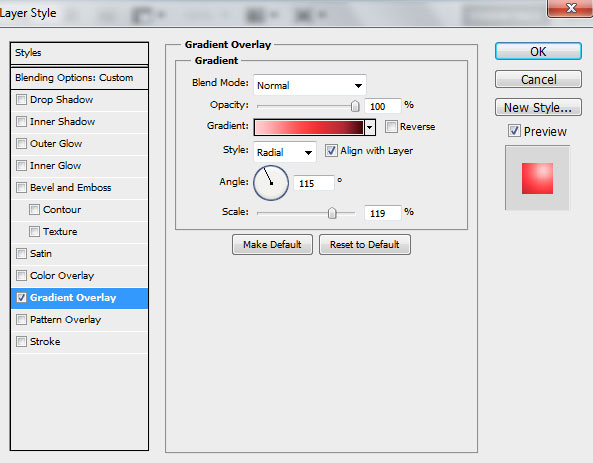
Click in the color bar to open the Gradient Editor and set the color stops as shown. Click OK to close the Gradient Editor dialog box.
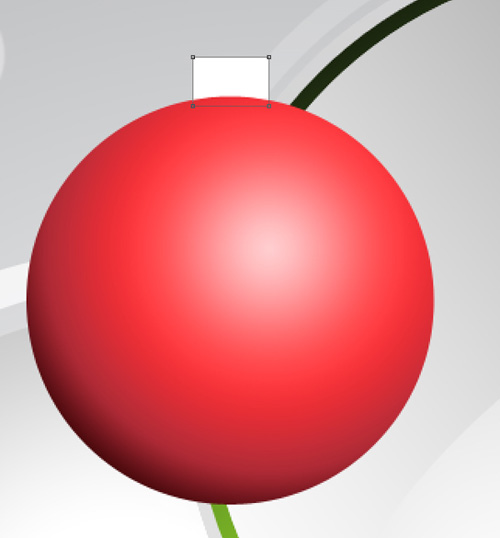
We’ve got the next sphere:

We have to create the bauble’s support, use the Rectangle Tool (U) to draw the next rectangle. Place this layer under the ball’s layer.
Click on Add a layer style icon from bottom part of the Layers panel and select Gradient Overlay.
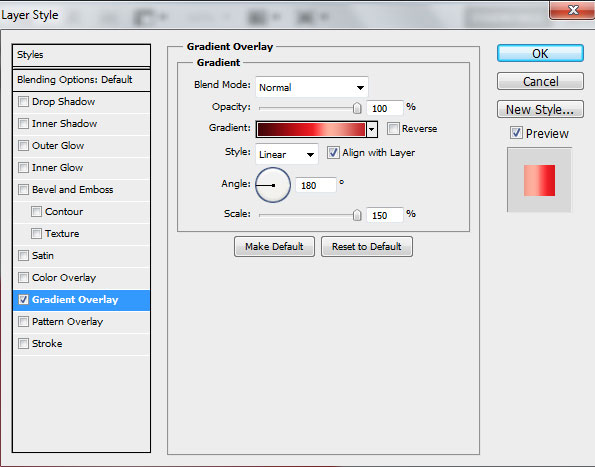
Click in the color bar to open the Gradient Editor and set the color stops as shown. Click OK to close the Gradient Editor dialog box.
We’ve got the next result:
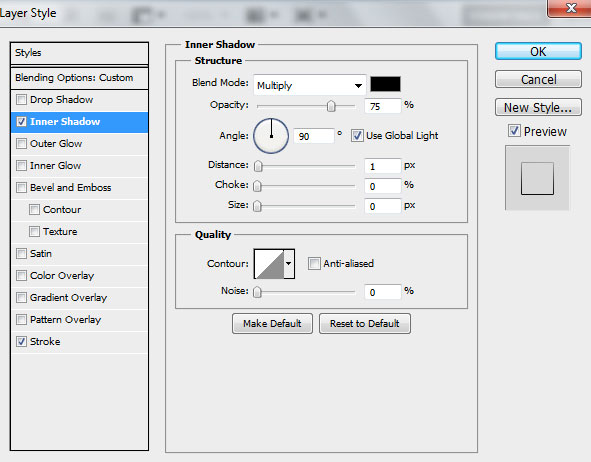
Next we’ll make the support’s ring, use the Ellipse Tool (U) to draw the next ellipse.
Set Fill to 0% for this layer and click on Add a layer style icon from bottom part of the Layers panel, select Inner Shadow.
Add Stroke.
Select Fill Type -Gradient and click in the color bar to open the Gradient Editor and set the color stops as shown. Click OK to close the Gradient Editor dialog box.
We’ve got the next result:
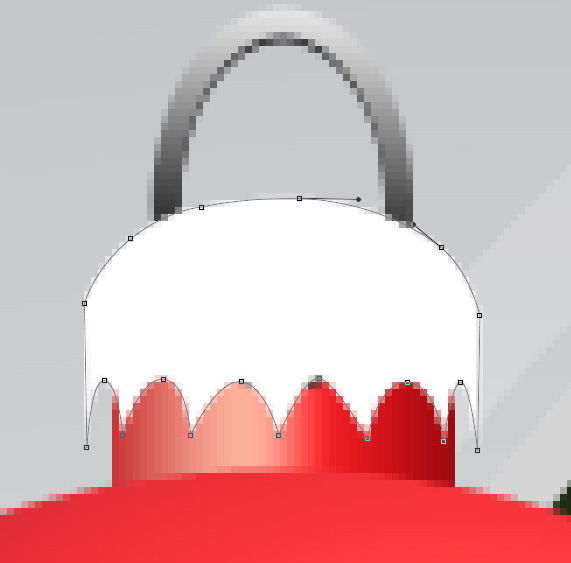
Choose the Pen Tool (P), set the drawing mode on Shape Layers in Options bar and draw the next element for the bauble’s support as shown.
Click on Add a layer style icon from bottom part of the Layers panel and select Drop Shadow.
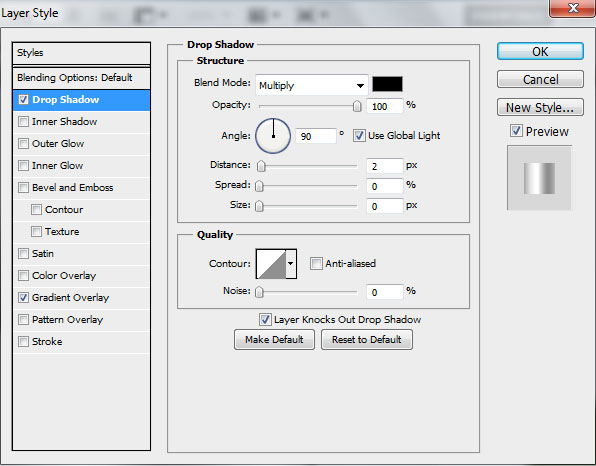
Apply Gradient Overlay.
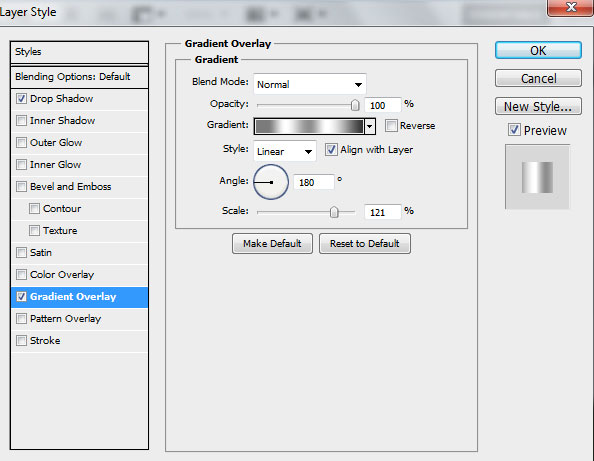
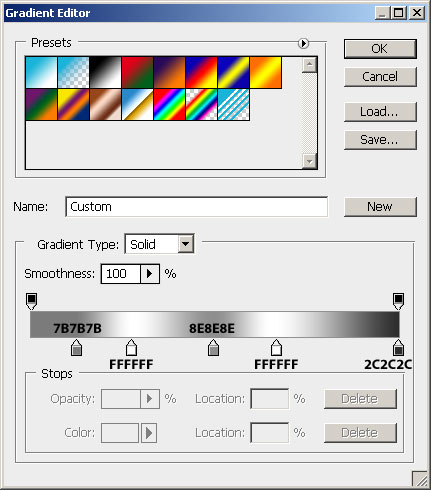
Click in the color bar to open the Gradient Editor and set the color stops as shown. Click OK to close the Gradient Editor dialog box.
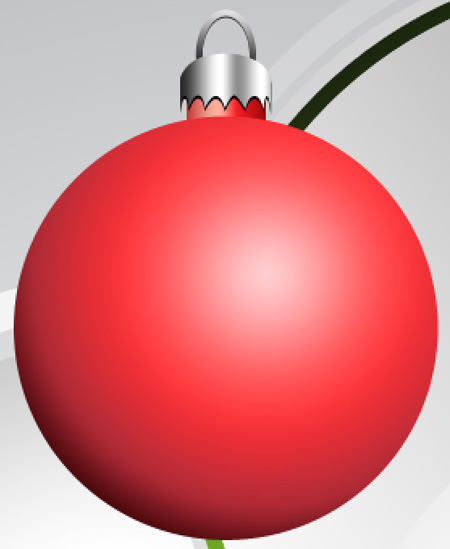
We’ve got the next result:
Using the Rounded Rectangle Tool (U), set Radius to 10px in Options bar, try to represent the thread of white color.
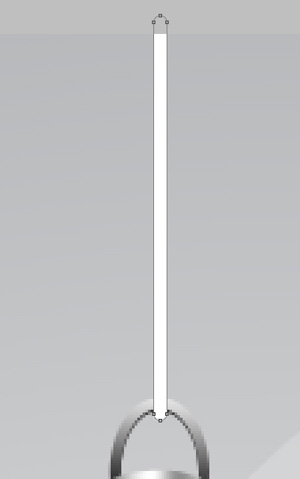
We’ve got the next result:

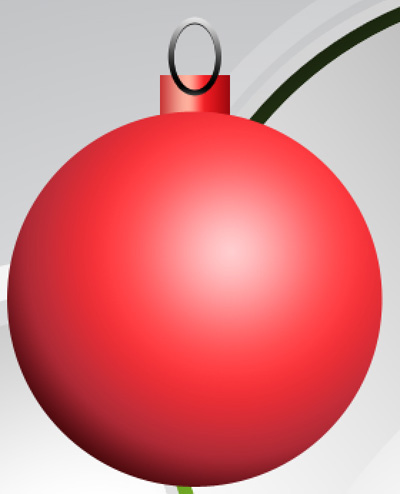
Combine in a group all the layers composing the bauble, its support and the thread (press CTRL button to select the necessary layers and hold on the left mouse’s button while dragging the selected layers on Create a new group icon from bottom part of the Layers panel). Merge Down into a single layer the new made group by pressing CTRL+E.
Make two copies of this layer and choose the Free Transform (Ctrl+T) command to change the copies’ sizes, placing them as below. The copies’ layers will be placed lower than the very primary bauble’s layer.

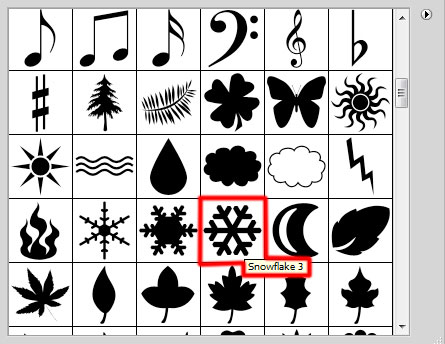
Next we’ll draw a snowflake, select the Custom Shape Tool (U) in the Tools bar, in the Options bar click the Shape to open the selection menu. Find Snowflake 3 at the bottom of the menu, and then double-click a shape thumbnail to select it.
Click and drag to draw the snowflake as shown.

Click on Add a layer style icon from bottom part of the Layers panel and select Outer Glow.
Add Stroke.
We’ve got the next result:

Now we have to rasterize the snowflake’s layer. In this case create a new layer above the original one and select them both layers in Layers panel, press CTRL+E to Merge Down. Make then eight copies of the last made layer and select Free Transform (Ctrl+T) command to change the copies’ sizes and their placement on the canvas.

Create a new layer, select Soft Round brush from Brush Tool (B).
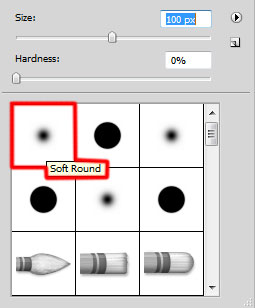
Use this brush to represent many spots of white color.

Happy New Year and Merry Christmas!
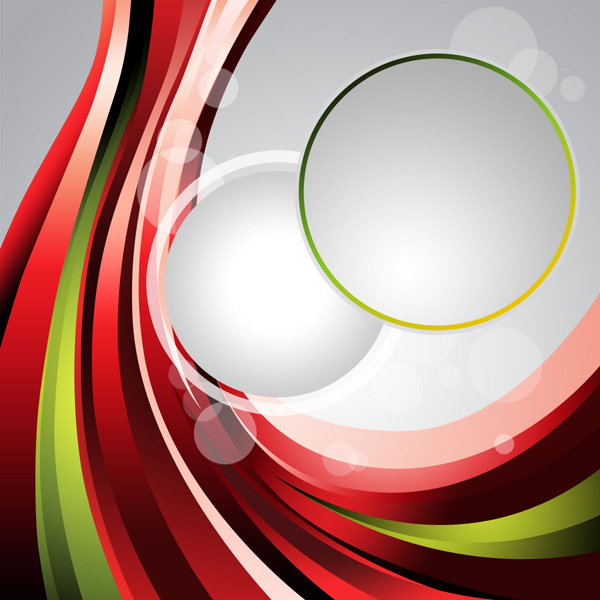
View full size here.
Comments