
How to Create Soft Romantic Background of the Air Bubbles and Hearts in Adobe Photoshop CS6
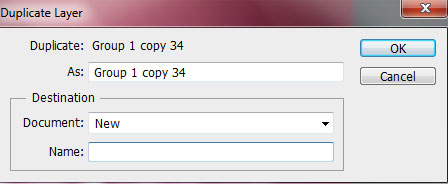
Now we’ll select the very first created group with the bubble on it and make a copy of it. Press CTRL+E on the copy to Merge Down all the layers and then select Layer > Duplicate Layer:
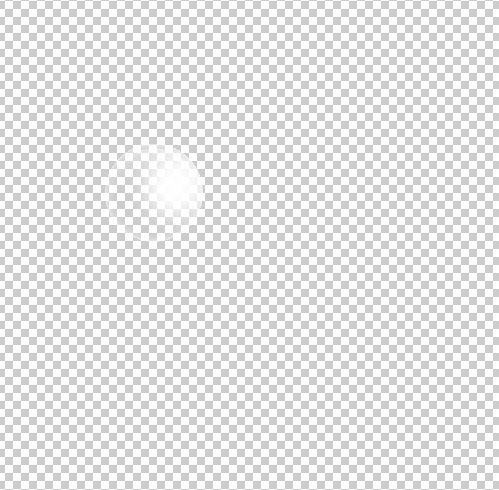
We’ve got our bubble in a new document:
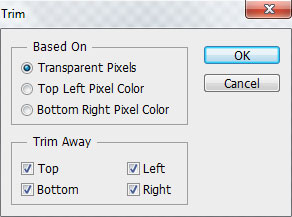
… and then select Image > Trim command to instantly crop our document’s canvas to the outer border of our image:

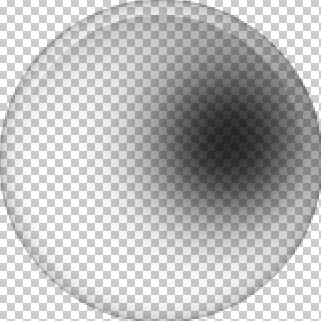
… and press also CTRL+I to Inverse the color:
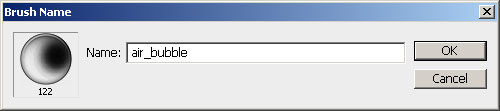
Select from menu Edit > Define Brush Preset, enter a name for the brush in the Brush Name dialog box. Close this file and back to our main document.
Create a new layer and place it above the background’s one. Set the brush on the lateral Brush menu.
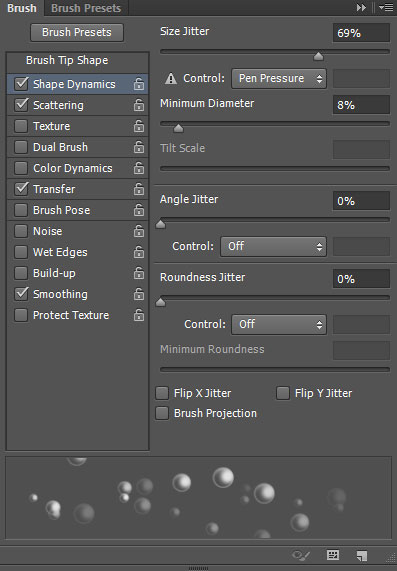
Create a new layer and choose the earlier saved brush from Brush Tool (B). We need to customize our brush in Brushes panel (F5), select the Shape Dynamics. Click and drag any of the sliders to change the Size Jitter, the Minimum Diameter and brush Angle Jitter as show. The Preview window displays the changed brushstroke.
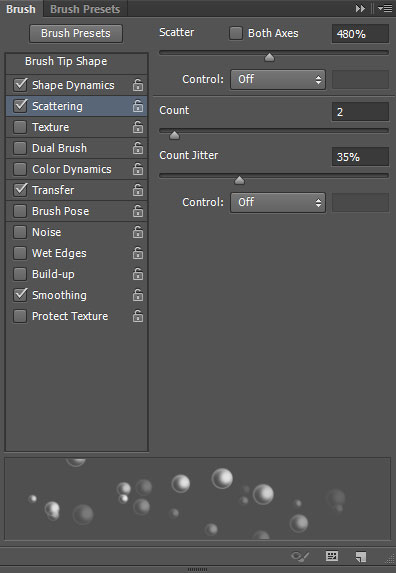
Add Scattering options:
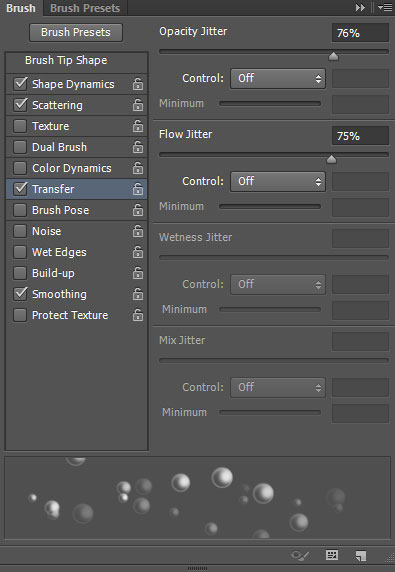
Apply Transfer options:
Use your customized brush of white color to add many bubbles as shown:

Set the Blending mode for this layer to Vivid Light.

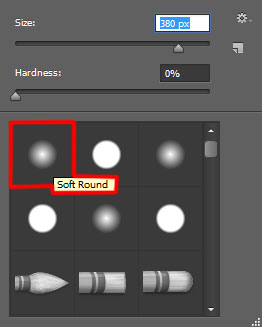
Create a new layer and choose the Soft Round brush.
Use this brush to paint above the bubbles as it is represented below. The brush’s color is #F04D00 (brush Opacity – 15%).

Set the Blending mode for this layer to Overlay.

Next step we’ll download set of brushes for Adobe Photoshop, named: Star Brushes by DemosthenesVoice . I would like to thank the author of these brushes, or if you prefer, you can substitute similar brushes of your own.
Copy the brushes file to C:\Program Files\Adobe\Adobe Photoshop X\Presets\Brushes folder (Adobe Photoshop X been your version of Photoshop). Little tutorial to explain how to load new brushes here.
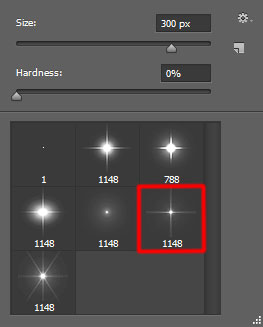
Create a new layer, go to Brush Tool (B) and load the downloaded brushes, select the next brush:
Use this brush to represent many small stars of white color as it is shown below.

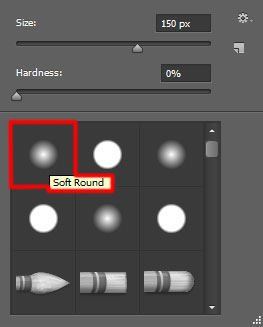
Create a new layer and choose the Soft Round brush.
Use this brush to paint with white color the next zones (brush Opacity – 15%).

Set the Blending mode for this layer to Overlay.

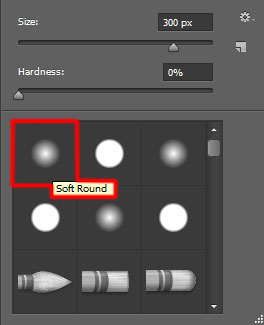
Create a new layer, selecting for it the Soft Round brush of white color (brush Opacity – 20%).
Use this brush to paint exactly the way from below .

Click Create new fill or adjustment layer from bottom part of the Layers panel and click to Curves to adjust the curve shape as shown to make a little color corrections.

We’ve got the next result:

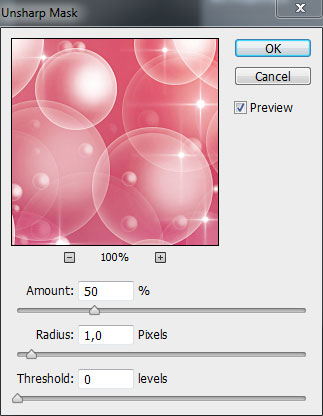
Merge down all layers in a single rasterized layer (hold CTRL button when select the layers in Layers panel and press CTRL+E). On the rasterized layer apply Filter > Sharpen > Unsharpmask:
We’ve got the next result:

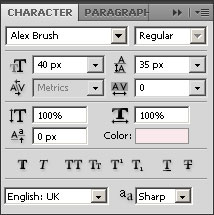
Finally insert the greeting text on our Valentine’s Day background. Select the Horizontal Type tool (T). Select a font, size and color in the Character panel. I used this font from FontSquirrel.
Click in the canvas and type ‘Happy Valentine’s Day’. Press Enter to apply the text.

Our Soft Romantic Background of the Air Bubbles and Hearts is finished!
Happy Valentine’s Day!
View full size here.
Download free Layered PSD file.
Page: 1 2
Comments