
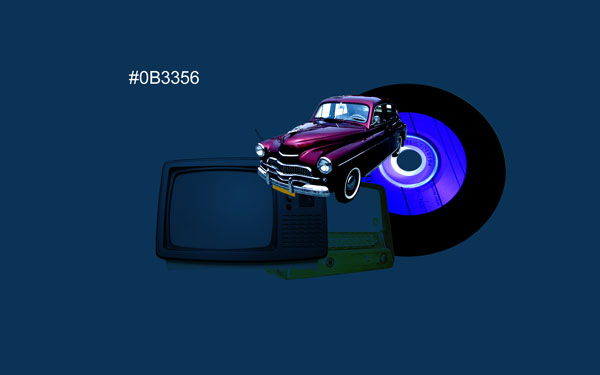
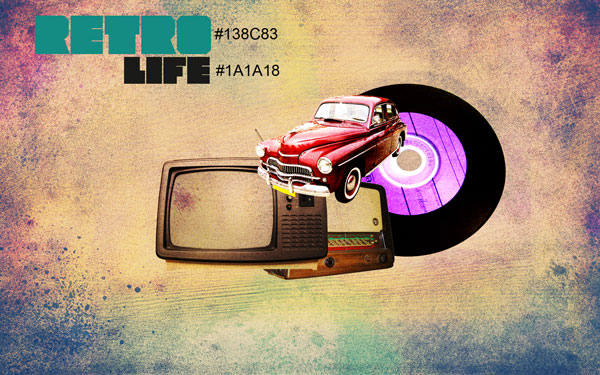
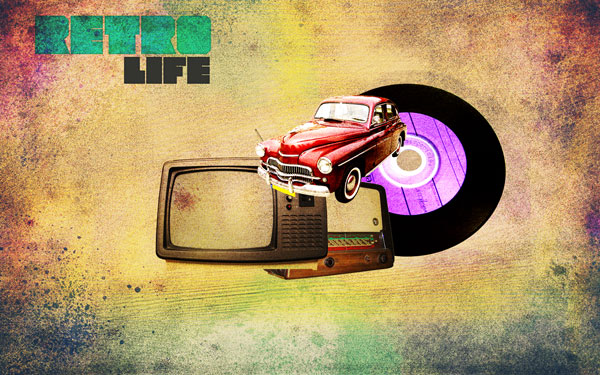
How to create Retro-style Photoshop illustration
Select the Soft Round brush of the same color and Opacity of 30%.
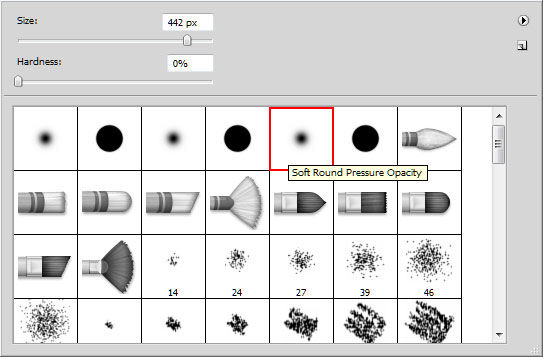
Use this brush several times on the bottom part of the canvas, creating a green nuance.
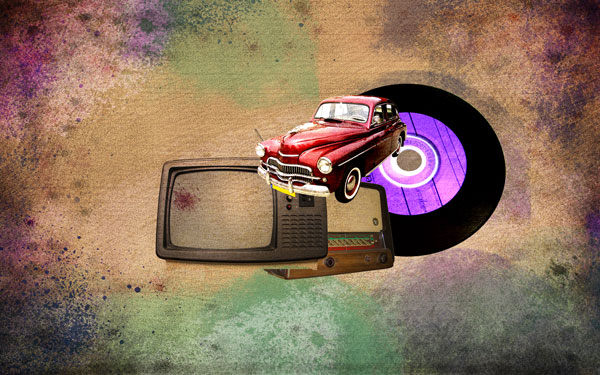
Choose now the Flat Blunt Short Stiff brush of the color #262a23, Opacity – 30%.
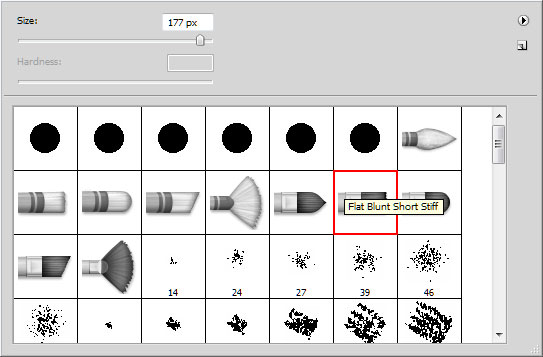
Apply it several times on a new layer, getting a line, like the next one shown below:

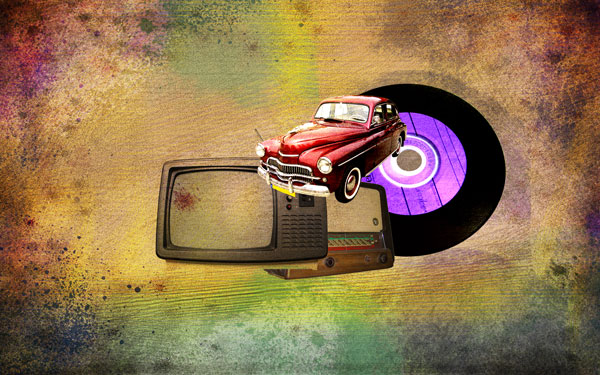
Now change the brush’s color on #abb03f and insert on new layer yellow brushstrokes, changing after that the Blending mode to Vivid Light for this layer.
Now represent a kind of layer like the one we’ve represented at the beginning of the lesson, using also the Noise filter.

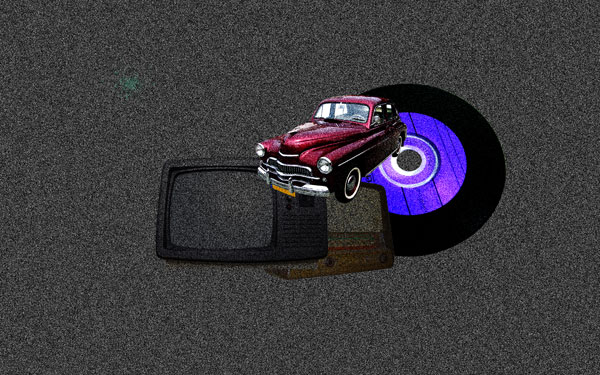
Choose for it the Blending mode to Difference.
Create one more new layer and fill it with the color shown below:
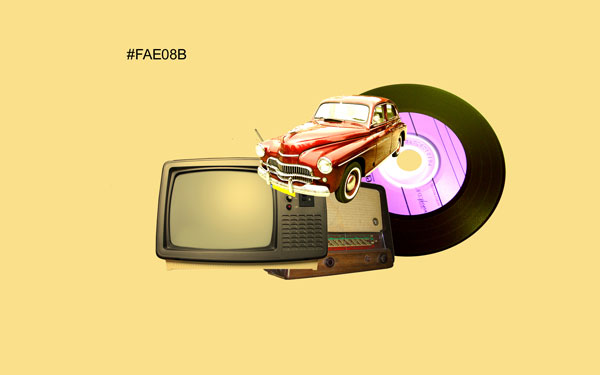
Change the Blending mode to Overlay for this layer.
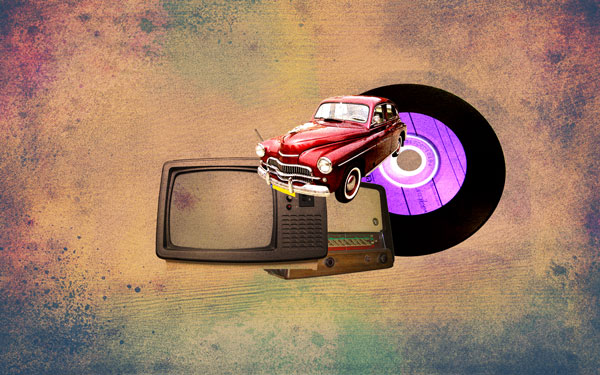
Next we have to create one more new layer and fill it with the next color:
Change the Blending mode to Exclusion.
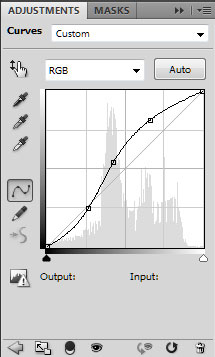
Click Create new fill or adjustment layer from bottom part of the Layers panel.

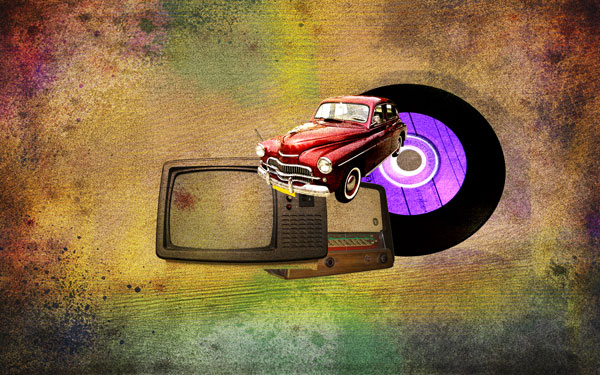
Select Curves to adjust the curve shape as shown to make a little color corrections.
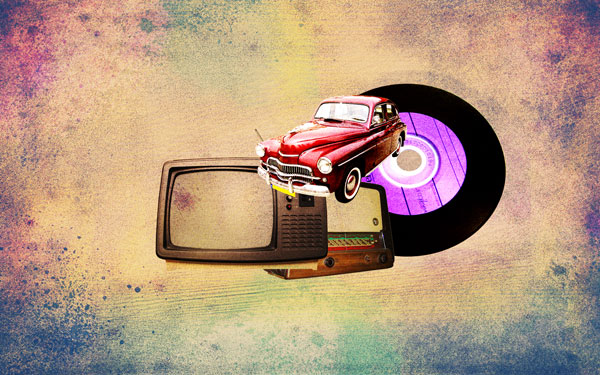
Finally we’ll get:
Click the Horizontal Type tool (T). Select a font, size and color in the Character panel. (I have used Mod font from dafont)
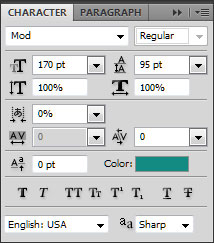
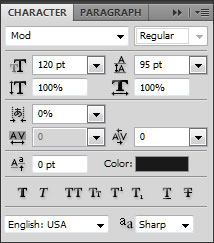
Click in the image and type Retro and Life words. Press Enter to apply the text. Change the Blending Mode to Pin Light.
Click on Add a layer style icon from bottom part of the Layers panel and select Inner Shadow:
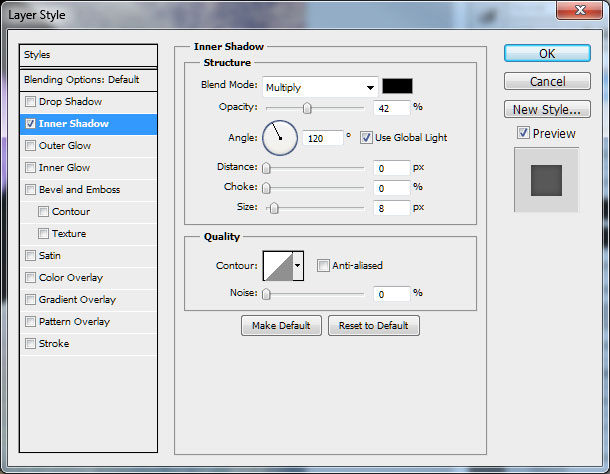
The text gets a kind of edging.
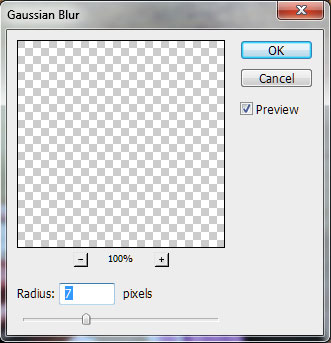
Make a copy of the layer with the Life text and rasterize it by clicking on the right mouse’s button selecting Rasterize Type. Choose on the copy the next flter: Filter>Blur>Gaussian Blur with the same settings as on the next picture:
Put this layer under the Life text’s layer:

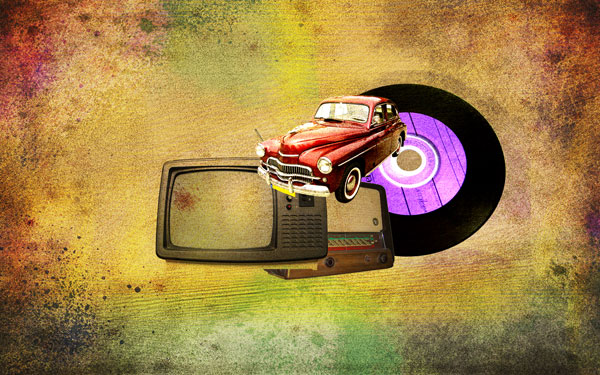
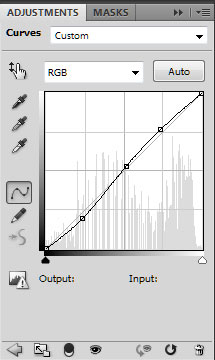
On the final stage we have to make one more new adjustment layer. Click Create new fill or adjustment layer from bottom part of the Layers panel and click to Curves to adjust the curve shape as shown to make a little color corrections.

The final result!
View full size here.
Download free Layered PSD file.
Page: 1 2
Comments