
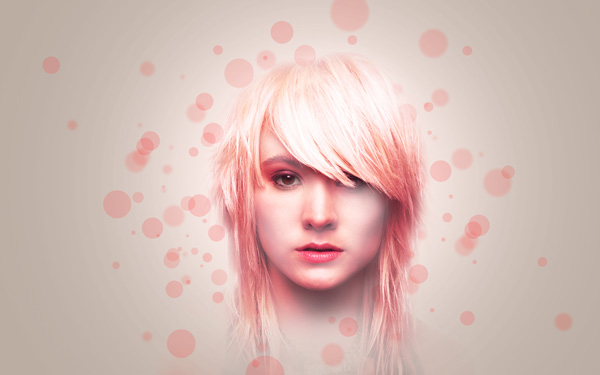
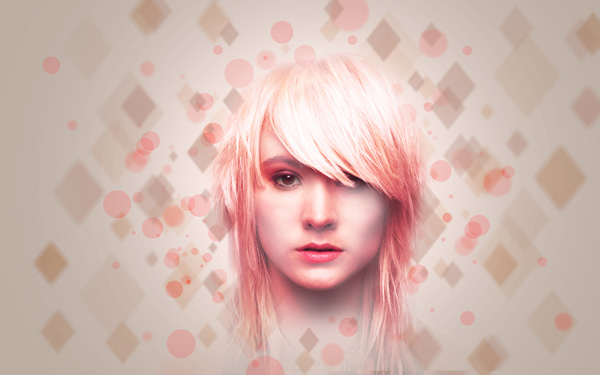
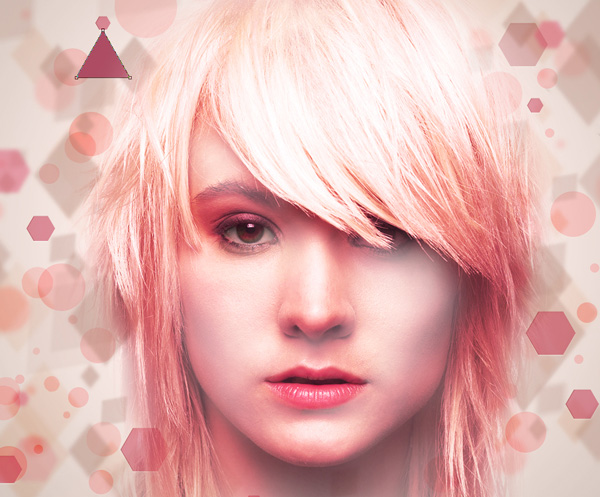
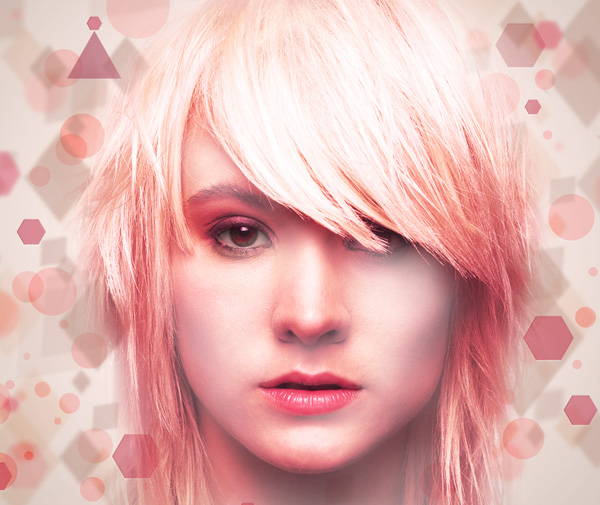
How to create Pink Lady Photo Manipulation in Photoshop
Make one more copy of the very first represented layer and choose the Free Transform (Ctrl+T) command to turn over the copy’s layer. Set the Blending mode to Linear Light for this layer:
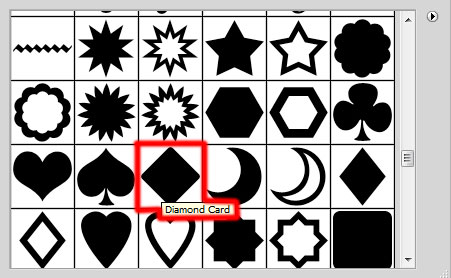
Select the Custom Shape Tool (U) in the Tools bar, in the Options bar click the Shape to open the selection menu. Find Diamond Card shape at the bottom of the menu, and then double-click a shape thumbnail to select it. Change the Foreground Color to – #AB7C6C.
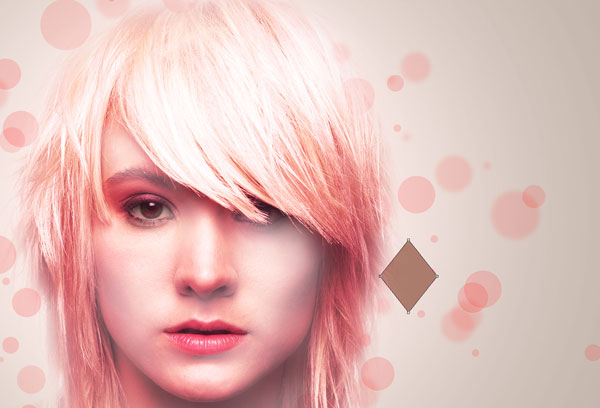
Click and drag to draw the shape

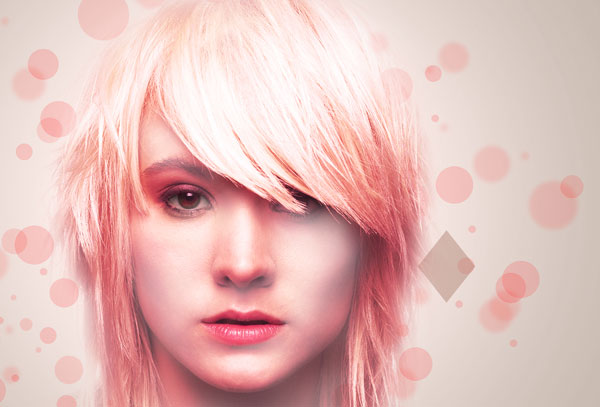
Set Fill to 44% for this layer
Make many copies of the last drawn layer with the diamond card shape and select Free Transform (Ctrl+T) command to change the copies’ sizes, placing them as below. Set Fill to 17% for several layers. The layers must be situated lower than the girl’s layers.

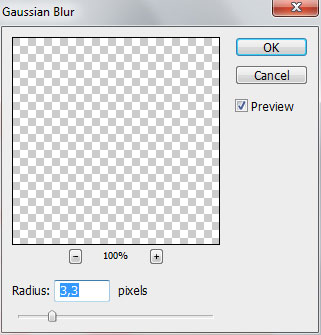
Use the same method we’ve applied for the ellipses and combine in a group all the layers containing the diamond card shape (press CTRL button to select the necessary layers and hold on the left mouse’s button while dragging the selected layers on Create a new group icon). Merge Down the group layers by pressing CTRL+E. Apply for the last made layer the next filter: Filter>Blur>Gaussian blur
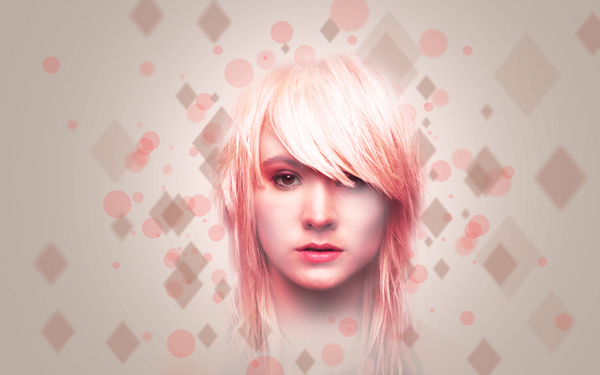
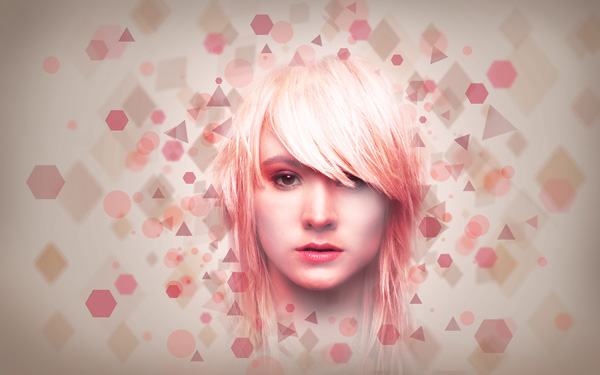
We’ve got the next effect:
Set the Blending mode to Color Burn for this layer

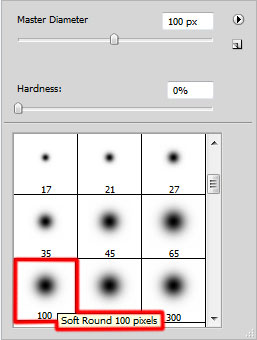
Click on the same layer on the bottom part of the layers’ panel on Add layer mask icon and select the Soft Round brush of black color (Opacity 15%)
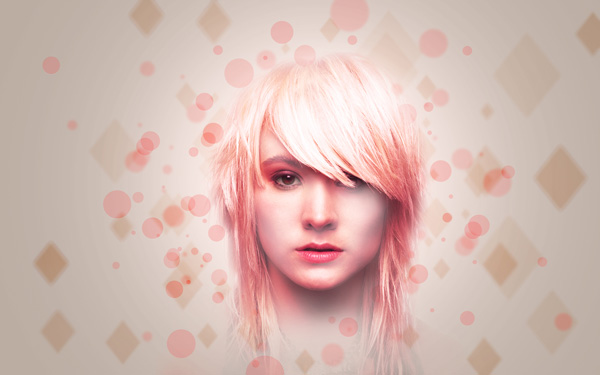
Paint in the mask to change the opacity and hide some diamond shapes as shown:
Make a copy of the last made layer with diamond shape and apply Free Transform (Ctrl+T) command to turn over the copy’s layer, Add layer mask and using the same brush paint in the mask to change the opacity and hide some diamond shapes.
Make a copy of the layer we’ve recently made and select the Free Transform (Ctrl+T) command to turn over the copy’s layer on 45 degrees, making it smaller a little. The layer will be placed lower than the girl’s layer. Set Fill to 70%.
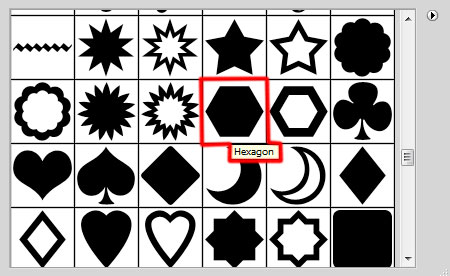
Select the Custom Shape Tool (U) in the Tools bar, in the Options bar click the Shape to open the selection menu. Find Hexagon shape at the bottom of the menu, and then double-click a shape thumbnail to select it. Change the Foreground Color to – #DC3E5F.
Click and drag to draw the shape
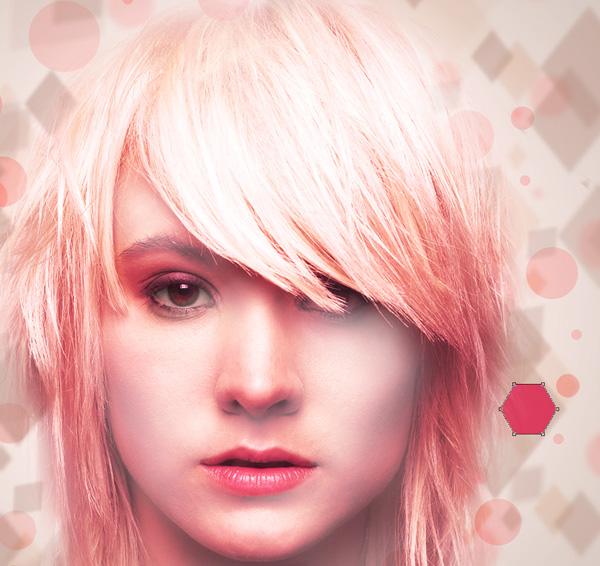
Set the Fill to 60% for this layer

Make many copies of the layer with the hexagon shape on it and change on several copies the Fill to 24%. Take then the Free Transform (Ctrl+T) command and change the copies’ sizes, placing them as below:

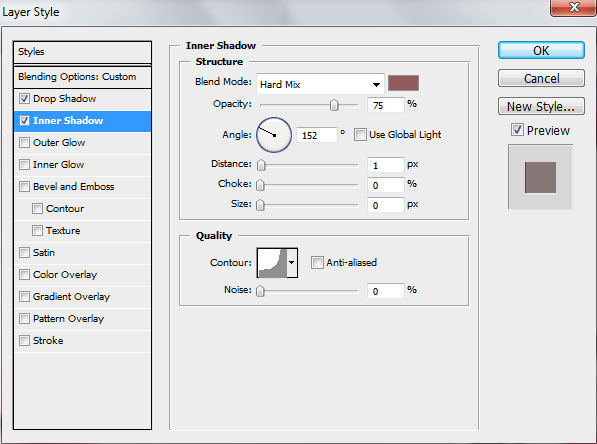
Put together in a group all the layers containing the hexagons. Merge Down the group into a single layer (Ctrl+E). Set Fill to 69% for this layer and click on Add a layer style icon from bottom part of the Layers panel and select Drop Shadow
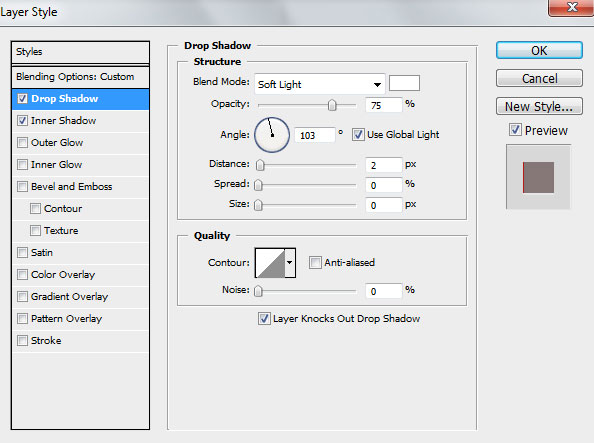
Add Inner Shadow
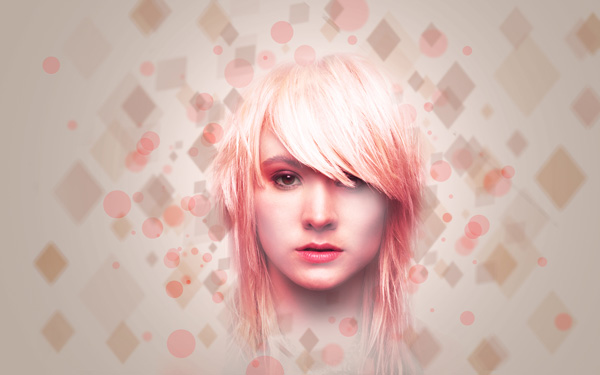
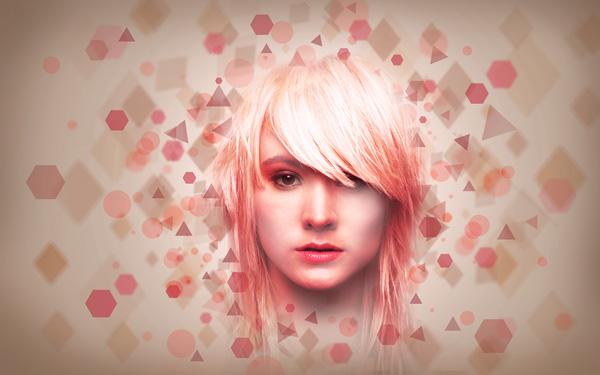
We’ve got the next effect:
Make a copy of the last made layer and apply again Free Transform (Ctrl+T) command to turn over the copy’s layer, applying also for it the next filter: Filter>Blur>Gaussian blur. The Drop Shadow and Inner Shadow should be removed.

We’ve got the next result:

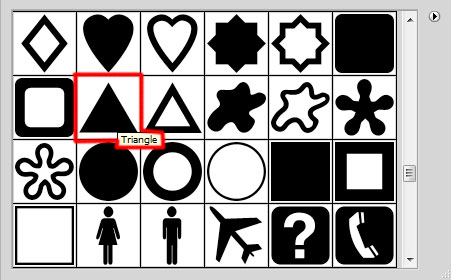
Take again the Custom Shape Tool (U) in the Tools bar, in the Options bar click the Shape to open the selection menu. Find Triangle shape at the bottom of the menu, and then double-click a shape thumbnail to select it. Change the Foreground Color to – #AE4D64.
Click and drag to draw the shape
Set Fill to 60% for this layer in Layers panel.
Make many copies of the layer containing the triangle shape and change on some copies the Fill to 25%. Using the Free Transform (Ctrl+T) command, change the copies’ sizes and place them the same way as below.

Combine in a group all the triangles’ layers, put the group into a single layer by pressing Ctrl+E (Merge Down). Set the Fill to 69% for this layer and click on Add a layer style icon from bottom part of the Layers panel and select Drop Shadow

Add Inner Shadow

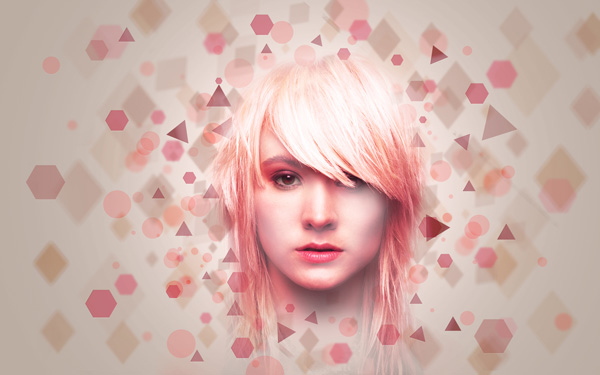
We’ve got the next result:
Click on the same layer on the bottom part of the layers’ panel on Add layer mask icon and select the Soft Round brush of black color (Opacity 15%)

Paint in the mask to change the opacity and hide some triangles. This layer will be situated lower than the girl’s layer.
Make a copy of the last made layer and select again Free Transform (Ctrl+T) command to turn over the copies’ layers. Set Fill to 36% for this layer.

Create a new layer and take the Soft Round brush of the color #725F53 (Opacity 15%)

Use this brush to paint the document’s edges.
Create a new layer and select the Paint Bucket Tool (G) to fill it with #725F53 color

Set Blending mode to Soft Light
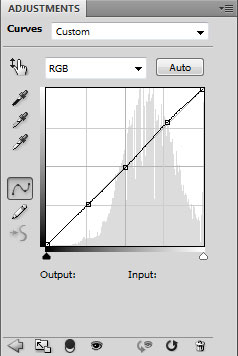
Click Create new fill or adjustment layer from bottom part of the Layers panel and select Curves to adjust the curve shape as shown to make a little color corrections.

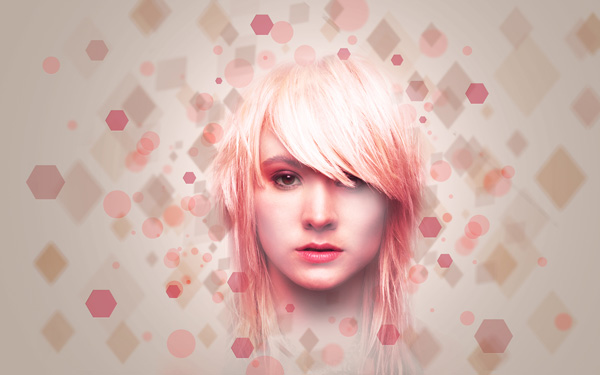
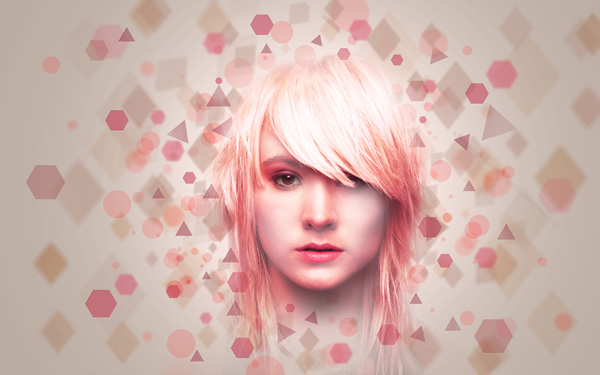
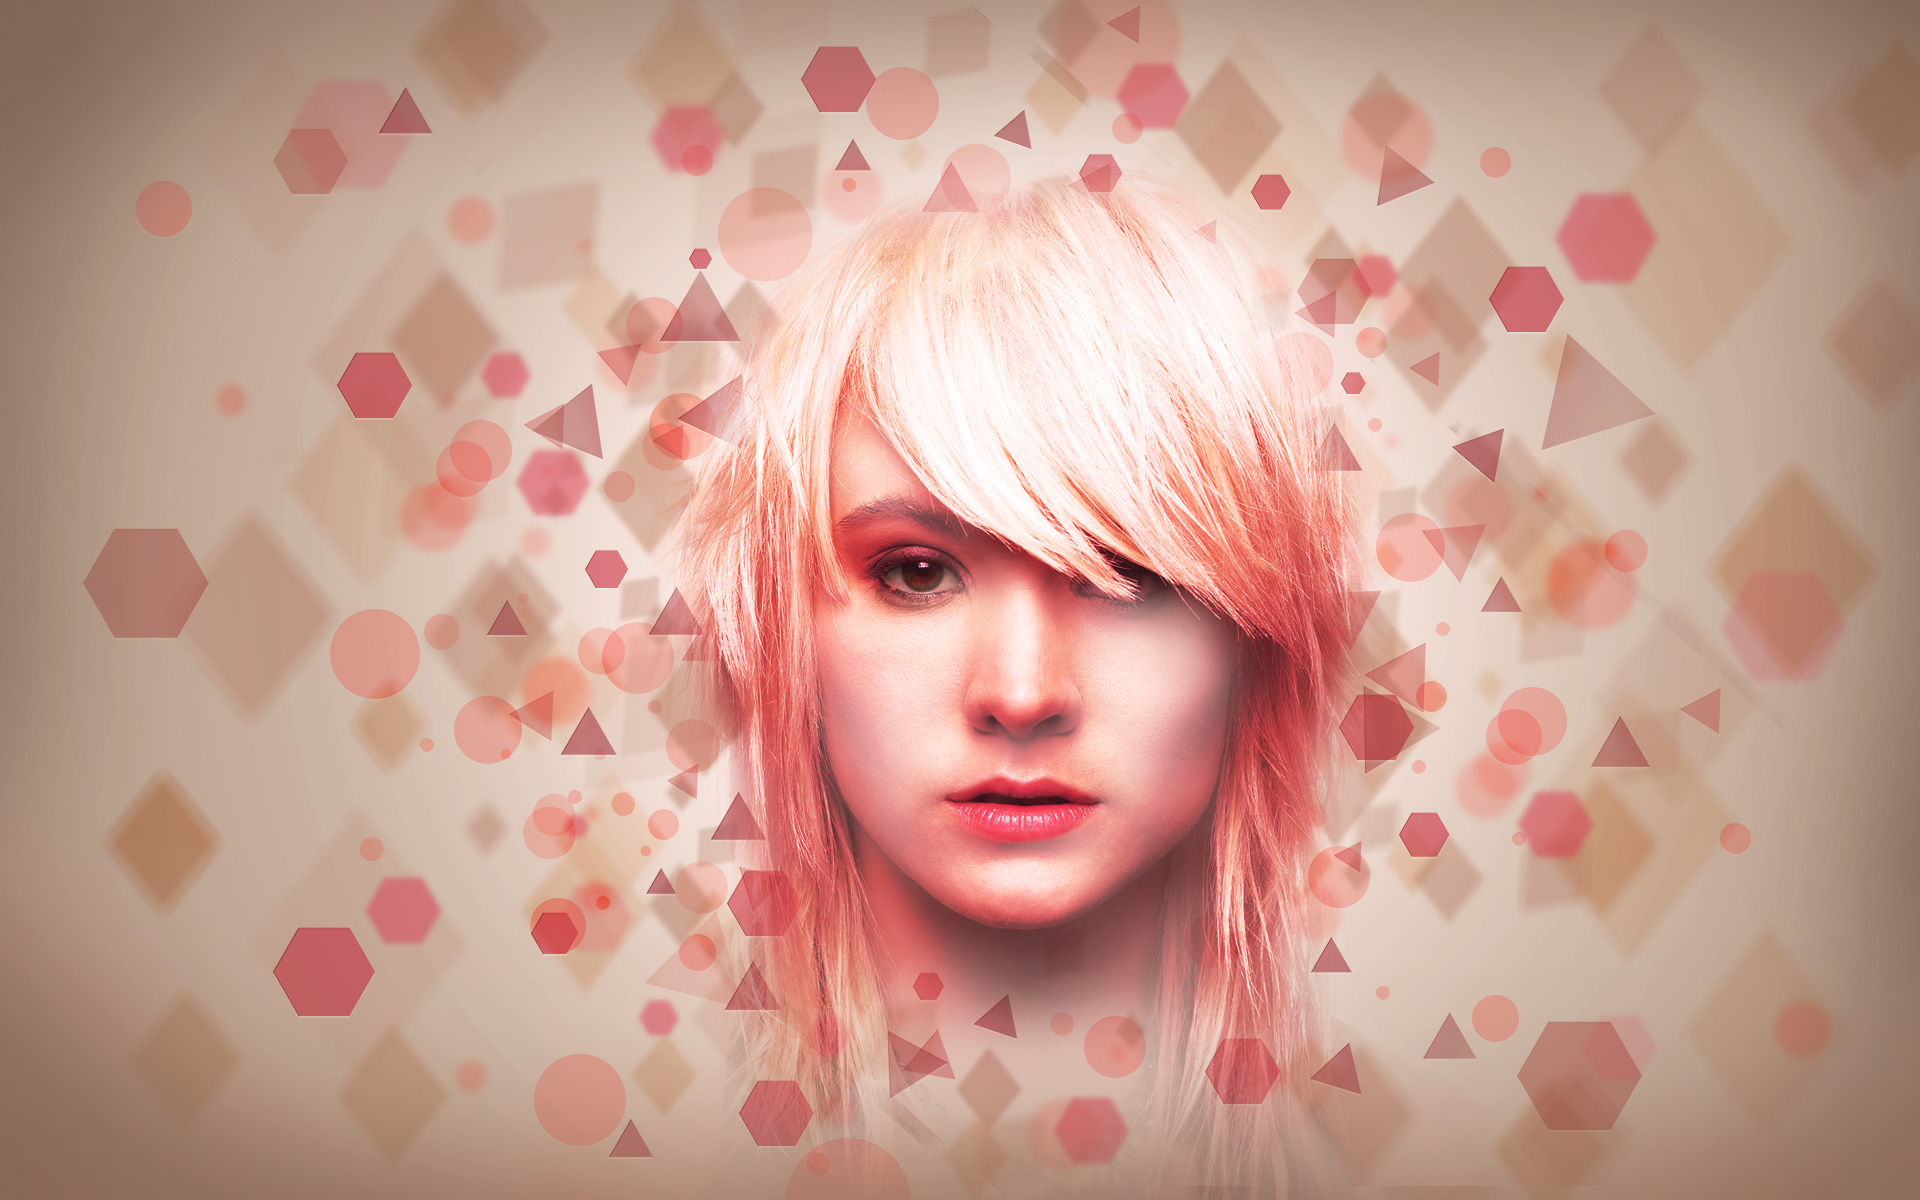
Finished!
View full size here.
Download free Layered PSD file.
Page: 1 2
Comments