
How to create nice abstract artwork via custom shapes and brushes in Photoshop CS5
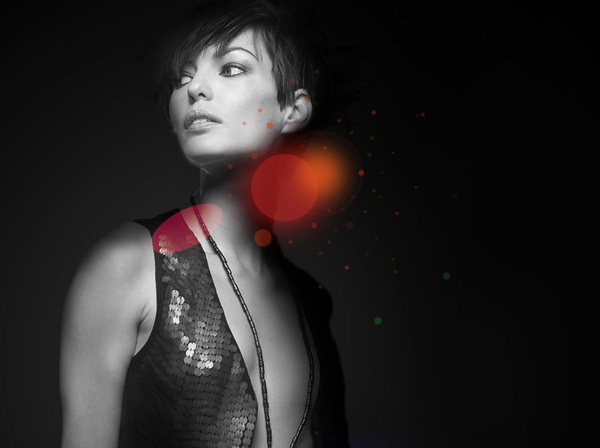
On the next new layer we have to apply the Hard Mechanical brush with different Opacity, Hardness value and brush’s diameter to add several small circles of orange and green colors.
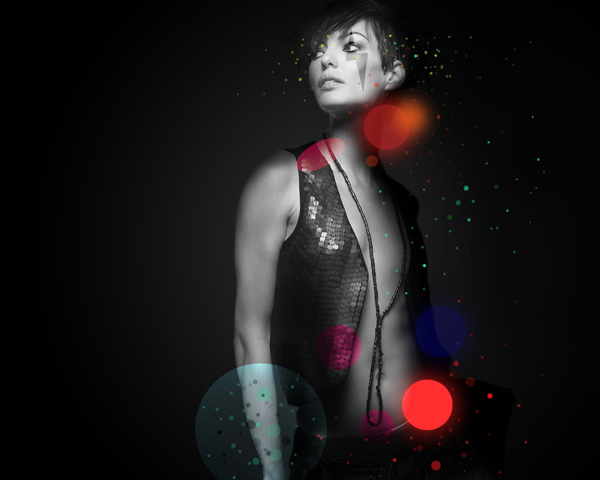
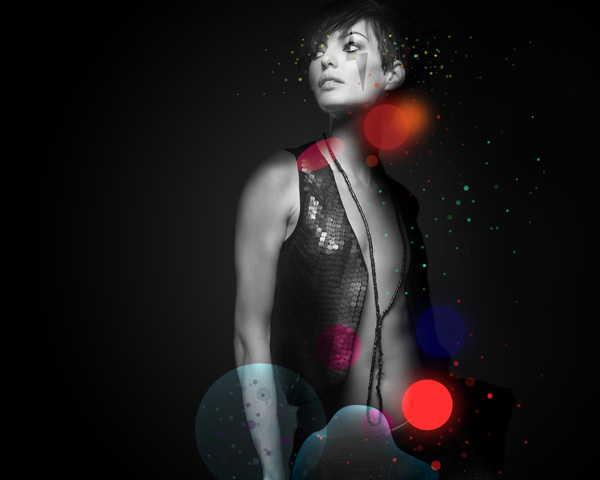
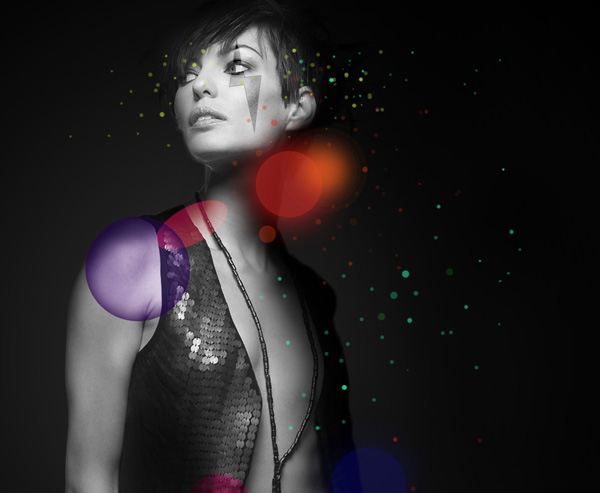
We’ve got the next result:
Create a new layer, using here the Hard Mechanical brush applied on the previous step. Change the Opacity value and the brush’s diameter to draw several small circles the way we did before. The circles should have this color – #1E8968.
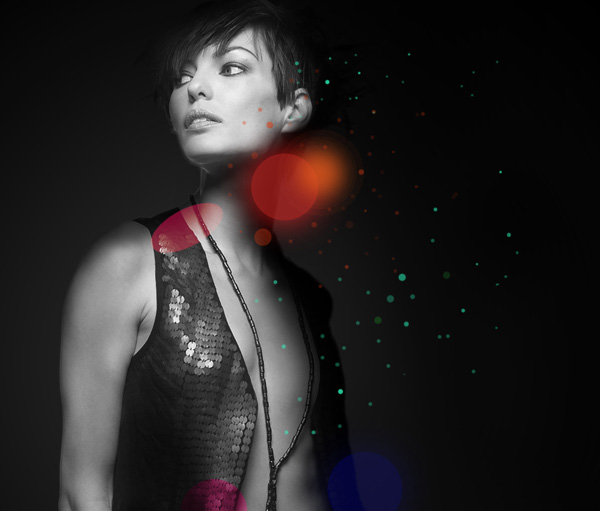

On the next new layer we’ll apply again the Hard Mechanical brush with a different Opacity value and brush’s diameter to draw other very small circles of the color #8DA429.

We’ve got the next result:
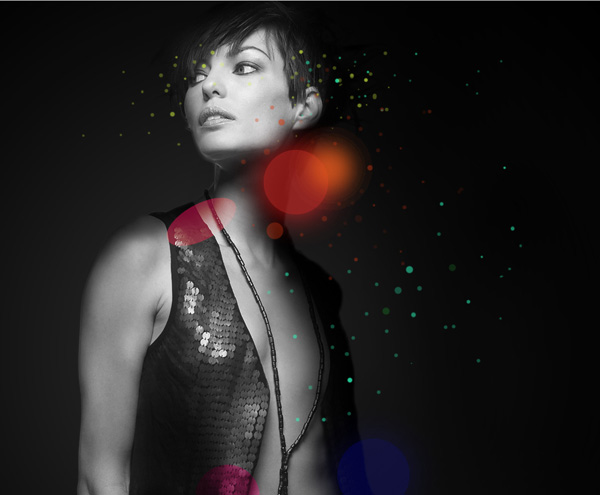
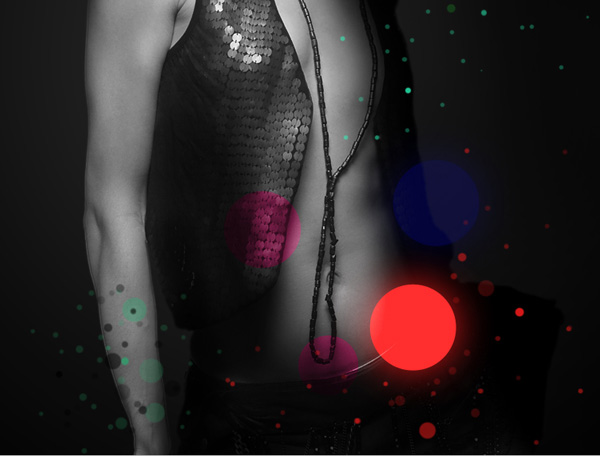
Create a new layer, using here again the Hard Mechanical brush mentioned earlier, changing the Opacity valuer and the brush’s diameter to draw other small circles of this color this time #D51818.

On the next new layer we’ll use again the Hard Mechanical brush to draw several more circles of these colors: #3A936A and #000000.
Choose the Pen Tool (P), set the drawing mode on Shape Layers in Options bar and draw the next shape of black color as shown.
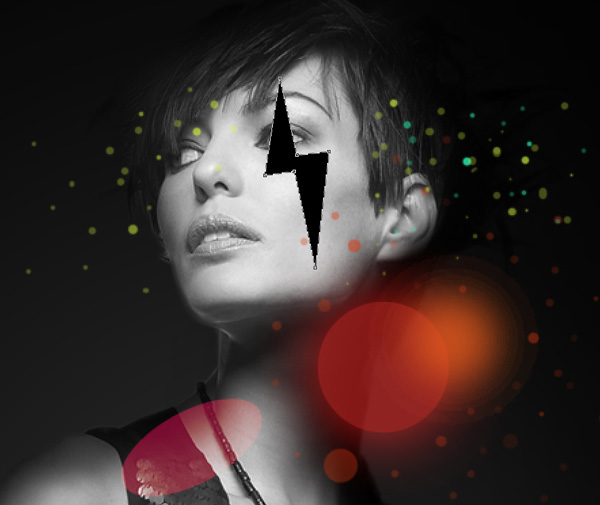
Insert the mask on the layer by choosing Add layer mask on the bottom part of the Layers panel and choose the Hard Mechanical brush of black color.

Paint in the mask using this brush to clean out the shape near the girl’s eye.

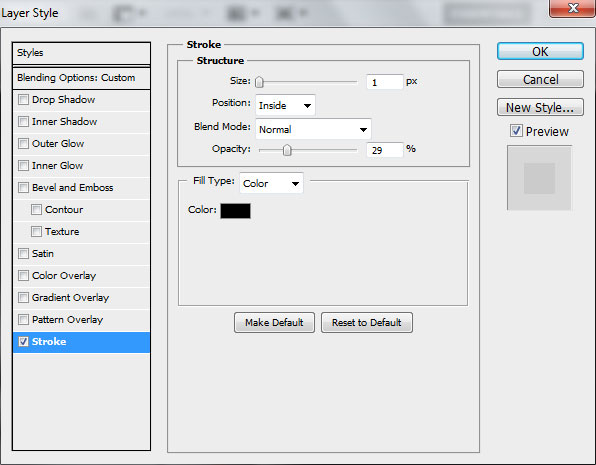
Click on Add a layer style icon from bottom part of the Layers panel and select Stroke. Set the Blending mode for this layer to Overlay.
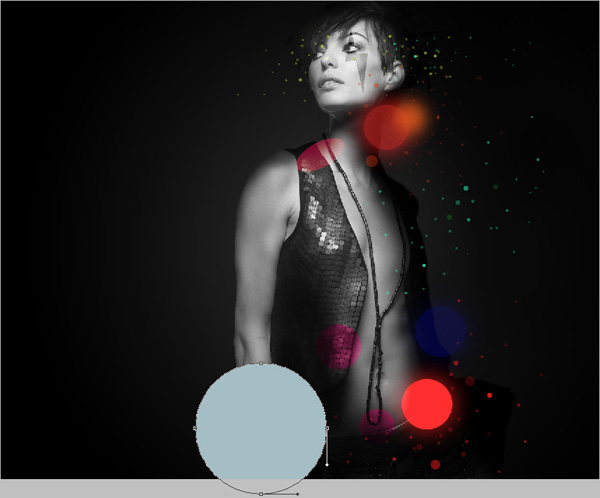
We’ve got the next result:

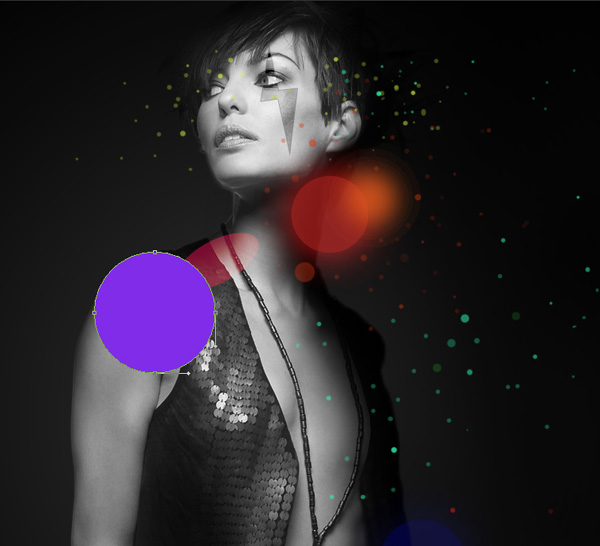
Use now the Ellipse Tool (U) to represent another circle of the color #A6BEC6.
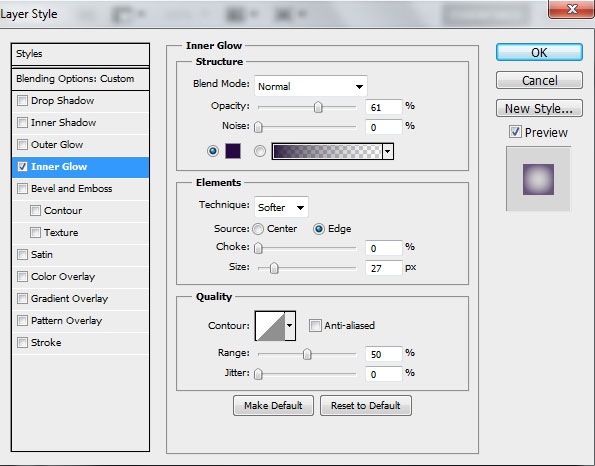
Click on Add a layer style icon from bottom part of the Layers panel and select Inner Glow.

Set the Blending mode for this layer to Soft Light.
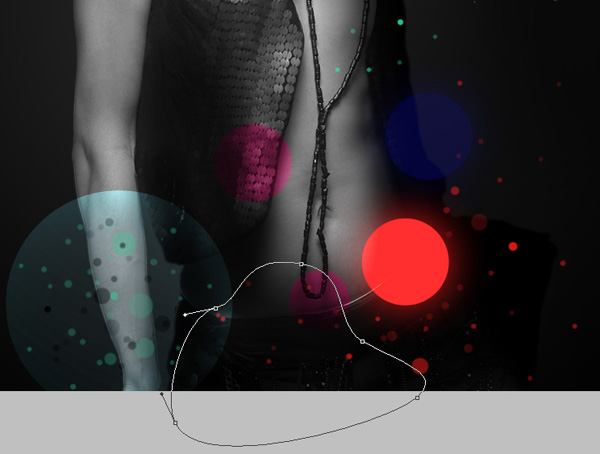
Choose the Pen Tool (P), set the drawing mode on Shape Layers in Options bar and draw the next shape as shown on the bottom part of the canvas.
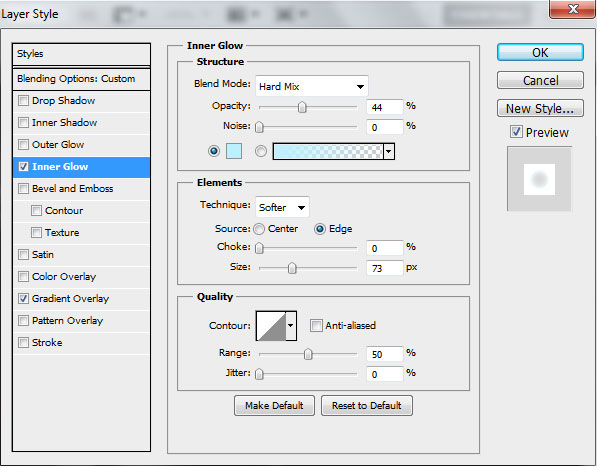
Click on Add a layer style icon from bottom part of the Layers panel and select Inner Glow.
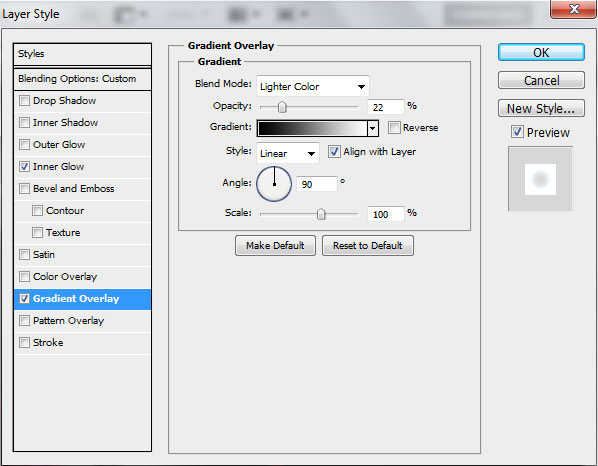
Add Gradient Overlay:
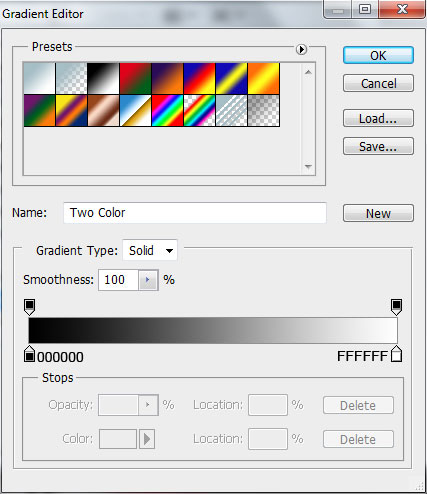
Click in the color bar to open the Gradient Editor and set the color stops as shown. Click OK to close the Gradient Editor dialog box.
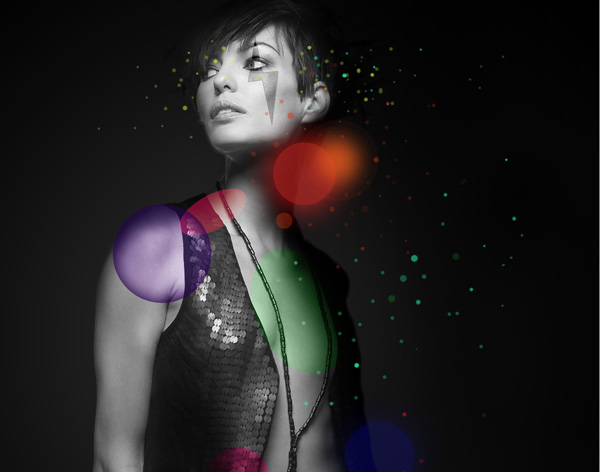
We’ve got the next result:
Choose again the Ellipse Tool (U) to draw a small circle of #7F29EA color.
Click on Add a layer style icon from bottom part of the Layers panel and select Inner Glow.
Set Fill to 54% for this layer and change the Blending mode to Soft Light.
Using the same tool, try to draw another ellipse of the #519258 color.
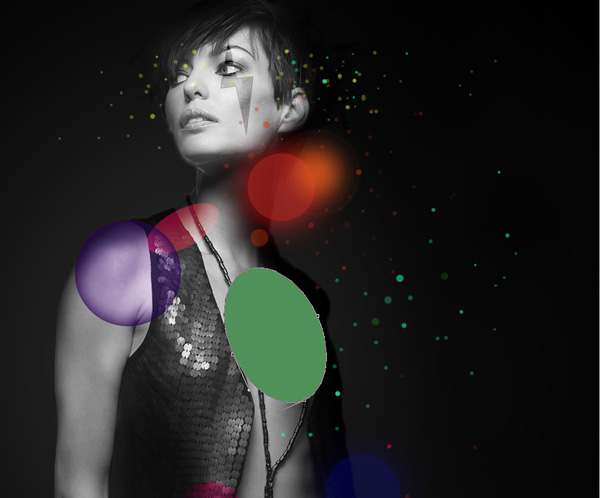
Set Fill to 59% for this layer and change the Blending mode to Color.
Comments