
How to create Nexus 7 Background for your desktop in Adobe Photoshop CS6
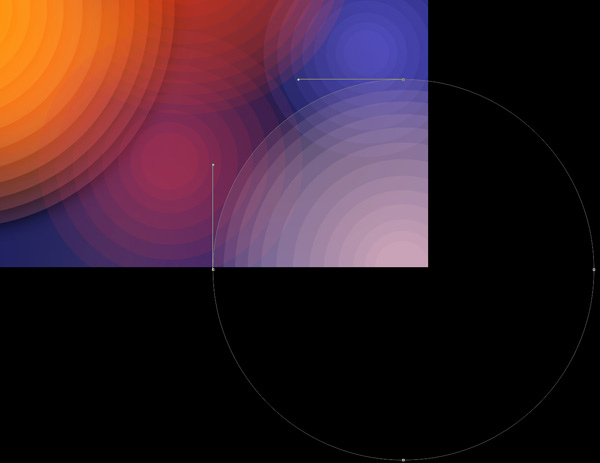
Let’s represent now a group of circles the same way we did above. The color of each circle’s layer is the same with the one from the previous groups. Select the same Ellipse Tool (U) for the operation.
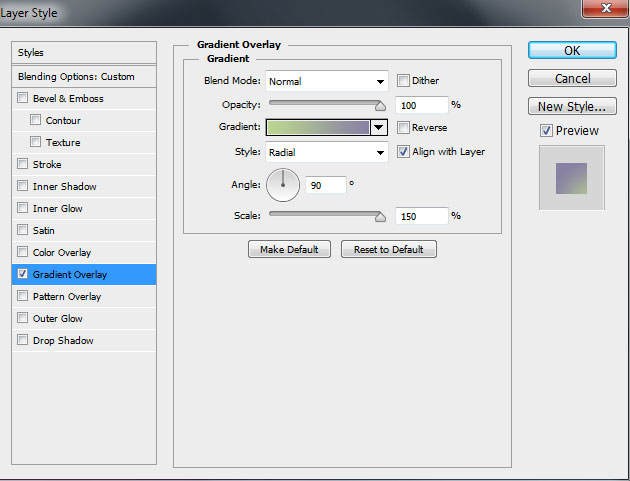
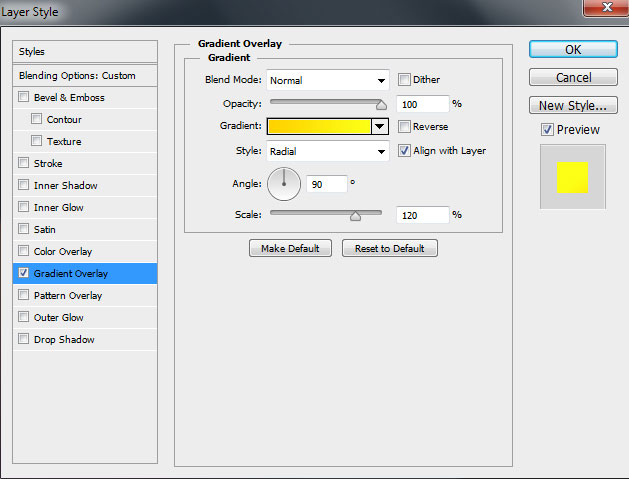
Set Fill to 0% for this group and click on Add a layer style icon from bottom part of the Layers panel to select Gradient Overlay.
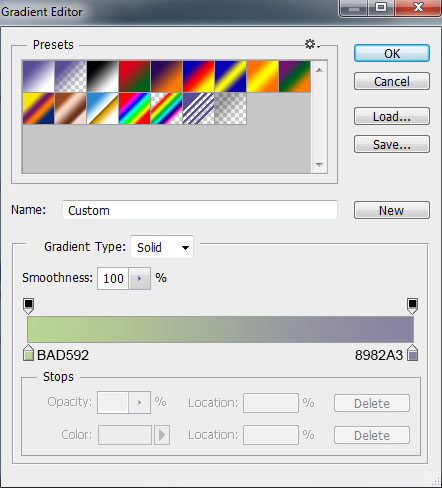
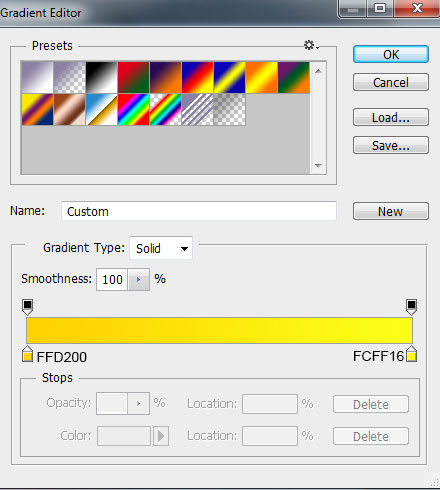
Click in the color bar to open the Gradient Editor and set the color stops as shown. Click OK to close the Gradient Editor dialog box.

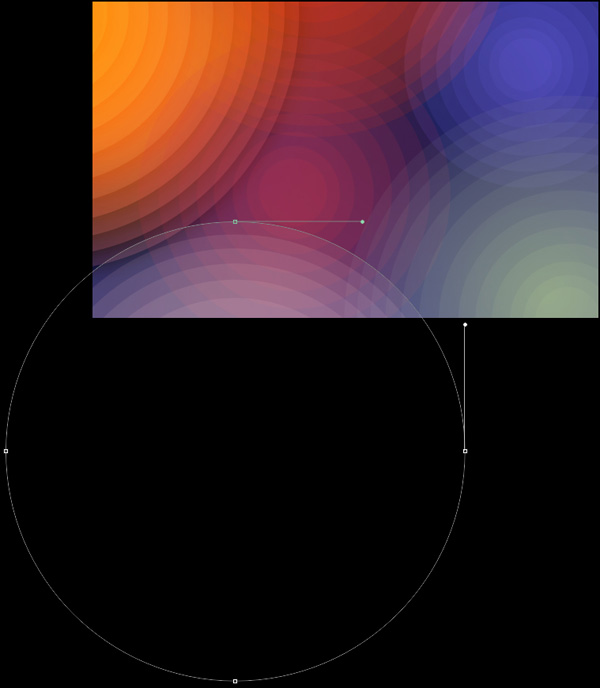
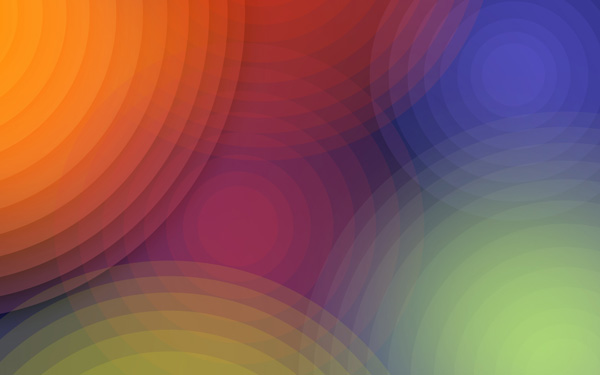
We’ve got the next result:

Next we’ll represent the last group of the circles. Each one must be represented on a separate layer, using the Ellipse Tool (U). The color of the circles is #FFCDCD. Set Fill to 10% for this group.
Combine in a group all the layers containing the last drawn circles (press CTRL button to select the necessary layers and hold on the left mouse’s button while dragging the selected layers on Create a new group icon from bottom part of the Layers panel). Set Fill to 0% for this group and click on Add a layer style icon from bottom part of the Layers panel to select Gradient Overlay.
Click in the color bar to open the Gradient Editor and set the color stops as shown. Click OK to close the Gradient Editor dialog box.
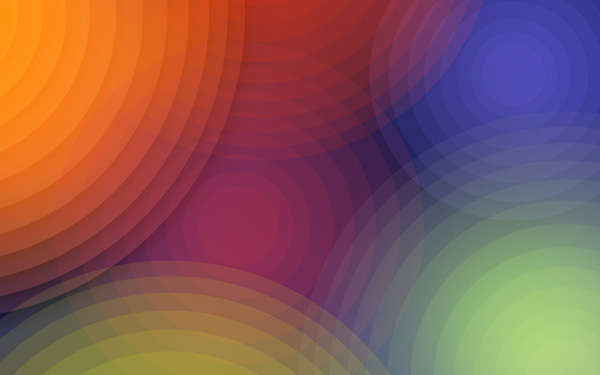
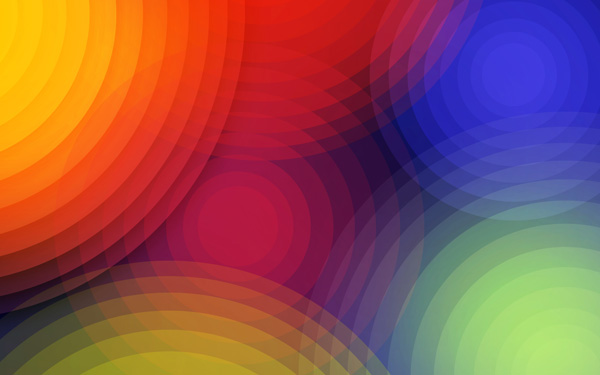
We’ve got the next result:

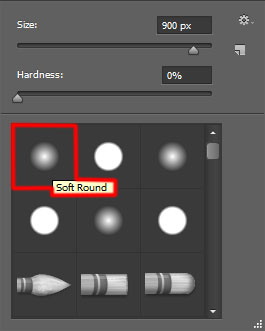
Create a new layer now and select on it the Soft Round brush from Brush Tool (B).

Use this brush to paint the background on the right lowest corner of the canvas. The brush’s color is #99FF00 and brush’s Opacity – 15%.
Set the Blending mode for this layer to Overlay.
Make sure that the layer containing the brush is active in Layers panel and select for the layer the next command Image > Apply Image:
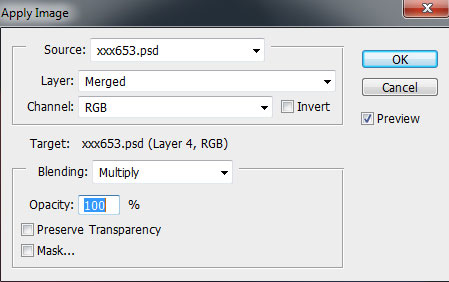
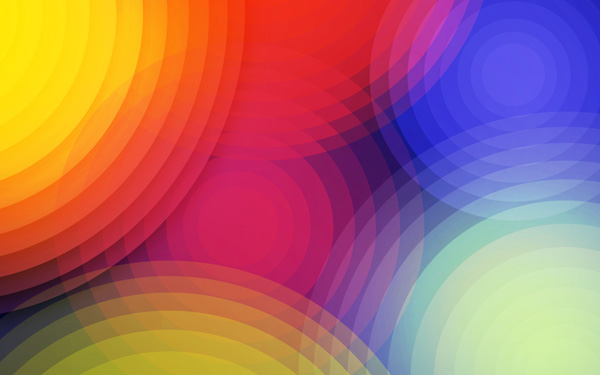
Photoshop’s Apply Image command allows us to blend layers together and gives us much more control over how the images are blended, but also opens up far more creative possibilities and gives us better overall results:
Create a new layer and select on it the Soft Round brush of white color (brush’s Opacity – 40%).
Use this brush to paint above the circles the same way demonstrated on the next image:

Set Fill to 57% for this layer and set the Blending mode to Overlay.
Click Create new fill or adjustment layer from bottom part of the Layers panel and click to Curves to adjust the curve shape as shown to make a little color corrections.
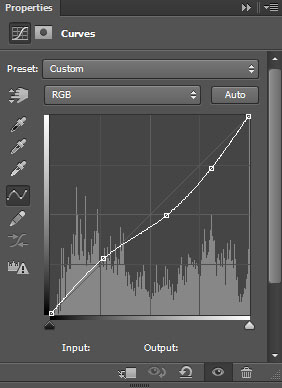
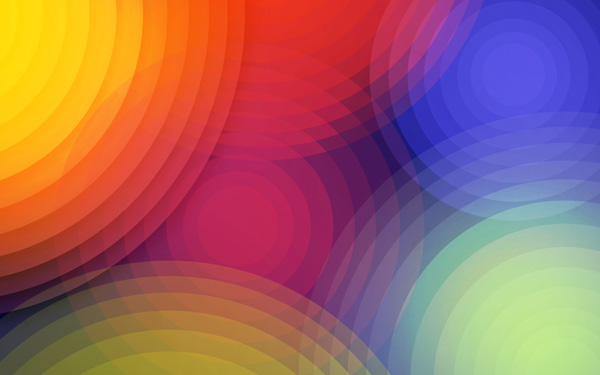
We’ve got the next result:
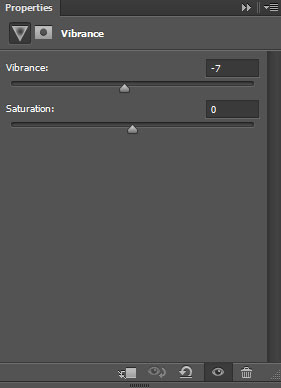
Click Create new fill or adjustment layer from bottom part of the Layers panel and click to Vibrance to improve the overall color of the image.
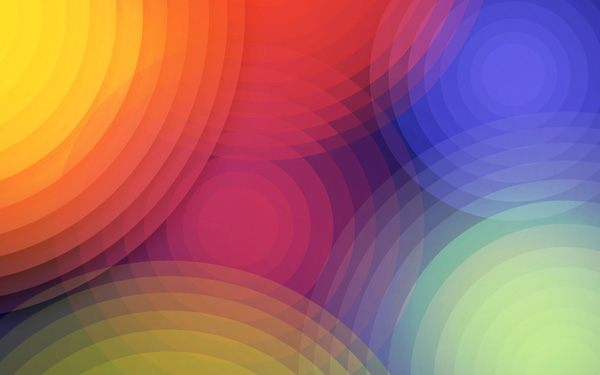
We’ve got the next result:
Now we must combine in a group all the layers (press CTRL button to select the necessary layers and hold on the left mouse’s button while dragging the selected layers on Create a new group icon from bottom part of the Layers panel). Select the group in Layers panel and press Ctrl+E to Merge Down. On the rasterized layer we’ve got we should apply the next filter: Filter > Sharpen > Unsharp mask

We’ve got the next result:

Our Nexus 7 Abstract Background is finished!
View full size here.
Download free Layered PSD file.
Page: 1 2
Comments