
How to Create Happy New Year Greeting Card with Xmas balls on Snowflakes Background in Photoshop CS6
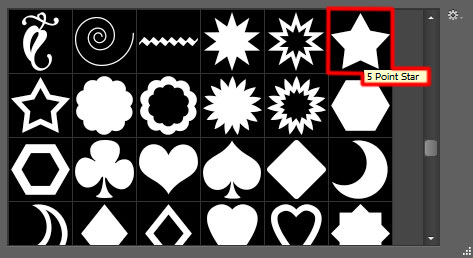
Next we’ll represent a simple texture to decorate our Christmas ball. This time create a new document (Ctrl+N) with the size 1000px by 1000px (RGB color mode) at a resolution of 72 pixels/inch. Select the Custom Shape Tool (U) in the Tools bar, in the Options bar click the Shape to open the selection menu. Find 5 Point Star at the bottom of the menu, and then double-click a shape thumbnail to select it.
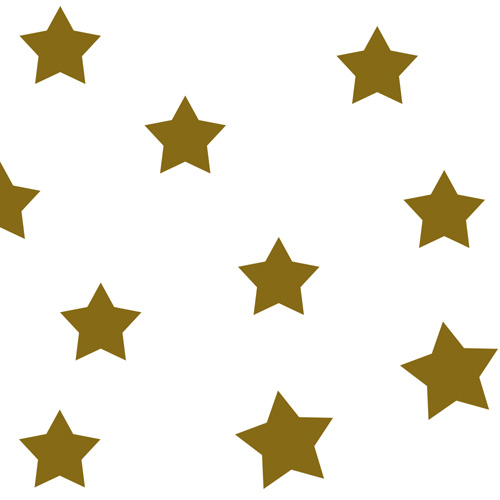
Click and drag to draw many stars of the color #866A16.
Delete the background layer and put together the stars’ layers into a single rasterized layer (hold CTRL button to select the necessary layers in Layers panel and finally press CTRL+E to Merge Down). Insert the rasterzied layer containing the stars on our main document and select the Free Transform (Ctrl+T) command to make the layer smaller, placing it the same way from below.


Make sure the stars layers is active in Layers panel, press CTRL button and click on the ball’s layer, we’ll get the next selection:

Apply on the stars’ layer the next filter: Filter > Distort > Spherize.
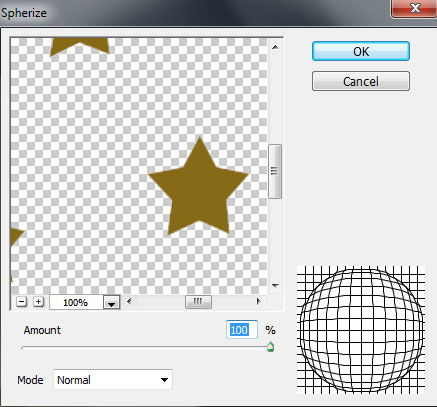
We’ve got the next result:

Hold Alt button and click on the bottom part of the Layers panel on Add a Mask option. Then press on the mask the next button combination: CTRL+I.

Now we’ll represent a highlight of white color on the top part of the Christmas ball, using the Ellipse Tool (U).

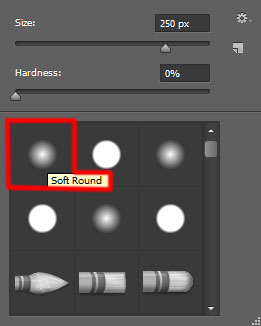
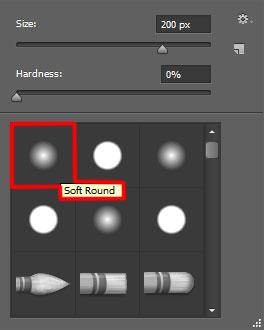
Insert the mask on the layer by choosing Add layer mask on the bottom part of the Layers panel and choose the Soft Round brush of black color (set Opacity to 60% in Options bar).
Paint in the mask using this brush to hide the highlight as it is shown on the picture below.

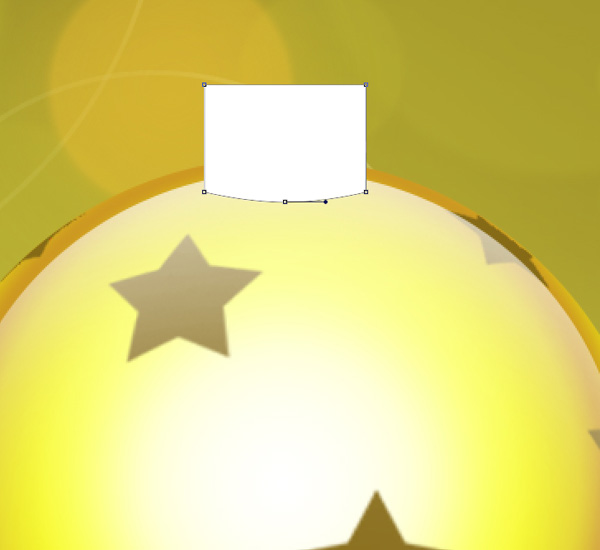
Next we’ll draw the ball’s support element, using the Rectangle Tool (U) draw a rectangle. Select the Add Anchior Point Tool (P) to insert an anchior point on the bottom part of the rectangle shape. Then select the Convert Point Tool to adjust the path segments as it is shown on the next picture.
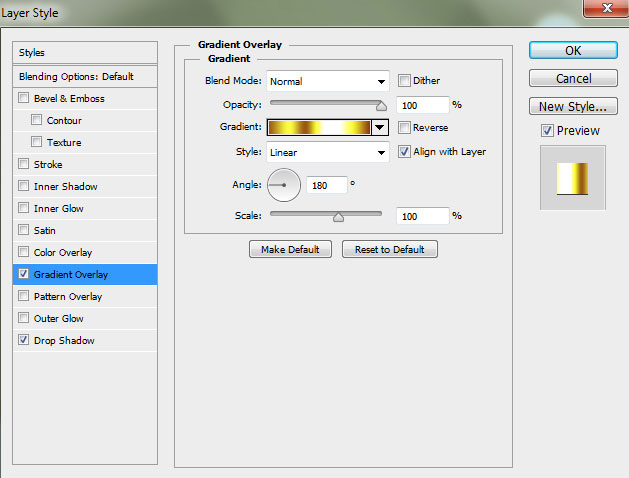
Click on Add a layer style icon from bottom part of the Layers panel and select Gradient Overlay.
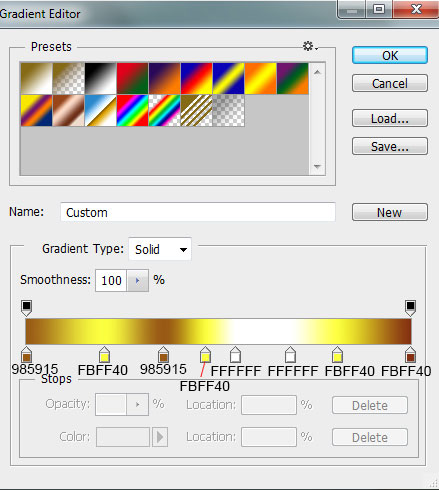
Click in the color bar to open the Gradient Editor and set the color stops as shown. Click OK to close the Gradient Editor dialog box.
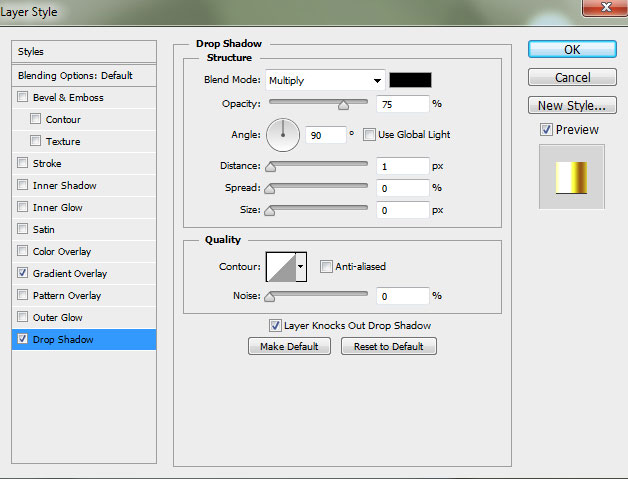
Add Drop Shadow:
We’ve got the next result:

Represent now an ellipse above the support element on the Christmas ball, giving it the color #FBFF58, applying the Ellipse Tool (U).
We’ve got the next Christmas ball:

Combine in a group all the layers composing the Christmas ball (press CTRL button to select the necessary layers and hold on the left mouse’s button while dragging the selected layers on Create a new group icon from bottom part of the Layers panel).
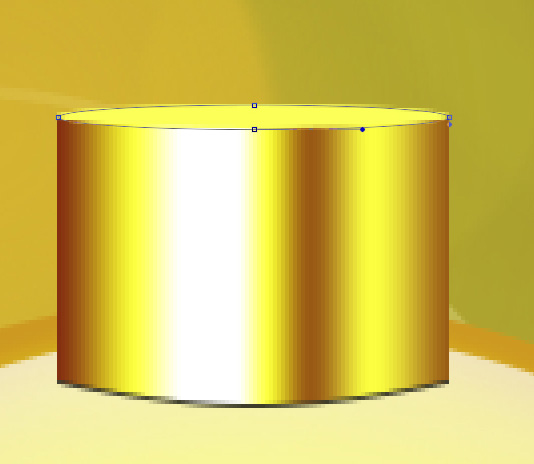
The new group must be rasterized by selecting the group in Layers panel firstly and then pressing CTRL+E to Merge Down. The rasterized layer must be inclined a little, using the Free Transform (Ctrl+T) command.

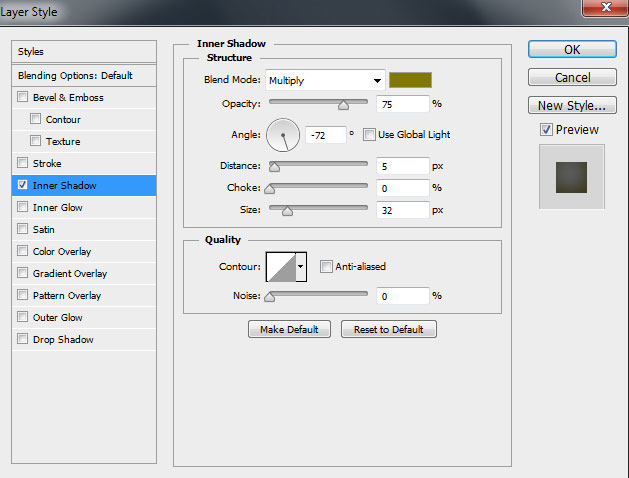
Click on Add a layer style icon from bottom part of the Layers panel and select Inner Shadow.
We’ve got the next result:

Make two copies of the layer containing the Christmas ball and select the Free Transform (Ctrl+T) command to change the copies’ sizes, placing them as it is represented below. The copies’ layers must be positioned under the very first layer of the Christmas ball.

Next we’ll draw the Christmas ball’s shadow. In this case create a new layer and select the Soft Round brush of black color to draw a spot.
The layer must be situated under the ball’s layers.

Apply the Free Transform (Ctrl+T) command on the shadow’s layer to compress it by vertical position, stretching it out horizontally in the same time. The layer will be situated under the ball as it is demonstrated below:

Make two copies of the layer containing the shadow and apply the Free Transform (Ctrl+T) command to change the copies’ sizes, placing them the same way demonstrated below:

Now insert the greeting text on the background. Select the Horizontal Type tool (T). Select a font, size and color in the Character panel. I used this font from FontSquirrel
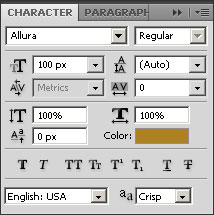
Click in the canvas and type ‘Happy New Year’. Press Enter to apply the text.

Create a new layer and apply the Paint Bucket Tool (G) to fill it with #E6CB80 color.

Set Fill to 22% for this layer and change the Blending mode to Pin Light.

Create a new layer and select again the Paint Bucket Tool (G) to fill the layer with #A180E6 color.

Set Fill to 34% for this layer and change the Blending mode to Hue.

Click Create new fill or adjustment layer from bottom part of the Layers panel and click to Curves to adjust the curve shape as shown to make a little color corrections.
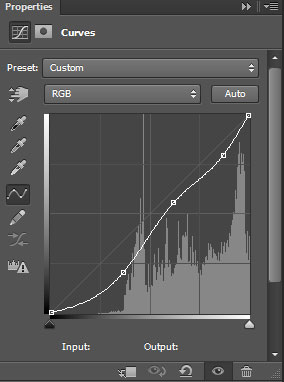
We’ve got the next result:

Click Create new fill or adjustment layer from bottom part of the Layers panel and click to Vibrance to improve the overall color of the image.
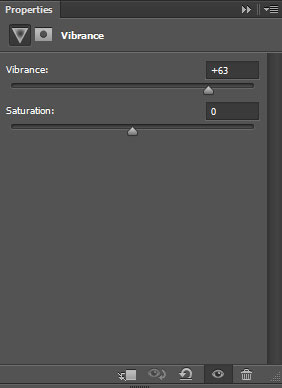
We’ve got the next result:

Click once again on Create new fill or adjustment layer from bottom part of the Layers panel and click to Curves to adjust the curve shape as shown to make a little color corrections.
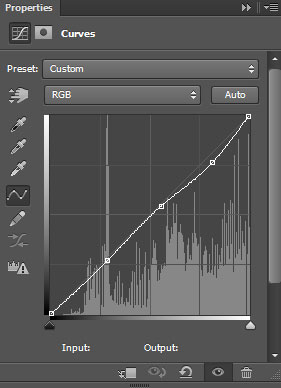
We’ve got the next result:

Our Happy New Year Greeting Card with Xmas balls on Snowflakes Background is finished!
Merry Christmas and Happy New Year!
View full size here.
Download free Layered PSD file.
Page: 1 2
Comments