
How to Create Colorful Flowing Lines Abstract Vector Background in Adobe Photoshop CS5
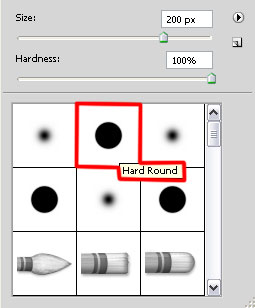
Create a new layer and represent many small dots. This time we’ll use the Hard Round brush of white color and apply it with different diameters and different Opacity value.
Place the layer under the shapes’ ones.

Set the Blending mode for this layer to Overlay.


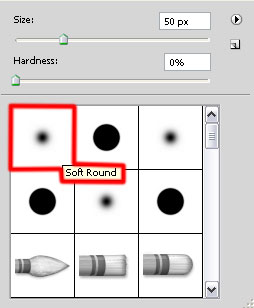
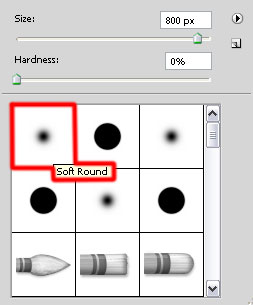
Create a new layer again and take the Soft Round brush to paint in yellow the bottom part of the canvas (Opacity – 20%).

Place the layer under the shapes’ ones.

Set the Blending mode for this layer to Screen.

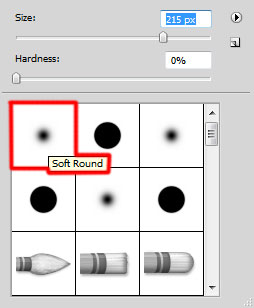
Create the next new layer and apply the Soft Round brush of white color to represent several small dots of different diameters.
This layer should be positioned above the shapes’ layers in Layers panel.

Set the Blending mode for this layer to Overlay.

Create a new layer and apply the Soft Round brush to paint the left bottom corner.
The brush’s color is black (brush Opacity – 15%).

Choose the Pen Tool (P), set the drawing mode on Shape Layers in Options bar and draw the next shape as shown.

Click on Add a layer style icon from bottom part of the Layers panel and select Drop Shadow.
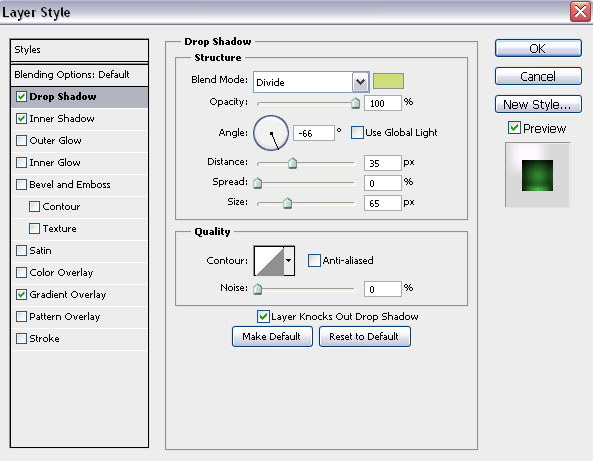
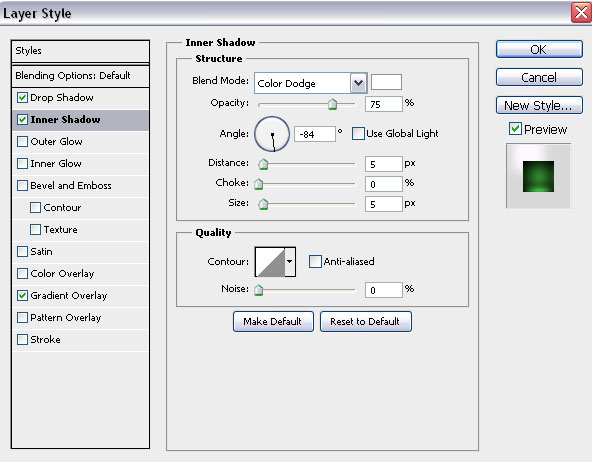
Add Inner Shadow:
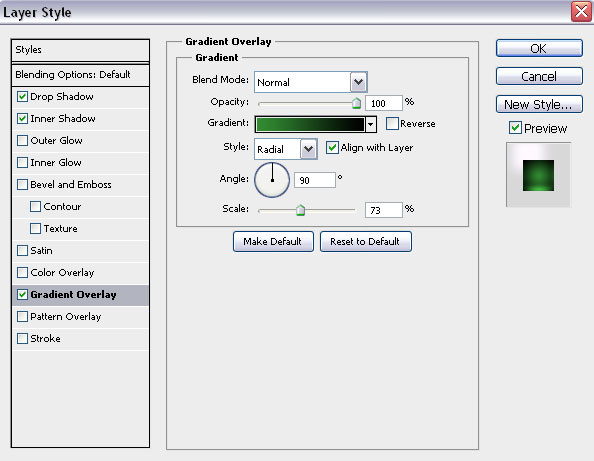
Apply Gradient Overlay:
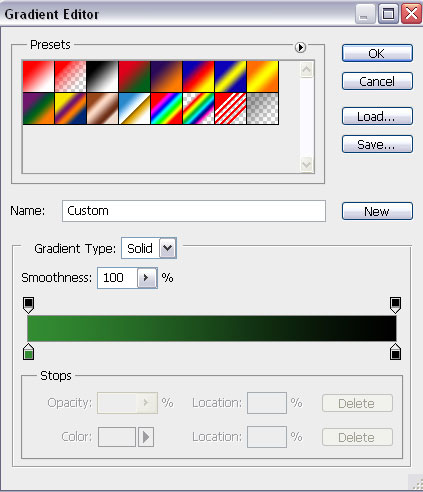
Click in the color bar to open the Gradient Editor and set the color stops as shown. Click OK to close the Gradient Editor dialog box.
We’ve got the next result:

Using the Rectangle Tool (U), we’ll represent a vertical rectangle of white color.
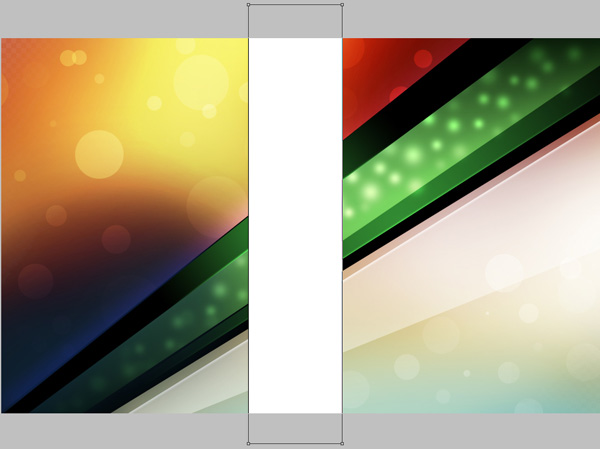
Set Fill to 32% for this layer and set the Blending mode to Overlay.

Using the same tool, we may draw many vertical rectangle of different width. The Fill and Blending mode for the layers are the same with the last made line. Those three rectangles on the right side have the Fill value of 62%.

Combine in a group all the layers composing the rectangles (press CTRL button to select the necessary layers and hold on the left mouse’s button while dragging the selected layers on Create a new group icon from bottom part of the Layers panel).
Insert the mask on the group by choosing Add layer mask on the bottom part of the Layers panel and press CTRL+I to Inverse the color, select white color for Foreground color. Using the Pen Tool (P) in the mask, we may draw an area where the rectangles will be visible.

Create a new layer and select the Soft Round brush from Brush Tool (B).
Use this brush to paint the canvas on the right side with the color #9AFFC6 (brush Opacity – 30%)

Set the Blending mode for this layer to Color Burn.

Using the applied before Pen Tool (P), we may draw a shape of black color.

Using the same tool, we’ll represent a shape of the color #56ADBE.

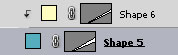
Then insert a small shape of the color #FFFDC0, using the Pen Tool (P) too.
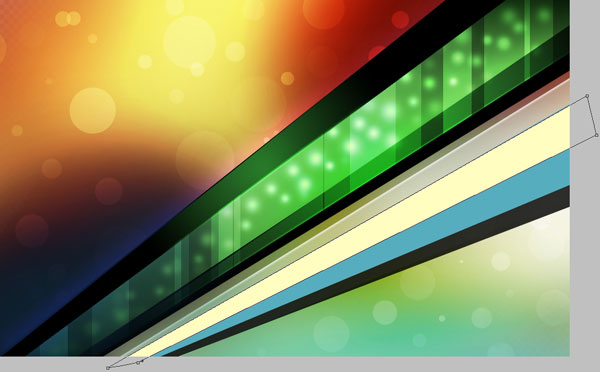
Hold down Alt (Windows) or Option (Mac OS) and click between the layer containing the blue shape and the layer with the yellow line in Layers panel to create a clipping mask.
Comments