
How to create Christmas greeting card with New Year’s toys in Photoshop CS5
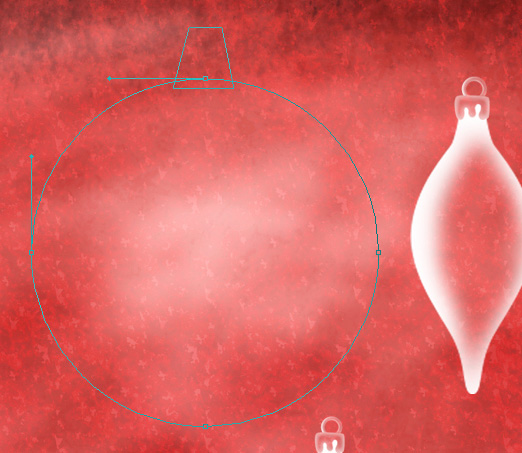
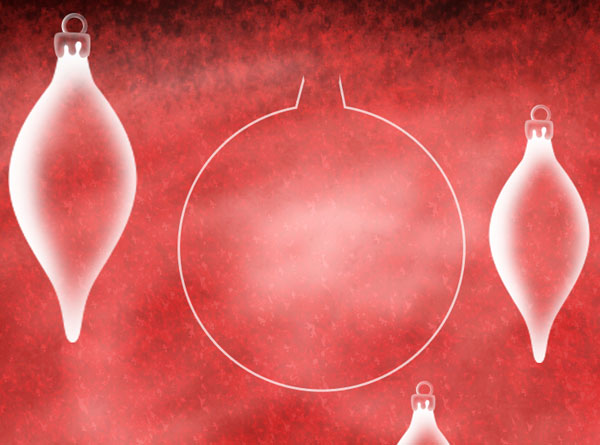
Next we’ll represent a Christmas tree ball, using the Ellipse Tool (U). For the beginning represent a ellipse, then press SHIFT button or select Add to shape area (+) in Options bar, use Pen Tool (P) to add the next element on the shape to create the ball’s support.
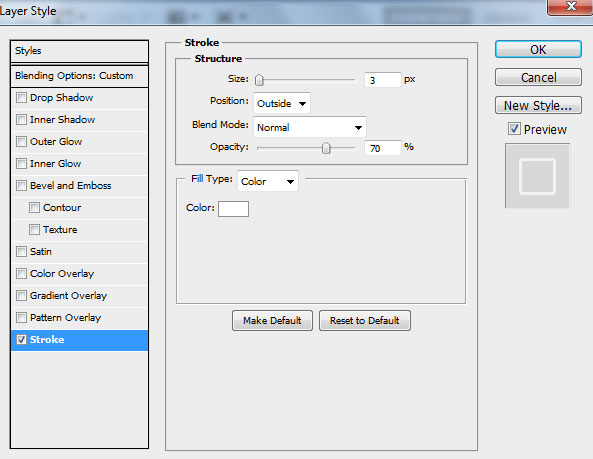
Set Fill to 0% for this layer, click on Add a layer style icon from bottom part of the Layers panel and select Stroke.
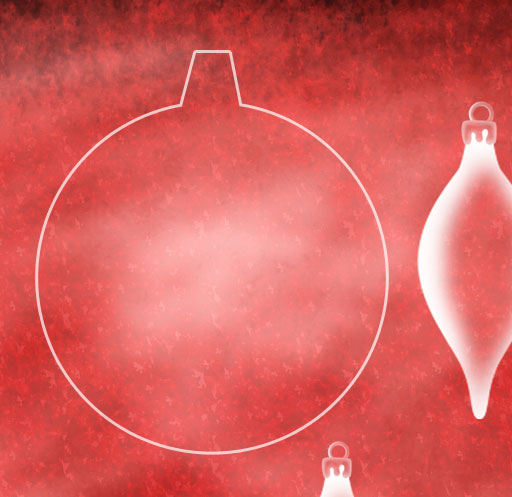
We’ve got the next result:

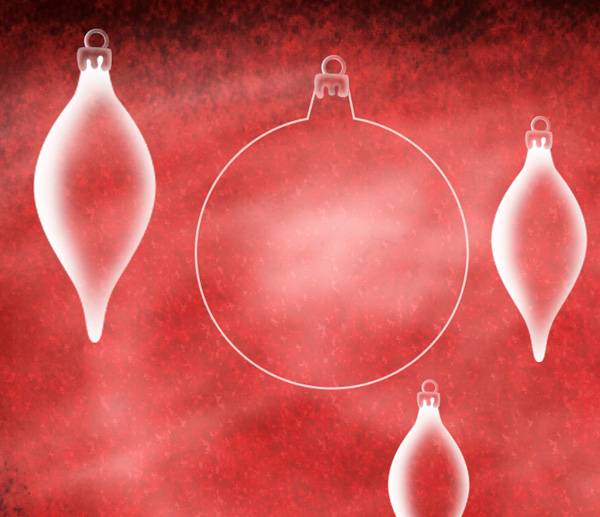
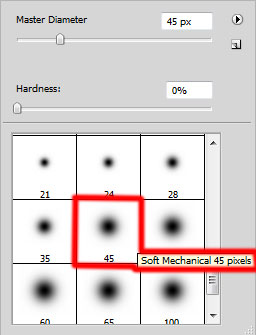
Now we have to rasterize the layer with the ball’s contours. In this case create a new layer above the contours’ layer and hold on the CTRL button while selecting the contours’ layer and the new one. Finally pres CTRL+E to Merge Down. Choose the Eraser Tool (E), in the Options bar set Mode on Brush. Select Soft Mechanical brush from brush preset.
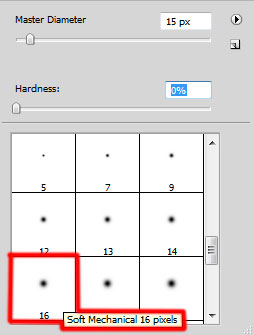
Use this brush to erase the top part of the ball’s support.
Use the earlier described method to represent the ball’s support and the ring.
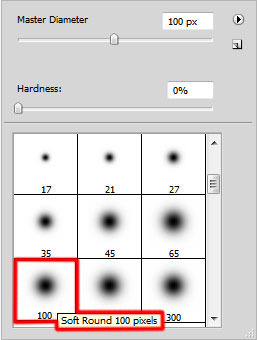
Create a new layer and choose the Soft Round brush of white color.

Use this brush to paint inside the ball as shown.

Insert the mask on the layer by choosing Add layer mask on the bottom part of the Layers panel and choose the Soft Round brush of black color (set Opacity to 20% in Options bar).
Paint in the mask using this brush to hide the next zone on the layer.
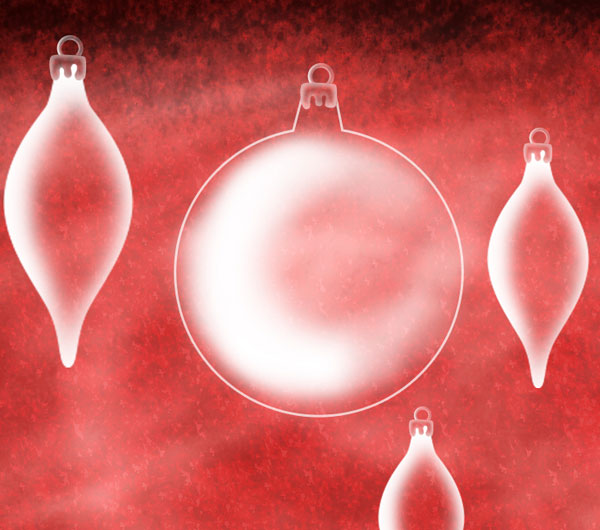
Put together all the ball’s layers into a single layer, press CTRL button and select the layers in Layers panel. Press finally CTRL+E to Merge Down. Choose the Free Transform (Ctrl+T) command and change the sizes of the ball’s layer. Make three copies of the last made layer and change the copies’ sizes, placing them the same way demonstrated below:
Choose the Line Tool (U) (change the Weight value in Options bar) and represent the threads of white color. Set Fill to 60% for these layers.

Now download out of Internet a set of ready to apply brushes in Adobe Photoshop, named Lep – reflections
Create a new layer and choose the next brush from Lep – reflections set. This brush will be used for representing the garlands of white color.
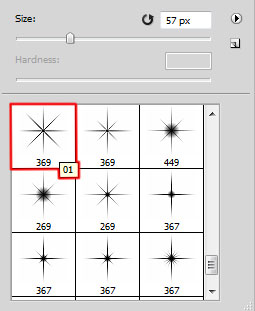
We need to customize our brush in Brushes panel (F5), select the Brush Tip Shape. Click and drag any of the sliders to change the size and brush Spacing as show. The Preview window displays the changed brushstroke.

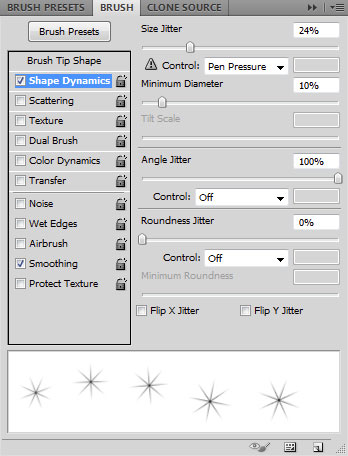
Go to Shape Dynamics:
Use this brush to add the next decoration as shown:

Insert the mask on the layer by choosing Add layer mask on the bottom part of the Layers panel and choose the Soft Mechanical brush of black color (set Opacity to 10% in Options bar).
Paint in the mask using this brush to hide the stars only on some areas. Set Opacity to 55% for this layer.

Create a new layer and select the next brushes from Lep – reflections set. Use this brushes to represent the rays on the tree’s toys support. Use a bigger diameter for the brush. The brushes have the same color.

Apply on this layer the next filter: Filter>Blur>Gaussian blur.
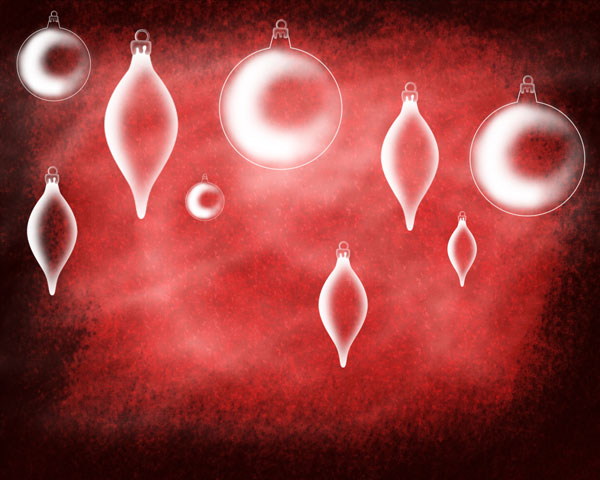
We’ve got the next result:

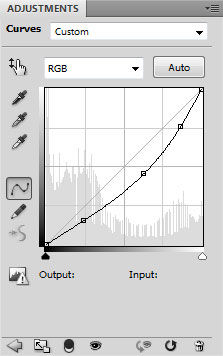
Click Create new fill or adjustment layer from bottom part of the Layers panel and click to Curves to adjust the curve shape as shown to make a little color corrections.
We’ve got the next result:

Make a copy of the earlier represented layer with the garlands, removing the layer’s mask. Place the layer above the Curves adjustment layer. Set Opacity to 72% for this layer and change the Blending mode to Linear Light.

Happy New Year and Merry Christmas!
View full size here.
Page: 1 2
Comments