
How to create Christmas Greeting Card with Decorative Snowflakes on Red Background in Adobe Photoshop CS6
Hold down Alt (Windows) or Option (Mac OS) and click between the brush’s layer and the rectangle’s one in the Layers panel to create a clipping mask.
We’ve got the next result:

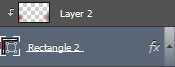
Make a copy of the earlier represented rectangle’s layer and set Fill to 0% for this layer.
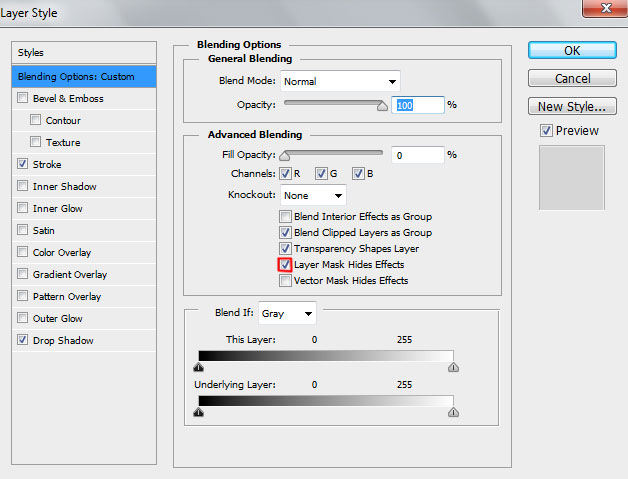

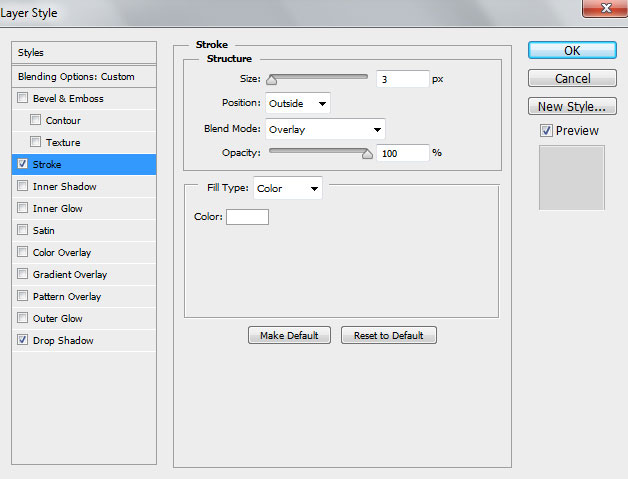
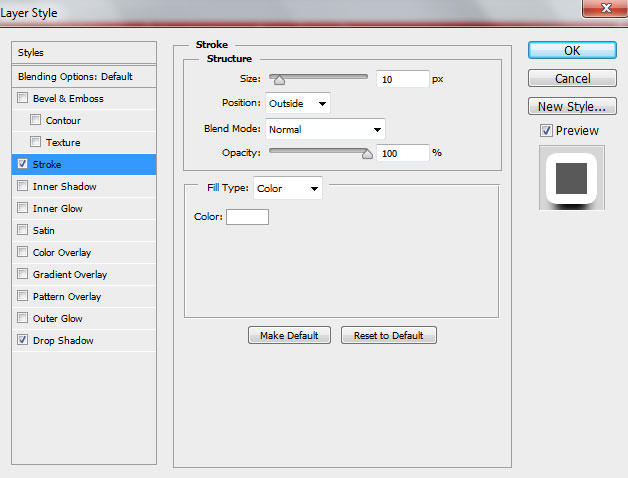
Click on Add a layer style icon from bottom part of the Layers panel and select Stroke.
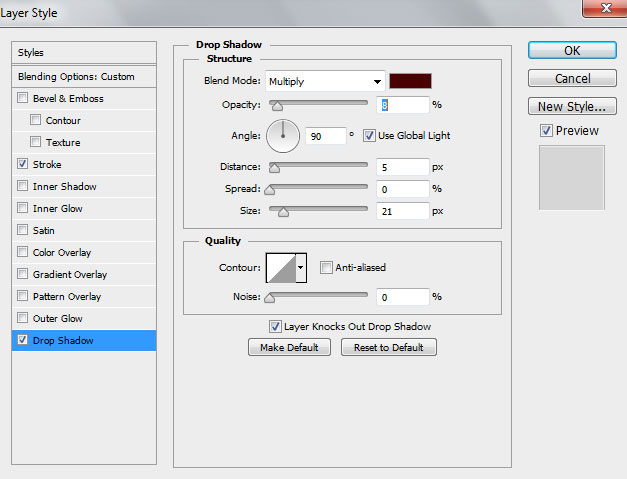
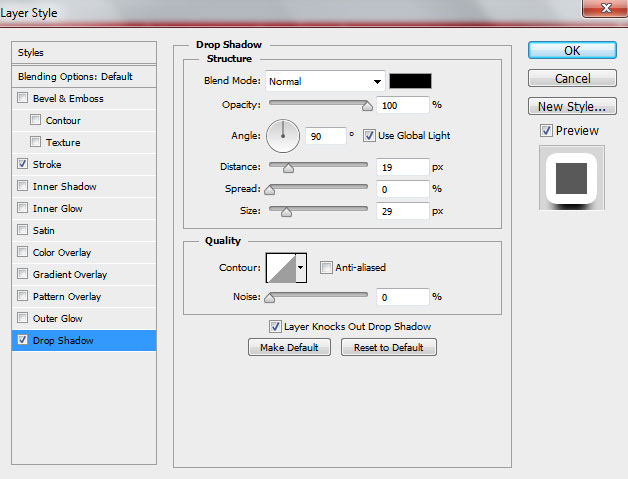
Add Drop Shadow:
We’ve got the next result:

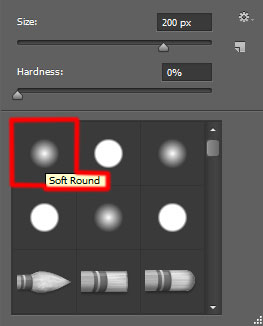
Insert the mask on the same layer by choosing Add layer mask on the bottom part of the Layers panel and choose the Soft Round brush of black color.
Paint in the mask to hide the shining rectangle’s edges the same way as it is shown on the next image:

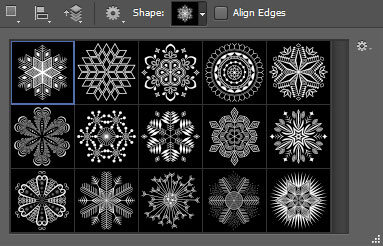
Represent now a big snowflake by creating a new layer and select from Custom Shape Tool (U) the earlier downloaded set of snowflakes. This time choose the #910105 color for the snowflake:
We’ve got the next result:

Click on Add a layer style icon from bottom part of the Layers panel and select Stroke.
Apply Drop Shadow:
We’ve got the next result:

This way we may introduce on our canvas several more snowflakes using the same tools. The Blending Options > Stroke parameters must be chosen proportionally with the snowflake’s size. The Drop Shadow parameters is the same.

Next we’ll represent the threads for the snowflakes’ support. Use the same Rectangle Tool (U) draw the threads and place the new layers under the layers with the snowflakes on them.

We’ve got the next result:

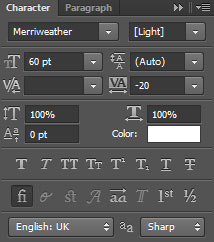
Finally insert the greeting text on our holiday card. Select the Horizontal Type tool (T). Select a font, size and color in the Character panel. I used this font from FontSquirrel.
Click in the canvas and type ‘Merry Christmas’. Press Enter to apply the text.

Our Christmas Greeting Card with Decorative Snowflakes is finished!
Merry Christmas and Happy New Year!
View full size here.
Download free Layered PSD file.
Page: 1 2
Comments