
How to Create a Christmas card with Red Glowing Baubles in Photoshop CS5
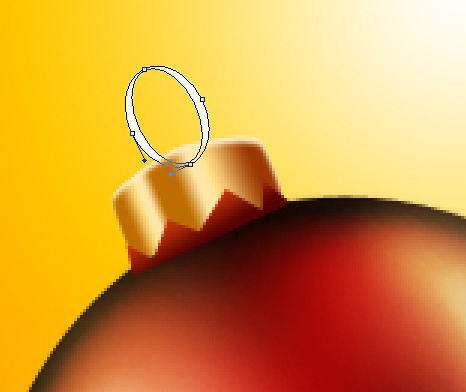
Take the Ellipse Tool (U) again to represent the ring on the support. For the beginning we’ll draw the first ellipse. Press Alt button or select Subtract from shape area (-) from Options bar and draw another ellipse to cut the central part of the ring as shown. Incline then the ring, using the Free Transform (Ctrl+T) command. This layer will be positioned under the previous layer.
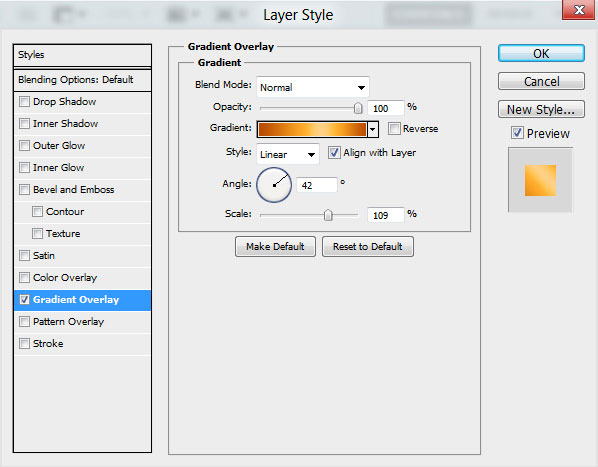
Click on Add a layer style icon from bottom part of the Layers panel and select Gradient Overlay.
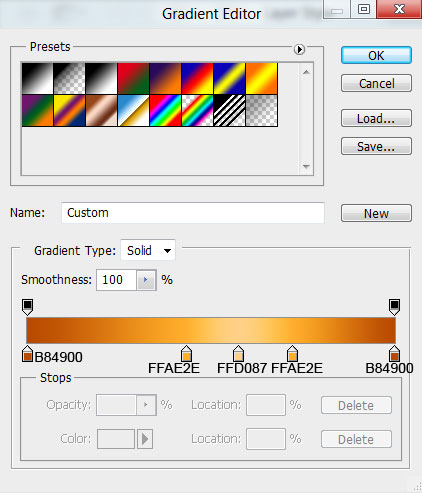
Click in the color bar to open the Gradient Editor and set the color stops as shown. Click OK to close the Gradient Editor dialog box.

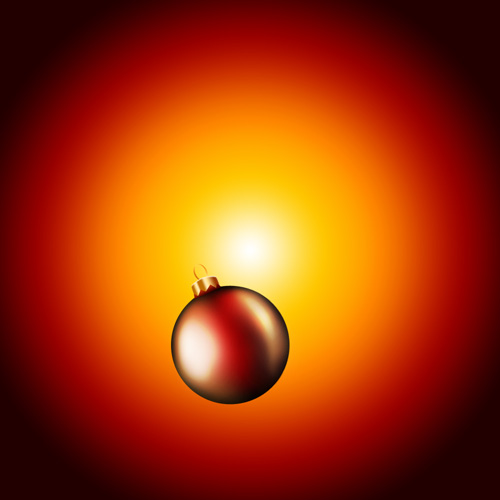
We’ve got the next result:
Combine in a group all the layers, composing the Christmas bauble (press CTRL button to select the necessary layers and hold on the left mouse’s button while dragging the selected layers on Create a new group icon from bottom part of the Layers panel). Make two copies of the made group and select the Free Transform (Ctrl+T) command to change the copies’ sizes, placing them the same way from below.
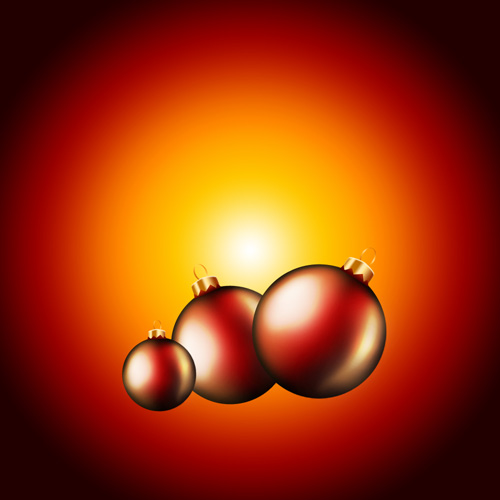
Create a new layer and use the Elliptical Marquee Tool (M) to make the next selection. The selection should be filled in black, using the Paint Bucket Tool (G).

Apply on the next filter on the layer Filter > Blur > Gaussian blur:
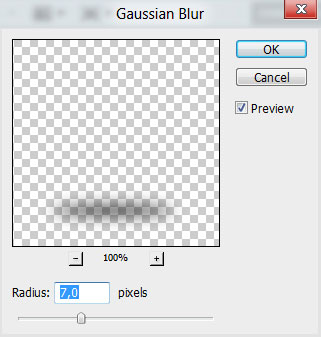
We’ve got the next shadow:

… and then apply Filter > Blur > Motion blur:
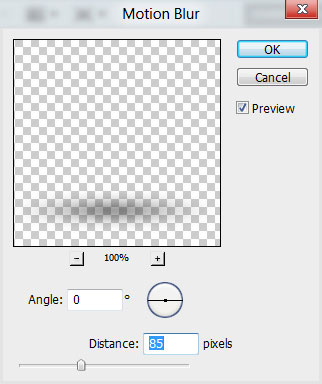
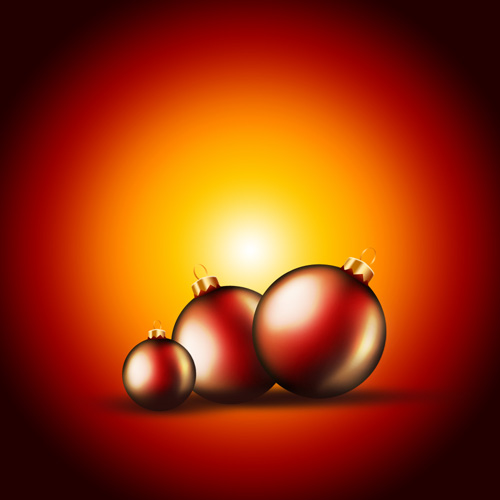
We’ve got the next result:

The same method will be helpful in creating the shadows under the other baubles, getting the same result as on the picture. The shadows’ layers should be placed under the baubles’ layers.
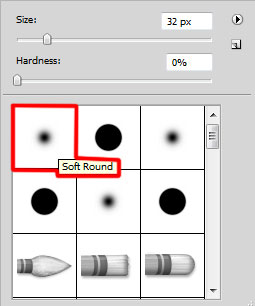
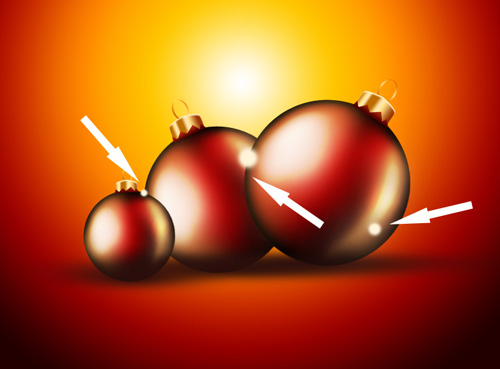
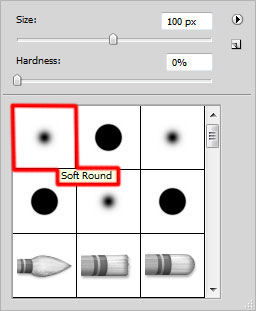
Create a new layer and select the Soft Round brush of white color.
Use this brush to represent the glowing effect on the baubles and its support elements.
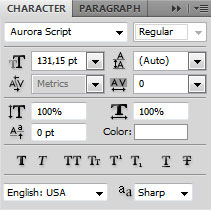
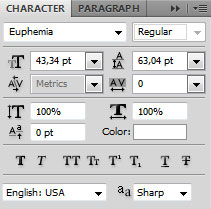
Insert the message text for greeting card. Select the Horizontal Type tool (T). Select a font, size and color in the Character panel.
Click in the canvas and type ‘Merry Christmas’. Press Enter to apply the text.

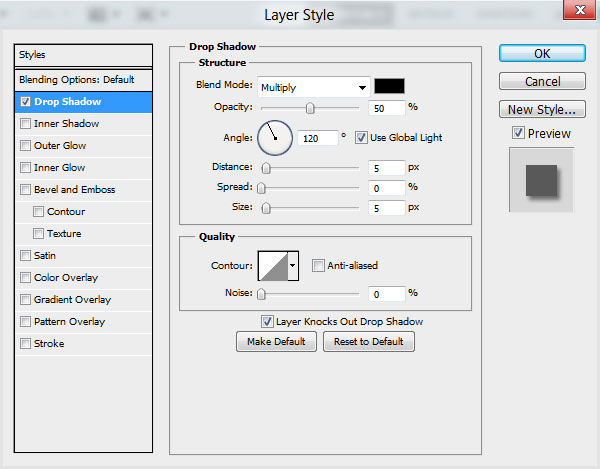
Click on Add a layer style icon from bottom part of the Layers panel and select Drop Shadow.
We’ve got the next result:

Insert now a rectangle under the text, using the Rectangle Tool (U), rectangle color is #1F0301.

Insert the mask on the layer by choosing Add layer mask on the bottom part of the Layers paneland press CTRL+I to Inverse the color. After that select the Soft Round brush of white color.
Paint in the mask using this brush, getting the same effect as on the picture it is demonstrated.

Insert now the second part of the greeting text. Select the Horizontal Type tool (T). Select a font, size and color in the Character panel.
Click in the canvas and type ‘and Happy New Year’. Press Enter to apply the text.

Create a new layer and select the Soft Round brush of white color (brush Opacity – 15%).
Use this brush to represent many small circles. Place the layer under baubles’ layers and the text itself.

Set the Blending mode for this layer to Overlay.

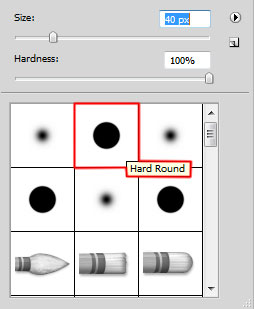
Create a new layer and select the Soft Round brush.

Use this brush to paint on the low halves of the Christmas baubles using #FF4620 color (brush Opacity – 50%)

Set the Blending mode for this layer to Overlay.

Using the same method, we can represent a new layer and paint with the same brush the Christmas baubles’ reflections. The brush’s color is #FFB800.

Set Fill to 76% for this layer and change the Blending mode to Hard Mix.

Next step we’ll download set of brushes for Adobe Photoshop, named: light_brushes_2. Copy the brushes file to C:\Program Files\Adobe\Adobe Photoshop X\Presets\Brushes folder (Adobe Photoshop X been your version of Photoshop).
Create a new layer and load the downloaded brushes, select the next brushes from light_brushes_2 set:
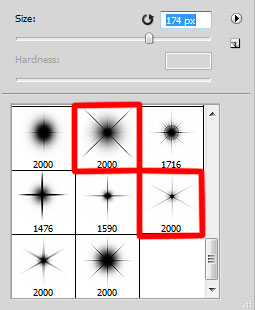
Use this brushes to represent a shining stars of white color.

Click Create new fill or adjustment layer from bottom part of the Layers panel and click to Curves to adjust the curve shape as shown to make a little color corrections. The layer will be placed under the Merry Christmas text.
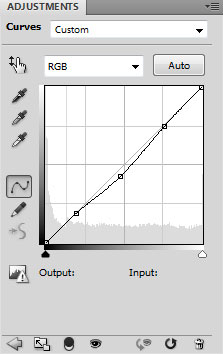
We’ve got the next result:

Our Christmas card with Red Glowing Baubles is finished!
Happy New Year and Merry Christmas!
View full size here.
Download free Layered PSD file.
Page: 1 2
Comments