
How to Create an Amazing Space Scene in Adobe Photoshop CS5
Make a copy of the recently made layer.
Make another copy of the last made layer, but this time set Fill to 100% for this layer.
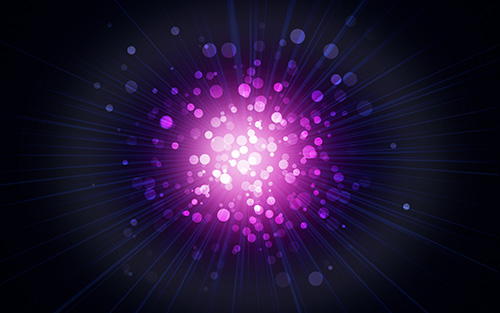
Click on Add a layer style icon from bottom part of the Layers panel and select Outer Glow.
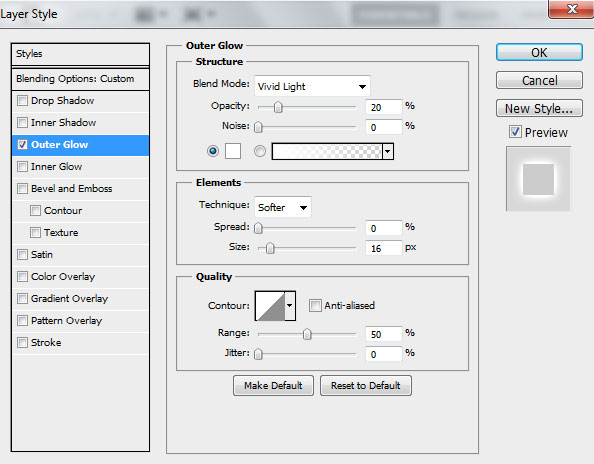

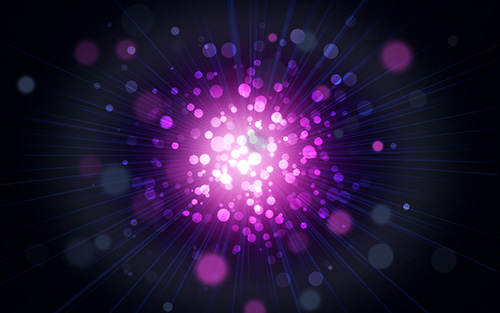
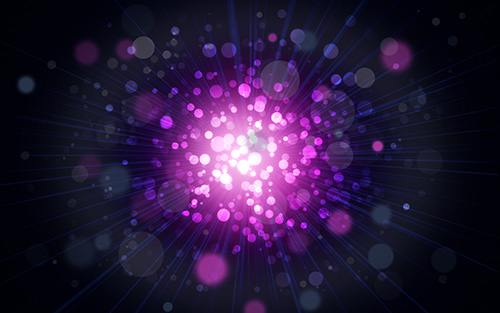
We’ve got the next result:

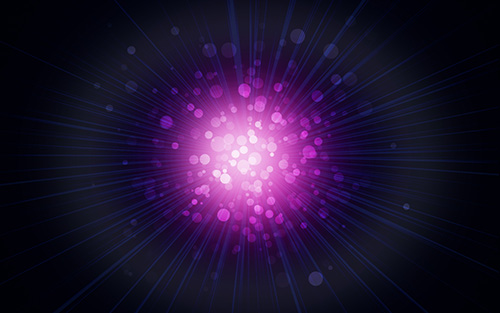
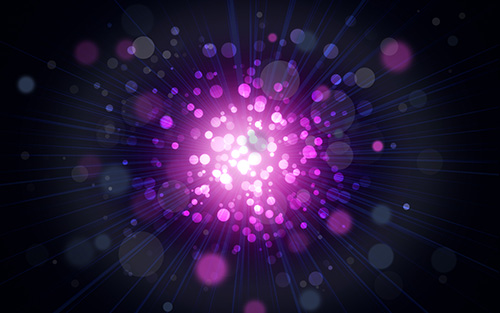
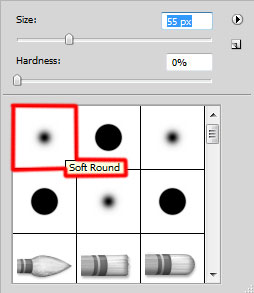
On the next new layer we’ll apply the Soft Round brush to represent other small circles, applying a brush with different diameters and Opacity value. The brush’s color is #93308F.

We’ve got the next result:
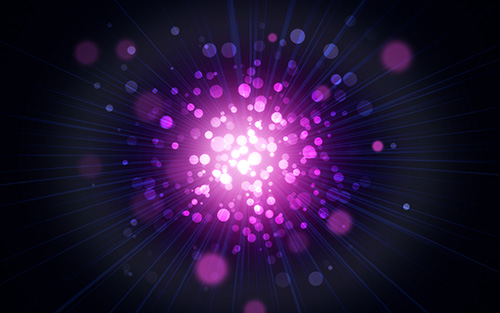
Create a new layer and apply also the brush mentioned in the previous example to add more small circles. The brush’s color is #232B41. The brush this time will have different diameters and different Hardness and Opacity values.
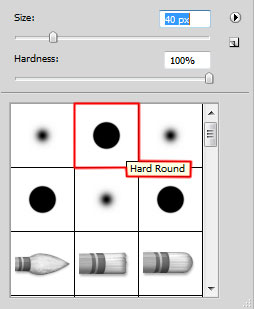
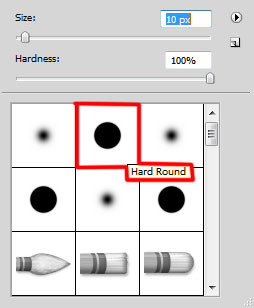
Continue inserting small circles on the canvas by creating a new layer on which we need to apply the Hard Round brush of white color (brush Opacity – 20%).

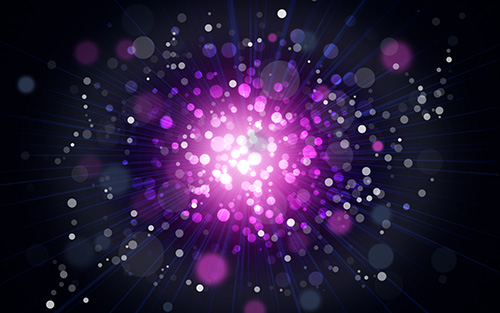
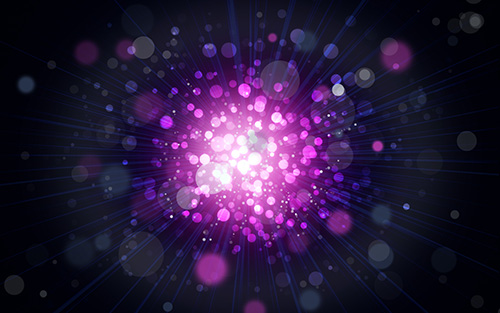
We’ve got the next result:
Create the next new layer applying here the Hard Round brush of white color to represent several smaller circles. In this case apply a brush of different diameters too and also different Opacity value.
We’ve got the next result:
Set the Blending mode for this layer to Overlay.
On the next new layer we’ll select again the Hard Round brush of white color and insert even smaller circles than the previous ones. This time apply also the brush with different diameters and different Opacity value.
We’ve got the next result:

Create a new layer and use the same Hard Round brush of white color (brush Opacity – 20%) to draw circles of a bigger diameter. Select also different diameters for the brush and different Opacity value.

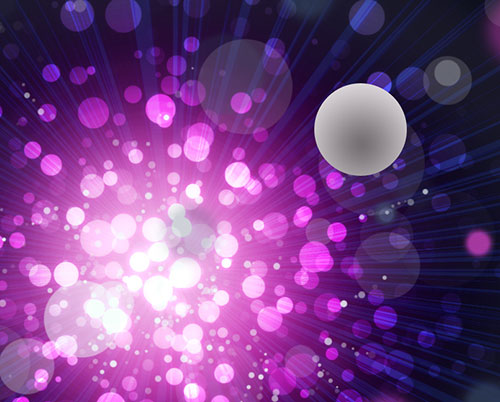
We’ve got the next result:
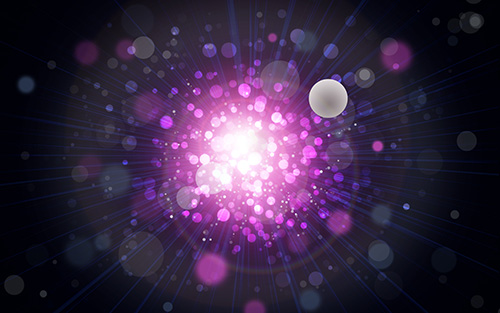
Using the Ellipse Tool (U), we’ll represent an ellipse of the color #CCC2C9.

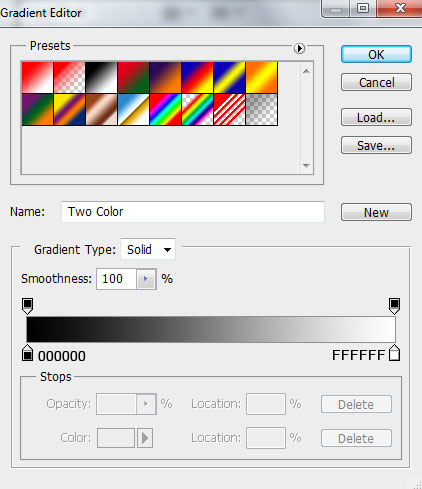
Click on Add a layer style icon from bottom part of the Layers panel and select Gradient Overlay.
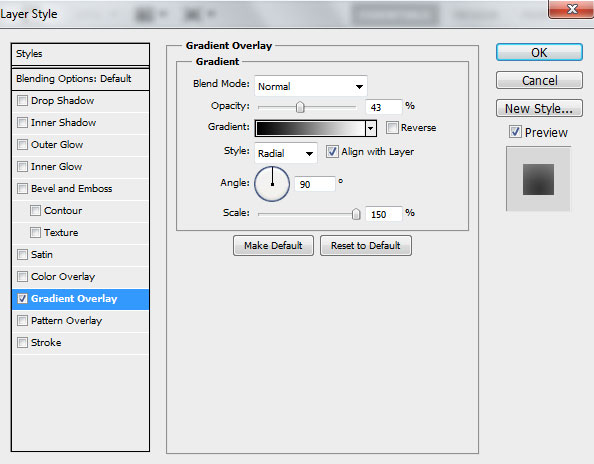
Click in the color bar to open the Gradient Editor and set the color stops as shown. Click OK to close the Gradient Editor dialog box.
We’ve got the next result:
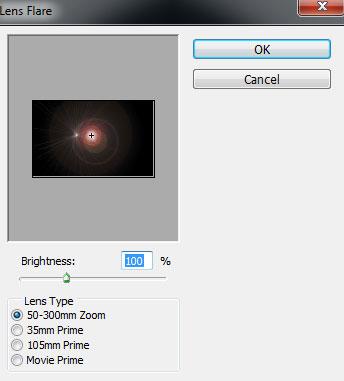
Create a new layer again and apply on it the Paint Bucket Tool (G) to fill the layer with black color.

Apply on the layer the next filter: Filter>Render>Lens Flare.
We’ve got the next result:
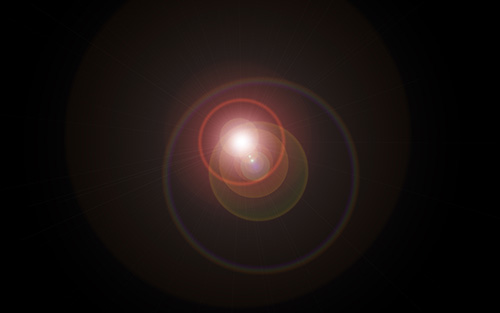
Set the Blending mode for this layer to Screen.
Create a new layer and apply on it the Soft Round brush of white color to insert several dots elements. Use the brush with different Opacity value.
We’ve got the next result:

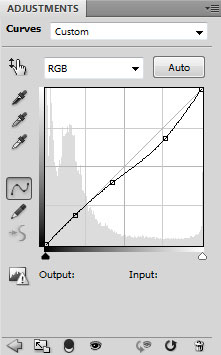
Click Create new fill or adjustment layer from bottom part of the Layers panel and click to Curves to adjust the curve shape as shown to make a little color corrections.
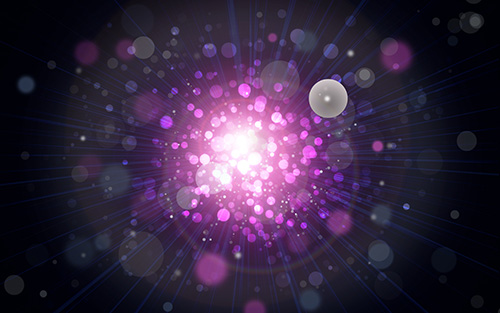
We’ve got the next result:
Click Create new fill or adjustment layer from bottom part of the Layers panel and select Hue/Saturation. Drag the slider to the left to decrease the Hue of the color range and increase the Saturation as shown.

We’ve got the next result:
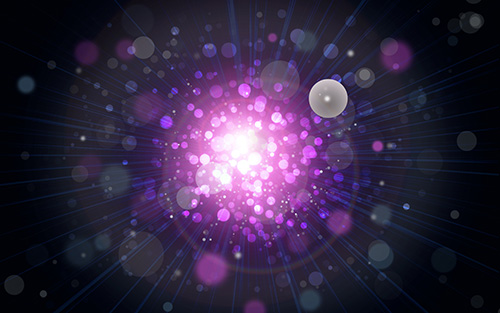
Combine in a group all the layers (press CTRL button to select the necessary layers and hold on the left mouse’s button while dragging the selected layers on Create a new group icon from bottom part of the Layers panel).
The new group needs to be rasterized (select it firstly in Layers panel and then press CTRL+E to Merge Down).
On the rasterized layer we’ll apply the next filter: Filter > Sharpen > Unsharp Mask.
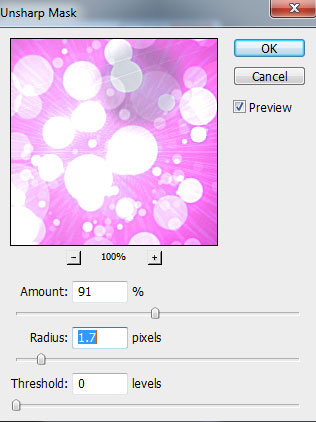
We’ve got the next result:
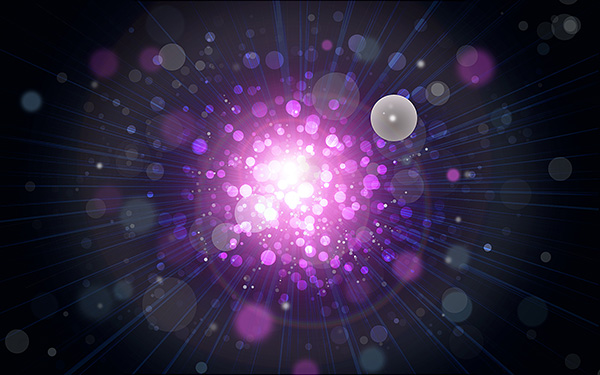
Our Amazing Space Scene is finished!
View full size here.
Download free Layered PSD file.
Page: 1 2
Comments