
How to Create Amazing Floral Illustration in Photoshop CS5
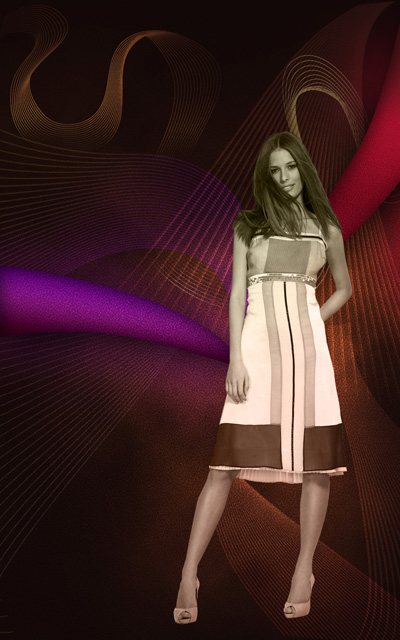
On the next new layer we’ll apply the next brush from the earlier mentioned set of brushes (rebelFive_Linear_Brush_Set_1) of white color.
Change the Blending mode to Overlay for this layer.
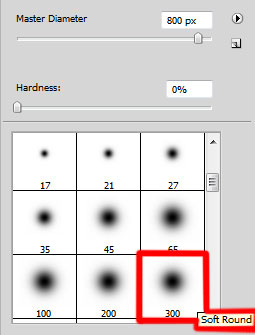
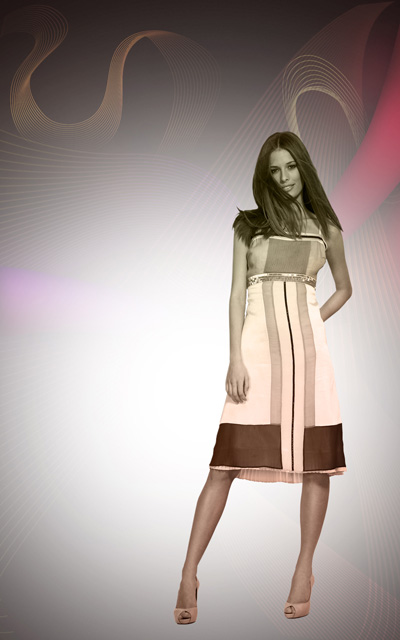
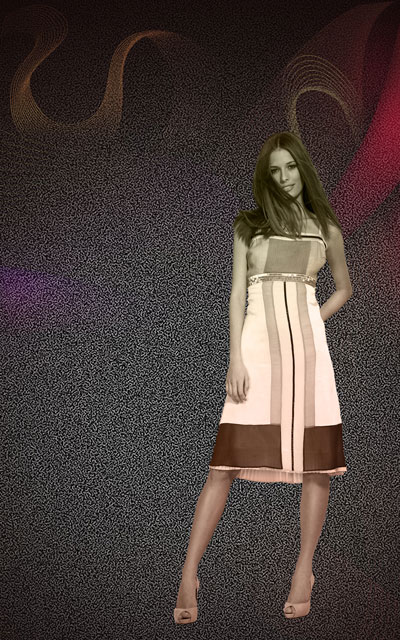
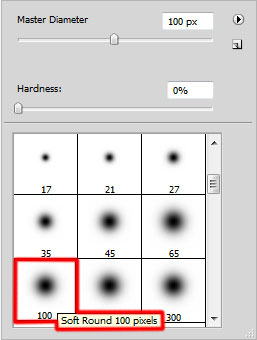
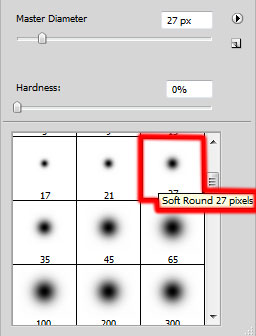
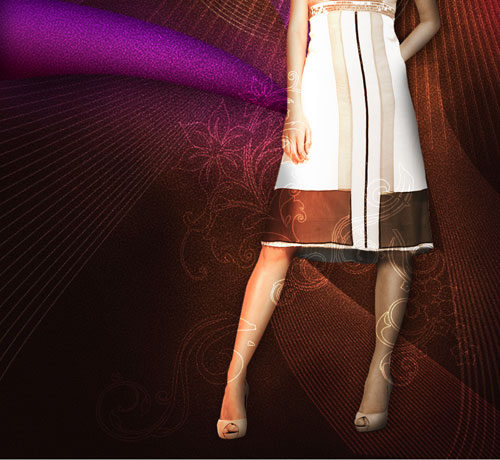
Create a new layer again and apply here the Soft Round brush of white color to paint the central part of the canvas.
Place the layer under the girl’s one.
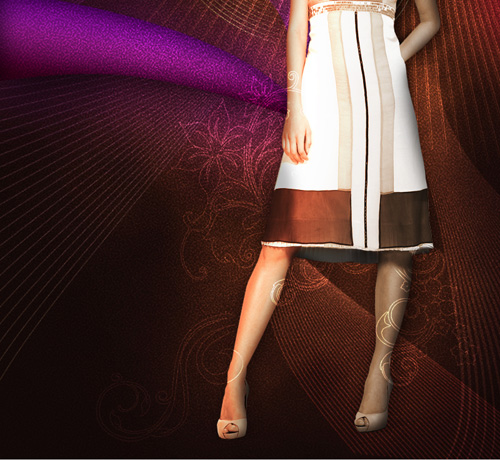
Apply on the layer with the brush the next filter: Filter>Filter Gallery>Sketch>Reticulation
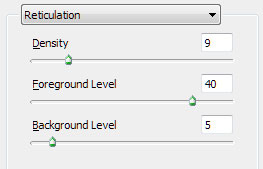
We’ve got the next effect.

Set Fill to 60% for this layer and change the Blending mode to Color Dodge.
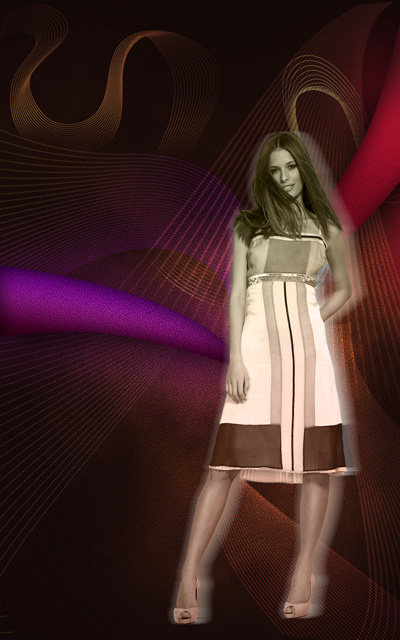
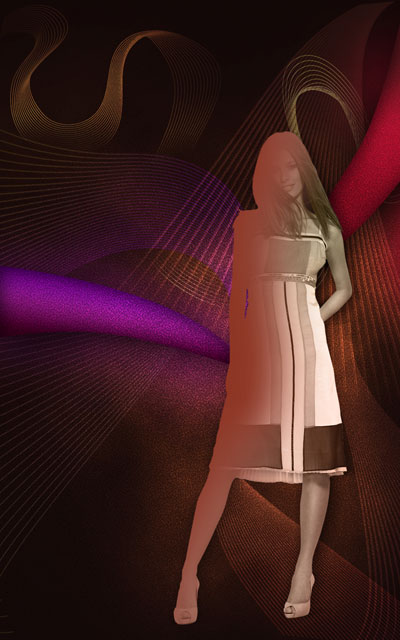
Make a copy of the girl’s layer and place it under the original girl’s layer. Apply for this layer the next filter: Filter>Blur>Motion blur
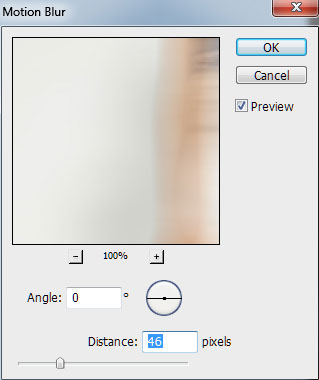
We’ve got the next result:
Change the Blending mode to Substract for this layer.
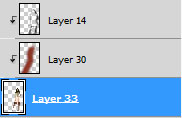
Insert the mask on the layer by choosing Add layer mask on the bottom part of the Layers panel and select the Soft Round brush of black color (Opacity 20%) to hide the edges of the layer with the girl’s shadow.

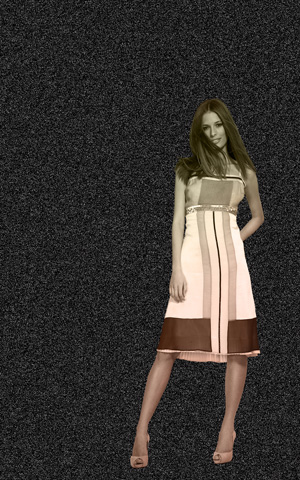
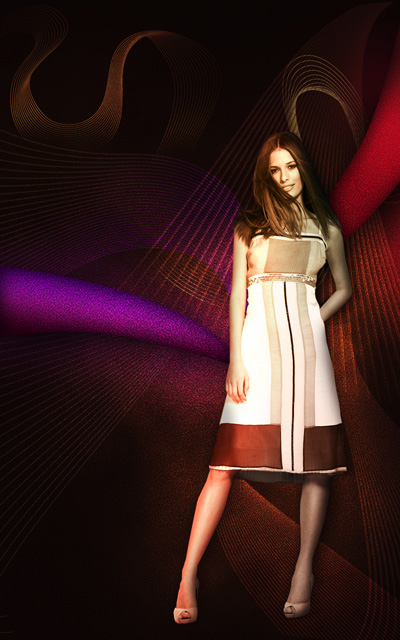
Create a new layer which must be filled with black color using Paint Bucket Tool (G). Place the layer under the layer with the girl.
Add noise using Filter>Noise>Add Noise …
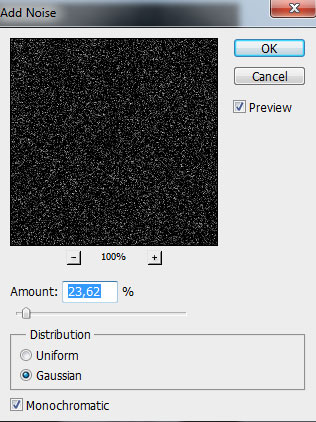
We’ve got the next result:
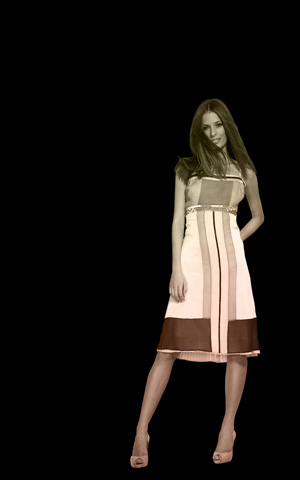
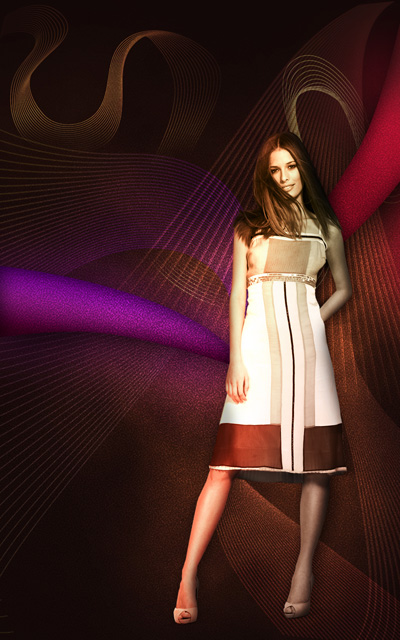
Insert the mask on the layer by choosing Add layer mask on the bottom part of the Layers panel and select the Soft Round brush of black color.

Use this brush to paint in the mask to hide the next zones on the layer as shown:
Set Fill to 63% for this layer and change the Blending mode to Color Dodge.

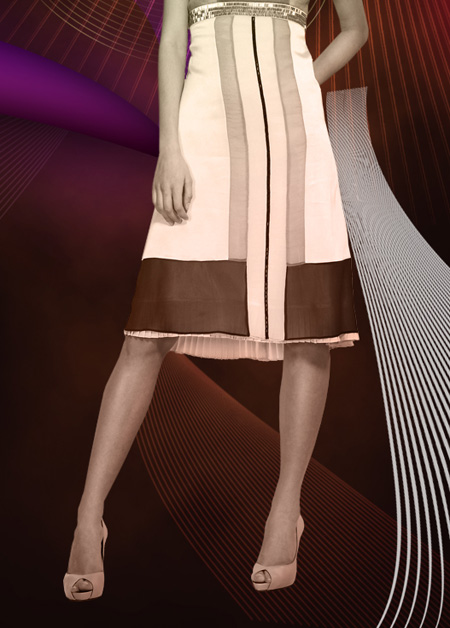
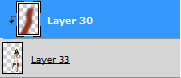
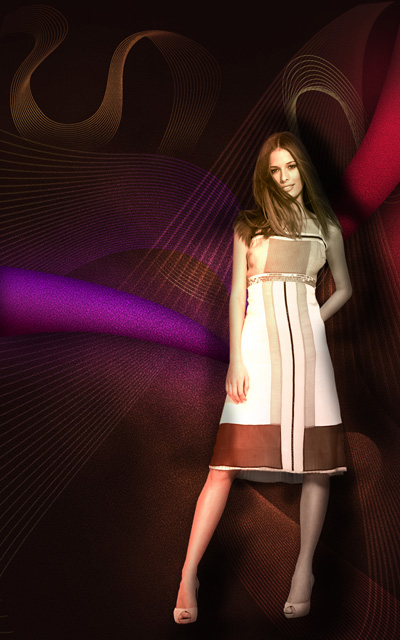
Now we have to rasterize the layer, containing the girl on it. In this case we’ll represent a new layer above the girl’s one and press CTRL button to select the both layers. Finally press CTRL+E to Merge Down. Create a new layer now above the rasterized layer with the girl on it. Select here the Soft Round brush. The brush’s color is #8E3625.

Use this brush to paint the girl’s left half as shown.
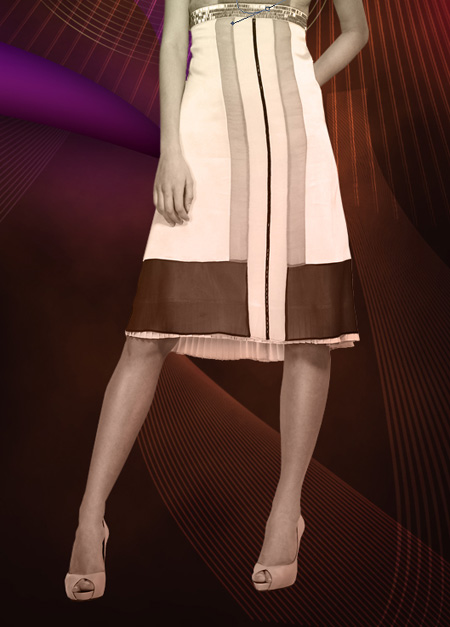
Hold down Alt (Windows) or Option (Mac OS) and click between layers in the Layers panel to create a clipping mask.
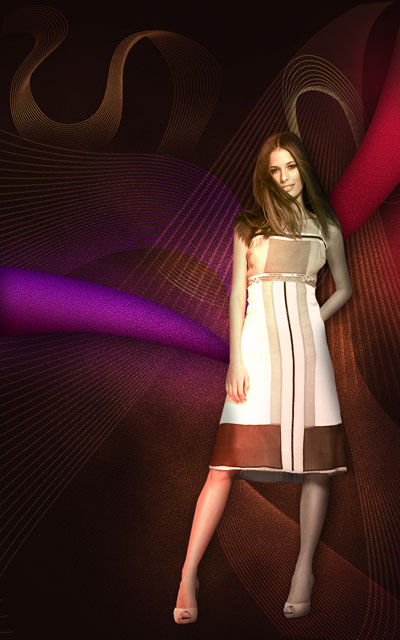
We’ve got the next result.
Set Fill to 80% for this layer and change the Blending mode to Color Dodge.
Now we have to represent several dark zones on the girl’s body. In this case create a new layer and apply on it the Soft Round brush of black color (Opacity 10%).
Hold down Alt (Windows) or Option (Mac OS) and click between layers in the Layers panel to create a clipping mask.
We’ve got the next result:
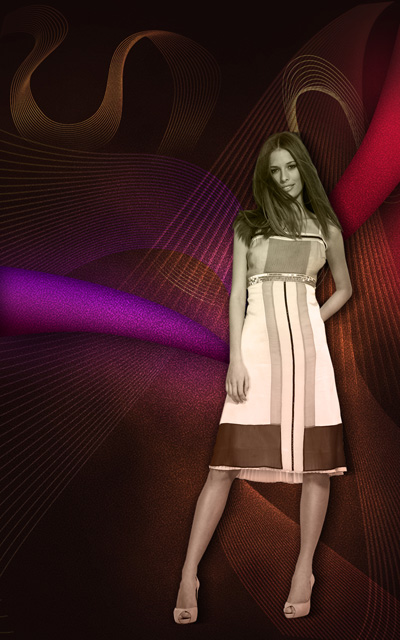
Click Create new fill or adjustment layer from bottom part of the Layers panel and click to Curves to adjust the curve shape as shown to make a little color corrections.
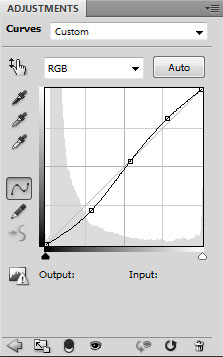
We’ve got the next result:
Hold down Alt (Windows) or Option (Mac OS) and click between layers in the Layers panel to create a clipping mask.

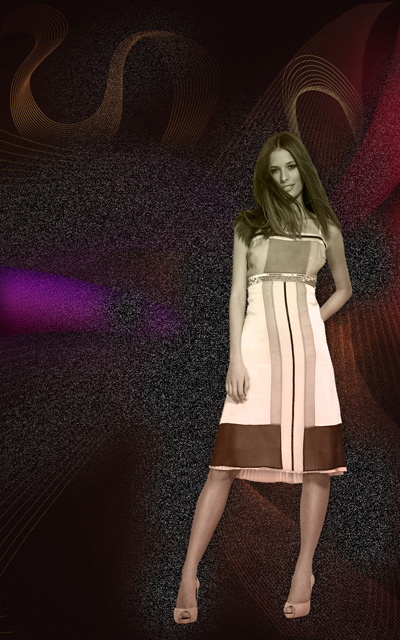
We’ve got the next effect:
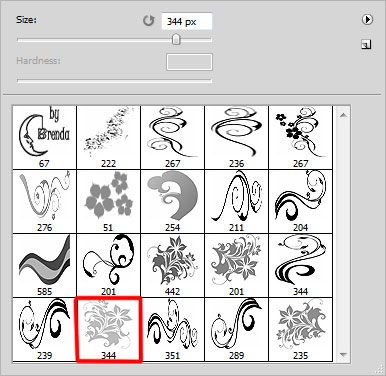
On the next new layer we’ll apply the brushes from Florar_and_Enchanting_II_by_Coby17 set.

They have white color.
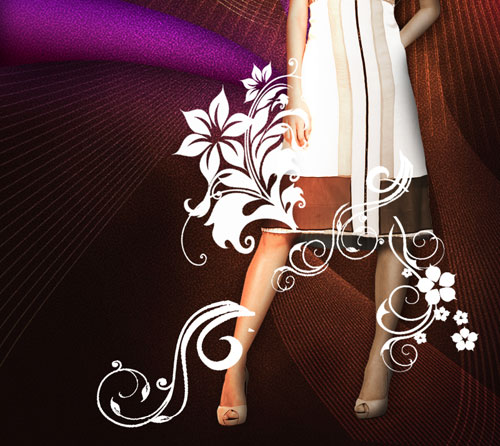
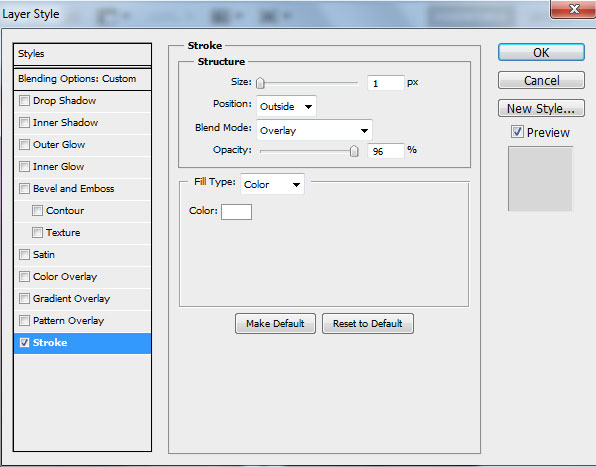
Set Fill to 0% for this layer and click Add a layer style icon from bottom part of the Layers panel to select Stroke:
We’ve got the next effect on the brushes.
Insert the mask on the layer by choosing Add layer mask on the bottom part of the Layers panel and select Hard Mechanical brush of black color.
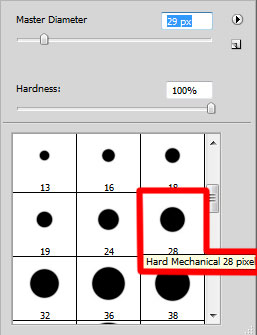
Use this brush to paint in the mask to hide the floral brushes coming above the girl’s body.
Make two copies of the last made layer:
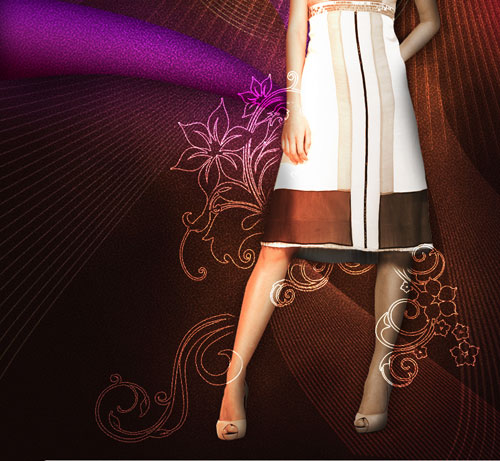
Create a new layer now and select the next brush from Florar_and_Enchanting_II_by_Coby17 set of white color.
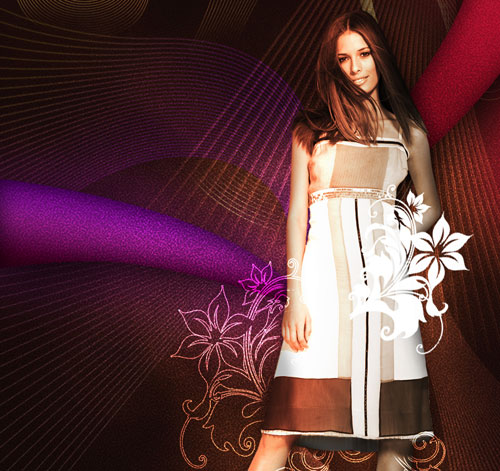
Add for the layer the same Stroke style we’ve used for the brushes in the previous example:
Insert the mask on the layer by choosing Add layer mask on the bottom part of the Layers panel and select the Hard Mechanical brush of black color to hide the floral brush coming above the girl’s body.
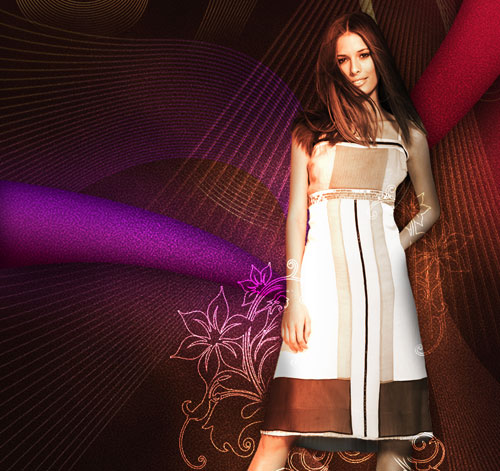
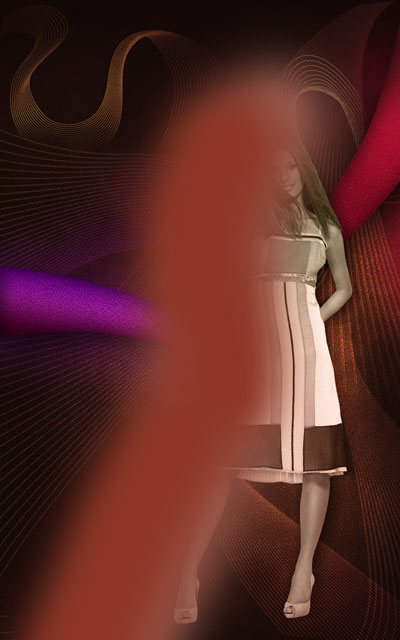
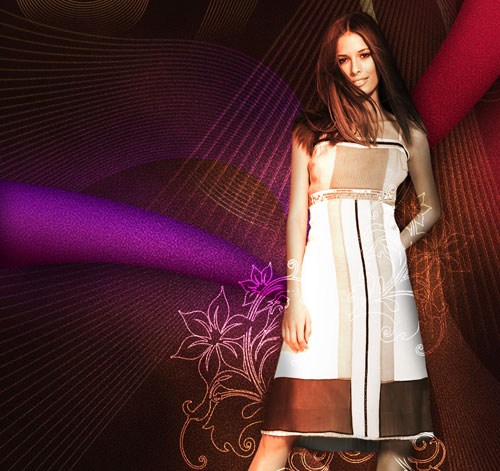
Make a copy of the last made layer.

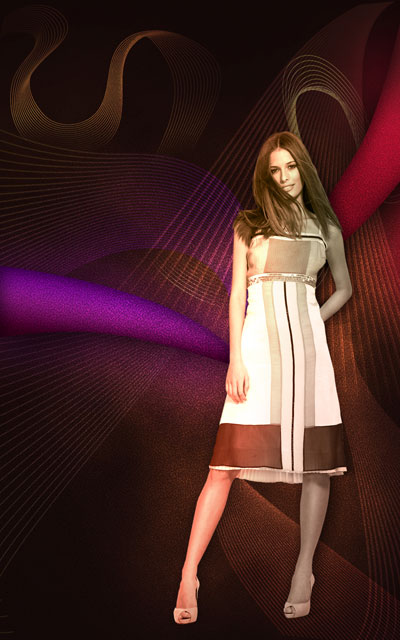
The final result!
View full size here.
Download free Layered PSD file.
Page: 1 2
Comments