
How to create amazing colorful text effect in Photoshop CS5
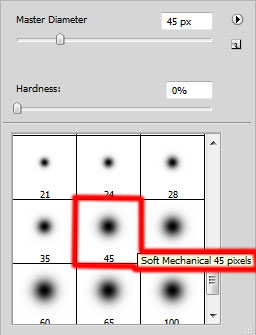
Insert the mask on the layer by choosing Add layer mask on the bottom part of the Layers panel and choose the Soft Mechanical brush of black color (set Opacity to 15% in Options bar).

Paint in the mask using this brush to clean out smoothly the shape’s layer the same way we did with the previous example.

Hold down Alt (Windows) or Option (Mac OS) and click between layers in the Layers panel to create a clipping mask.

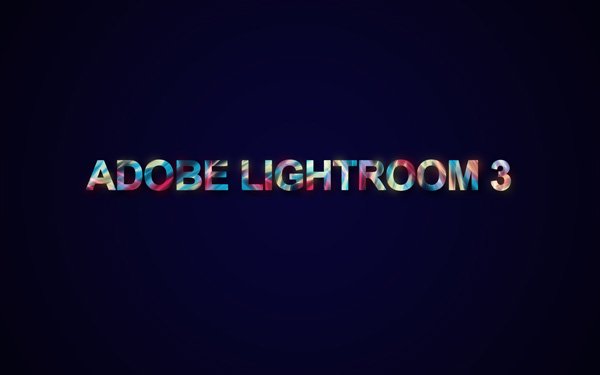
We’ve got the next result:

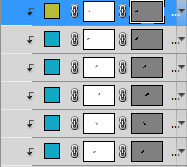
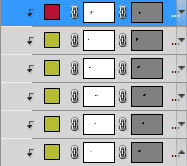
Next we have to make many copies of the last made layer and choose the Free Transform (Ctrl+T) command to change the copies’ placement and place them as below. Hold down Alt (Windows) or Option (Mac OS) and click between layers in the Layers panel to create a clipping mask.
Next we have to use the earlier applied Pen Tool (P) to represent another shape.

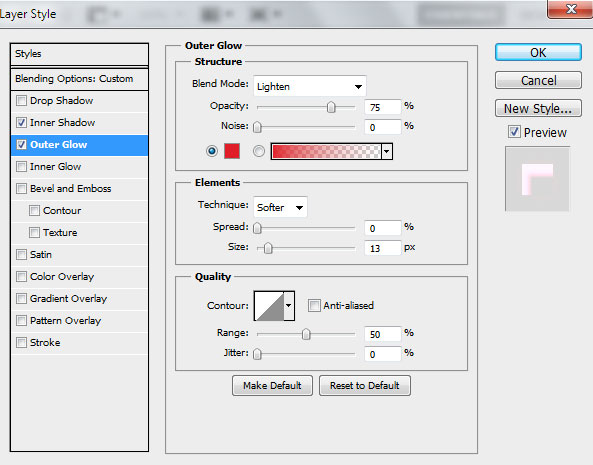
Set Fill to 0% for this layer and click on Add a layer style icon from bottom part of the Layers panel to select Outer Glow.
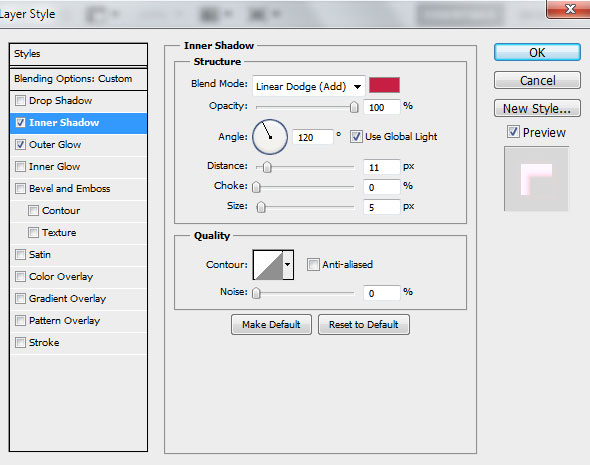
Add Inner Glow:
We’ve got the next result:

Insert the mask on the layer the same way we did earlier and clean out the shape with the same brush of black color.

Hold down Alt (Windows) or Option (Mac OS) and click between layers in the Layers panel to create a clipping mask.
We’ve got the next result:

Make copies of the last made layer and select the Free Transform (Ctrl+T) command to place the copies as below:

Create a new layer and use the Soft Mechanical brush of yellow color (Opacity – 15%).

Use this brush to paint the white text’s fragments.

Create a new layer and select the brush mentioned above of red color (Opacity – 15%) to paint the red fragments of the text.
Create a new layer and choose the Soft Mechanical brush of blue color (Opacity – 15%) to paint the blue fragments on the text.
We’ve got the next result:

Create another new layer, using on it the Soft Mechanical brush of the color #44425B (Opacity – 20%) to draw shadows on the text.
Click Create new fill or adjustment layer from bottom part of the Layers panel and click to Curves to adjust the curve shape as shown to make a little color corrections.
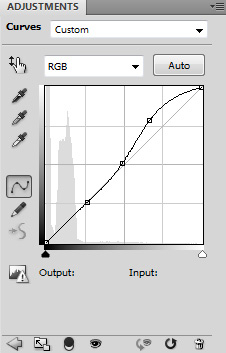
We’ve got the next result:

Click Create new fill or adjustment layer from bottom part of the Layers panel and click to Hue/Saturation.
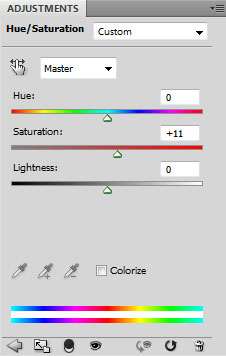
Drag the slider to the right to increase the Saturation of the color range.
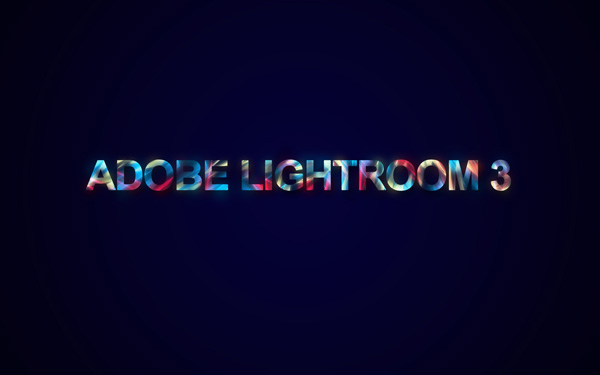
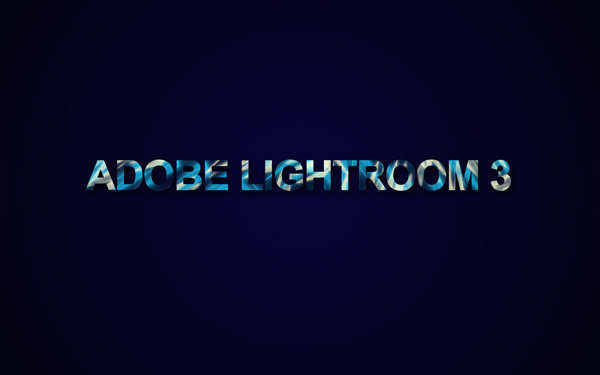
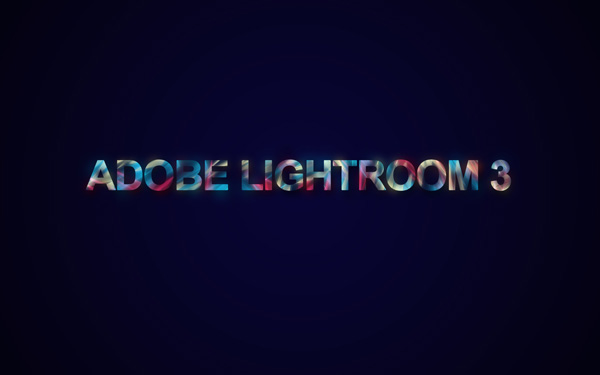
We’ve got the next colorful text effect.
View full size here.
Download free Layered PSD file.
Page: 1 2
Comments