
How to Create Abstract Vector Background with Colorful Bubbles in Adobe Photoshop CS5
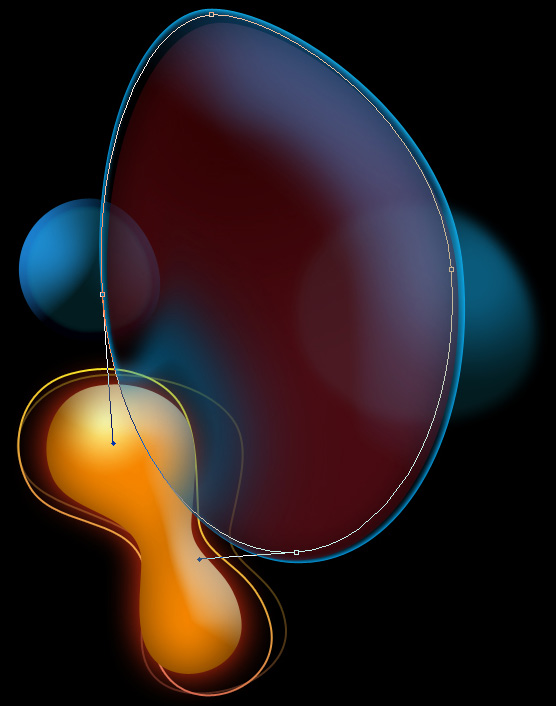
Make one more copy of the last made layer and use this time the Direct Selection Tool (A) to displace the lowest top anchor point to the left side, applying also different settings for the layer.
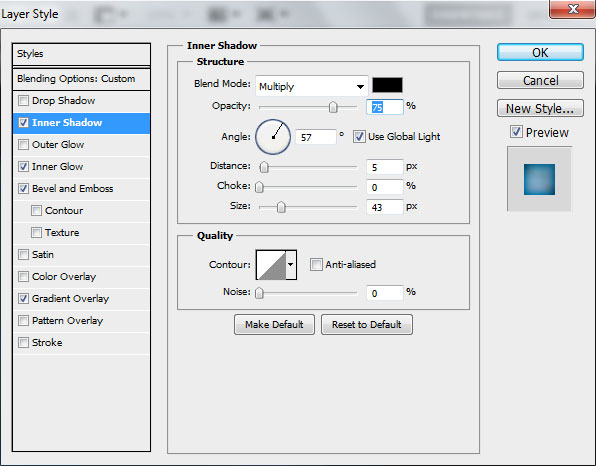
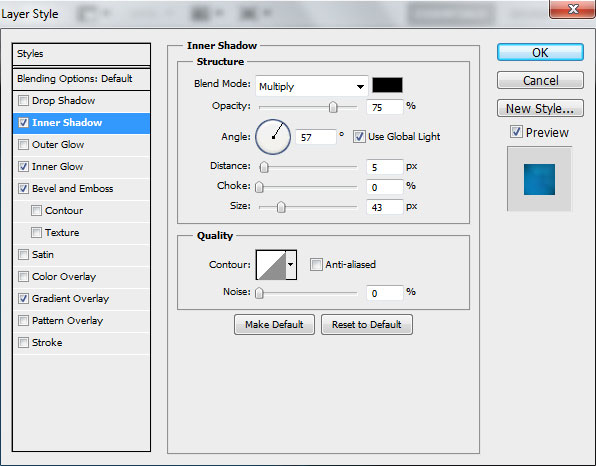
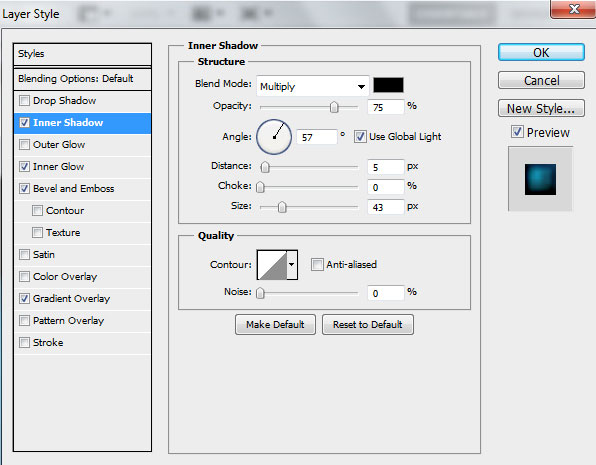
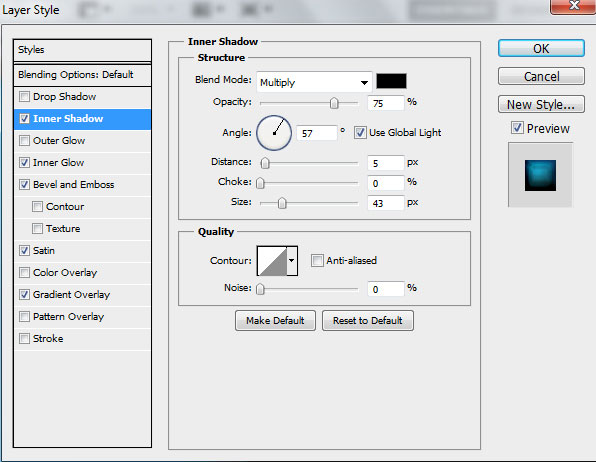
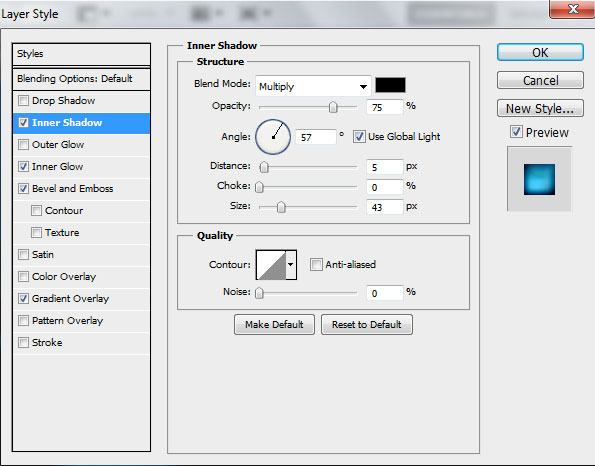
Set Fill to 0% for this layer and click on Add a layer style icon from bottom part of the Layers panel to select Inner Shadow.
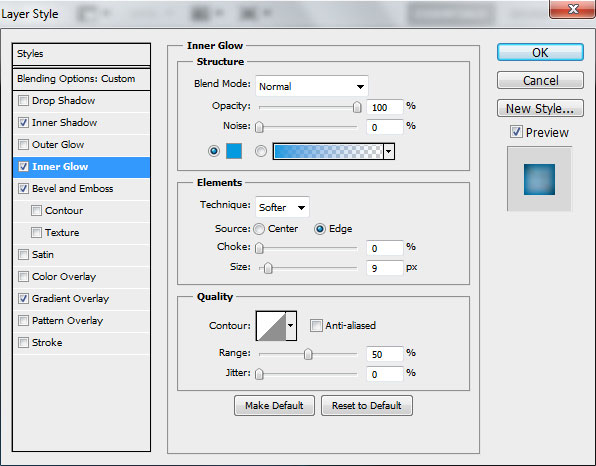
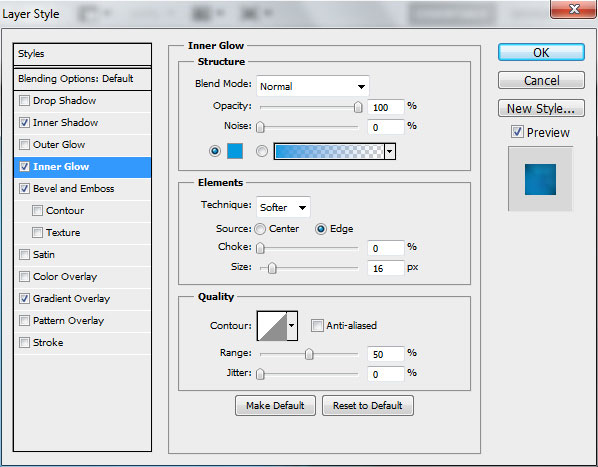
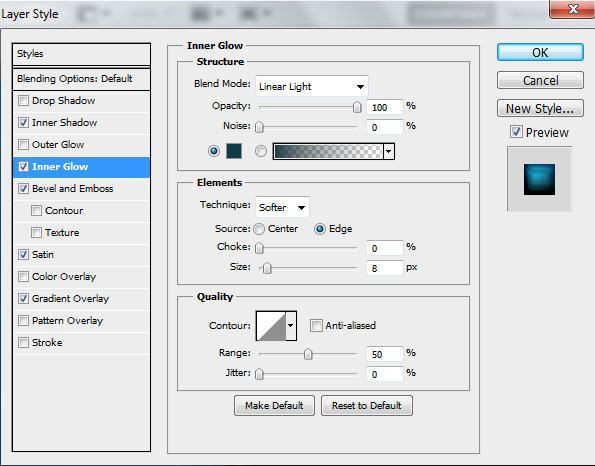
Add Inner Glow:

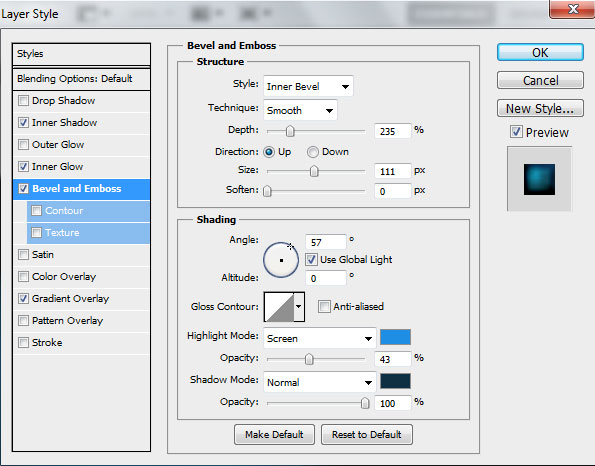
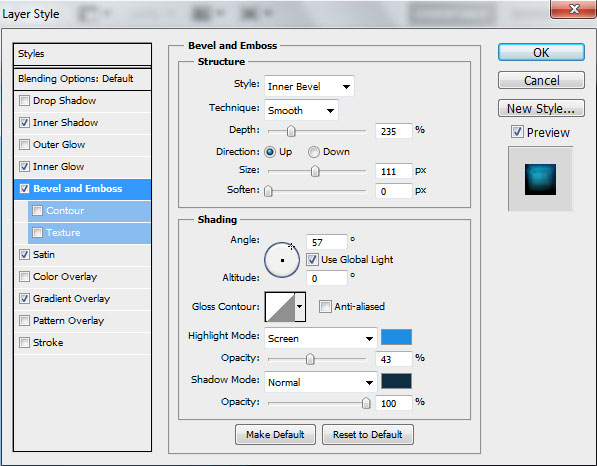
Choose Bevel and Emboss:

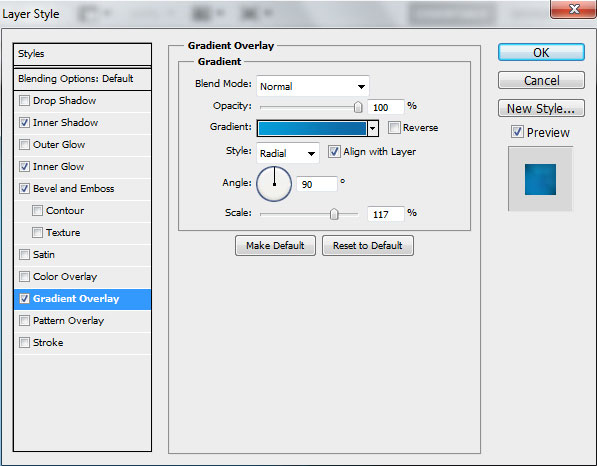
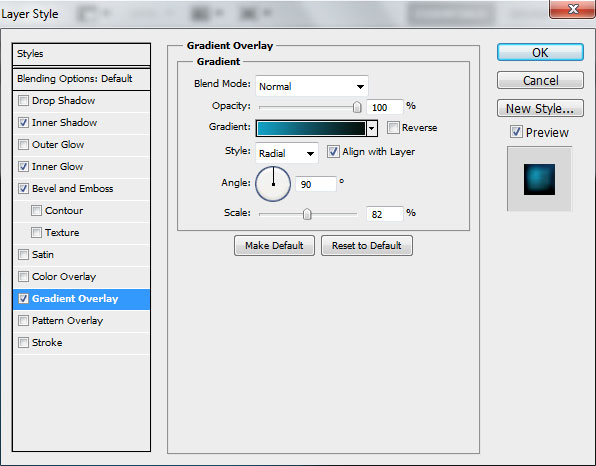
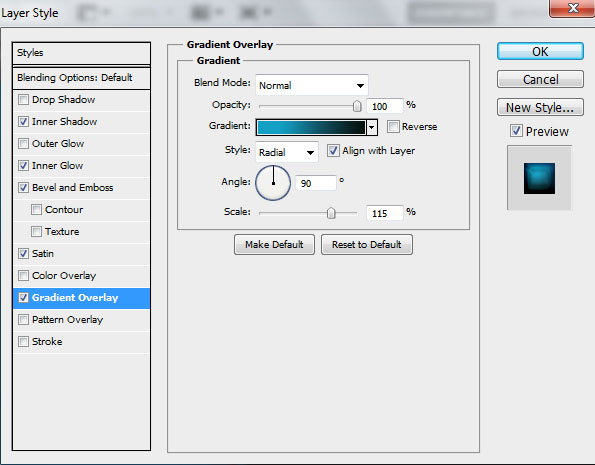
Apply Gradient Overlay:
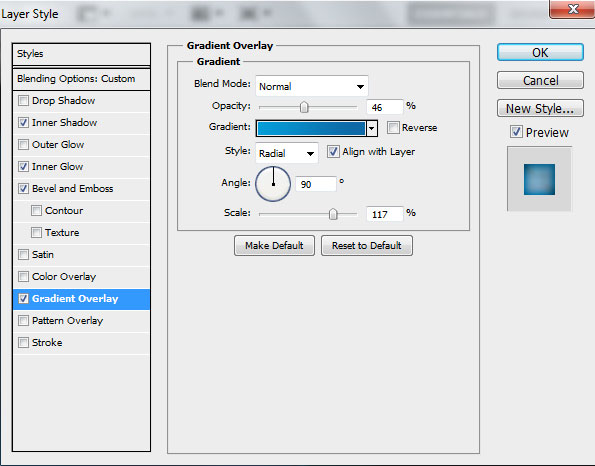
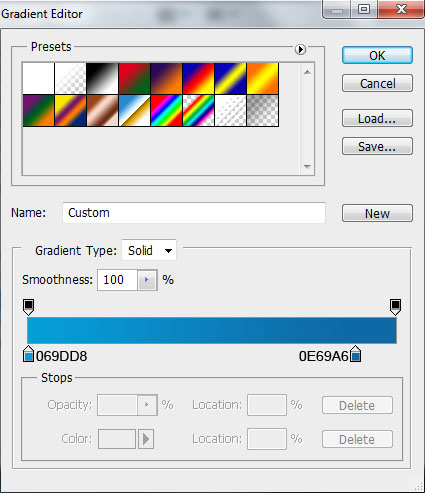
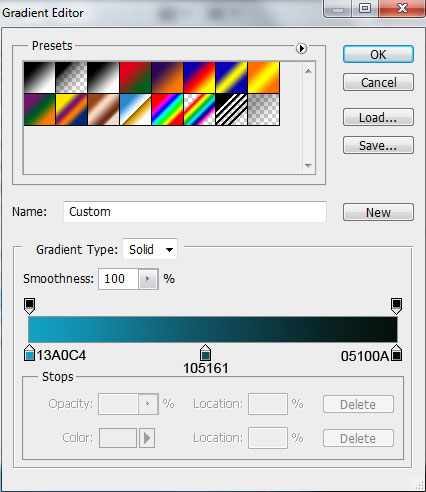
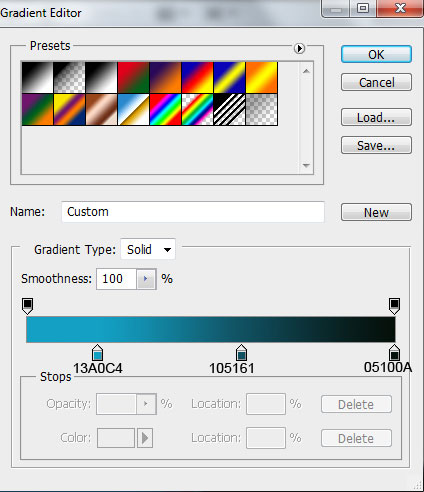
Click in the color bar to open the Gradient Editor and set the color stops as shown. Click OK to close the Gradient Editor dialog box.
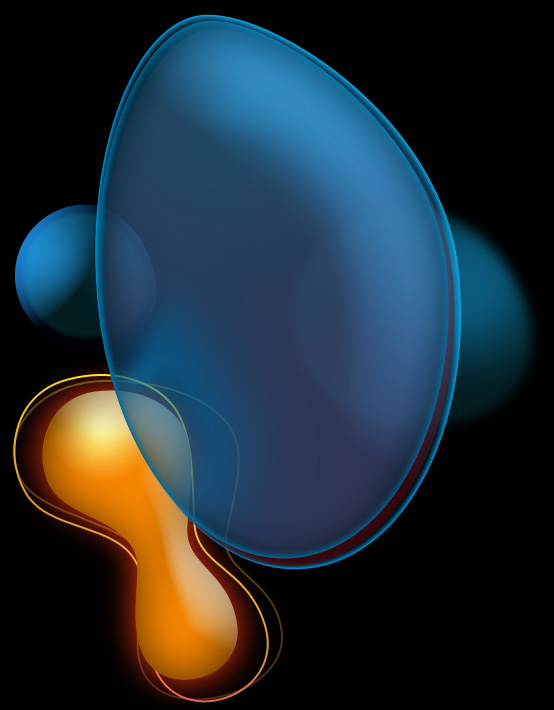
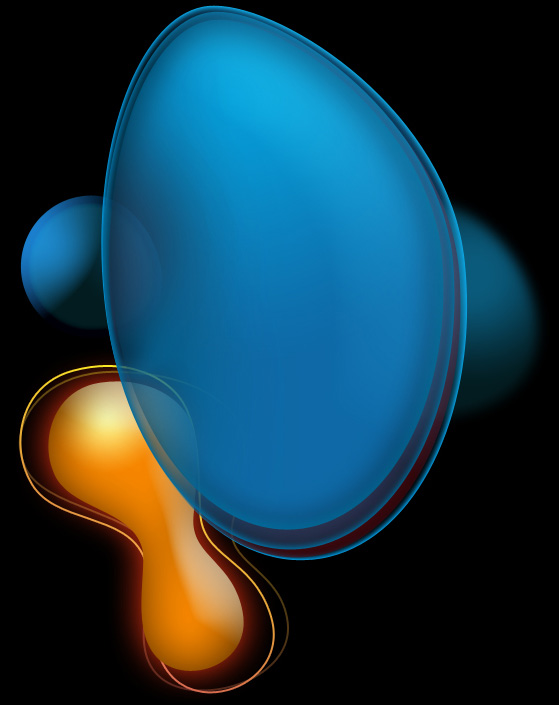
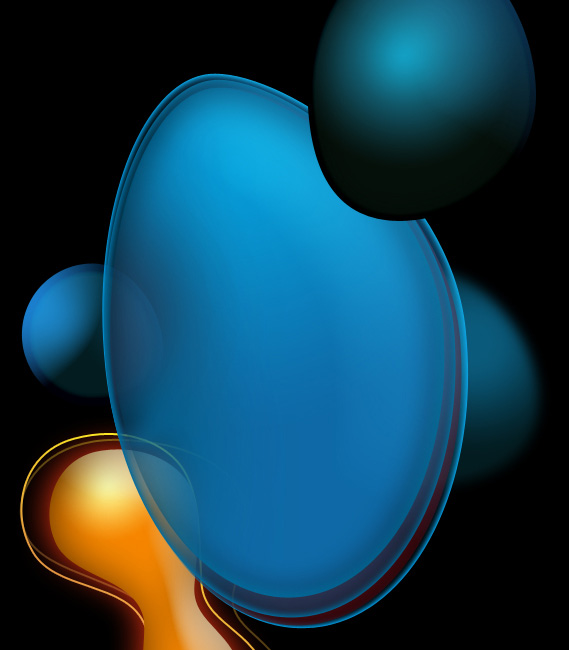
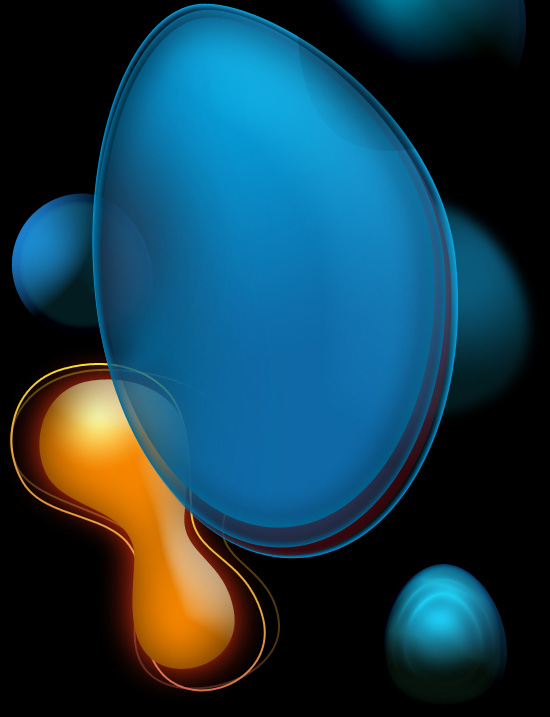
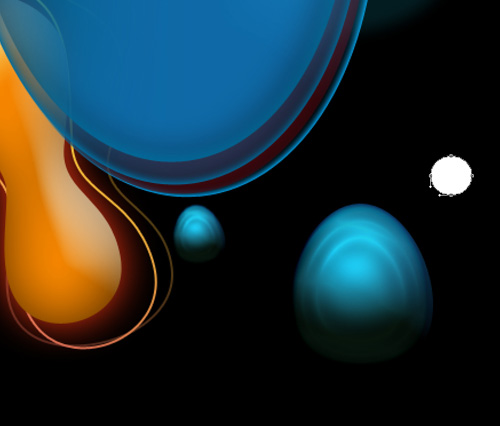
We’ve got the next result:
Make a copy of the last made layer, make smaller the copy and insert different settings for the copy’s layer.

Set Fill to 0% for this layer and click on Add a layer style icon from bottom part of the Layers panel to select Inner Shadow.
Add Inner Glow:
Choose Bevel and Emboss:

Apply Gradient Overlay:
The gradient’s parameters are the same with the previous example.

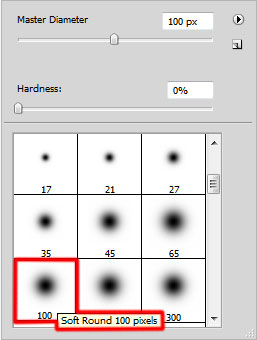
Insert the mask on the layer by choosing Add layer mask on the bottom part of the Layers panel and choose the Soft Round brush of black color (set Opacity to 10% in Options bar).

Paint in the mask using this brush to hide out the next zones on the shape.
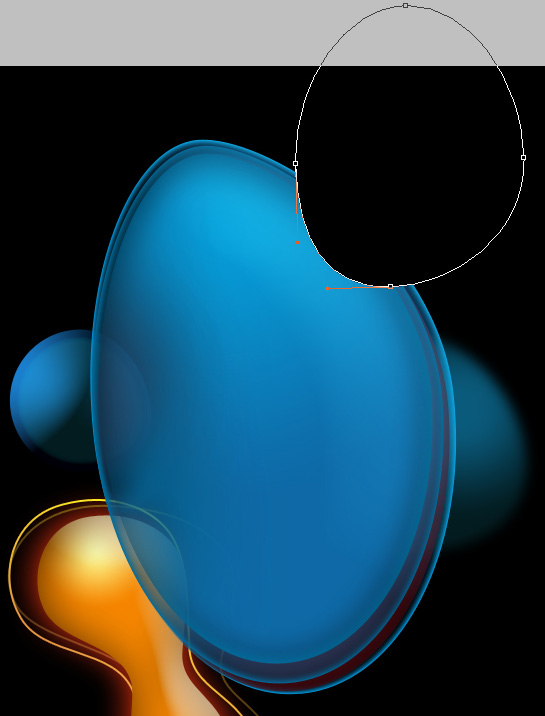
Choose now the Ellipse Tool (U), the Direct Selection Tool (A) and the Convert Point Tool to represent the already known shape.
Click on Add a layer style icon from bottom part of the Layers panel and select Inner Shadow.
Add Inner Glow:

Choose Bevel and Emboss:
Apply Gradient Overlay:
Click in the color bar to open the Gradient Editor and set the color stops as shown. Click OK to close the Gradient Editor dialog box.
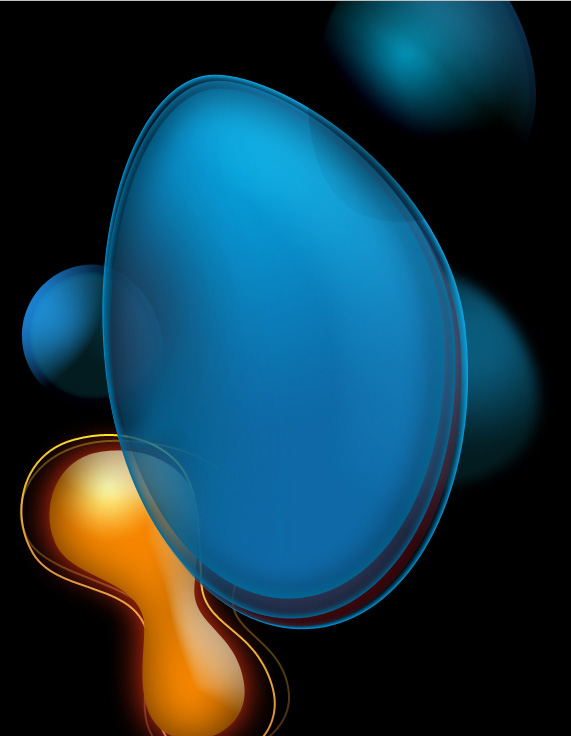
We’ve got the next result:
Insert the mask on the layer by choosing Add layer mask on the bottom part of the Layers panel and choose the Soft Round brush of black color (set Opacity to 80% in Options bar).
Paint in the mask using this brush to hide out the coming out shape’s edge.
Now we have to represent the next shape, applying the already known method.
Click on Add a layer style icon from bottom part of the Layers panel and select Inner Shadow.
Add Inner Glow:
Choose Bevel and Emboss:
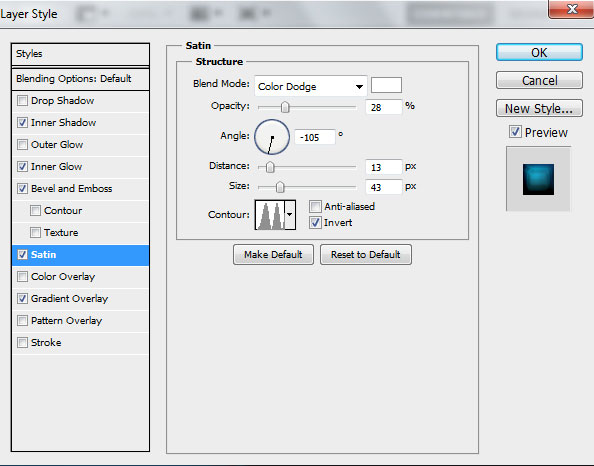
Add Satin:
Apply Gradient Overlay:
Click in the color bar to open the Gradient Editor and set the color stops as shown. Click OK to close the Gradient Editor dialog box.
We’ve got the next result:
Make a copy of the recently made layer and choose the Free Transform (Ctrl+T) command to turn over the copy’s layer, placing it as on the next picture. Remove out the Layer Style > Bevel and Emboss:
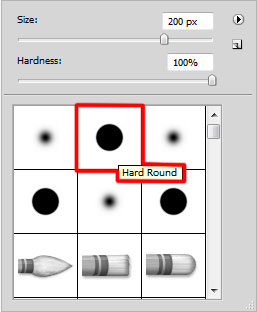
Create a new layer and apply here the Hard Round brush from Brush Tool (B) to represent a small circle of the color #60FFC3 (set Opacity to 20% in Options bar)
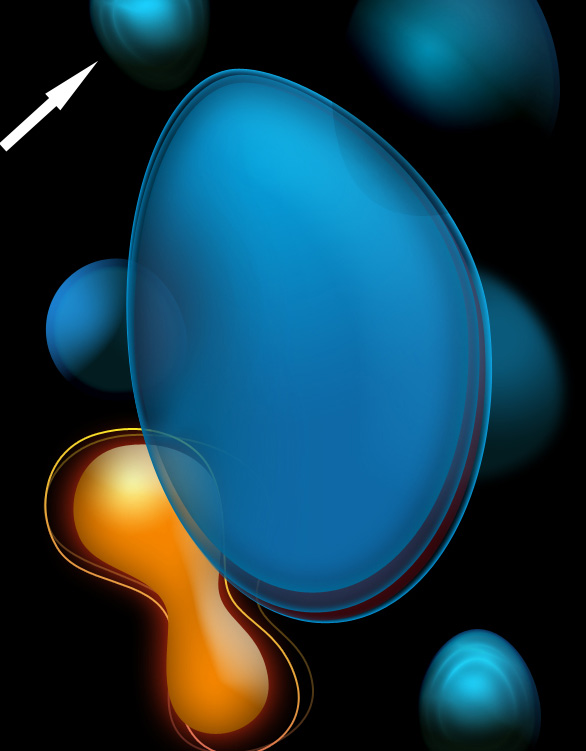
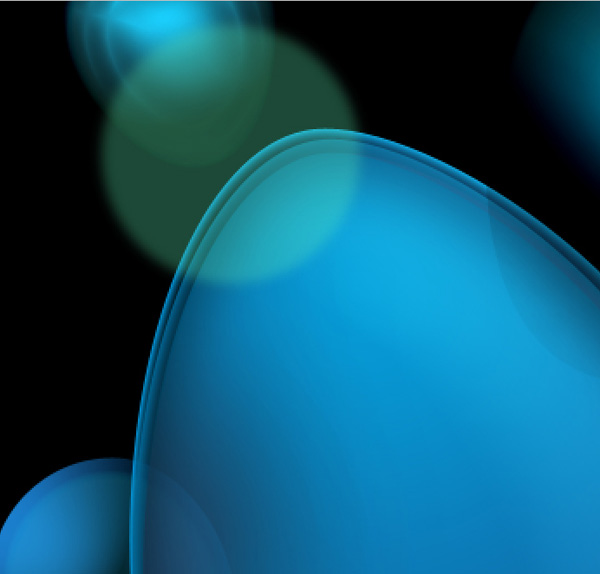
We’ve got the next result:

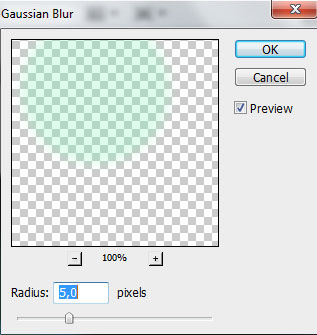
Make a copy of the last made layer, applying on it the next filter: Filter > Blur > Gaussian blur. Place this layer under the previous one. Getting the best effect is possible if hiding the above placed layer.
We’ve got the next result:
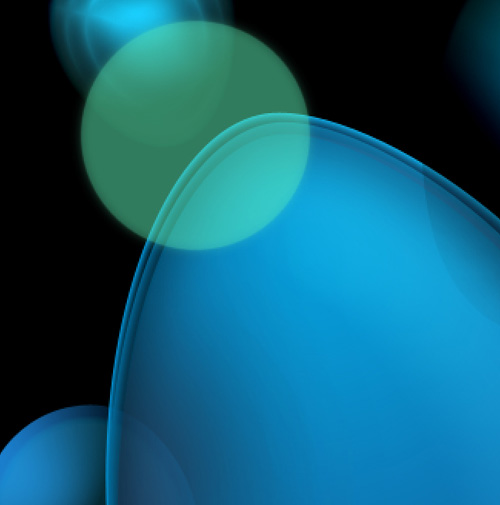
Make visible again now the layer above:
Next we have to rasterize the earlier made layer. Create above it a new one layer and select them both in Layers panel and press CTRL+E to Merge Down. Make a copy of the rasterized layer and choose the Free Transform (Ctrl+T) command to make the layer smaller, placing it the same way demonstrated below:
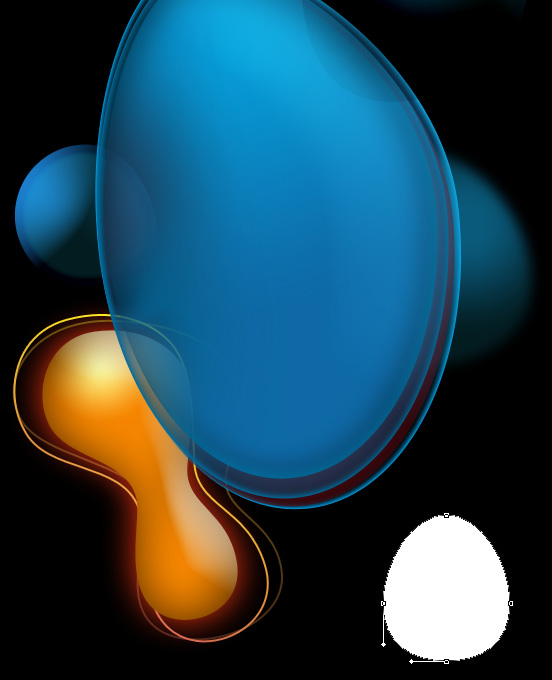
Now we’ll represent a small ellipse, applying the Ellipse Tool (U).
Click on Add a layer style icon from bottom part of the Layers panel and select Inner Shadow.
Add Inner Glow:

Choose Bevel and Emboss:

Apply Gradient Overlay:
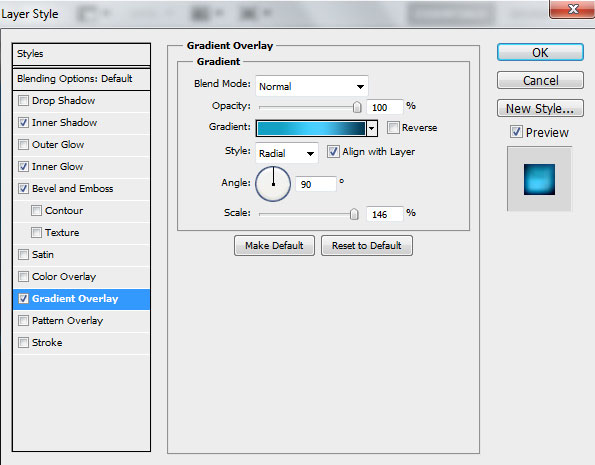
Click in the color bar to open the Gradient Editor and set the color stops as shown. Click OK to close the Gradient Editor dialog box.

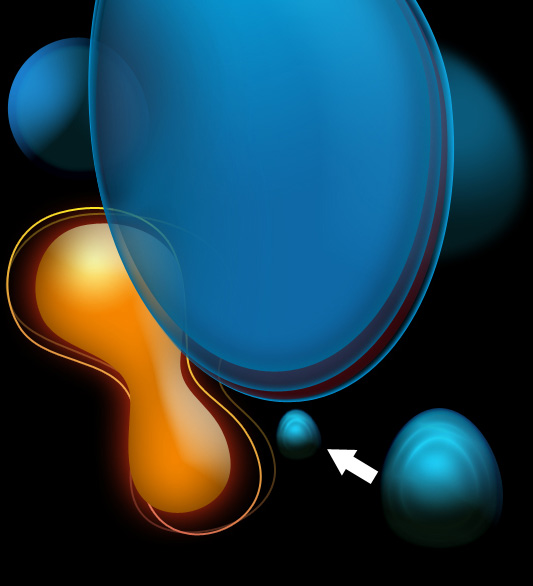
We’ve got the next result:

Comments