
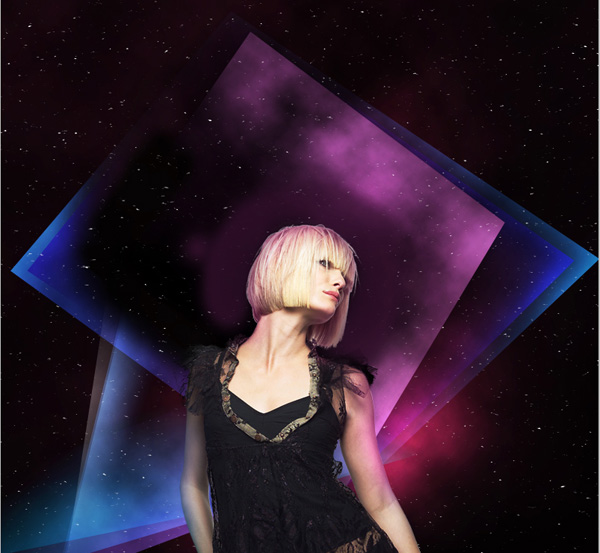
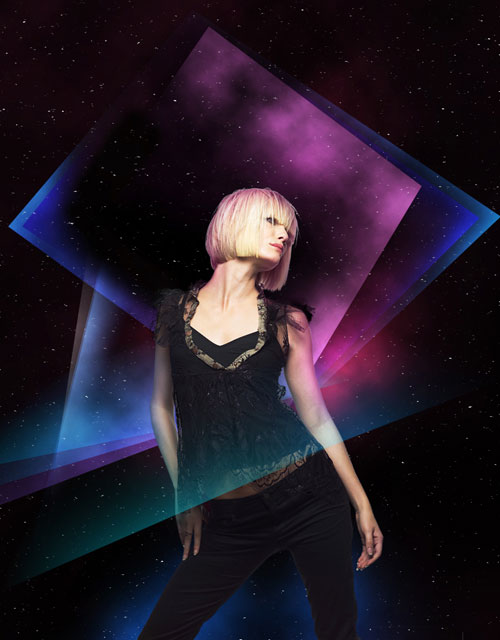
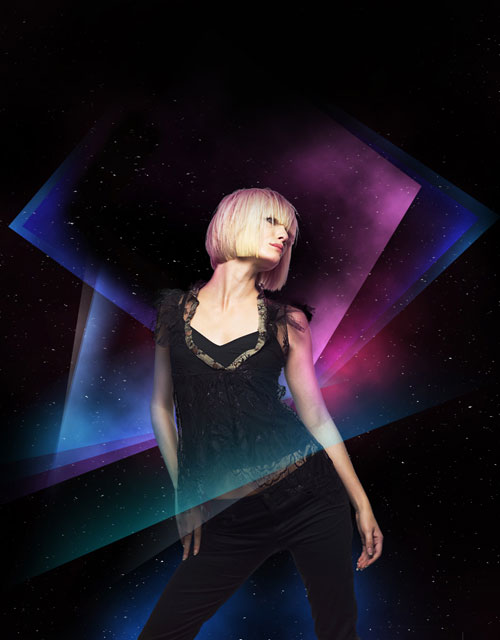
How to create abstract hyperspace poster using Photoshop
Make a copy of the last made layer.

Create a new layer and select the Paint Bucket Tool (G) to fill it with black color.

Apply on the same layer Filter>Noise>Add Noise
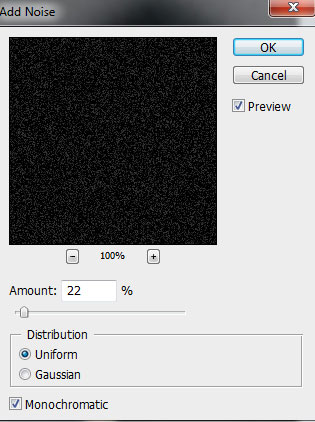
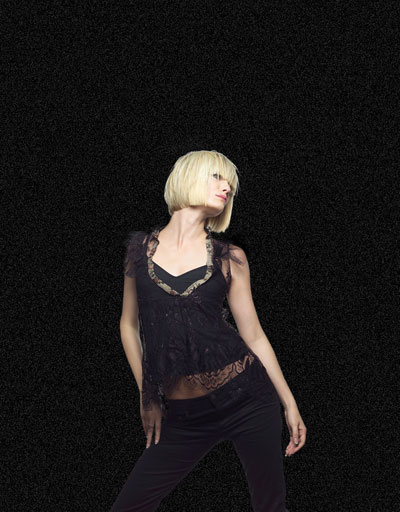
We’ve got the next background:
Apply for the same layer also Filter>Filter Gallery>Texture>Craquelure
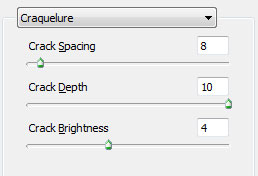
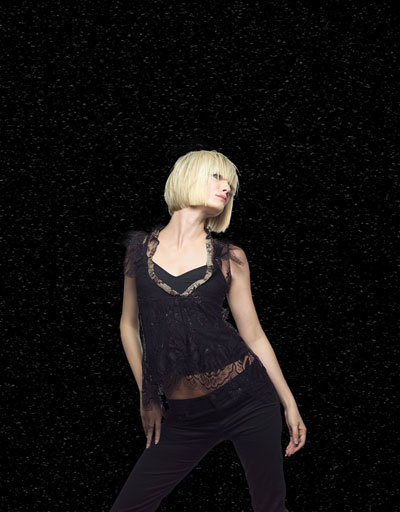
We’ve got the next result:

… and also apply Image>Adjustments>Curves (CTRL+M) to adjust the curve shape as shown to make a little color corrections on this layer.
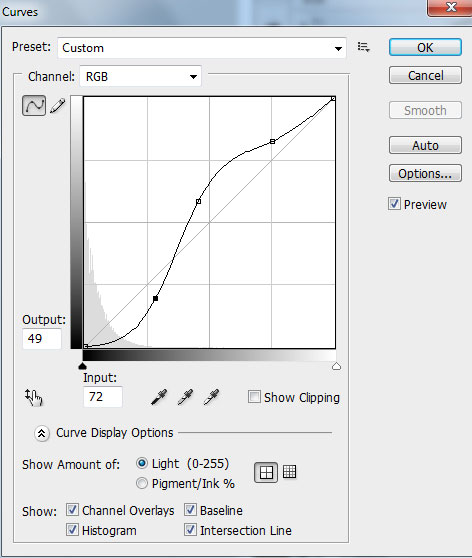
We’ve got the next result:

Set the Blending mode to Screen for this layer.
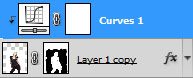
Click Create new fill or adjustment layer from bottom part of the Layers panel and select Curves to adjust the curve shape as shown to make a little color corrections.

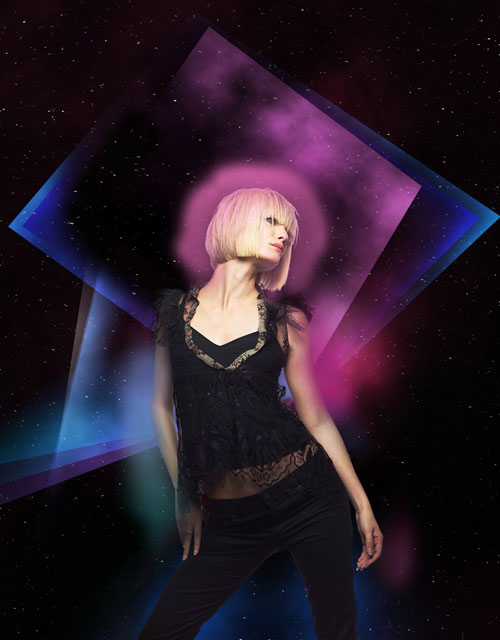
We’ve got the next result:
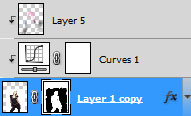
Press Alt button and click between the girl’s layer and the Curves adjustment layer (on the Layers panel) to create a clipping mask.
We’ve got the color correction visible just in the girl’s layer.

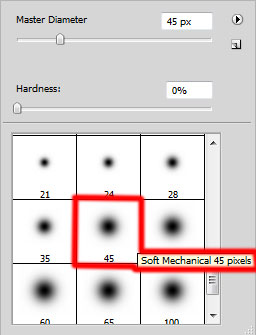
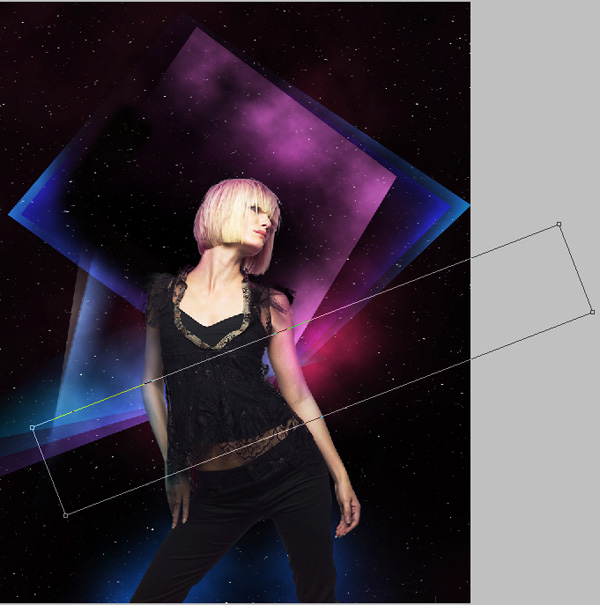
Create a new layer and select the Soft Mechanical brush.
Use this brush to represent this time the shadow on the girl’s body the same way shown on the next picture.
Set the Blending mode to Color for this layer and press Alt button and click between the layers on the Layers panel to create a clipping mask.
We’ve got the next shadow on the girl’s body.
Create a new layer and select the Soft Mechanical brush to paint the hair as it is shown next picture. The brush’s color is violet (Opacity 15%).
Press Alt button and click between the layers (on the Layers panel) to create a clipping mask.

We’ve got the next result:

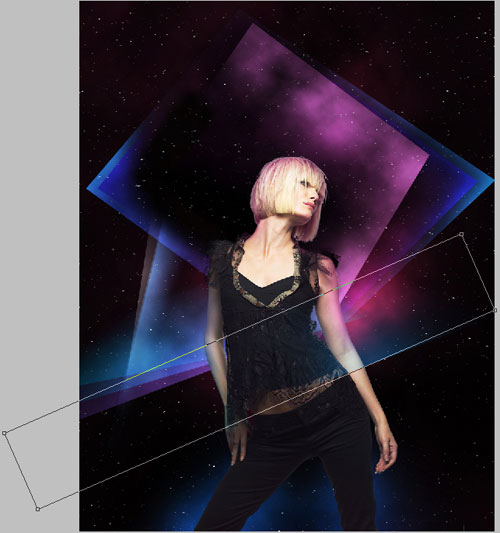
Use the Rectangle Tool (U) to represent a rectangle which must be inclined with Free Transform (Ctrl+T) command.
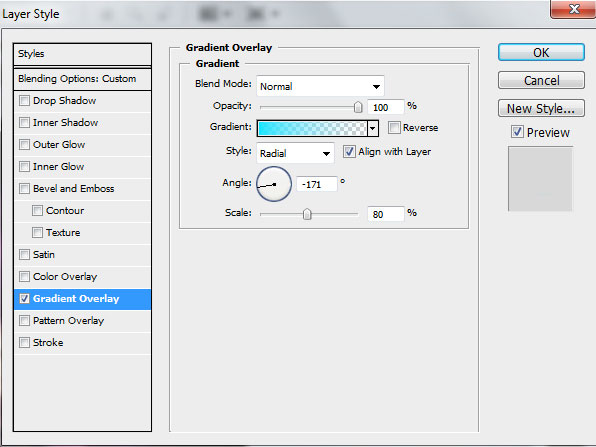
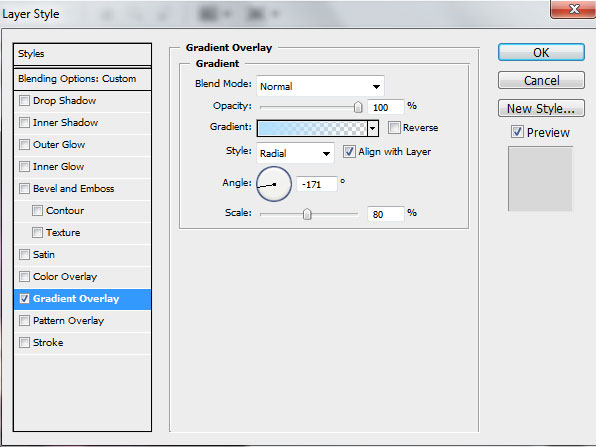
Set Fill to 0% for this layer and click Add a layer style icon from bottom part of the Layers panel to select Gradient Overlay.

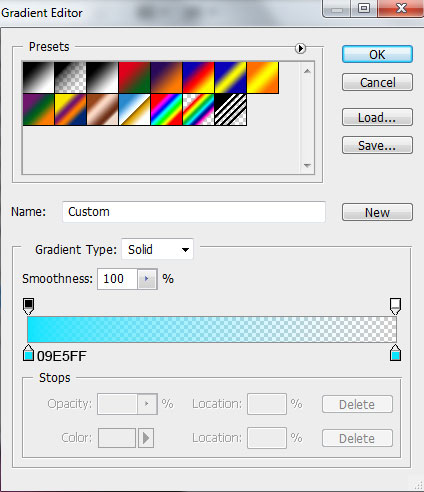
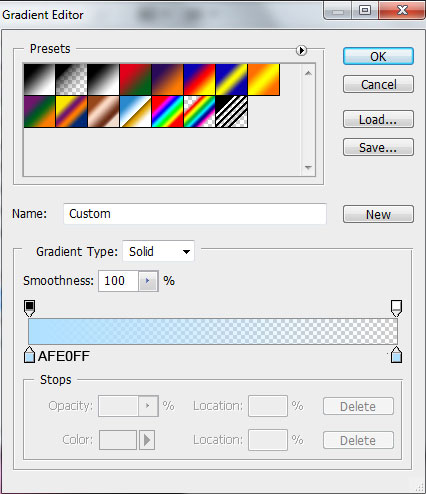
Open the Gradient Editor and set the color stops as shown. Click OK to close the Gradient Editor dialog box.

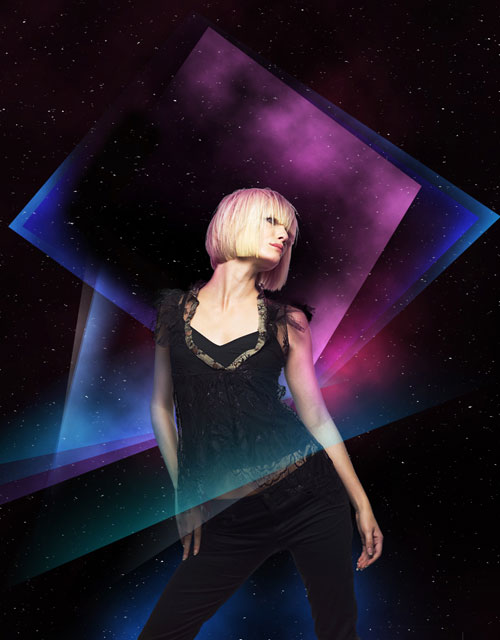
We’ve got the next result:
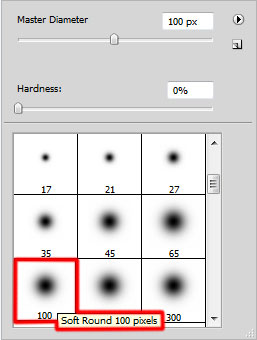
Click on the same layer on the bottom part of the Layers panel on Add layer mask icon and select the Soft Round brush of black color (Opacity 20%).
Use this brush to paint in the mask to hide the layer edges as shown.
Make a copy of the layer with the rectangle and choose Free Transform (Ctrl+T) command to incline the copy’s layer.
Set Fill to 0% for this layer and click Add a layer style icon from bottom part of the Layers panel to select Gradient Overlay:
Open the Gradient Editor and set the color stops as shown. Click OK to close the Gradient Editor dialog box.
We’ve got the next result:

Use the same method applied before by inserting the layer mask on the copy’s layer and select the Soft Round brush to paint in the mask to hide the rectangle edges.
Make one more copy of the rectangle’s layer. Apply the Free Transform (Ctrl+T) command to incline the copy’s layer.

Set Fill to 0% for this layer and click Add a layer style icon from bottom part of the Layers panel to select Gradient Overlay:
Click in the color bar to open the Gradient Editor and set the color stops as shown. Click OK to close the Gradient Editor dialog box.
We’ve got the next result:
On the next new layer we’ll choose the Soft Round brush of black color (Opacity 20%).

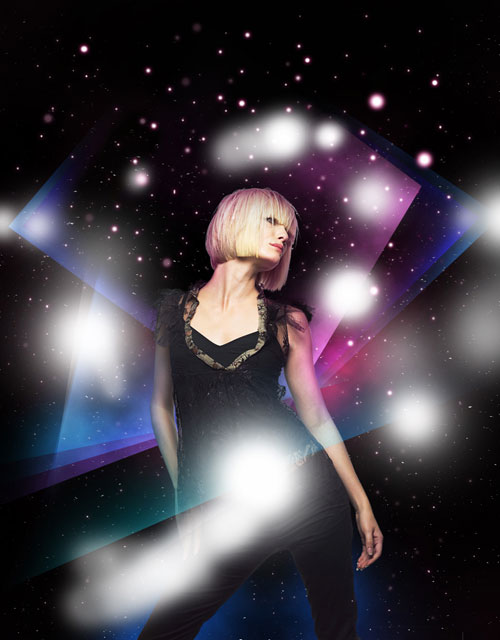
Use this brush to dark out the top part of the document.
Create a new layer and use again the Soft Round brush of different Master diameter and different Opacity value to draw many white dots.

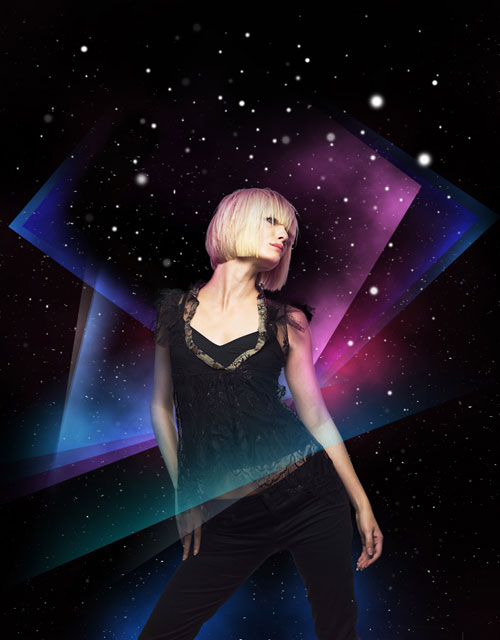
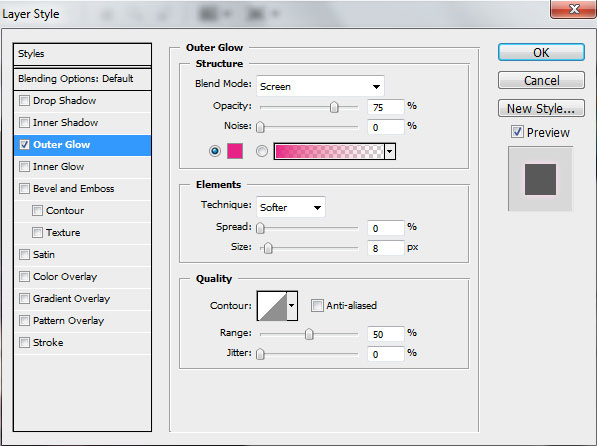
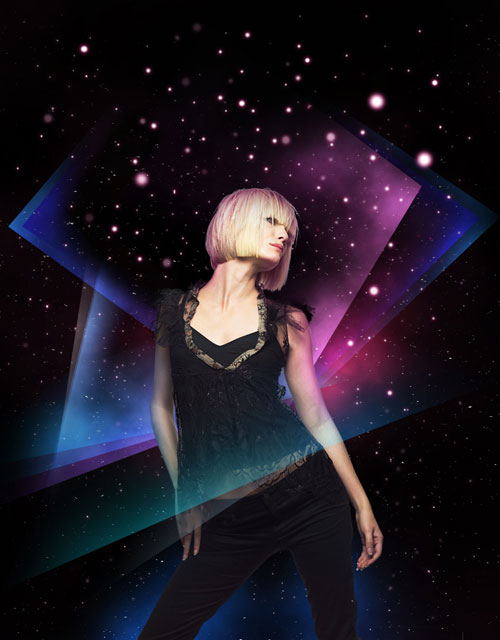
Click Add a layer style icon from bottom part of the Layers panel to select Outer Glow:
We’ve got the next result:
Create a new layer and select the Soft Round brush of white color.

Use this brush to paint arbitrary as shown to increase the brightness.
Set the Blending mode to Overlay for this layer.
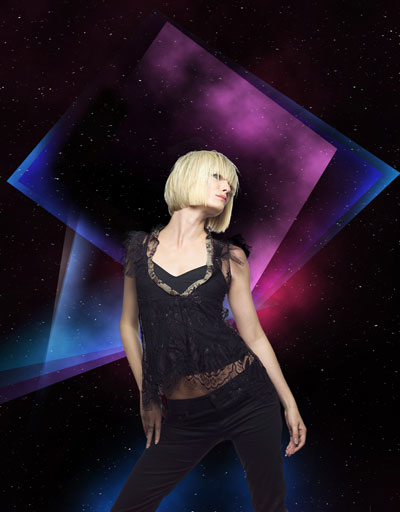
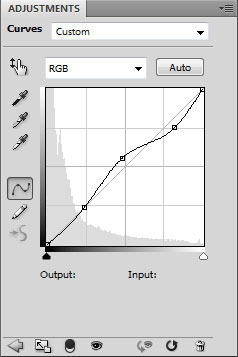
Click Create new fill or adjustment layer from bottom part of the Layers panel and select Curves to adjust the curve shape as shown to make a little color corrections.
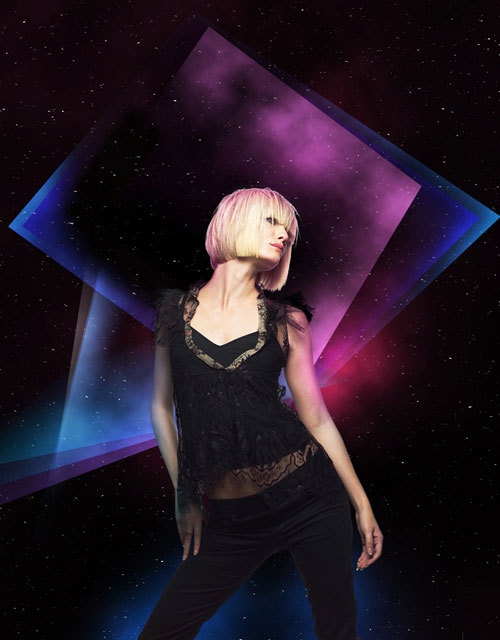
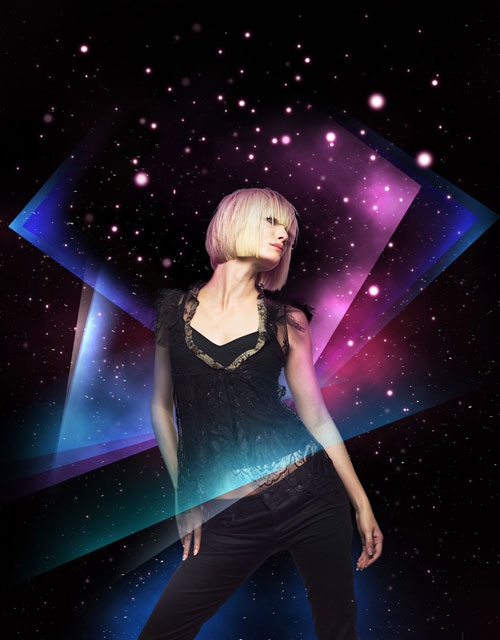
We’ve got the next result:

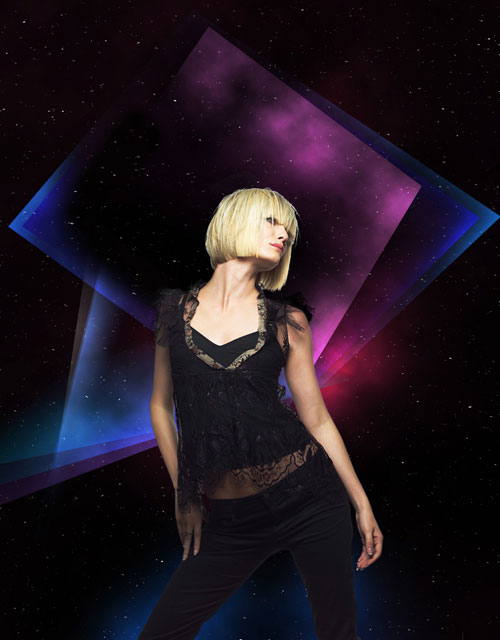
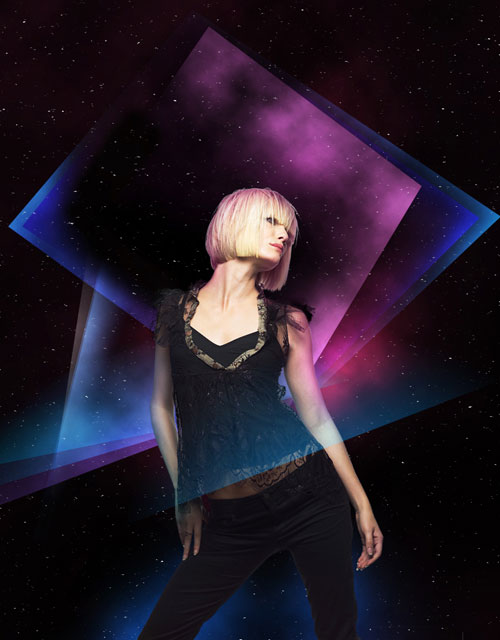
Select once again Create new fill or adjustment layer from bottom part of the Layers panel and click to Hue/Saturation.
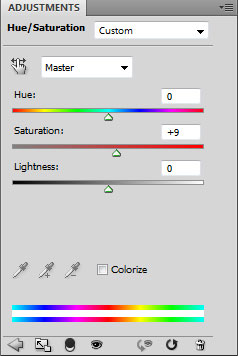
Drag the slider to the right to increase the Saturation of the color range.

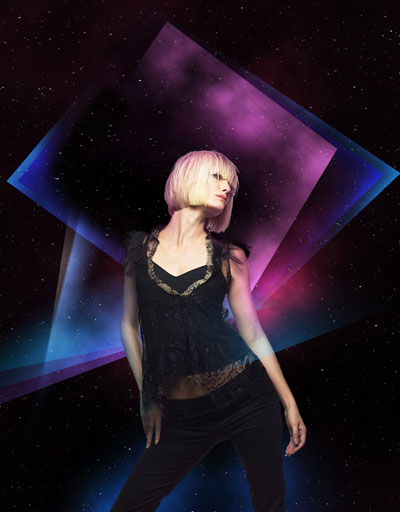
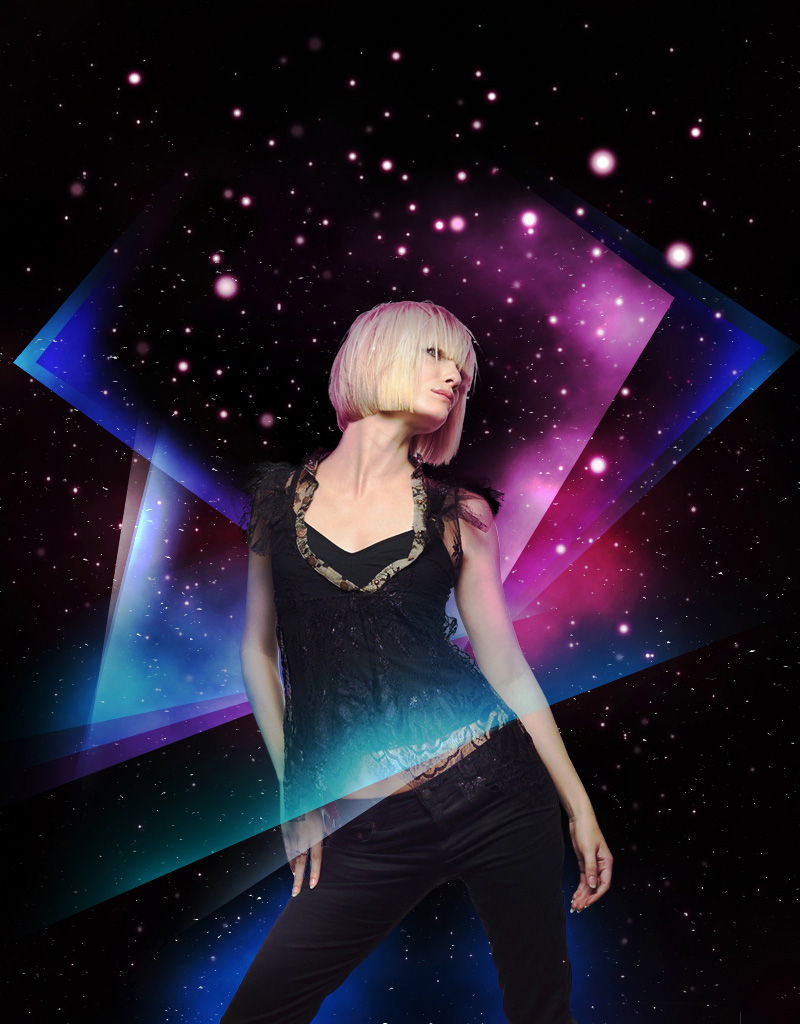
Finished!
View full size here.
Download free Layered PSD file.
Page: 1 2
Comments