
How to Create Abstract Cosmic Artwork using simple techniques in Photoshop CS5
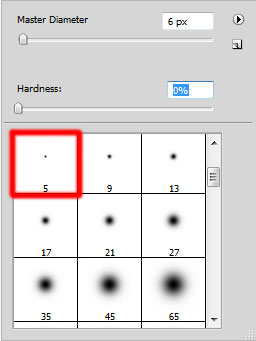
Create now a new layer and select the Hard Round brush.
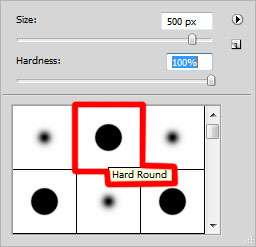
Use this brush to represent four small circles of white color (brush Opacity – 15%). We have to make smaller the diameter of each next circle. Place the layer under the model’s one.

Set the Blending mode for this layer to Overlay.


Using the Ellipse Tool (U), we have to represent an ellipse of white color.
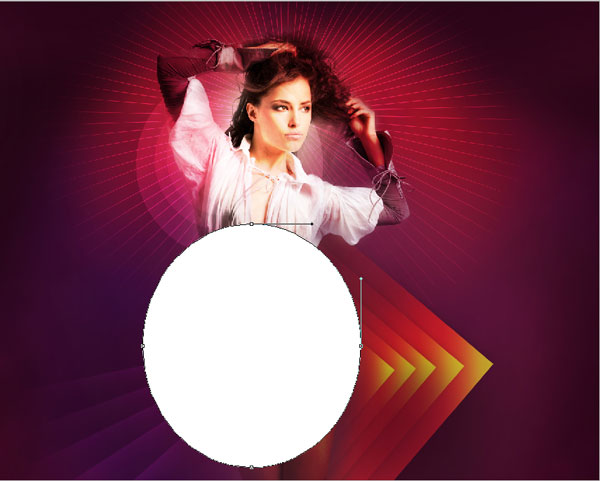
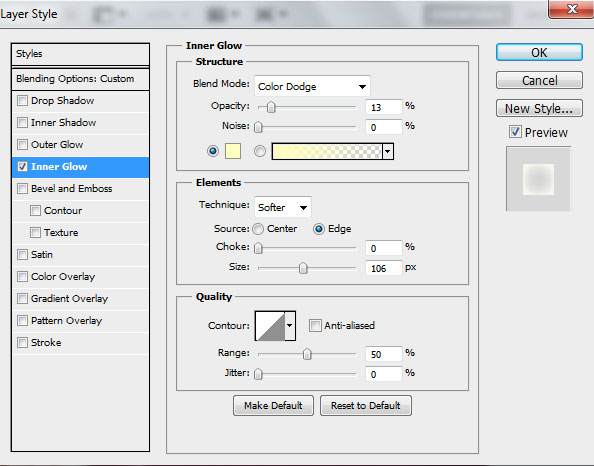
Set Fill to 25% for this layer and change the Blending mode to Overlay. Click on Add a layer style icon from bottom part of the Layers panel and select Inner Glow.
We’ve got the next result:

Make a copy of the last represented layer containing the ellipse and use the Free Transform (Ctrl+T) command to enlarge the copy, moving it to the left a little. We’ll change also the Blending mode to Hard Mix for the copy, also add the Drop Shadow:
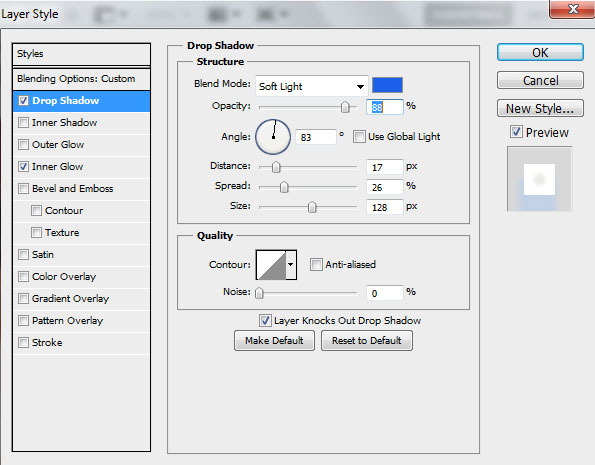
We’ve got the next result:

Combine in a group all the layers containing the ellipses (press CTRL button to select the necessary layers and hold on the left mouse’s button while dragging the selected layers on Create a new group icon from bottom part of the Layers panel). Set Opacity to 47% for the group.
Make sure you have the ellipses group selected in Layers Panel and hold CTRL button and click on the model’s layer to make a selection.
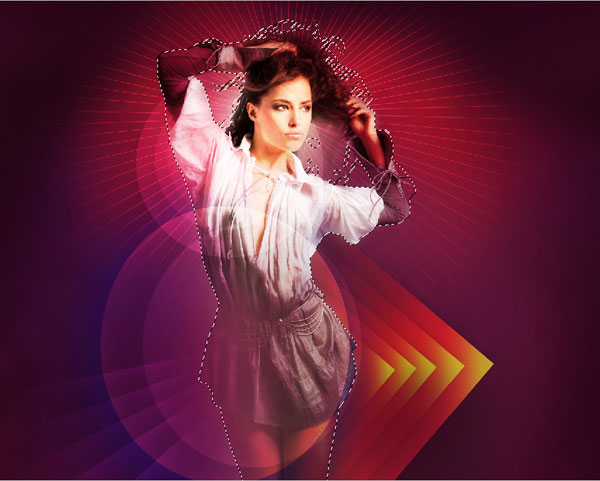
Insert the mask on the ellipses’ group by choosing Add layer mask on the bottom part of the Layers panel and press CTRL+I. This way the ellipses will be cut. Use the Soft Round brush of black color to paint in the mask the same way we did with the rays and the squares.

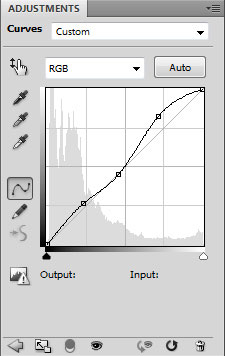
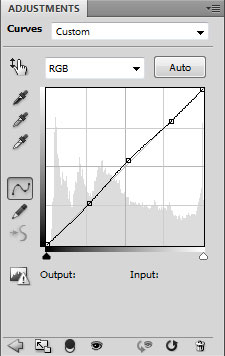
Click Create new fill or adjustment layer from bottom part of the Layers panel and click to Curves to adjust the curve shape as shown to make a little color corrections.
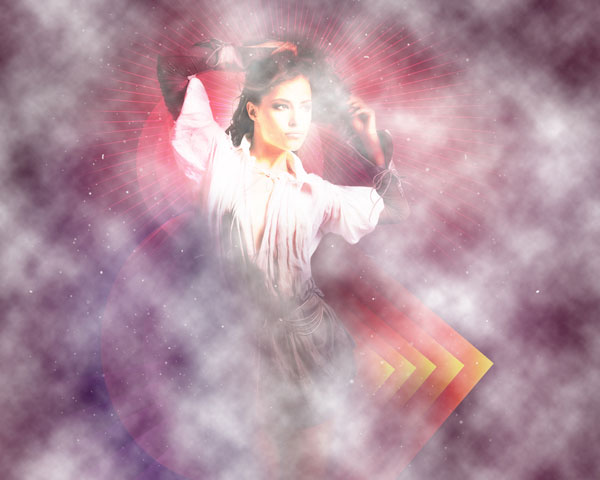
We’ve got the next result:

Create a new layer and select the Soft Mechanical brush.
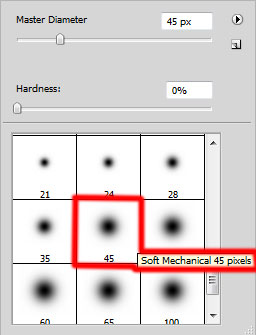
Use this brush to paint the model’s waist on the left side. The brush’s color is #40274E and also on the waist’s edge and on the leg’s lowest part (brush Opacity – 10%).

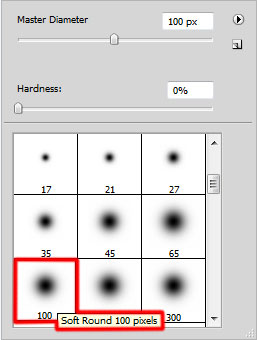
Create a new layer and select the Soft Round brush of white color to represent many stars.
Apply different diameters for the brush and different Opacity value.

Create a new layer and use the Paint Bucket Tool (G) to fill the layer with white color. Insert the mask on the layer by choosing Add layer mask on the bottom part of the Layers panel and apply on the mask the next filter Filter > Render > Clouds.
Set the Blending mode for this layer to Overlay.
Make a copy of the layer we’ve got. Create a new layer above the copied one and select both layers in Layers panel. Then press CTRL+E to Merge Down.
Insert the mask on the rasterized layer by choosing Add layer mask on the bottom part of the Layers panel and choose the Soft Round brush of black color (set Opacity to 20% in Options bar).
Use this brush to paint in the mask to hide the top part on the layer, around the model as it is shown below.
Click Create new fill or adjustment layer from bottom part of the Layers panel and click to Curves to adjust the curve shape as shown to make a little color corrections.
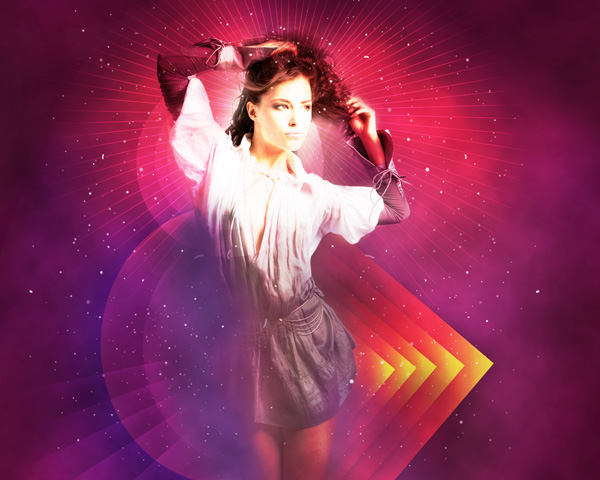
We’ve got the next result:

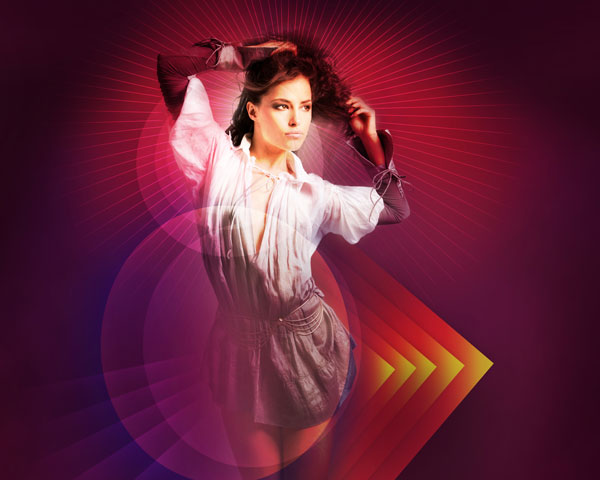
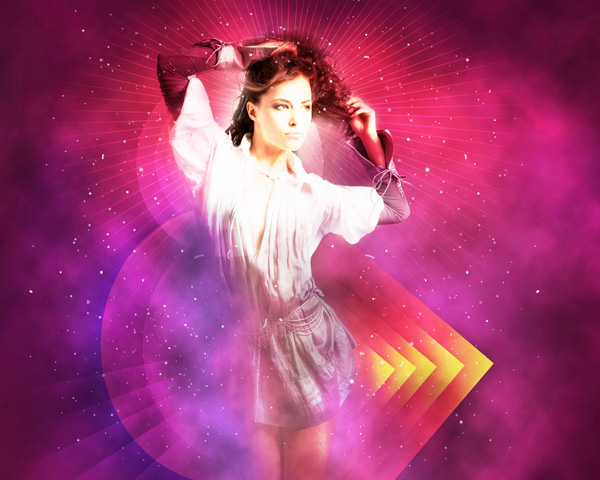
Our Abstract Cosmic Artwork using simple techniques in Photoshop CS5 is finished!
View full size here.
Comments