
How to create Abstract Colorful Valentine’s Day Card with Beautiful shiny hearts in Photoshop CS5
Next we’ll represent the shadow under a heart. Create a new layer and choose the Soft Round brush.
Use this brush to represent a dot of the color #361703.

Using the Free Transform (Ctrl+T) command we can stretch the layer horizontally and compress it vertically. Place the layer as it is shown below.


Make a copy of the new represented layer and select the Free Transform (Ctrl+T) command to place the copy’s layer as on the next picture it is shown.

Let’s create a new pattern. Create a new document (Ctrl+N) with the size 1px by 9px (RGB color mode) at a resolution of 72 pixels/inch. Choose the Pencil Tool (B) and set the Brush size to 1px in Options bar. Draw 3 pixels of white color as shown.

Choose Edit > Define Pattern. Enter a name for the pattern in the Pattern Name dialog box.
Using the Ellipse Tool (U), we can draw a small circle.

Set Fill to 0% for this layer and click on Add a layer style icon from bottom part of the Layers panel to select Pattern Overlay. Click on the Pattern Preset Picker and select the recent created pattern.

We’ve got the next result:

Rasterize the new got layer by creating a new layer above the one, hold CTRL button to select both layers, finally press CTRL+E to Merge Down. Using the Free Transform (Ctrl+T) command, we can rotate the rasterized layer as it is shown below. Set the Blending mode for this layer to Soft Light.

Using the Ellipse Tool (U), we can draw several small circles of white color. Set the Blending mode for all layers to Soft Light.
The Fill value is mentioned for each layer. The circles’ layers need to be situated under the hearts’ layers.

Get back to the hearts’ layers. Give some volume to the hearts. In this case we’ll create anew layer for the brushes and paint the big heart along their edges with Soft Round brush of black color.

The middle part will be painted with #792729 color. Choose the Eraser Tool (E) and apply a hard brush to erase unnecessary content, representing this way the contour. The brush’s layer must be situated above the layer with the big heart on it, but lower than the smaller heart.

Hold down Alt (Windows) or Option (Mac OS) and click between the brush’s layers and the heart’s layer in the Layers panel to create a clipping mask.

We’ve got the next result:

Insert the mask on the same layer by choosing Add layer mask on the bottom part of the Layers panel and choose the Soft Round brush of black color (set Opacity to 60% in Options bar).

Paint in the mask using this brush to hide unnecessary content on the layer.

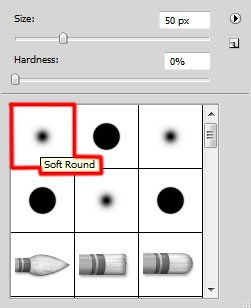
Create a new layer and select the Soft Round mentioned in the previous example of black color to paint along the edges of big heart. The layer will be situated above the big hearts, but lower than the smaller one.

Hold down Alt (Windows) or Option (Mac OS) and click between layers in the Layers panel to create a clipping mask.
We’ve got the next result:

Insert the mask on the layer again the way we did before and choose the Soft Round brush of black color.

Paint in the mask using this brush to hide unnecessary content on the layer, representing a uniform shadow. Set Fill to 80% for this layer.

Create a new layer and choose again the Soft Round brush.
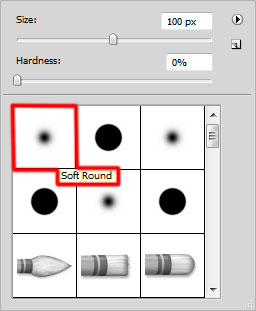
Use this brush to paint behind the small heart with the color #6B161A. The layer will be situated under the layer containing the small heart.

Comments