
How to Create Abstract Colorful Swirl Waves Background in Adobe Photoshop CS5
Next we’ll make one more copy of th last made circle and select the Free Transform (Ctrl+T) command to make smaller the copy’s layer and place it as it is demonstrated below. Change the Fill to 38% for this layer and remove the mask.

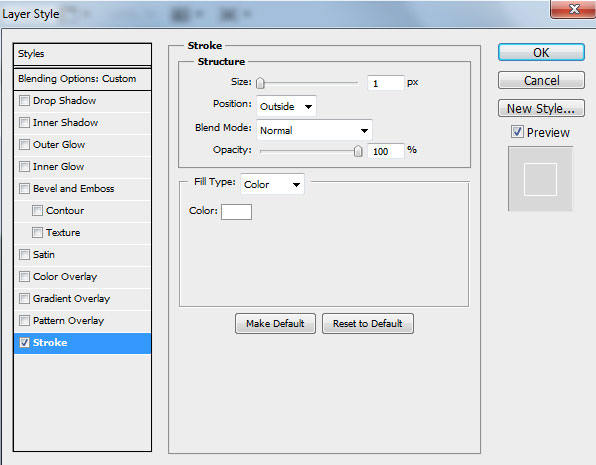
Now we’ll represent a thin ring, using the Ellipse Tool (U).
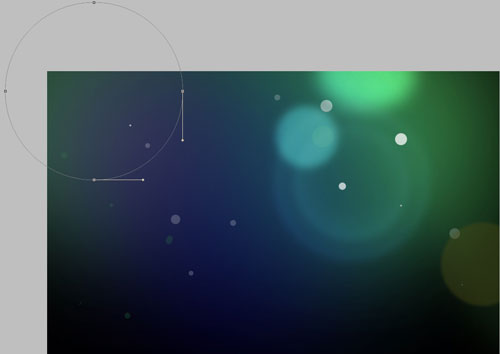
Set Fill to 24% for this layer and click on Add a layer style icon from bottom part of the Layers panel to select Stroke.

We’ve got the next result:

Next we’ll represent four copies of the ring’s layer and select the Free Transform (Ctrl+T) command to change the copies’ sizes, placing them the same way from below:

Combine in a group all the layers containing the rings (press CTRL button to select the necessary layers and hold on the left mouse’s button while dragging the selected layers on Create a new group icon from bottom part of the Layers panel).
Set the Blending mode for the made group to Overlay.

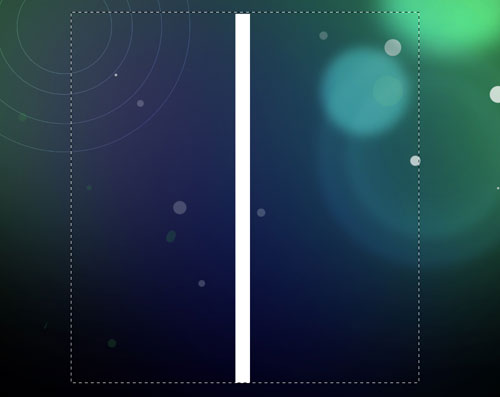
Create a new layer and select on it the Rectangular Marquee Tool (M) to represent the next vertical selection which may be filled in white, applying the Paint Bucket Tool (G).

Then apply the Rectangular Marquee Tool (M) on the vertical white layer to represent the next selection as is shown on the next image.
Apply the next filter: Filter > Distort > Twirl.
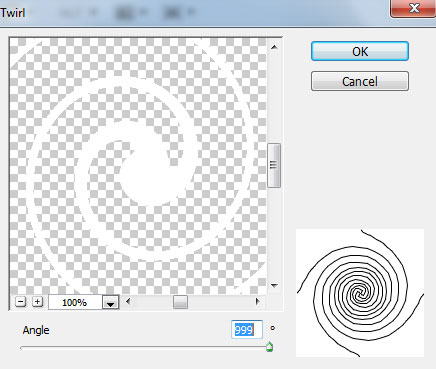
We’ve got the next result:

Apply on the same layer the next filter: Filter > Blur > Gaussian blur.
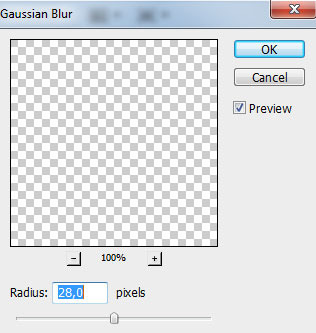
We’ve got the next result:

The layer containing the twisted spiral element must be placed above the rings’ group, using in this case the Free Transform (Ctrl+T) command.

Set the Blending mode for this layer to Overlay.

Make two copies of the last made layer containing the spiral element.

Combine in a group all the layers containing the spirals (press CTRL button to select the necessary layers and hold on the left mouse’s button while dragging the selected layers on Create a new group icon from bottom part of the Layers panel).
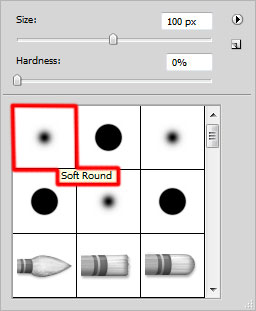
Insert the mask on the group by choosing Add layer mask on the bottom part of the Layers panel and choose the Soft Round brush of black color (set Opacity to 80% in Options bar).
Paint in the mask to hide the bottom spirals’ tail.

Make four copies of the spirals’ group and choose the Free Transform (Ctrl+T) command to change the copies’ sizes, placing them as below:
The first copy (in the group there is one layer containing the spiral, the rest of them are removed)
On the group must be applied the mask the same way we did with the previous group. The spiral also should be cleaned out on its surface as well as the tail on the right side.
Set the Blending mode for this layer to Overlay.

The second copy (there are two layers containing the spiral’s copies) should be placed on the same zone the first copy is situated. There is inserted the mask on the group and the spiral is cleaned out on the surface as well as the tail on the right side.
Set the Blending mode for this layer to Overlay.

The third copy of the group (two layers containing the spiral) is situated on the same position the very first group is placed on.
There is inserted the mask on the group to clean out the spirals on their surface and the tail’s end.
Set the Blending mode for this layer to Overlay.

The fourth copy contains three layers with the spirals elements on them.
On the group there is inserted the mask the same way described earlier and using the black brush we should clean out the spirals’ end.
Set the Blending mode for this layer to Pass Through.

Create a new layer and apply on it the Soft Round brush from Brush Tool (B).
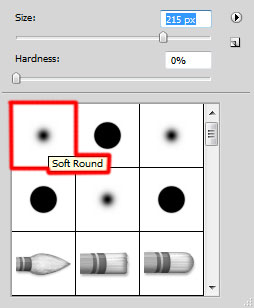
Use this brush to paint the central part of the spiral situated on the right side. The brush’s color is #FFED00 (brush Opacity – 20%).

Set the Blending mode for this layer to Overlay.

Make a copy of the earlier made rings’ group. In the group we should remove the layers of the two circles. Set the Blending mode for the group to Pass Through.

Make a copy of the very first rings’ group. Make a copy of the rings’ layers inside the group and choose the Free Transform (Ctrl+T) command to enlarge the copies’ sizes as it is demonstrated next image.
Set the Blending mode for this group to Overlay.

Choose the same method applied in the previous example to add a group of rings on the top right side.
Set the Blending mode for this group to Overlay.

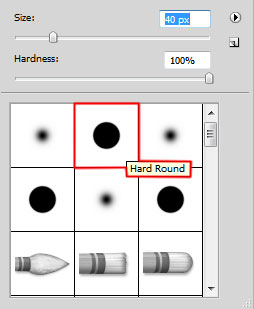
Create a new layer to insert more circles. In this case we’ll apply the Hard Round brush of white color (brush Opacity – 20%). The brush should be of different diameters.
We’ve got the next result:

Comments