
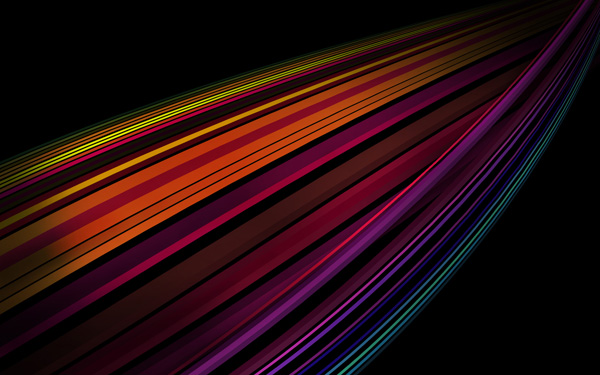
How to create abstract colorful rainbow background
Layer Style > Gradient Overlay for the next line:
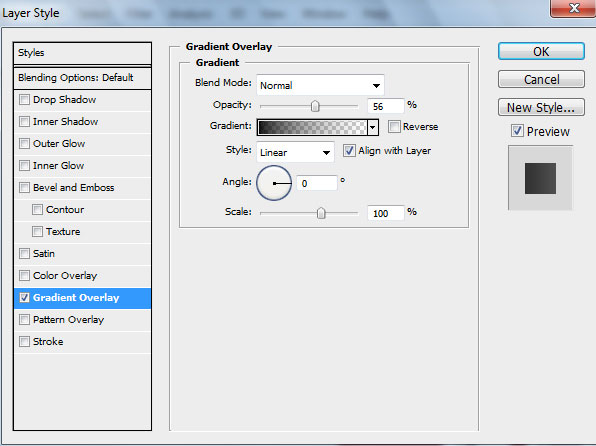
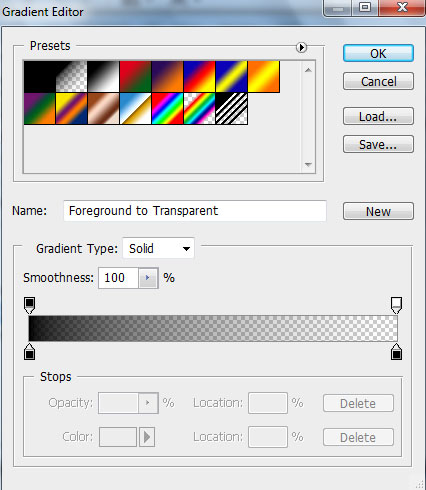
Click in the color bar to open the Gradient Editor and set the color stops as shown. Click OK to close the Gradient Editor dialog box.

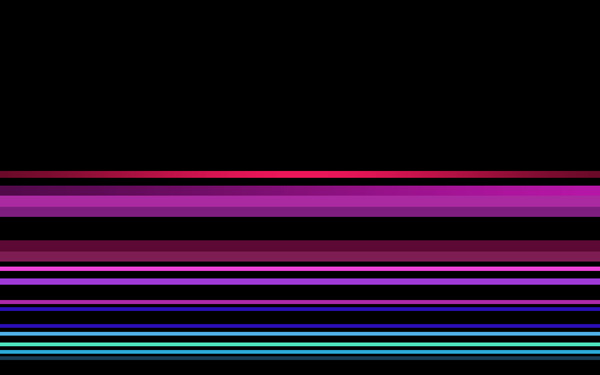
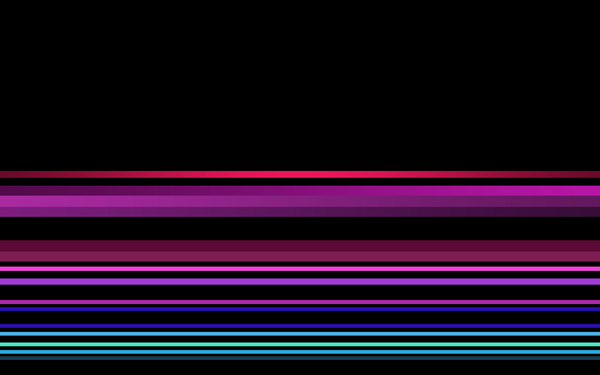
We’ve got the next result:
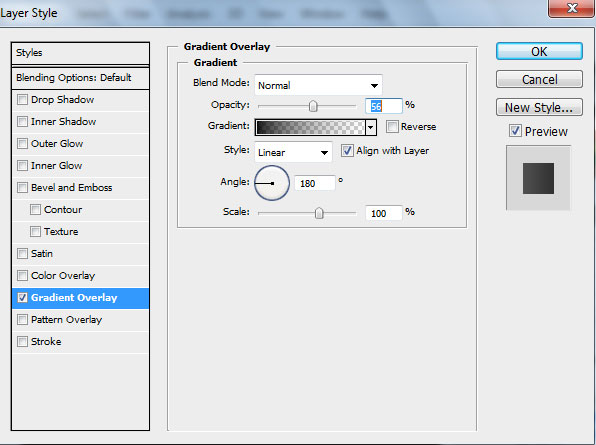
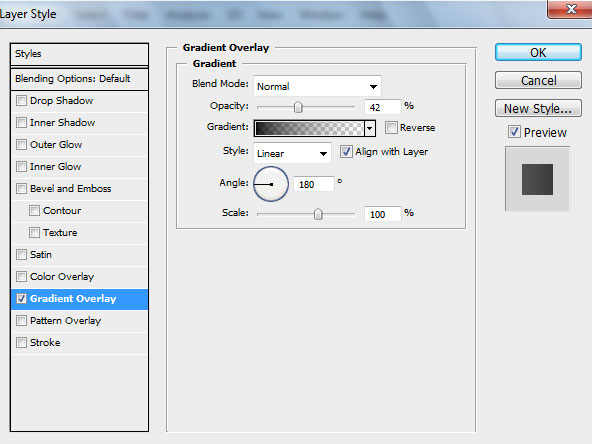
Apply Layer Style > Gradient Overlay for the next line’s layer:

Click in the color bar to open the Gradient Editor and set the color stops as shown. Click OK to close the Gradient Editor dialog box.

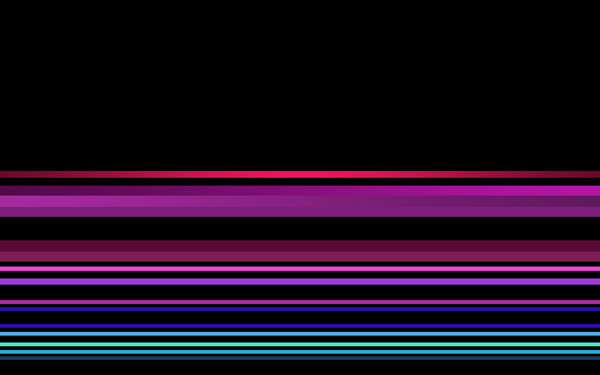
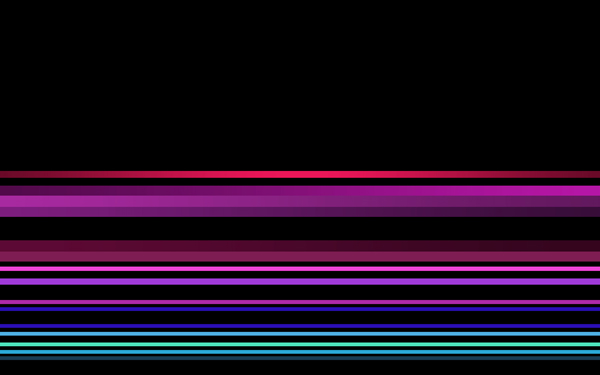
We’ve got the next gradient on the line:

Layer Style > Gradient Overlay for the next line’s layer:
Click in the color bar to open the Gradient Editor and set the color stops as shown. Click OK to close the Gradient Editor dialog box.
We’ve got the next result:
Apply Layer Style > Gradient Overlay for the next line’s layer:
Click in the color bar to open the Gradient Editor and set the color stops as shown. Click OK to close the Gradient Editor dialog box.

We’ve got the next gradient on the line:
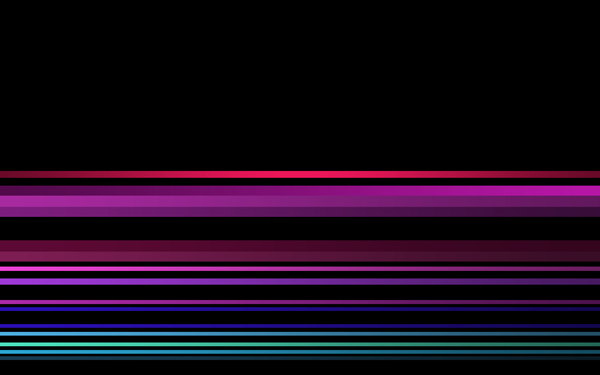
The rest of the lines must have the same settings for Layer Style > Gradient Overlay demonstrated below:

Click in the color bar to open the Gradient Editor and set the color stops as shown. Click OK to close the Gradient Editor dialog box.

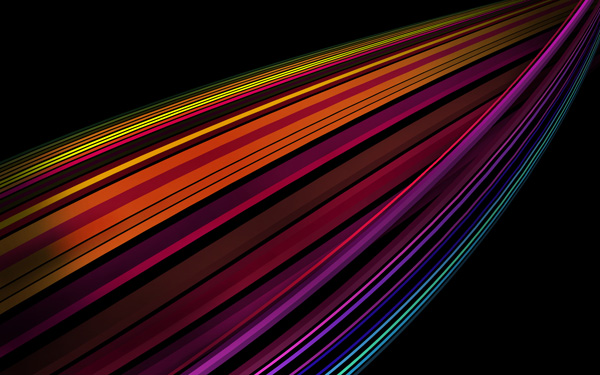
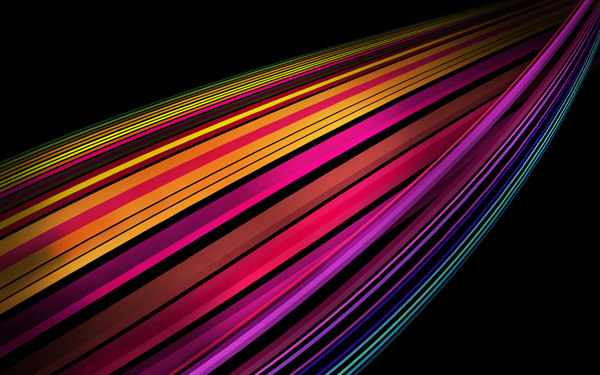
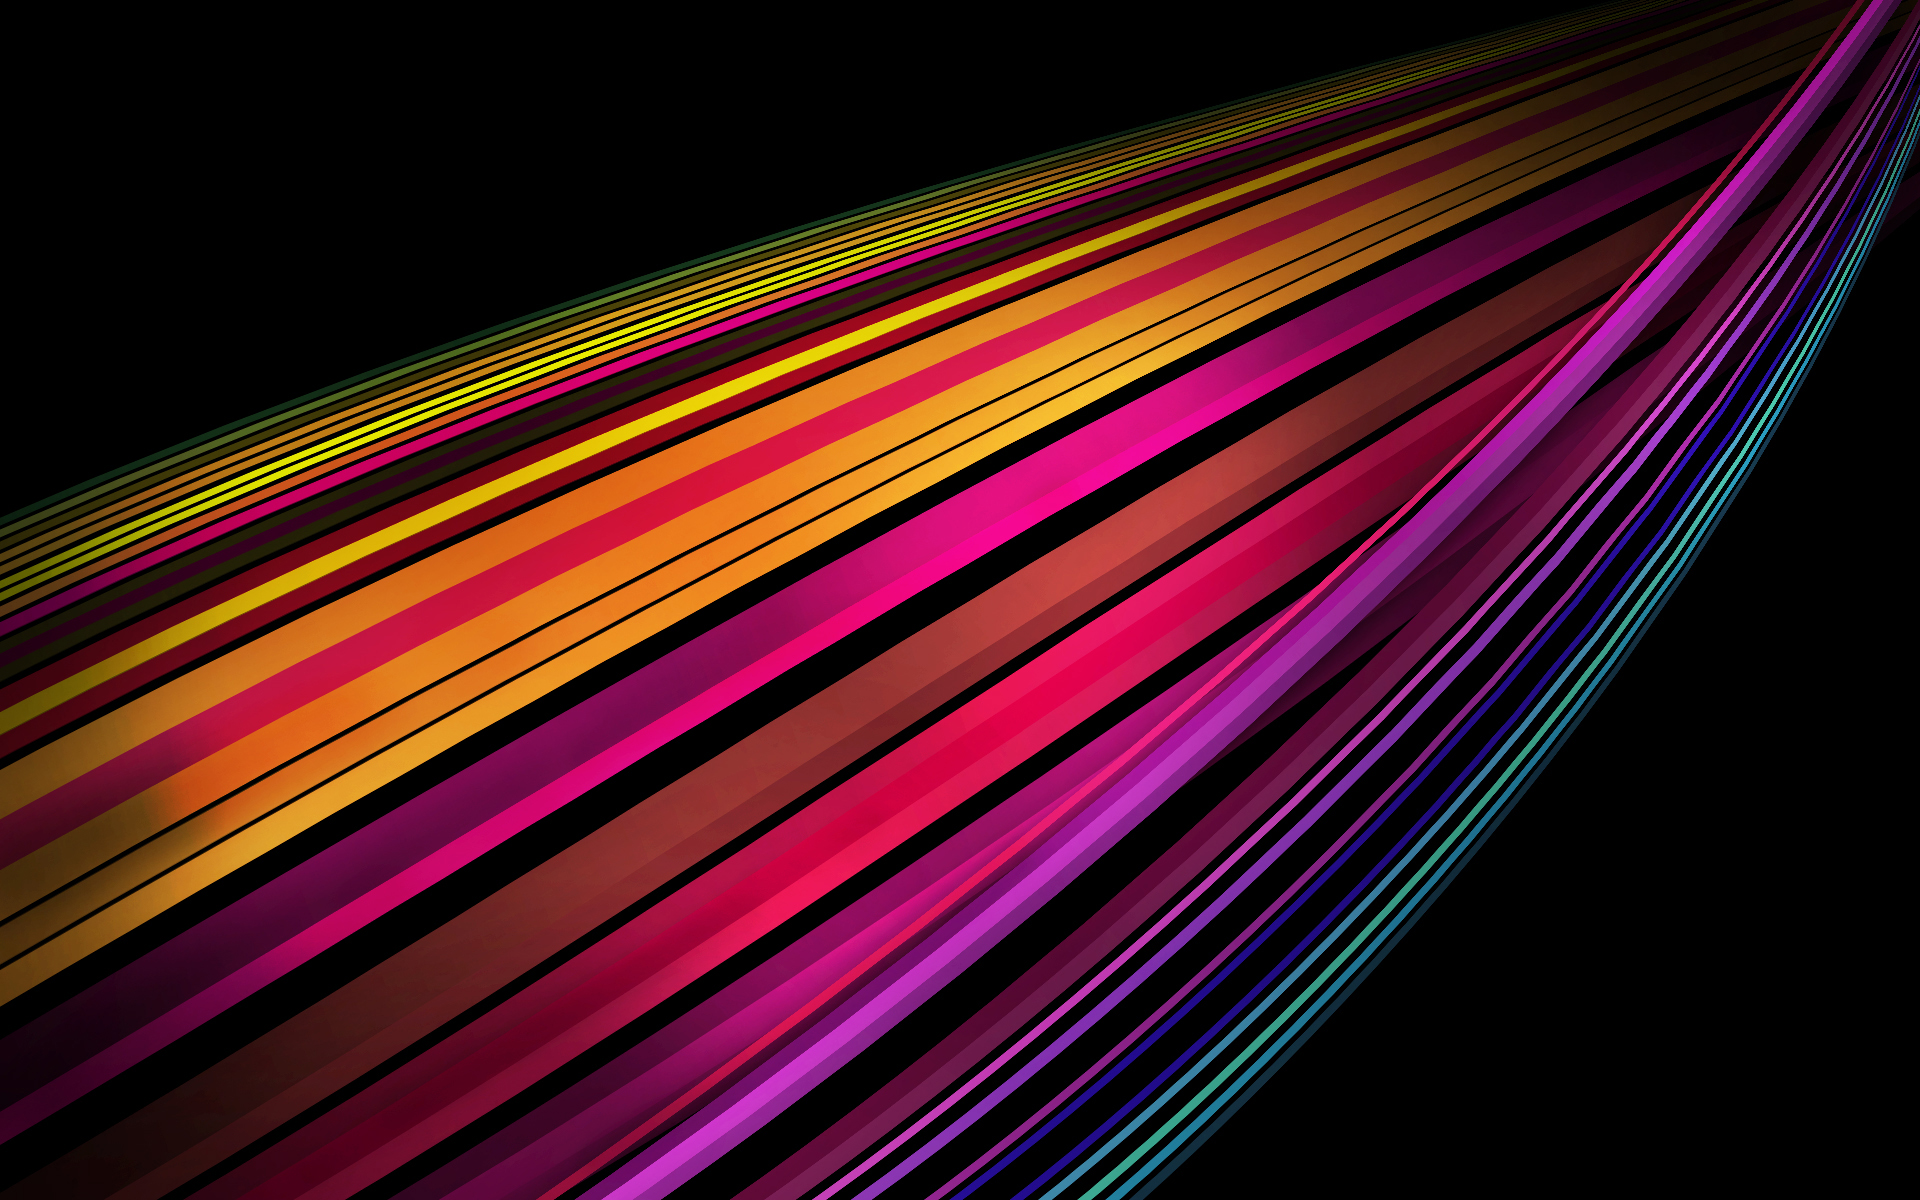
We’ve got the next results:
Combine in a group all the lines’ layers and Merge Down the group, the same way we did before. Then click the eye icon next to a layer with the earlier made lines to show its content.
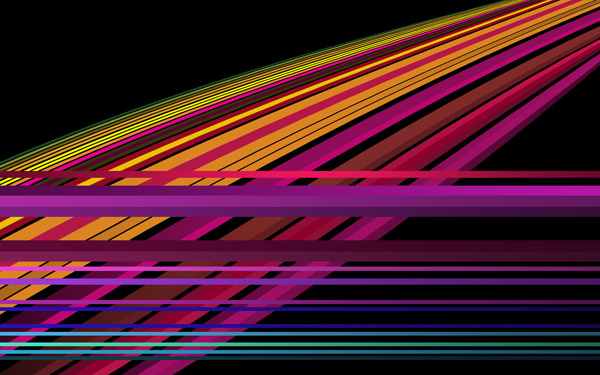
Apply now the Free Transform (Ctrl) command, click the Switch Between Free Transform And Warp Modes button in the Options bar and use the control points to distort the made lines the same way as it is shown below:
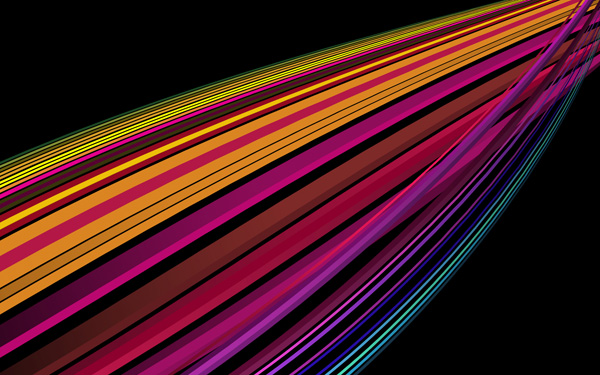
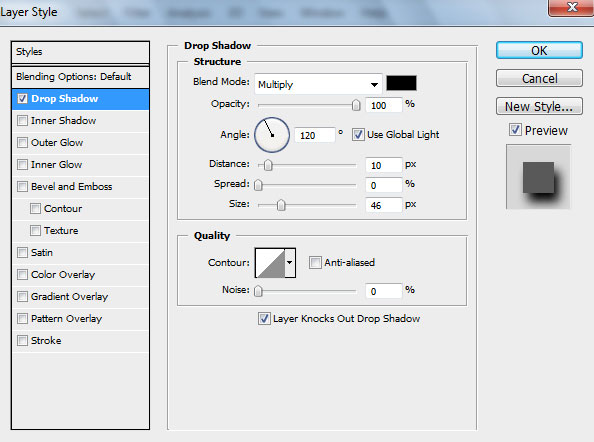
Add for the lines’ layer the Layer Style > Drop Shadow:
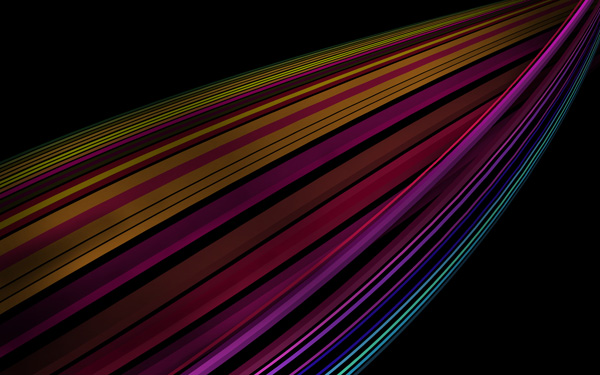
We’ve got the next shadow:
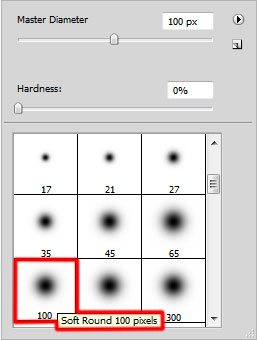
Create a new layer and select Soft Round brush of black color (Opacity 20%) from Brush Tool (B)

Paint here with Soft Round brush to dark out the very first line’s layer on the upper side and downwards. Place this layer between the lines’ layers.
Create a new layer again and choose again here the Soft Round brush mentioned earlier of black color (Opacity 20%) to dark out the lines the same way demonstrated below:
Set the Blending Mode for this layer to Overlay
Create a new layer again and select for it the Soft Round brush of black color (Opacity 20%)

Paint to dark out the lines the same way indicated on the next picture:
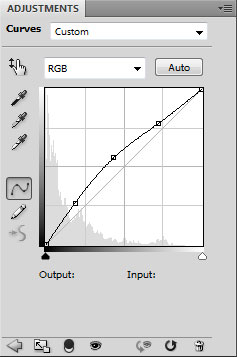
Select Create new fill or adjustment layer from bottom part of the Layers panel and click to Curves to adjust the curve shape as shown to add more contrast on image:
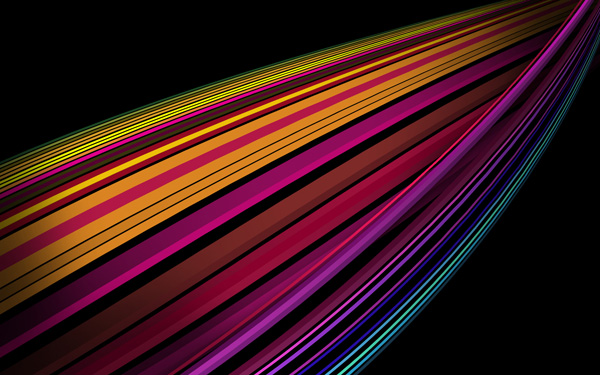
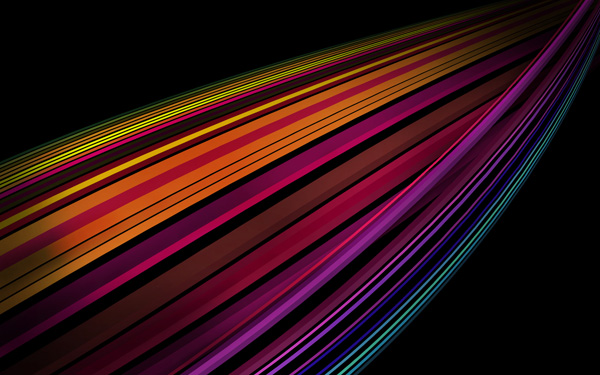
We’ve got the next effect:
Create one more new layer and choose for it the Soft Round brush of white color this time (Opacity 30%)
Paint to make lighter the lines, the same way demonstrated next picture:
Set the Blending mode for this layer to Overlay
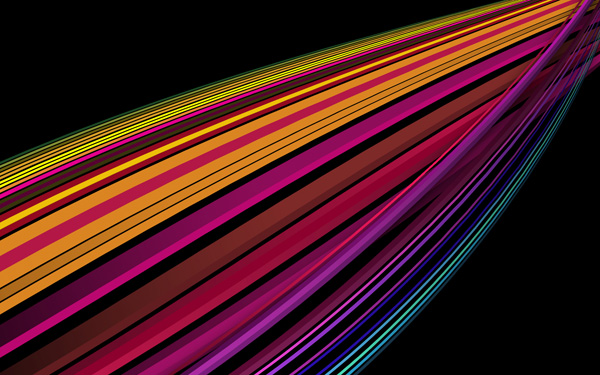
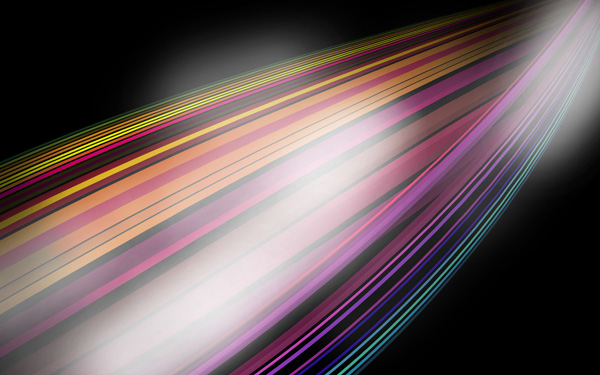
The final result!
View full size here.
Page: 1 2
Comments