
How to create abstract colorful background with bokeh effect in Photoshop
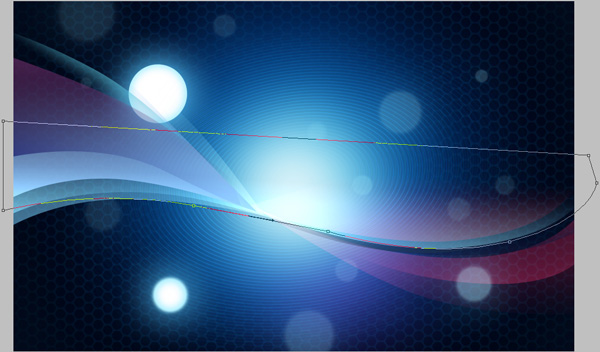
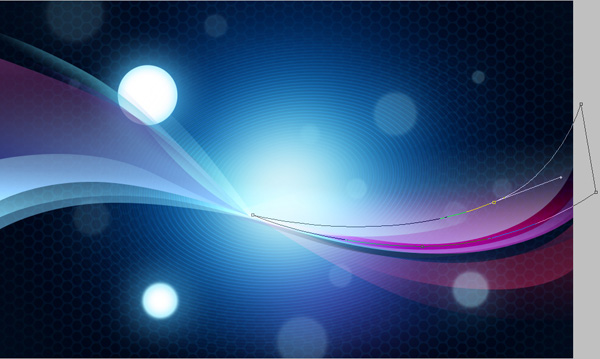
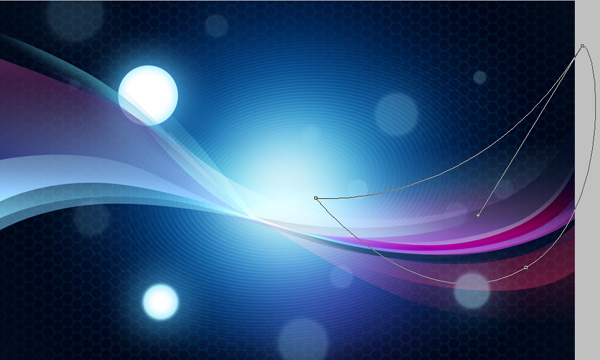
Draw another shape using Pen Tool (P)
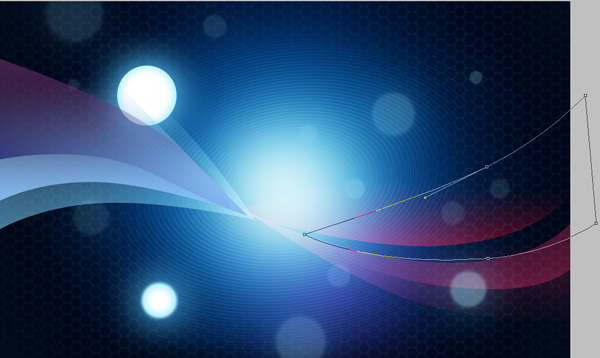
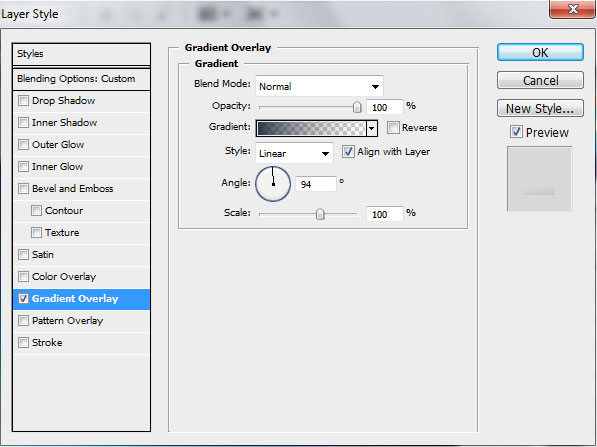
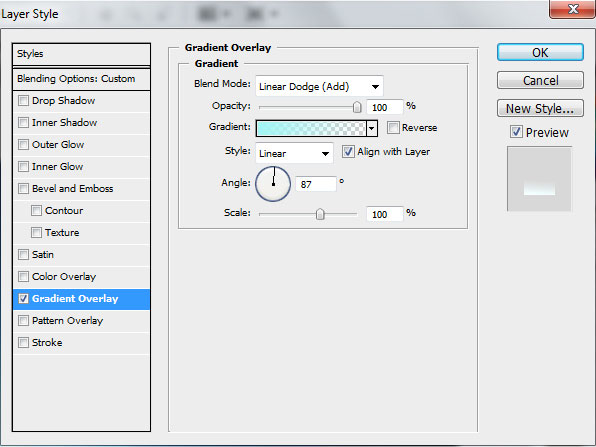
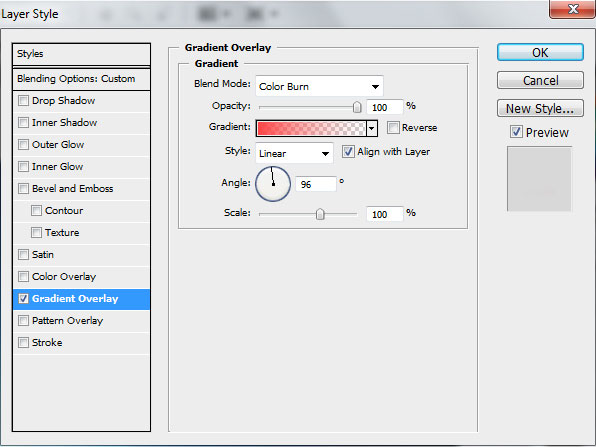
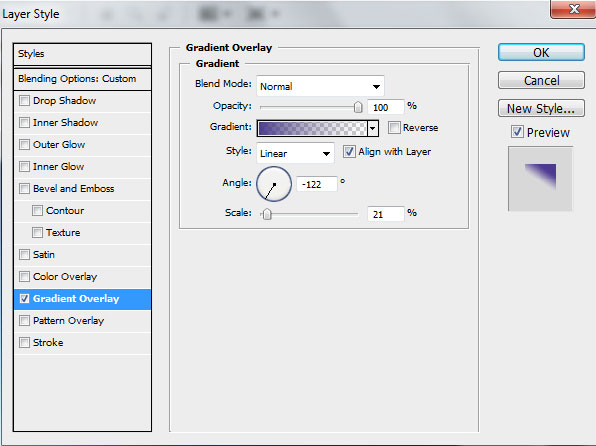
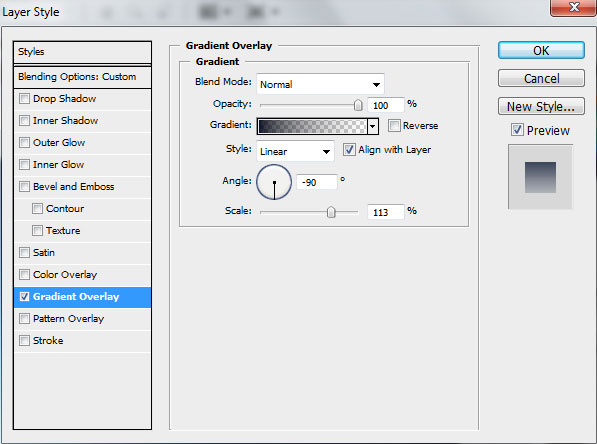
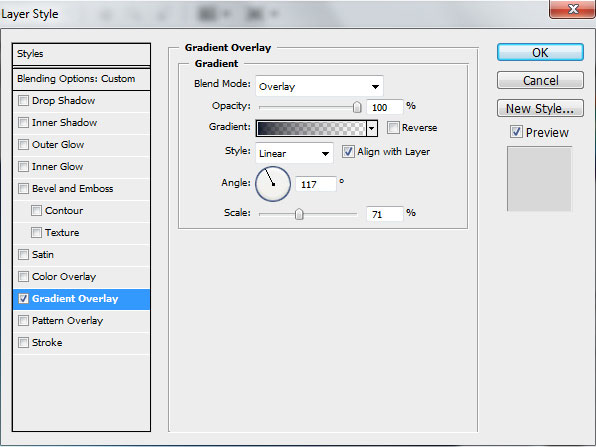
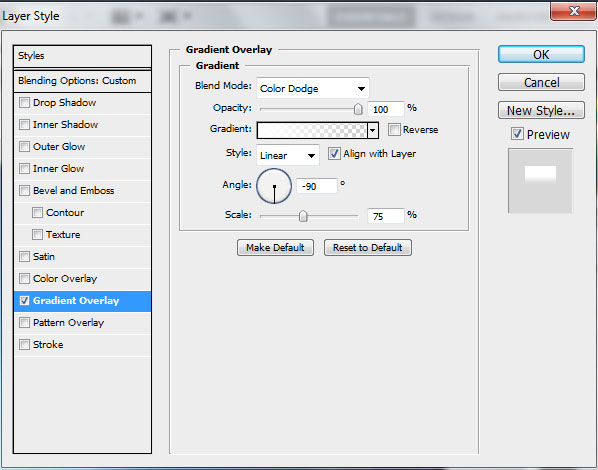
Set Fill to 0% and go to Layer Style>Gradient Overlay

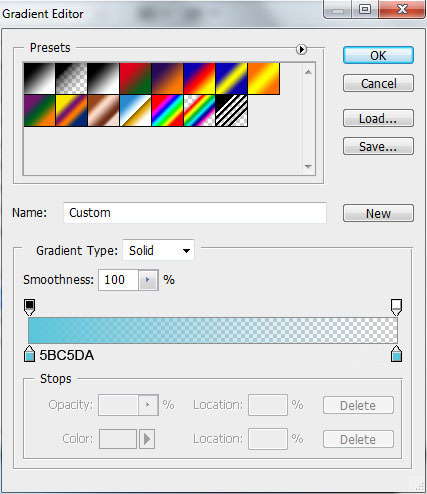
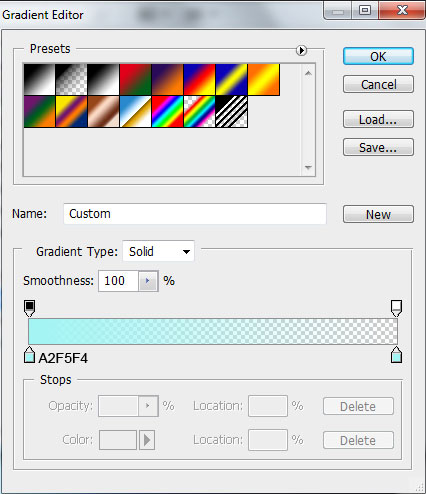
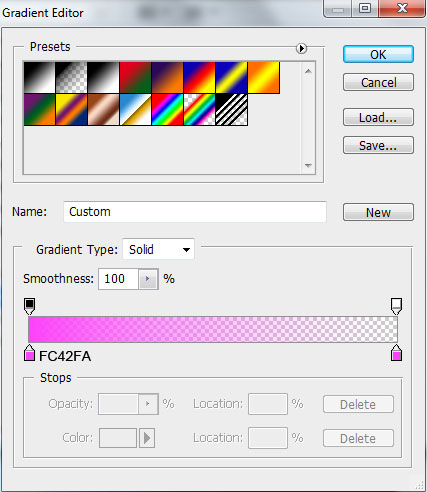
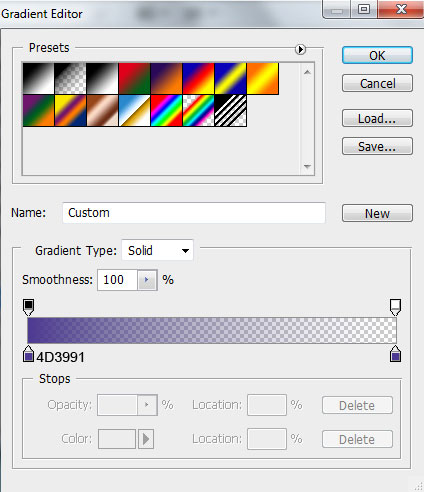
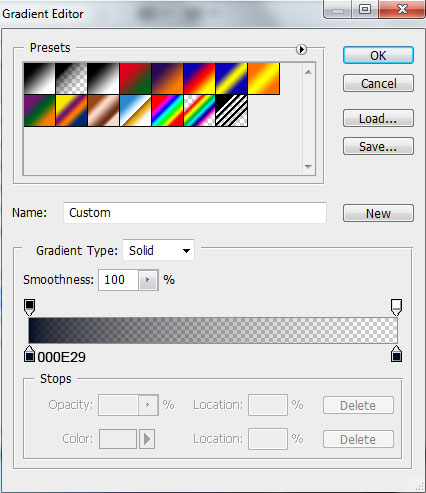
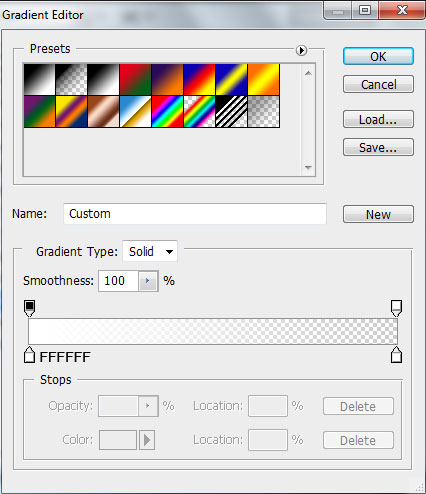
Open the Gradient Editor and set the color stops as shown.
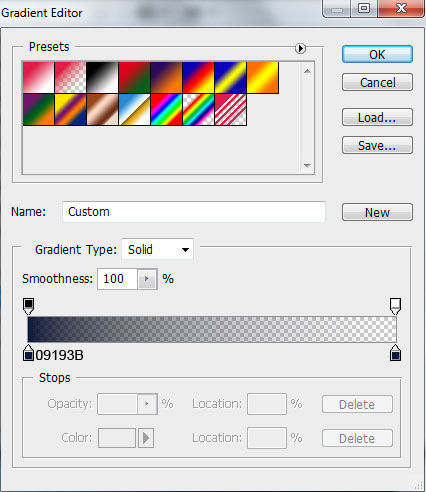
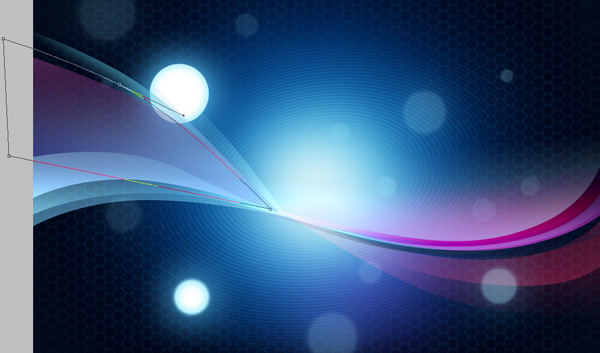
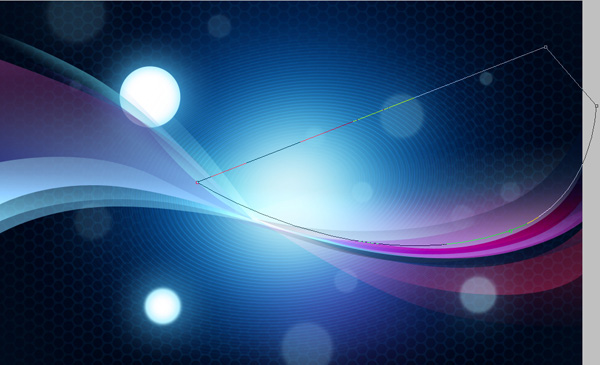
We’ve got the next result:

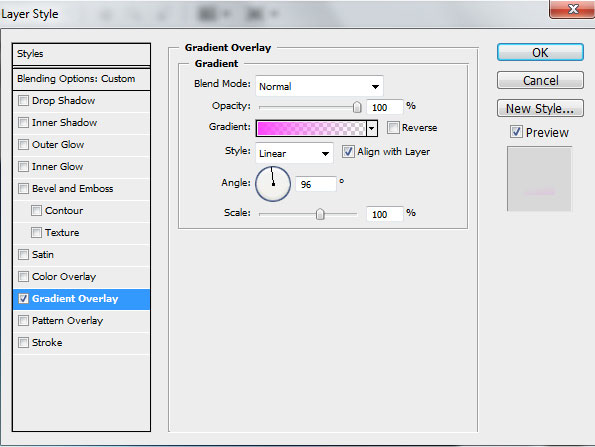
Represent a shape on the left
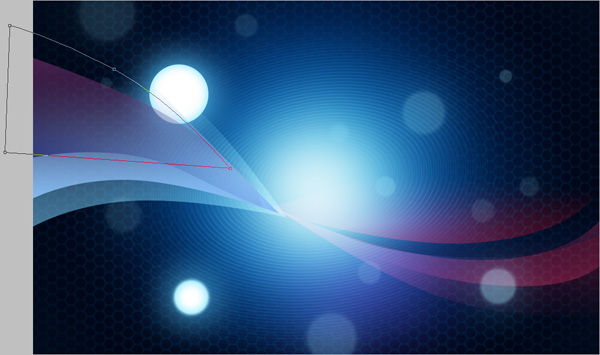
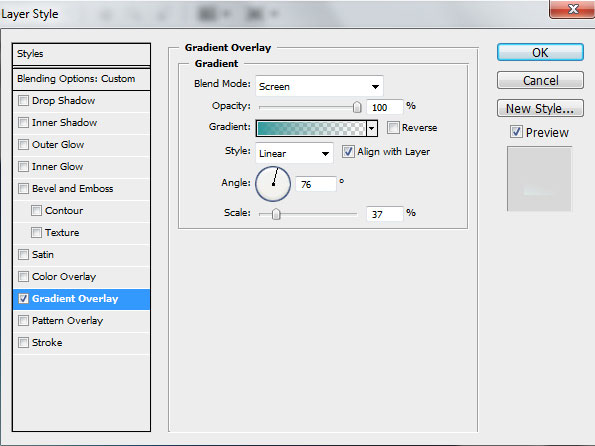
Set Fill to 0%, add the next Gradient Overlay settings:

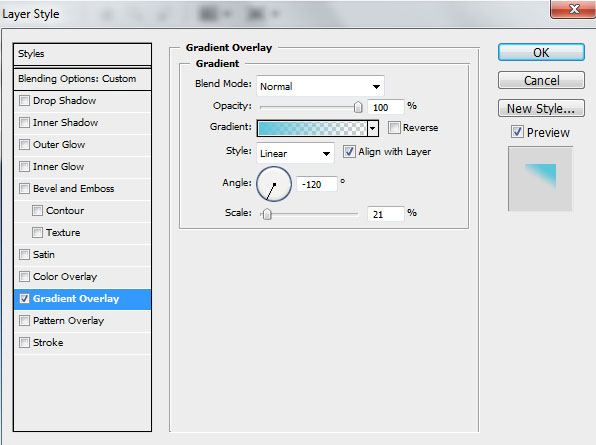
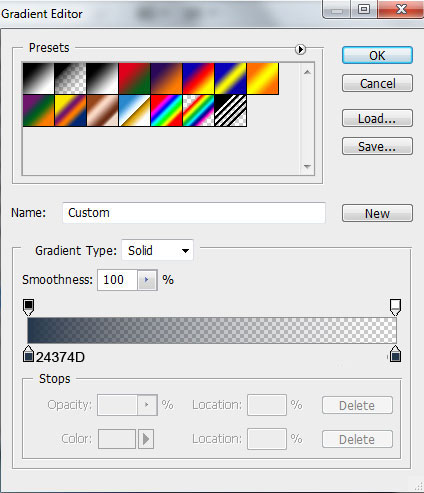
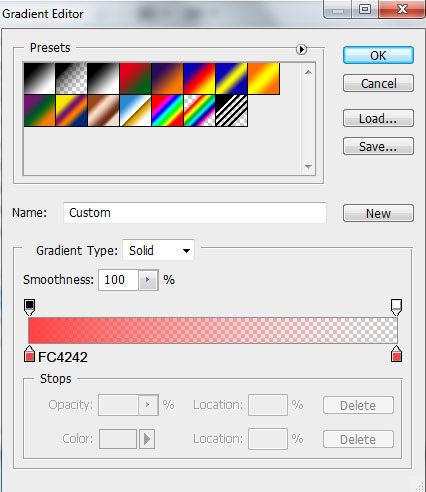
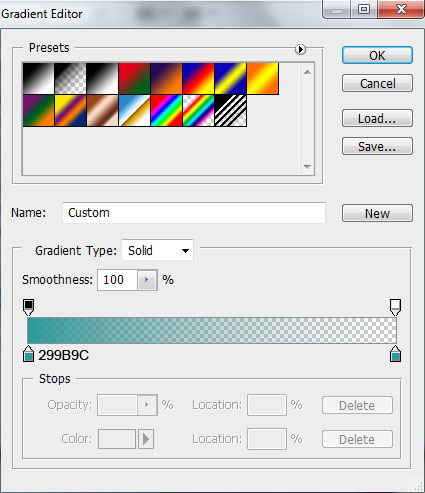
Open the Gradient Editor and set the color stops as shown. Click OK to close the Gradient Editor dialog box.
We’ve got the next gradient on the shape:

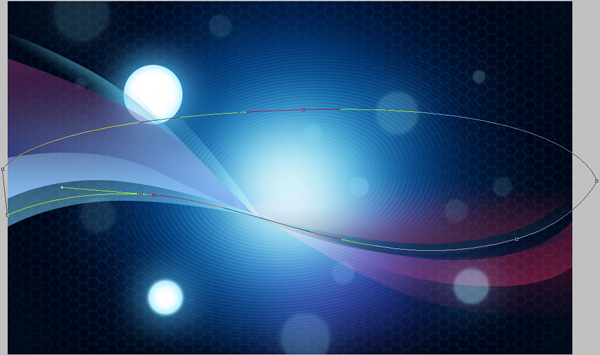
Draw a shape as shown using Pen Tool (P)

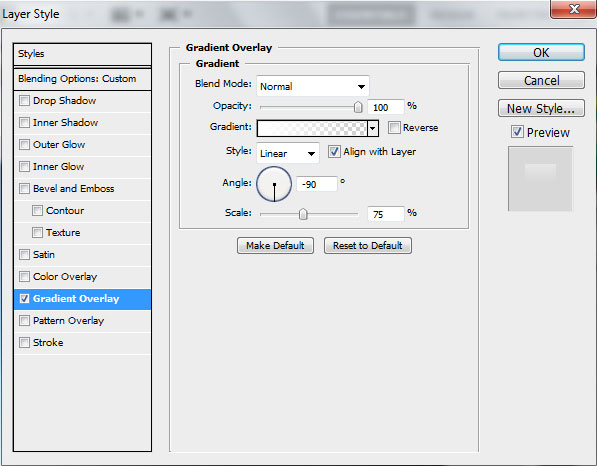
Set Fill to 0% in the Layers panel and click Add a layer style icon from bottom part of the Layers panel to select Gradient Overlay:
Click in the color bar to open the Gradient Editor and set the color stops as shown. Click OK to close the Gradient Editor dialog box.
We’ve got the next result:

Represent the next shape
Set Fill to 0% and go to Layer Style>Gradient Overlay
Open the Gradient Editor and set the color stops as shown. Click OK to close the Gradient Editor dialog box.
We’ve got the next effect:

Draw another shape
Set Fill to 0% and change the Blending mode to Saturation for this layer. Click Add a layer style icon from bottom part of the Layers panel to select Gradient Overlay:
Click in the color bar to open the Gradient Editor and set the color stops as shown. Click OK to close the Gradient Editor dialog box.
We’ve got the next result:

Represent another shape using Pen Tool (P)

Set Fill to 0% and change the Blending mode to Saturation for this layer. Go to Layer Style>Gradient Overlay
Open the Gradient Editor and set the color stops as shown.
We’ve got the next effect:

Draw a shape on the right:

Set Fill to 0% and change the Blending mode to Saturation for this layer. Click Add a layer style icon from bottom part of the Layers panel to select Gradient Overlay:

Open the Gradient Editor and set the color stops as shown. Click OK to close the Gradient Editor dialog box.

We’ve got the next gradient on this shape:

Represent another shape on the left:
Set Fill to 0% and go to Layer Style> Gradient Overlay
Open the Gradient Editor and set the color stops as shown.
We’ve got the next result:

Draw a shape on the central part using Pen Tool (P)

Set Fill to 0% and click Add a layer style icon from bottom part of the Layers panel to select Gradient Overlay:
Click in the color bar to open the Gradient Editor and set the color stops as shown. Click OK to close the Gradient Editor dialog box.
We’ve got the next effect:

Represent another shape on the right:
Set Fill to 0% and go to Layer Style>Gradient Overlay
Open the Gradient Editor and set the color stops as shown.
We’ve got the next gradient on the shape:

Draw another shape using Pen Tool (P):
Set Fill to 0% and click Add a layer style icon from bottom part of the Layers panel to select Gradient Overlay:
Click in the color bar to open the Gradient Editor and set the color stops as shown. Click OK to close the Gradient Editor dialog box.

We’ve got the next result:

Represent a shape on the central part using Pen Tool (P)

Set Fill to 0% for this layer in Layer panel and go to Layer Style>Gradient Overlay
Open the Gradient Editor and set the color stops as shown.
We’ve got the next effect on the shape:

Go to Layer Style and check the Layer Mask Hides Effects in Blending Options dialog box.

Click on the same layer on the bottom part of the Layers panel on Add layer mask icon and choose the Soft Round brush of black color
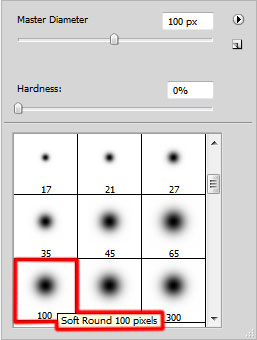
Use Soft Round brush to paint in the mask to hide the edges of the shape. Do not forget to set the Layer Mask Hides Effects in Blending Options menu.

Draw another shape on the right
Set Fill to 0% for this layer and click Add a layer style icon from bottom part of the Layers panel to select Gradient Overlay:
Click in the color bar to open the Gradient Editor and set the color stops as shown. Click OK to close the Gradient Editor dialog box.

We’ve got the next result:

Comments