
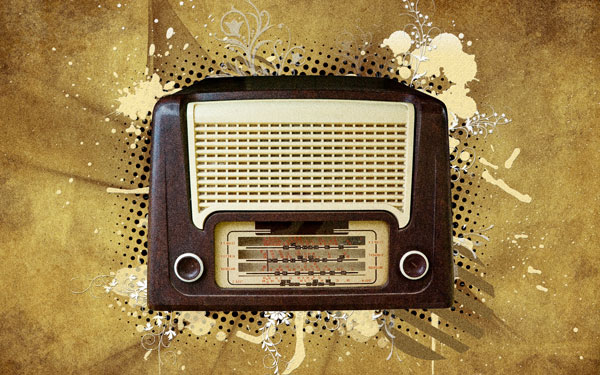
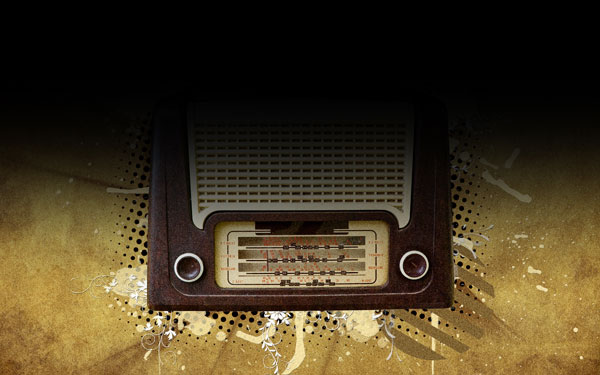
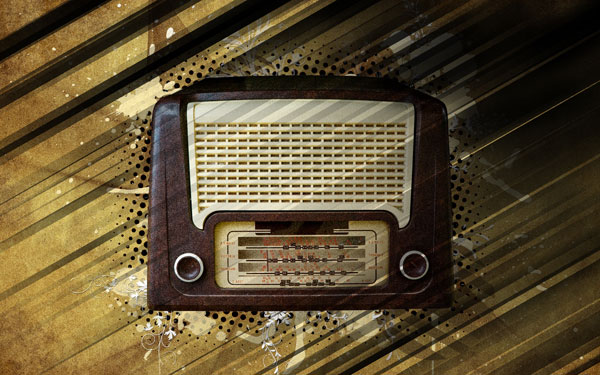
How to Create a Vintage Radio Poster in Photoshop
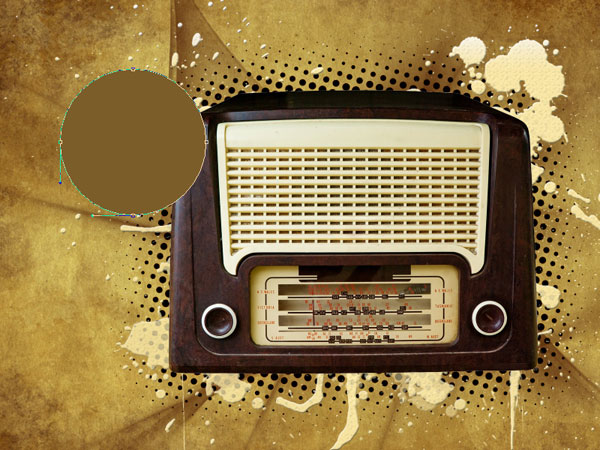
We’ll represent a small circle of the color #7B5D2A for the next new element with Ellipse Tool (U).
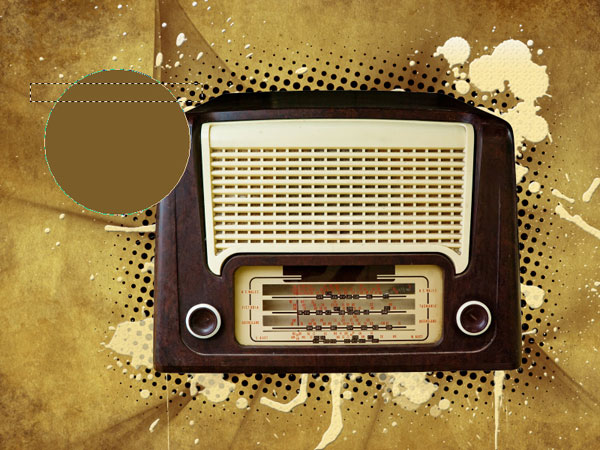
Using the Rectangular Marquee Tool (M), we need to select the zone along the line’s width and press DELETE button. This way we’ll cut the circle on small lines.
Cutting the circle, we may turn it over with Free Transform option and place it the same way as in the next picture. Place this layer under the layer containing the radio.
Make a copy of the last made layer and choose Free Transform option to make the copy smaller, placing it the same way as below. The layer will be situated under the radio’s layer too.

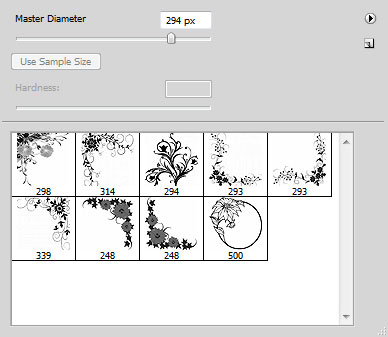
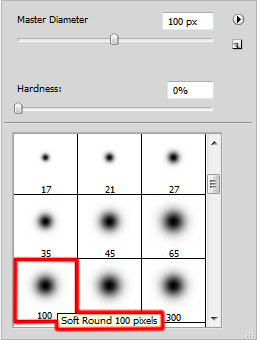
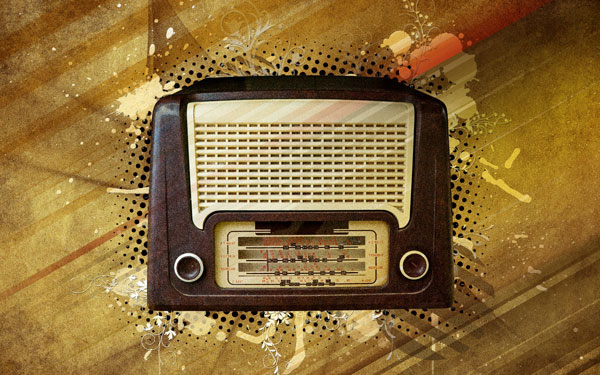
On the next new layer we’ll choose the brushes of white color out of the set Floral_by_solenero73. The brushes must be applied with different Opacity parameter from time to time.


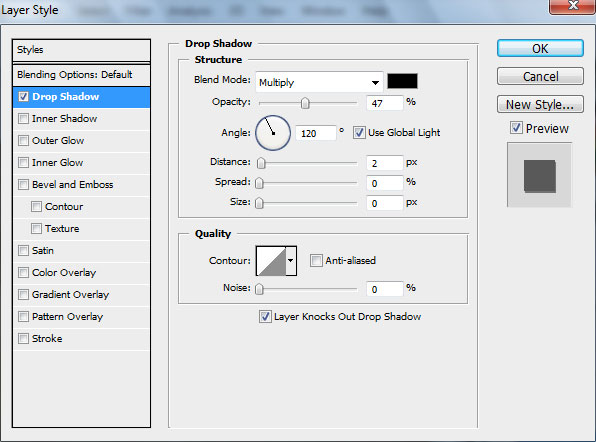
Next select the Layer Style. Make a double click on the left mouse’s button on this layer on the layers’ panel and set the Drop Shadow as shown:

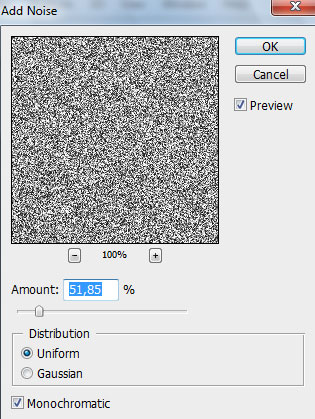
Create a new layer which must be filled with Paint Bucket Tool (G), giving it the color #959595

Select for this layer Filter>Noise>Add Noise
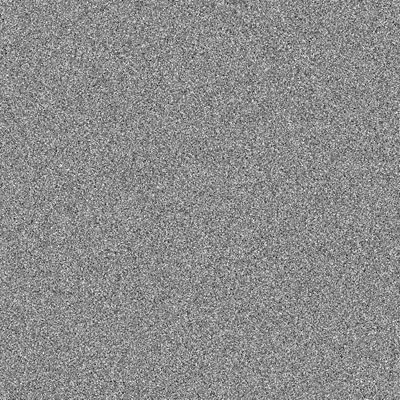
Set for this layer Blend Mode to Soft Light.
Create a new layer again applying here the Gradient Tool (G) to dark out the top part of the picture.

Select for this layer the next option: Filter>Distort>Wave
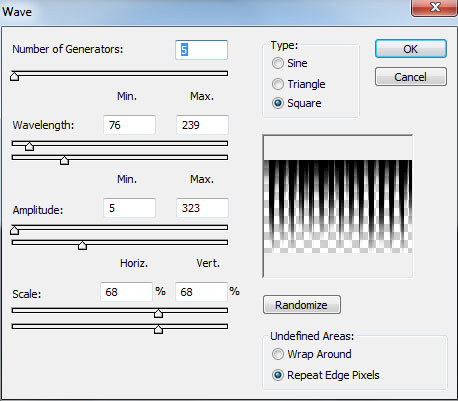

Using Free Transform option, turn over the made black lines, stretch them out by their length and place them the way from below:
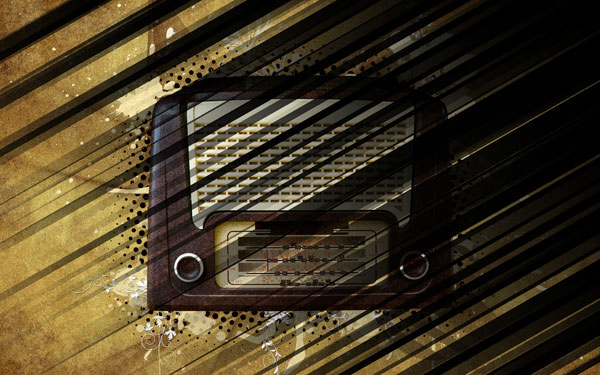
Click on this layer on the bottom part of the layers’ panel on Add a Mask option and apply a brush of black color (Opacity 15%) to clean out the lines on the radio.
Set Fill to 0% for this layer and select the Layer Style. Make a double click on the left mouse’s button on this layer on the layers’ panel and set the Gradient Overlay as shown:

Gradient Editor parameters:

Create a new layer and select for it a brush of yellow color (Opacity 20%) to represent several spots on the indicated places:

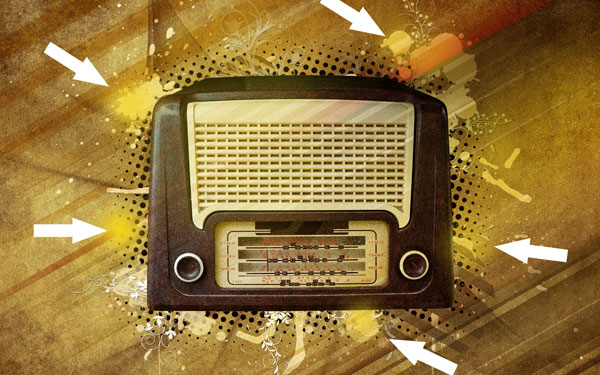
Set for this layer Blend Mode to Saturation.
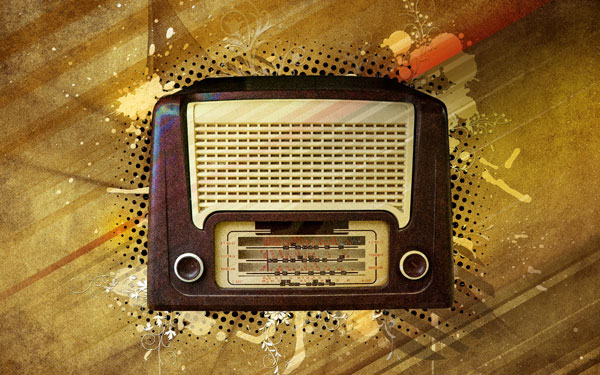
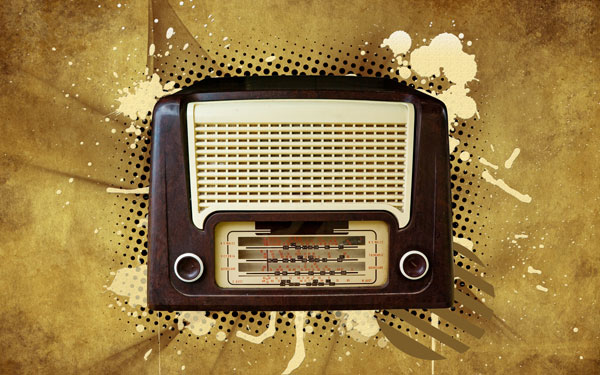
Finished!
View full size here.
Page: 1 2
Comments