
How to Create a Speed Lighting Photo Manipulation
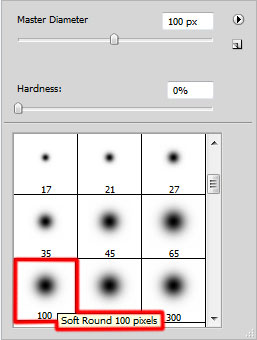
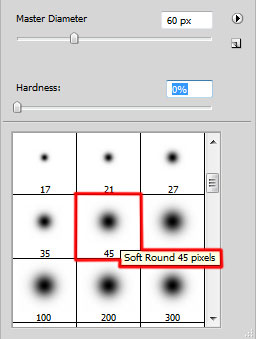
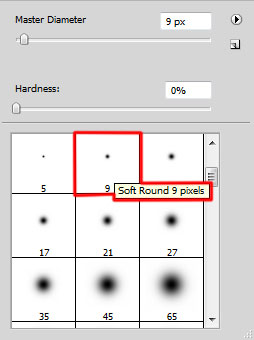
Click on the same layer on the bottom part of the layers’ panel on Add a Mask and choose a Soft Round brush of black color to clean out the car’s wheels:
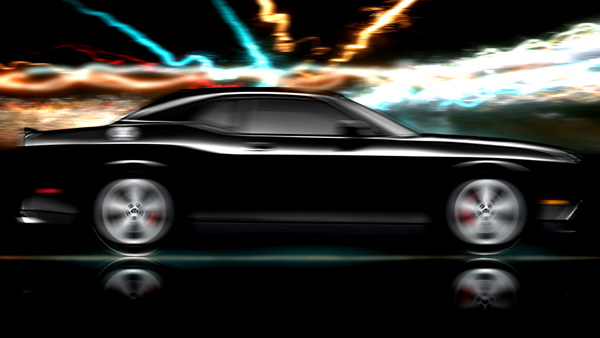
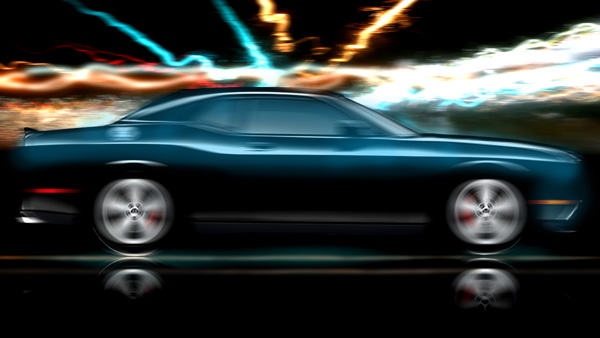
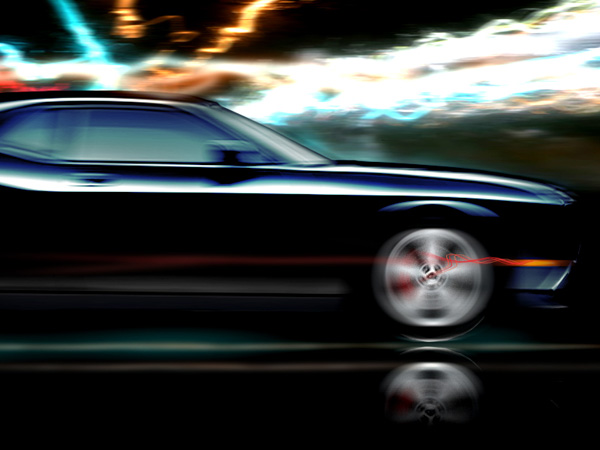
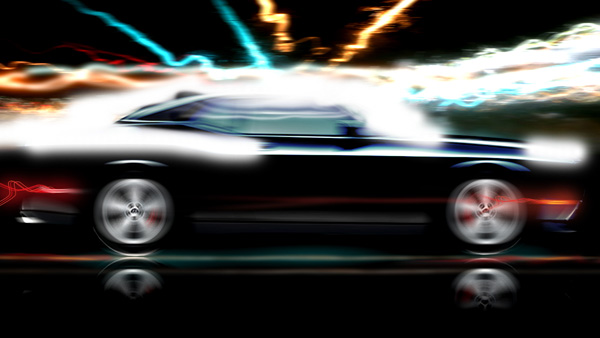
We’ve got the next effect on image:
On the next new layer (Create new layer) we’ll apply a Hard Round brush
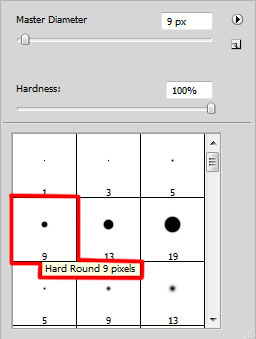
to represent a line of white color (Opacity 10%).
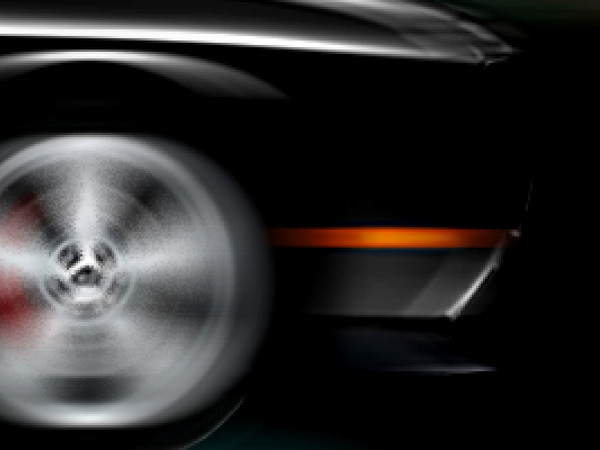
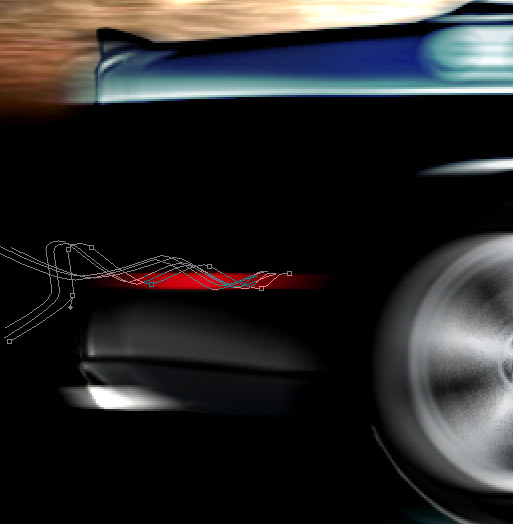
Next we’ll draw the trains coming out of the car’s lights. Firstly we need to represent the primary elements, using the Pen Tool (P) in Shape Mode with color #FF9900
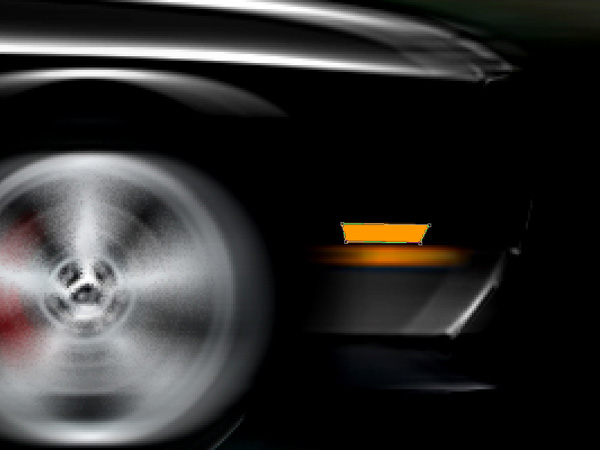
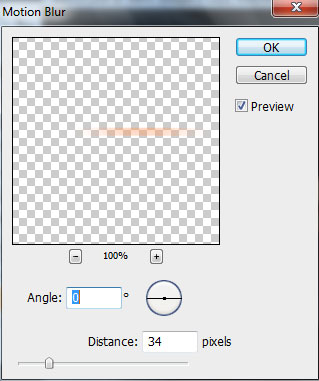
Then create a new layer, press CTRL button to select this layers with the layer containing the orange elements, finally press CTRL+E to Merge Down. Apply on it Filter>Blur>Motion blur

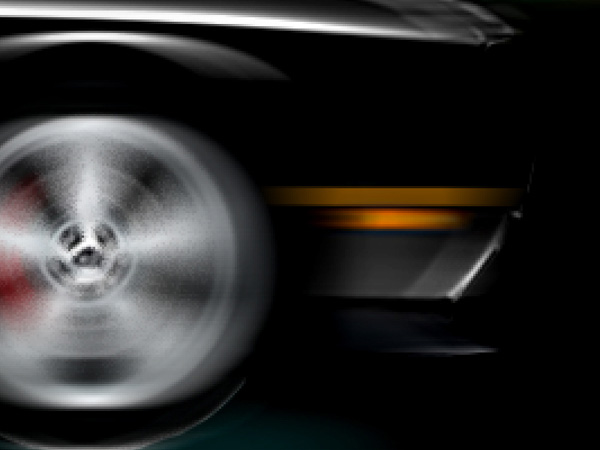
Select the Free Transform (Ctrl+T) to place the layer exactly like on the image below:
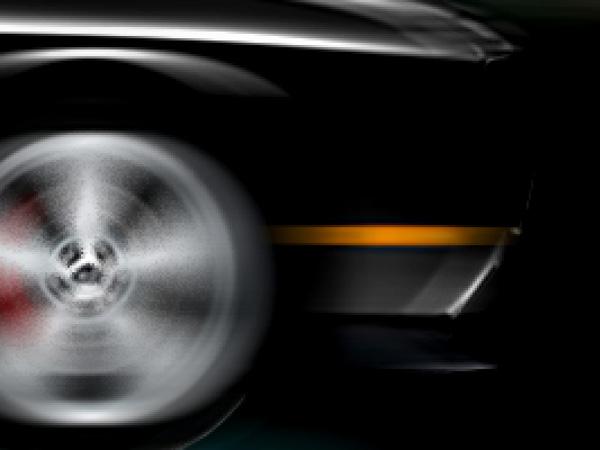
Set the Blending mode for this layer to Pin Light
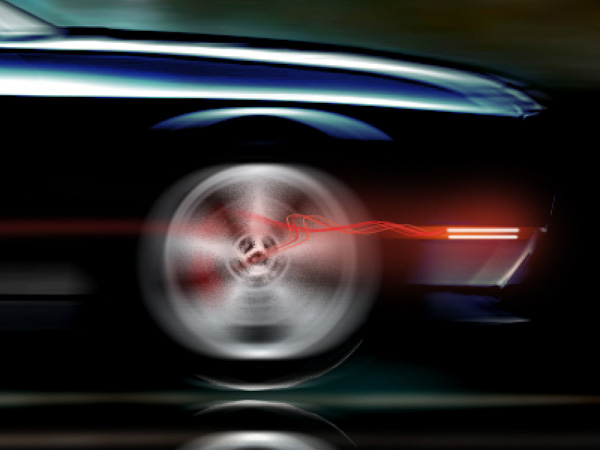
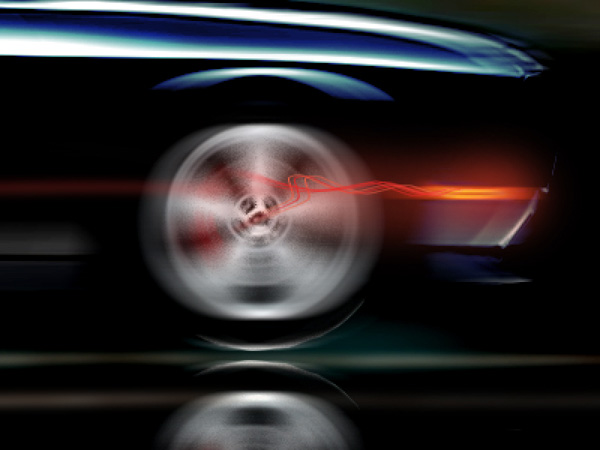
Do the same operation for the back car lights by representing firstly the primary elements with the Pen Tool (P) in Shape Mode with color #FF000C
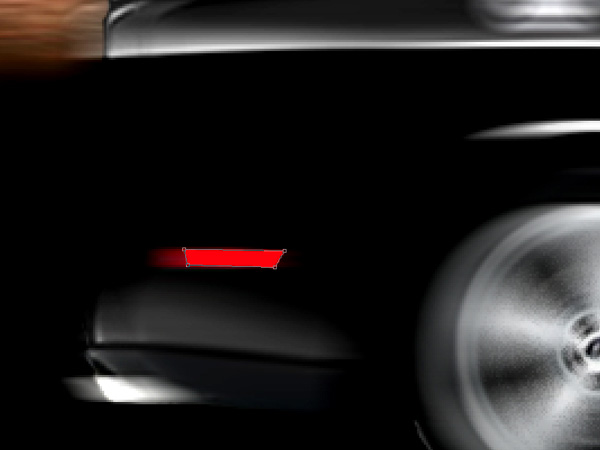
Rasterize the layer the same way we did earlier with the front lights, applying on the layer the same Filter>Blur>Motion blur filter:
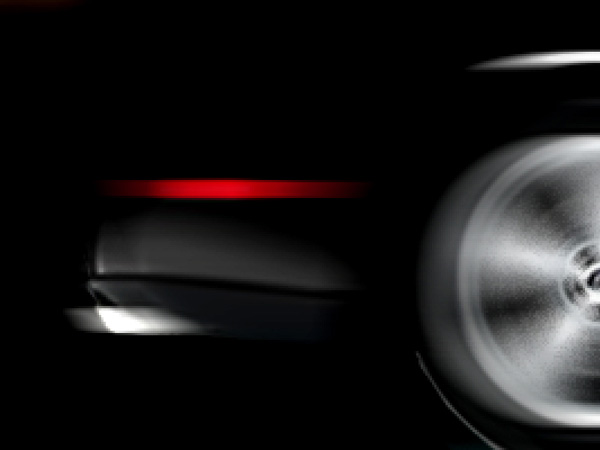
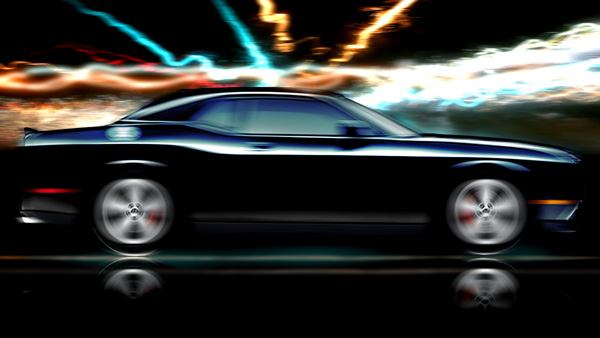
We’ve got the next effect on car:
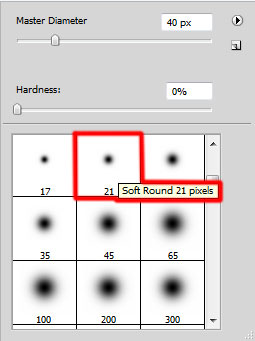
Create a new layer again, using here the Soft Round brush of blue color (Opacity 15%)
paint the top part of the car:
Set the Blending mode to Color Dodge for this layer
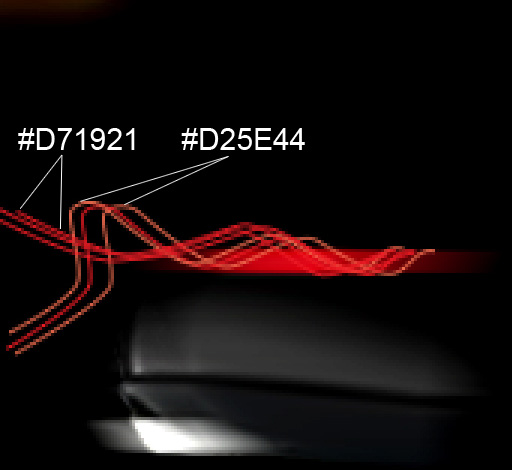
Next we’ll draw the lines coming from the car’s lights. Firstly draw the line’s paths using the Pen Tool (P) in Path Mode

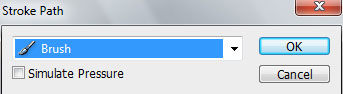
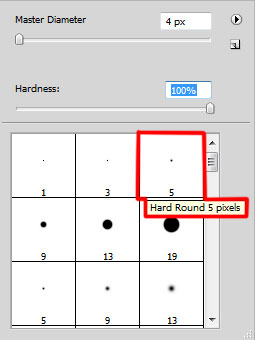
Create new layer, select Soft Round brush with the color mentioned below (Diameter 3, Hardness 100%). Use then the Direct Selection Tool (A) to select the line and then pass on the Pen Tool (P), right click on the selected line and choose Stroke Path (Brush mode). Do this operation for each line.
Combine in a group all the layers containing the lights’ lines (press CTRL button, select the necessary layers and hold on the left mouse’s button while dragging the selected layers on Create a new group icon from bottom part of the Layers panel). Merge Down the group to get a rasterized layer (in this case select the group and press CTRL+E).
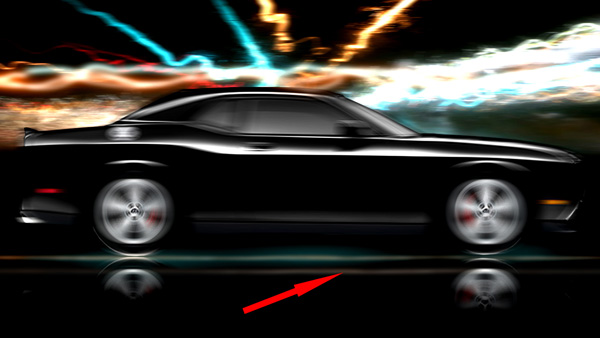
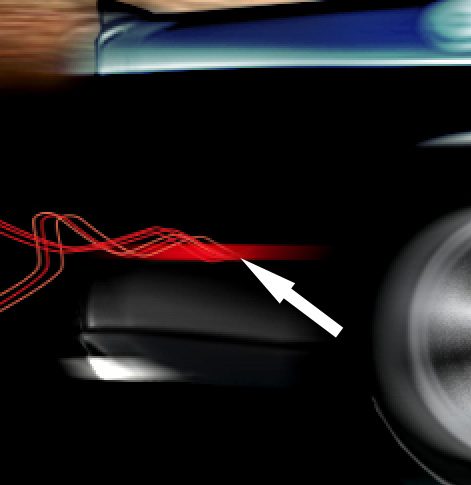
Click on the same layer on the bottom part of the layers’ panel on Add a Mask and apply a Soft Round brush of black color to clean out the lines, only in those places marked with arrow.
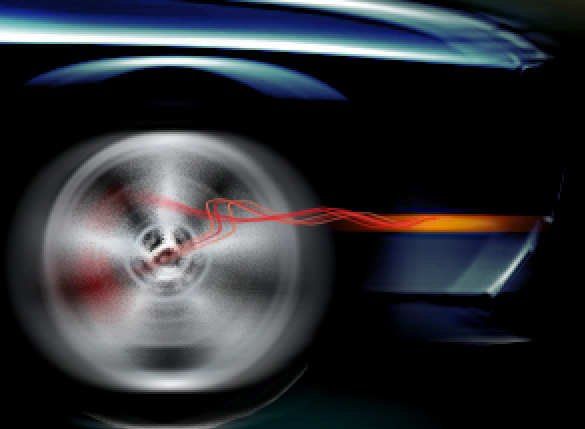
Make a copy of the last made layer with the lightning lines and apply the Free Transform (Ctrl+T) to re-size it vertically and stretch out these lightning lines. Place them exactly like on the next indicated picture:
Create a new layer again and use here a Soft Round brush of red color (Opacity 10%)
to represent a line coming out of the front car lights. Blur it out a little on the left side, using the Smudge Tool (R).
On the next new layer we’ll increase the luminescence of the cars lights, applying a Soft Round brush of red color (Opacity 20%).

Create a new layer and apply here a Hard Round brush of white color to draw two parallel lines.
Blur out the lines’ edges, using the Smudge Tool (R).

Set the Blending mode for this layer to Overlay
Make a copy of the last made layer and select the Free Transform (Ctrl+T) to place the copy on the back car’s lights. The Blending mode – Overlay shouldn’t be applied:
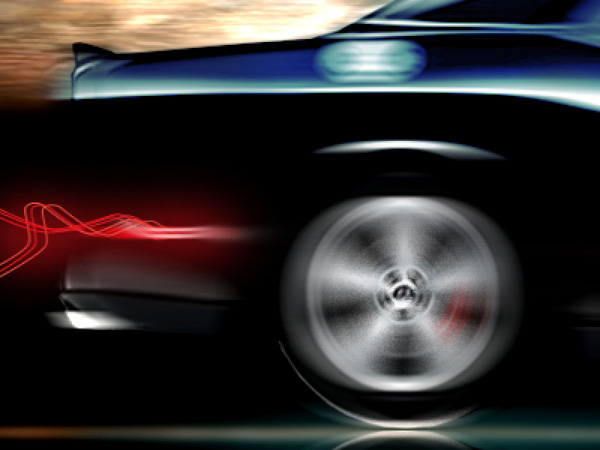
Next we’ll create a new layer and use here a Soft Round brush to represent the reflection on the road coming out of the car’s lights. Choose the red and orange colors:


Set the Fill for this layer to 86%
Raise the contrast of the top car’s part. In this case we’ll create a new layer and apply here a Soft Round brush of white color.

Set the layer Blending mode to Overlay
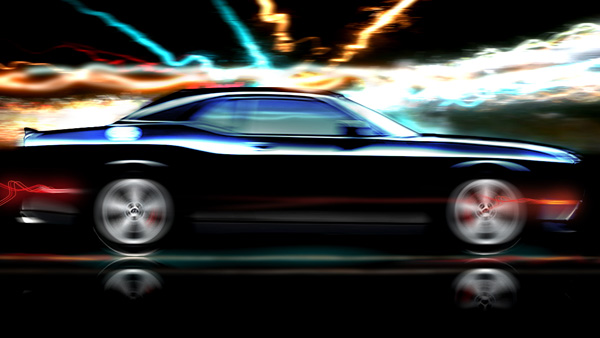
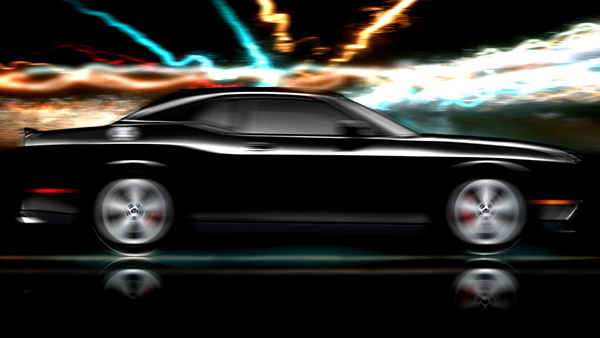
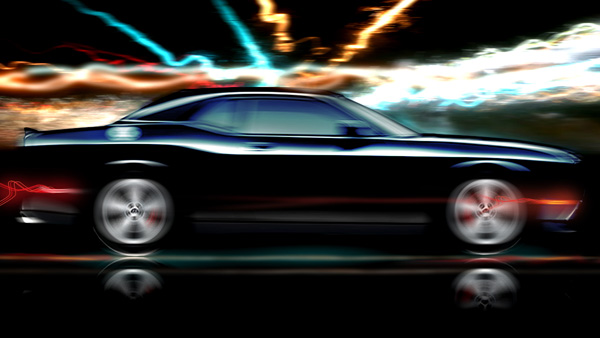
The final result!
View full size here.
Page: 1 2
Comments