
How to create a spattered photomontage in Photoshop
Let’s create the next new layer and use here the Rectangular Marquee Tool (M) to represent the next selection:
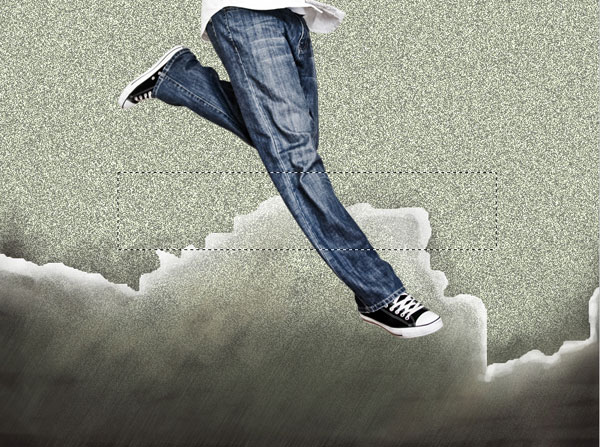
Then right mouse click inside the selection and select Transform Selection, inclining it as it is demonstrated below:
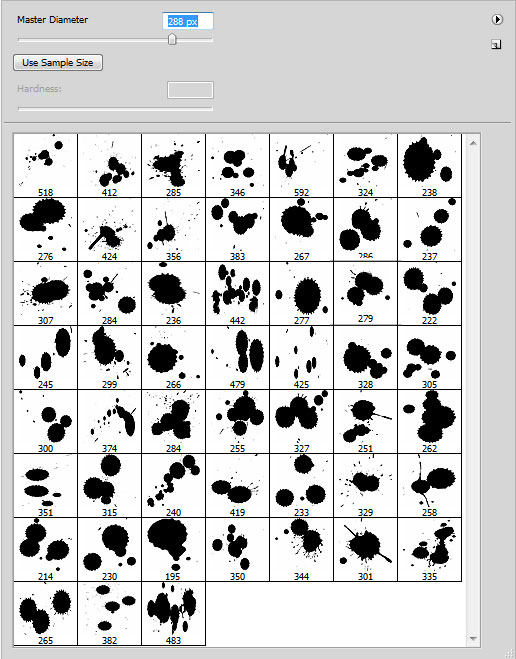
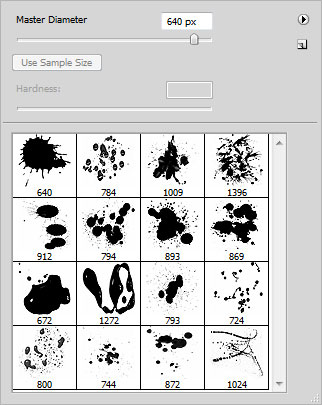
Use the Spatter brush inside the selection and paint the top edge with the white color.

We’ve got the next result:
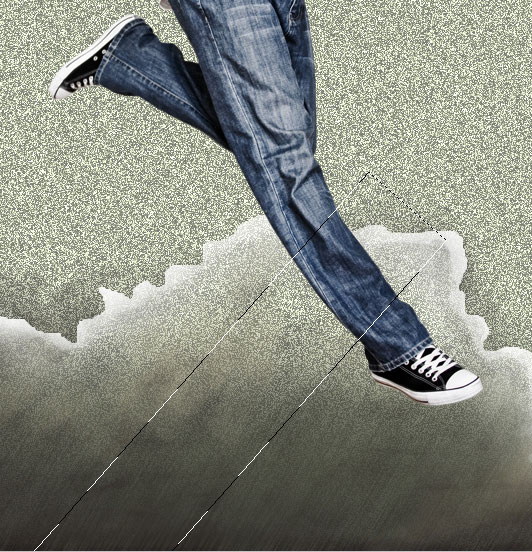
Make a copy of the last made layer with the inclined line and select the Free Transform (Ctrl+T) command to turn over the copy’s layer and place it the same way demonstrated on the next picture. The layer will be situated lower than the man’s layer:
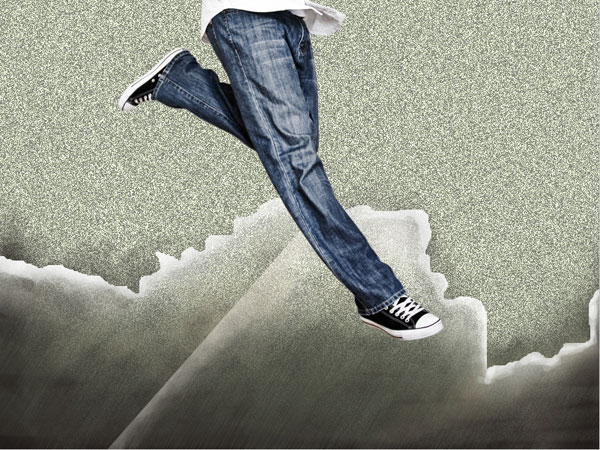
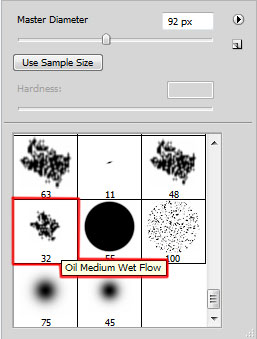
Create a new layer and use here Oil Medium Wet Flow brush to paint the central part of the picture. The brush’s color is #F2DABB (Opacity 29%). This layer will be situated under the layer with the jumping man.

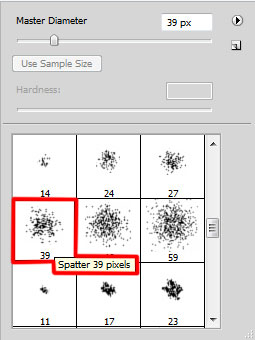
The next Spatter brush will be used for painting the layer’s edges:
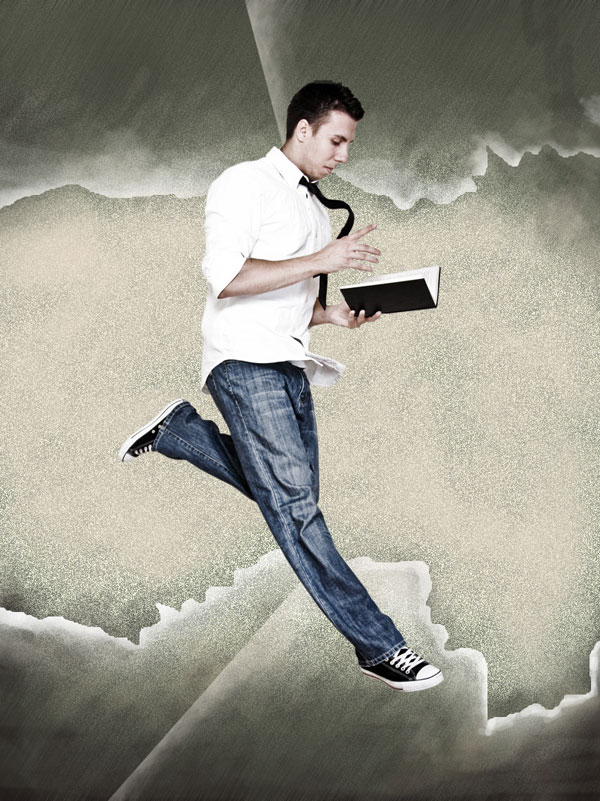
We’ve got the next result:
Set the Blending mode for this layer to Vivid Light
On the next new layer we’ll apply the Spatter brush of black color (Opacity 5%) to add a couple of spots on the central part of the picture.

This layer will be situated under the man’s layer:
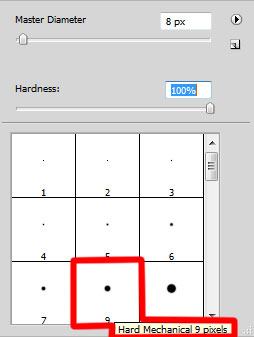
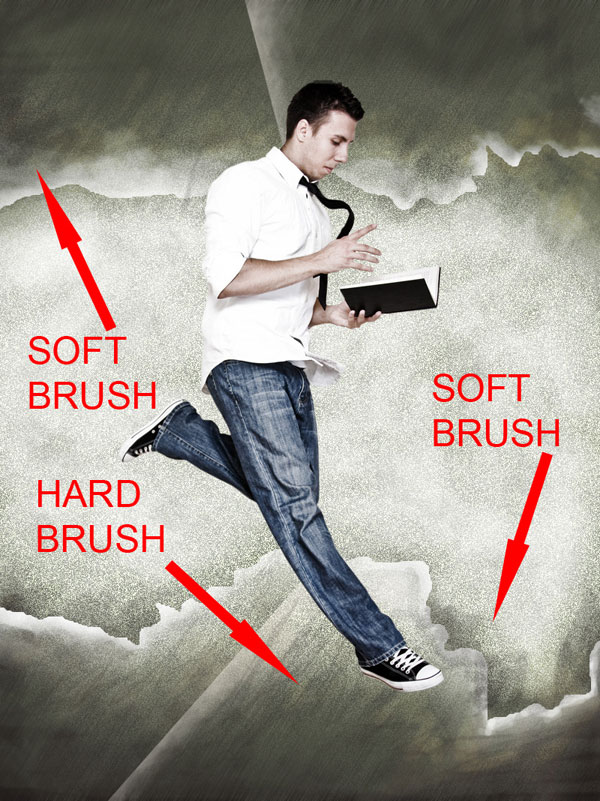
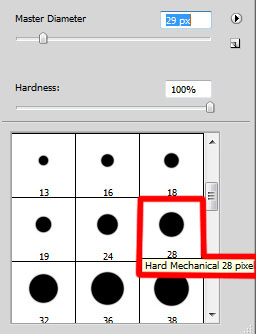
Create a new layer again and select for it the Soft Round and Hard Mechanical brush of different diameter to represent several scratches. The brush’s color is black (Opacity 5%).

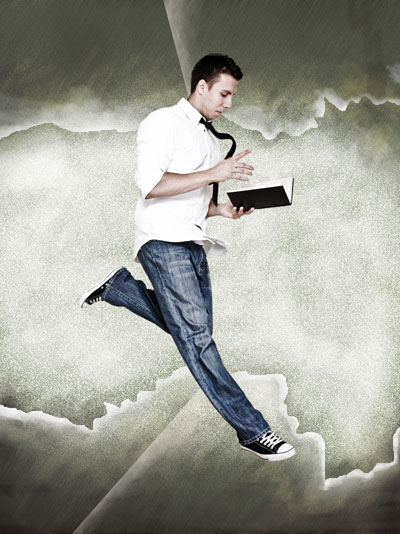
We’ve got the next result:
Next step we’ll download a set of brushes for in Adobe Photoshop, named: Blood_Brushes_by_Zattitud3 and Blood_splatter_brush_by_AnnFrost_stock .
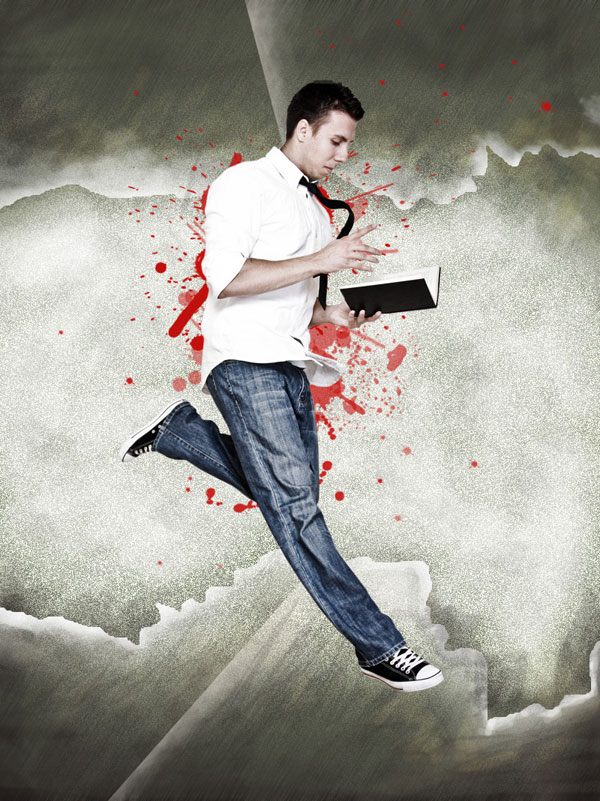
Create a new layer and choose for it the next brush from downloaded set. The brushes’ color is #BF100D. Use here different Opacity for the brushes. This layer needs to be situated under the man’s layer:
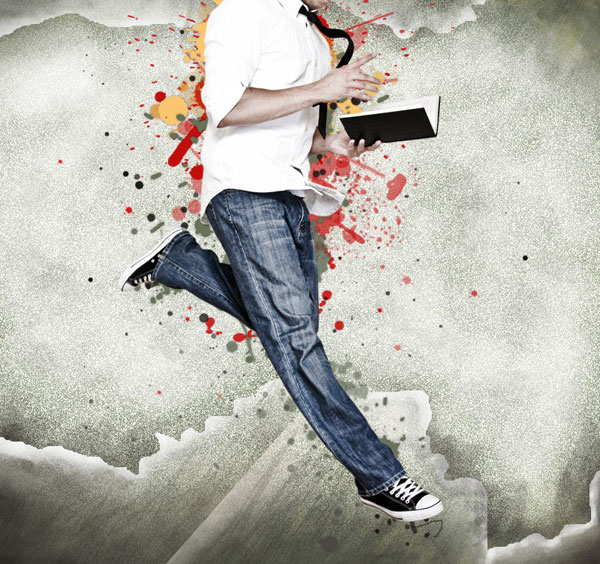
We’ve got the next result:
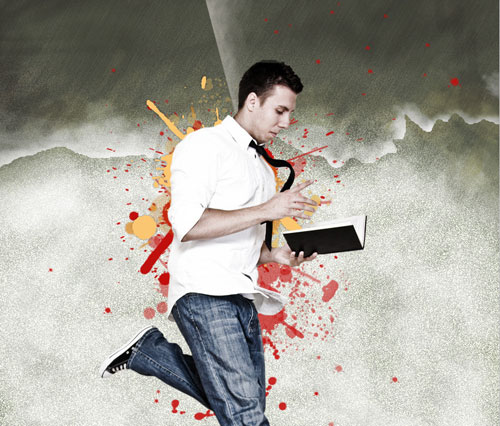
On the next new layer we’ll apply the brushes out of the above mentioned sets to represent several spots of the color #FBC671. Place this layer lower than the jumping man’s layer:

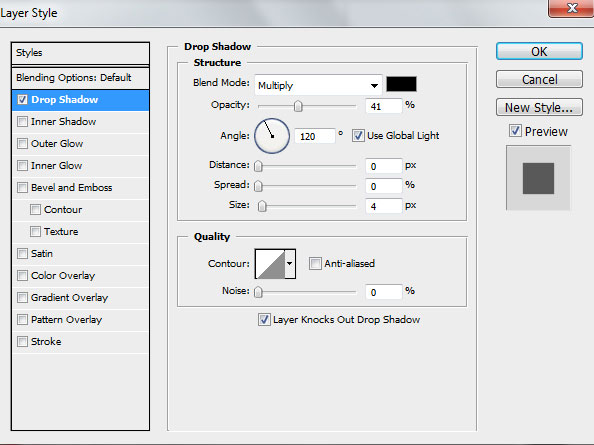
Add the next Drop Shadow settings for the layer by clicking on Add a layer style icon from bottom part of the Layers panel

We’ve got the next effect:
Let’s create the next new layer and use again brushes out of the above mentioned sets. The brushes’ color is #677159
Click on Add a layer style icon from bottom part of the Layers panel and select Drop Shadow
We’ve got the next effect:

On the next new layer we’ll apply the brushes out of the next sets: Blood_Brushes_by_Zattitud3 and Blood_splatter_brush_by_AnnFrost_stock. We need them to paint the zone along the man’s body with black color. Choose different Opacity and place this layer also under the man’s one:
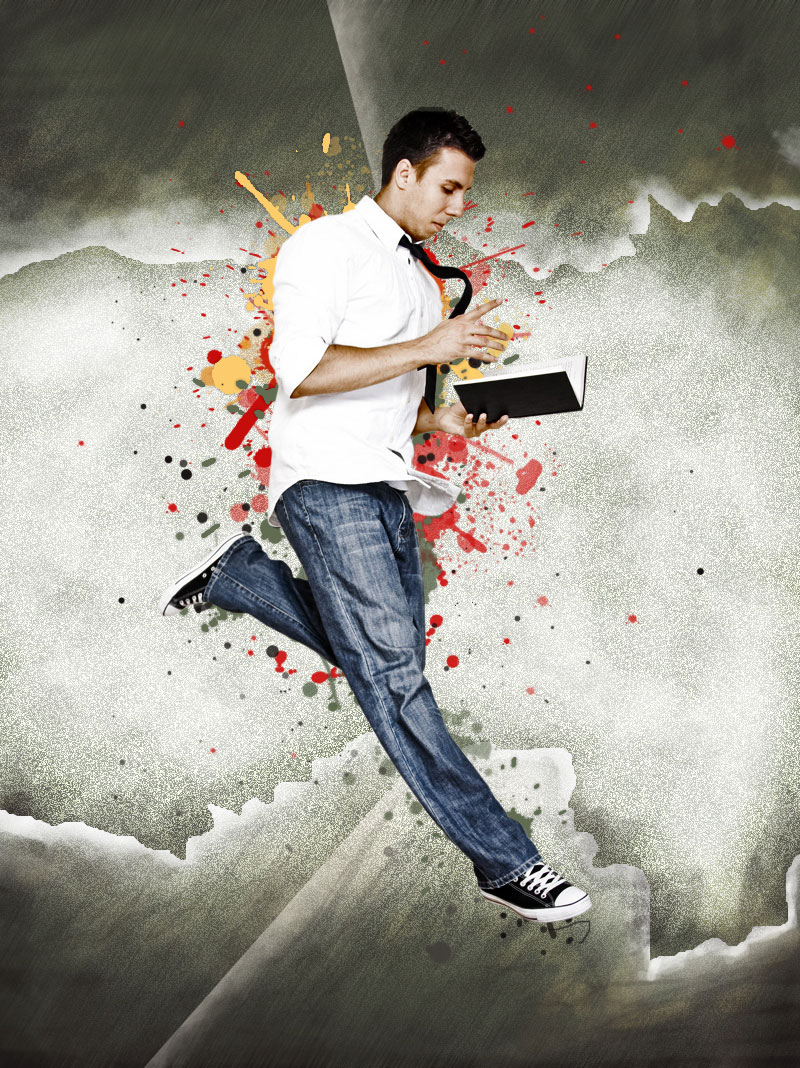
Select Create new fill or adjustment layer from bottom part of the Layers panel and click to Curves to adjust the curve shape as shown.
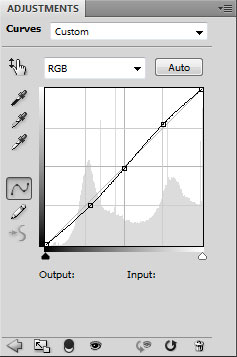
The Adjustment layer will be placed also lower than the layer with the jumping man:
Create a new layer and choose the Hard Mechanical brush to paint accurately the man’s hands and his face.
The brush’s color is #E7BF82
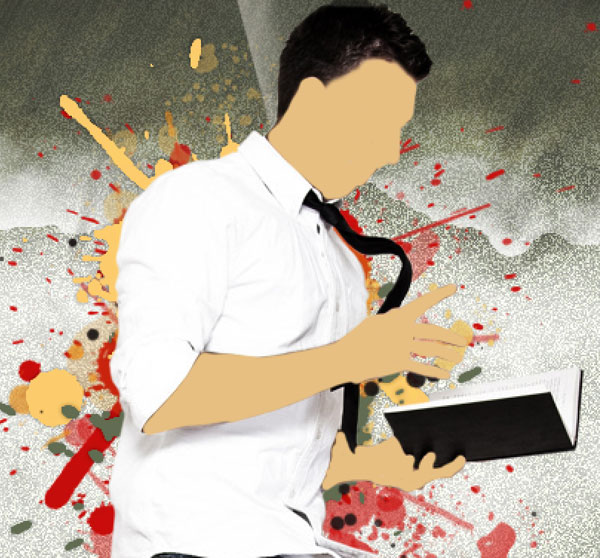
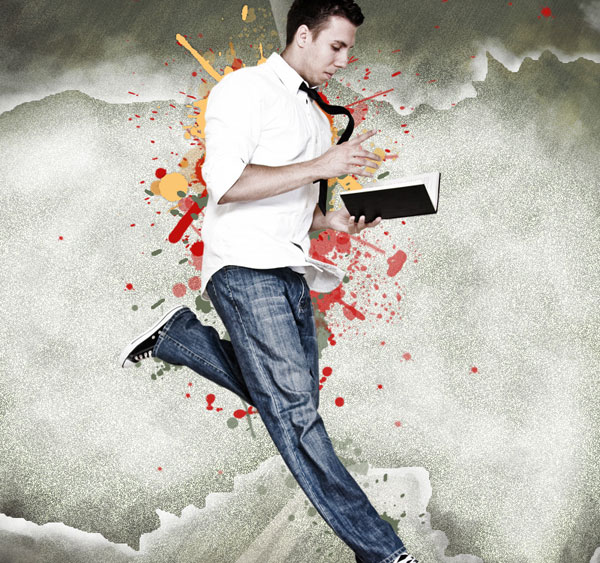
Set Fill to 55% and Blending mode for this layer to Color Burn
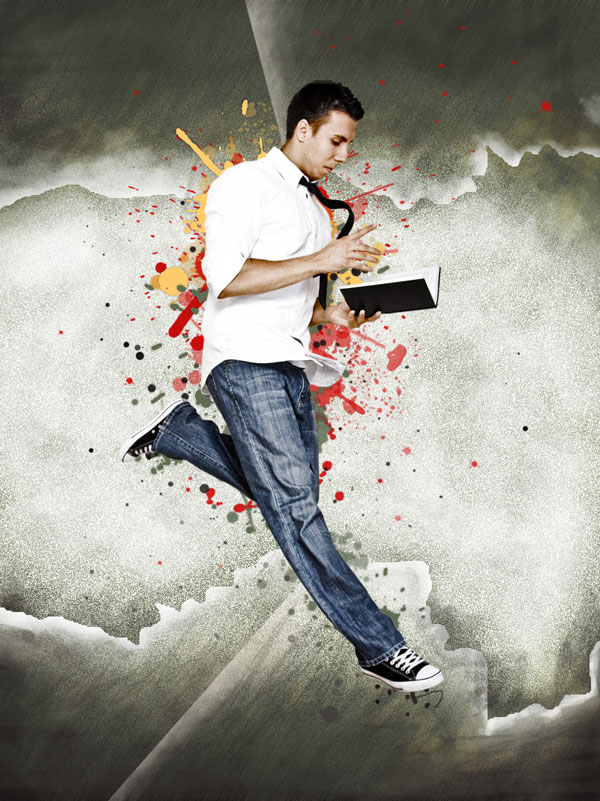
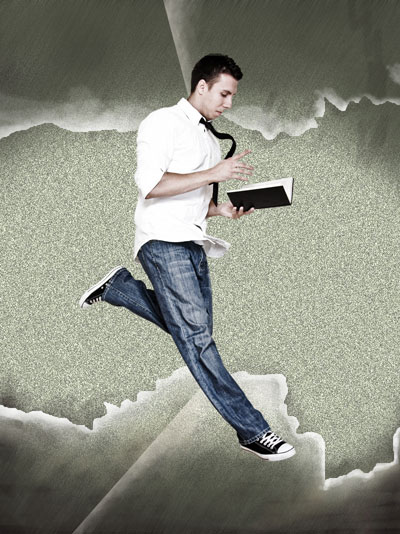
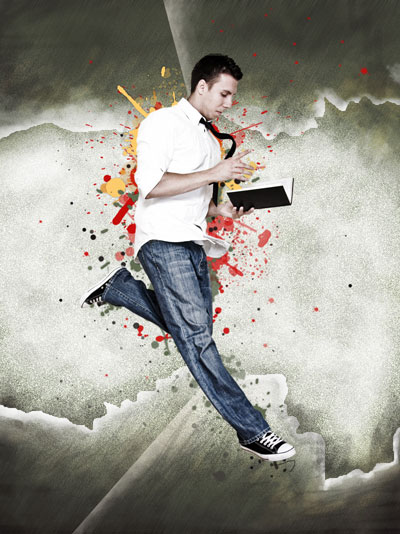
Finished!
View full size here.
Download free Layered PSD file.
Page: 1 2
Comments