
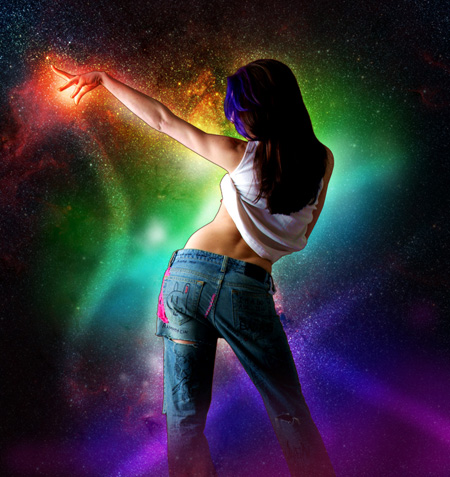
How to Create a Space Girl Photo Manipulation
Set the Blending mode to Overlay for this layer
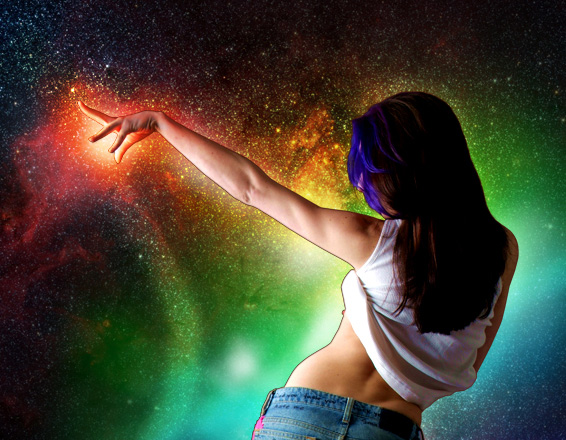
Click now on the bottom part of the Layers panel on Add layer mask icon and choose after that the Soft Round brush of black color
Paint on the mask to hide the illuminated part just to have visible the girl’s hand.
Next we need to combine in a group all the earlier created layers (press CTRL button to select the necessary layers and then hold on the left mouse’s button while dragging the selected layers on Create a new group icon from bottom part of the Layers panel).
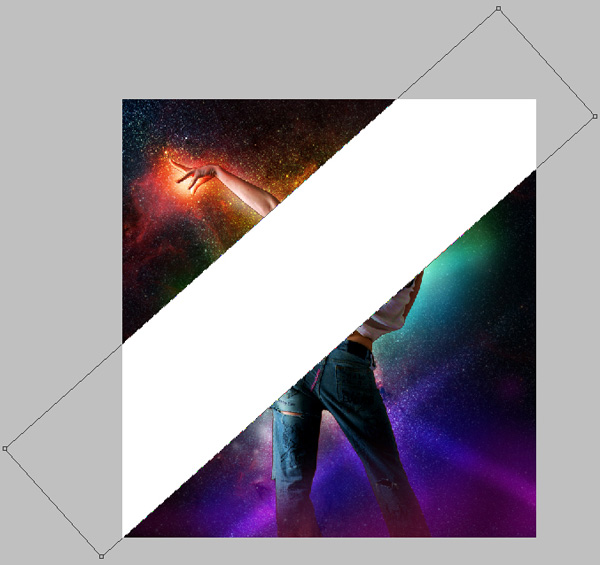
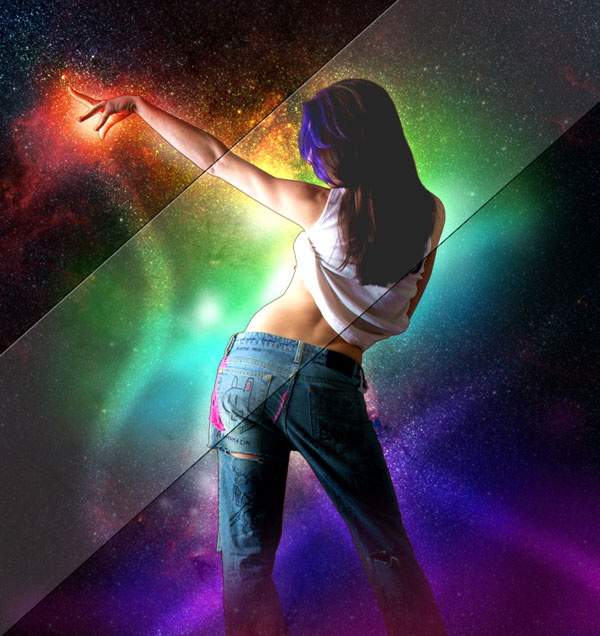
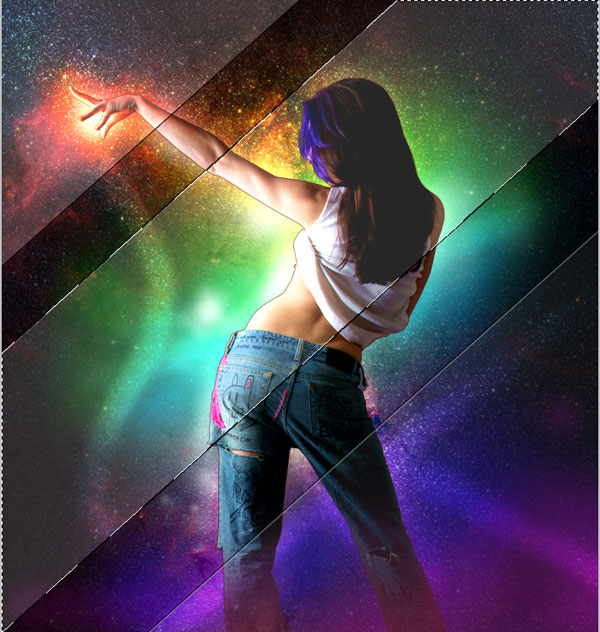
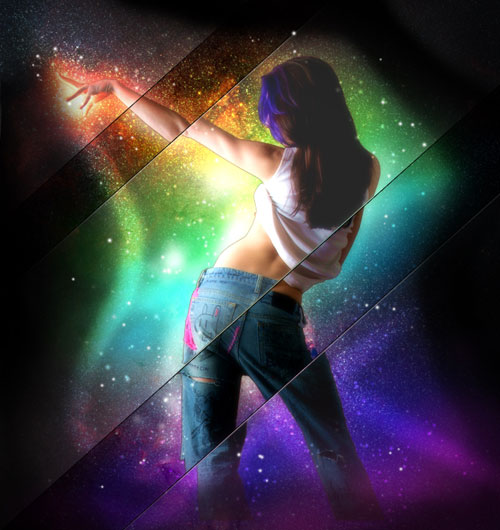
Next we’ll represent several rectangles above the girl’s figure, applying in this case the Rectangle Tool (U). The lines will be turned over with the Free Transform (Ctrl+T) command.
Set the Fill to 12% for this layer and change the Blending mode to Linear Dodge. Click on Add a layer style icon from bottom part of the Layers panel to select Inner Shadow

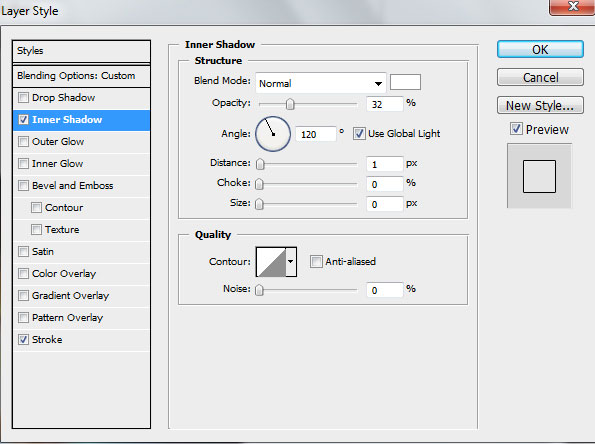
Set the Stroke
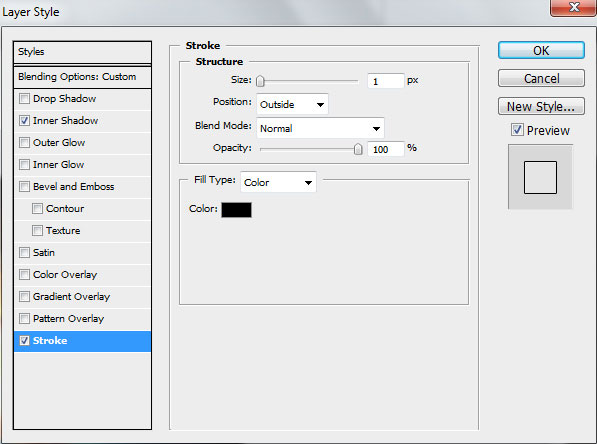
We’ve got the next effect on the rectangle:
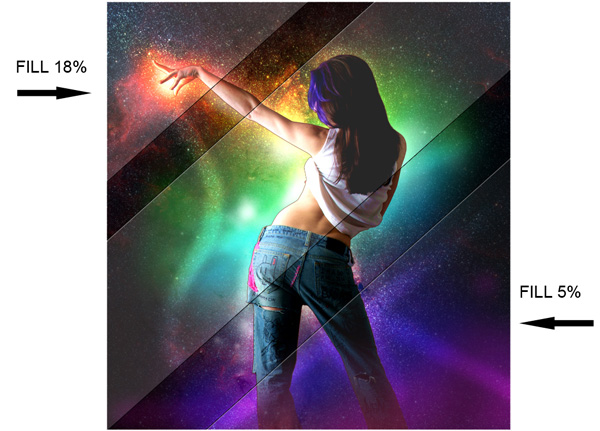
Make two copies of the layer with the rectangle. Choose Free Transform (Ctrl+T) command to place the copies the same way indicated below. Set a different Fill parameter on the copies’ layers.
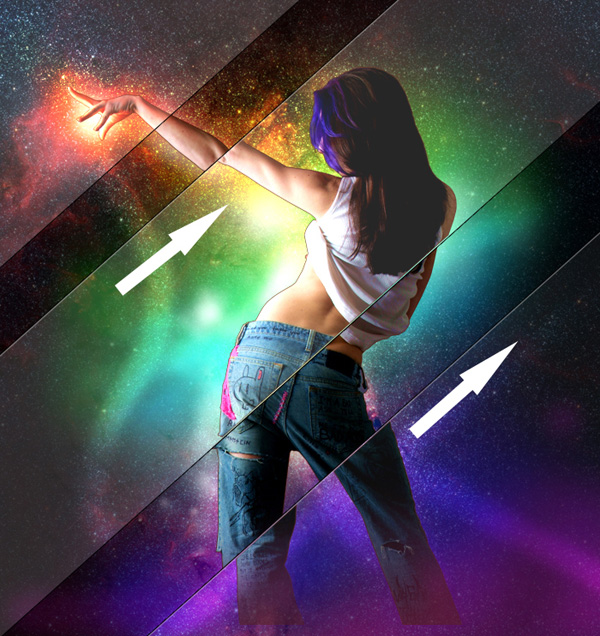
Next we’ll represent the fracture of the girl’s image. In this case make the girl’s layer active in Layer panel, press CTRL button and click on the layer containing the rectangle. We’ve got a selection.
Choose after that the Move Tool (V), click and move the selection with arrows keys to get the same position as in the picture below. This operation needs to be done for each rectangle.
Make a copy of the fractured layers and choose for these layers the next filter – Filter>Blur>Gaussian blur. Remove preliminarily the Inner Glow effect from Layer Style.

We’ve got the next blur:
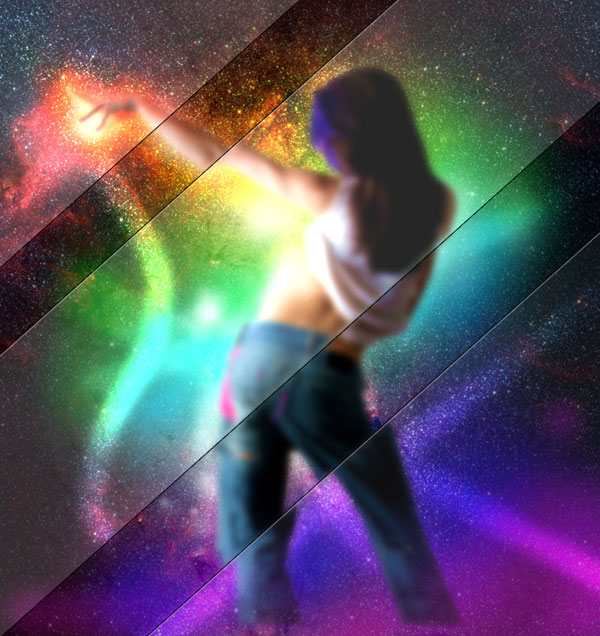
Set the Opacity to 38% for these layers:

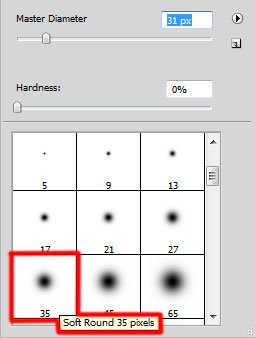
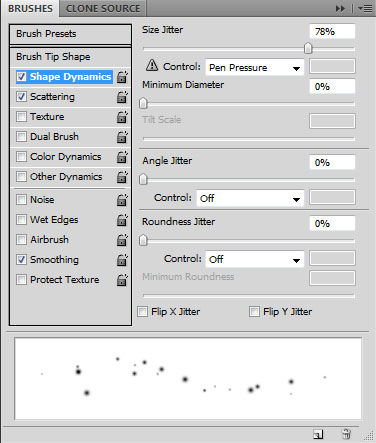
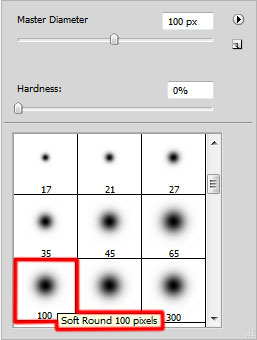
Now we need to create a new layer and choose a Soft Round brush to represent the small stars. We need to customize our brush in Brushes panel (F5), select the Brush Tip Shape. Click and drag any of the sliders to change the Diameter and brush Spacing as show. The Preview window displays the changed brushstroke.
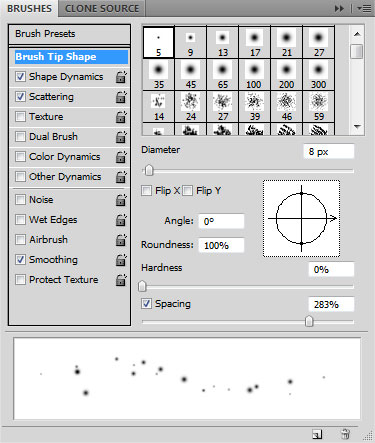
Go to Shape Dynamics:
Also change the Scattering settings:
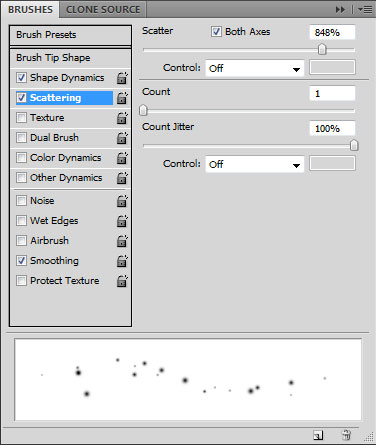
Using customized brush represent the small stars.

Set the Blending mode to Overlay for this layer

Create a new layer and select a Soft Round brush of black color (Opacity 80%)
Paint using soft brush the picture’s edges:

On the next new layer we’ll apply the earlier customized brush of white color to insert more stars:
Set the Blending mode to Overlay for this layer

Select Create new fill or adjustment layer from bottom part of the Layers panel and click to Hue/Saturation.
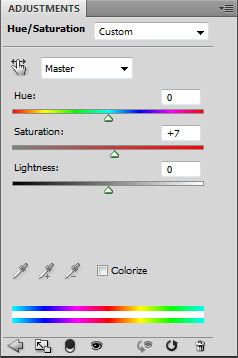
Drag the slider to the right to increase the Saturation of the color range.

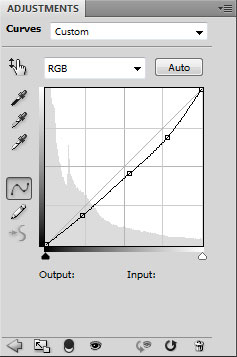
Click again Create new fill or adjustment layer from bottom part of the Layers panel and select Curves to adjust the curve shape as shown to make a little color corrections.

Finished!
View full size here.
Download free Layered PSD file.
Page: 1 2
Comments