
How to create a Retro-style poster in Photoshop
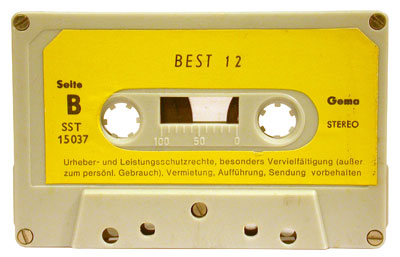
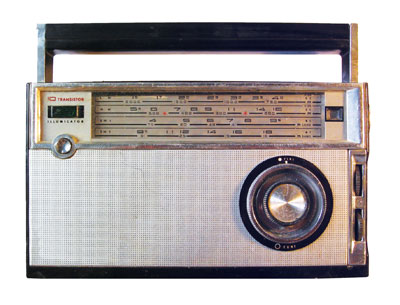
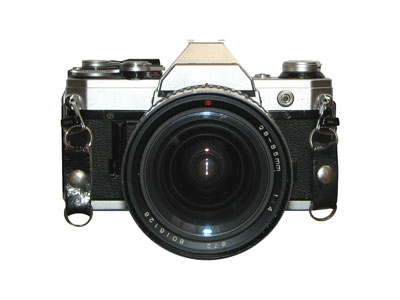
Find a stock photos with the Tape, Retro TV, Radio and SLR camera on it.
I used this photos: Tape , Retro TV , Radio and SLR camera from SXC. I would like to thank the authors: Nick Lobeck, H Berends , Dmitry Poliansky and Agata Urbaniak.


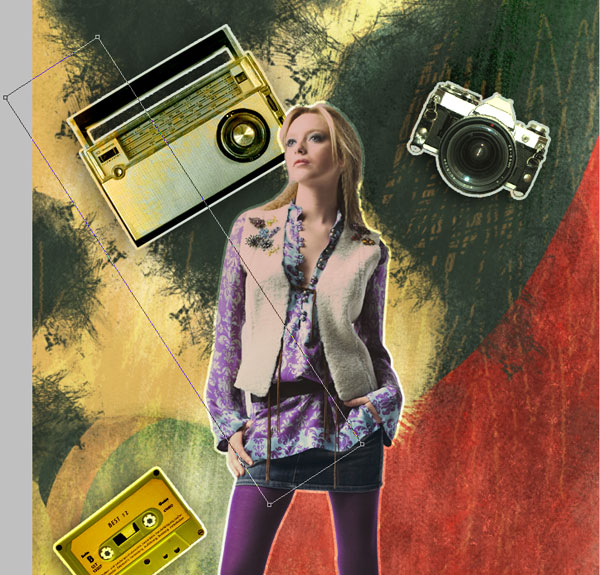
Remove the backgrounds using your favorite tools like Pen Tool (P), Magic Wand Tool (W), Magnetic Lasso (L) or even a simple Filter>Extract and insert them on a new layers in our main document. Incline them a little and change the sizes with Free Transform (Ctrl+T) command.
Click on Add a layer style icon from bottom part of the Layers panel and add the next styles for Type‘s layer. Drop Shadow settings:
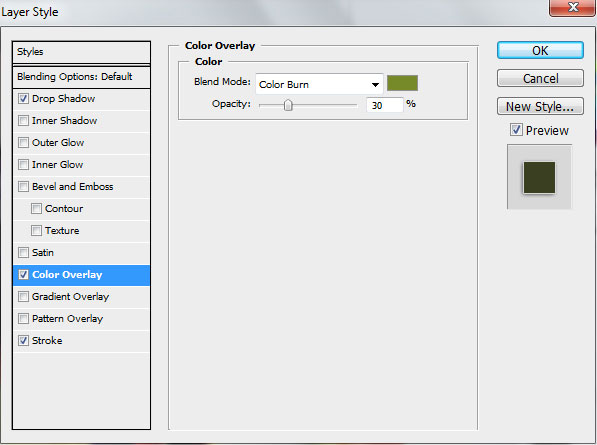
Set the Color Overlay settings
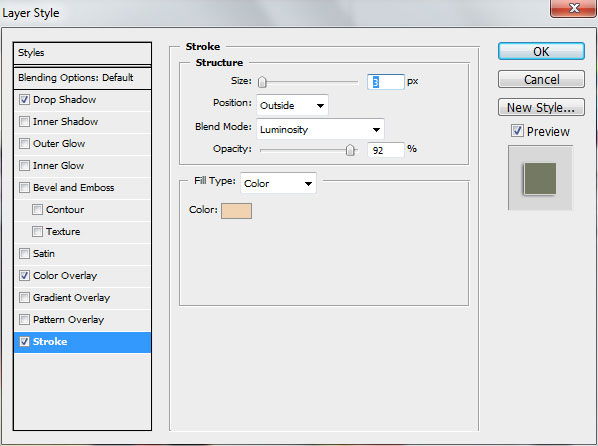
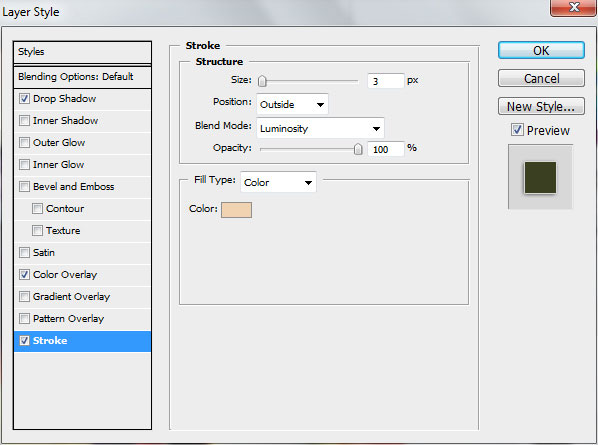
Finally add the Stroke

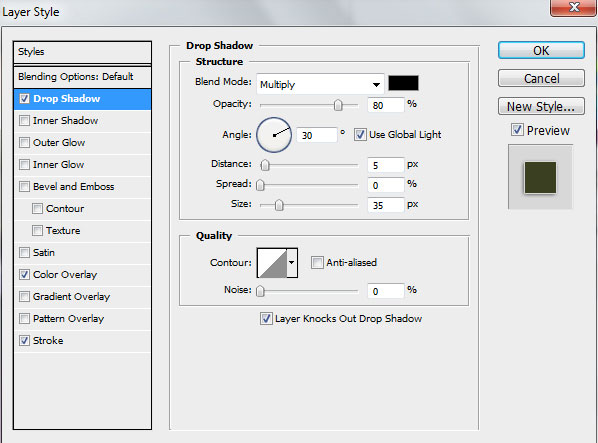
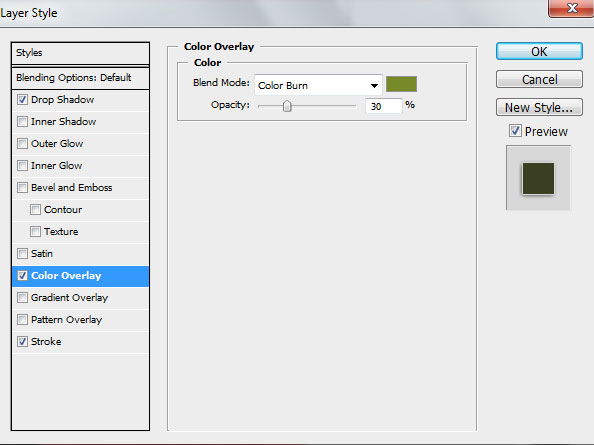
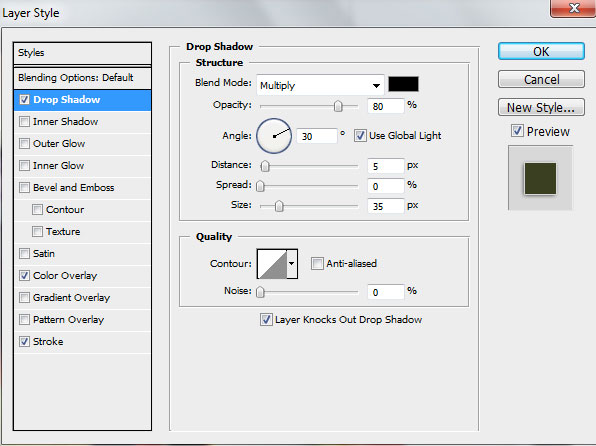
Add the next styles for SLR camera‘s layer. Drop Shadow settings:
Color Overlay settings
Add the Stroke:
For Radio‘s layer set the Blending mode to Luminosity. Click on Add a layer style icon from bottom part of the Layers panel and add the next styles for Radio‘s layer. Drop Shadow settings:
Color Overlay settings:
Add the Stroke settings:

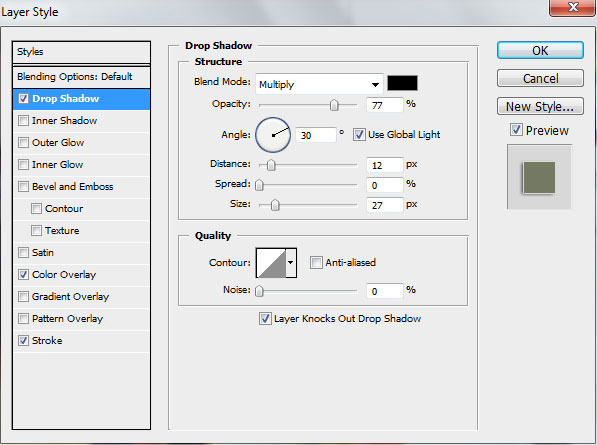
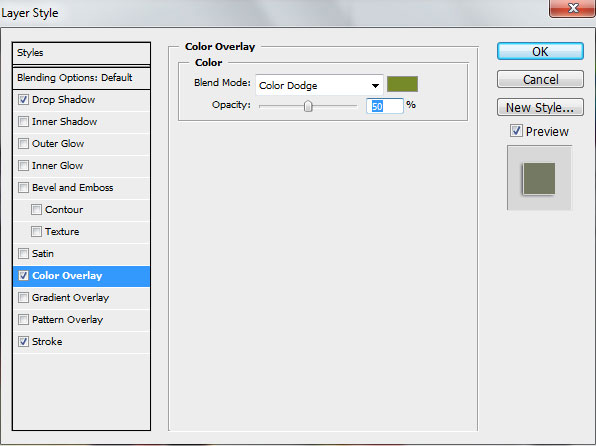
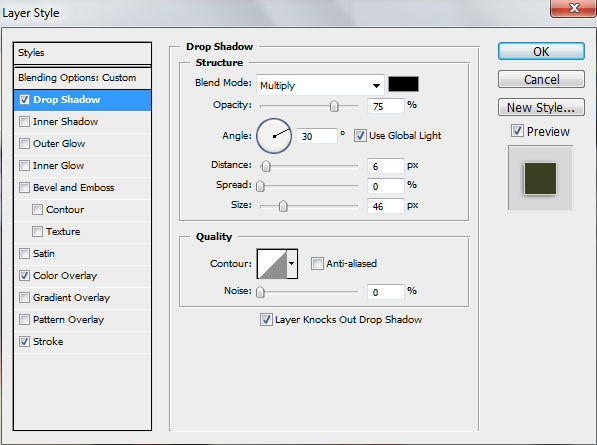
Add the next styles for Retro TV‘s layer. Drop Shadow settings:
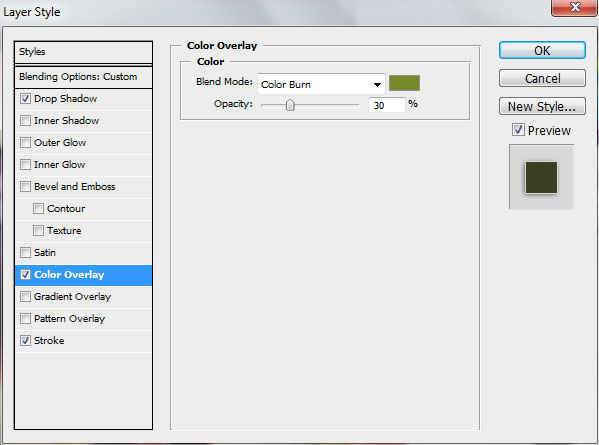
Color Overlay settings:
Add the Stroke settings:
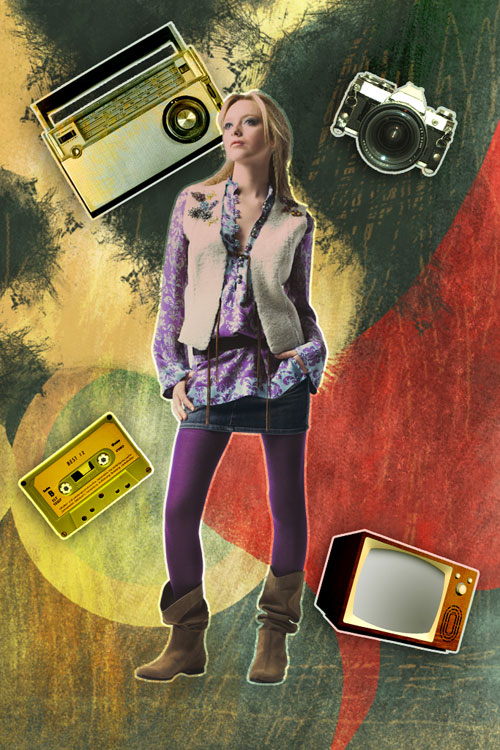
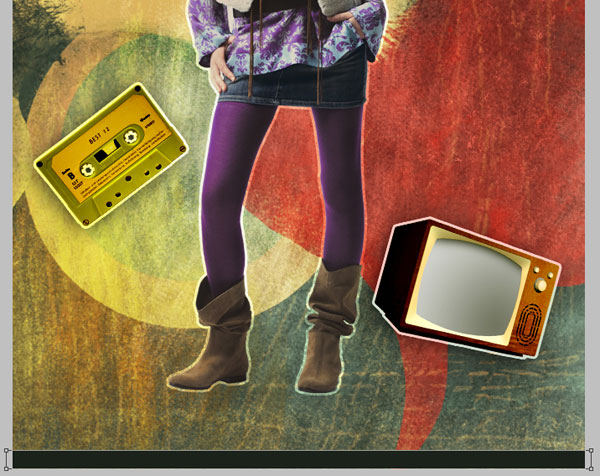
We’ve got the next effects on the objects:
Take the Rectangle Tool (U) and represent a rectangle on the bottom part of the document:
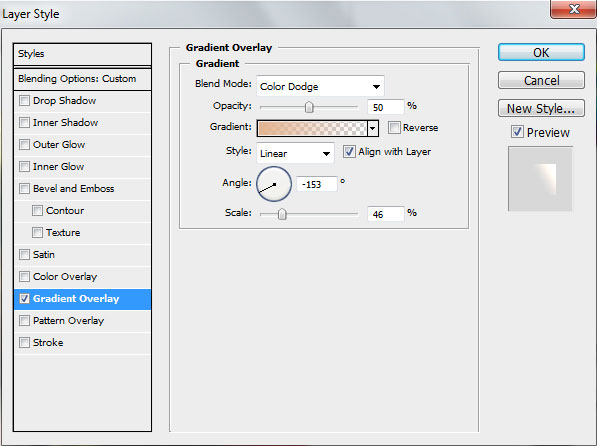
Click on Add a layer style icon from bottom part of the Layers panel and select Gradient Overlay:
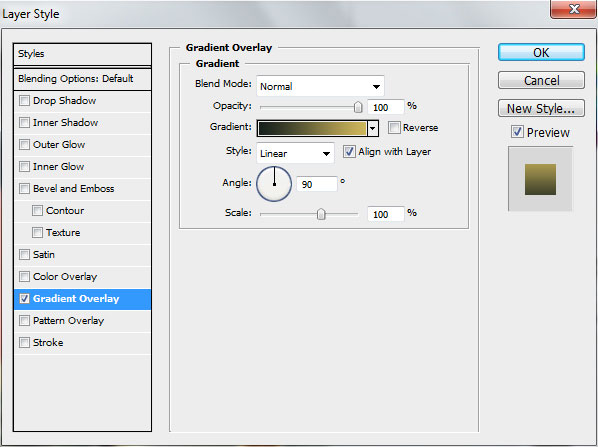
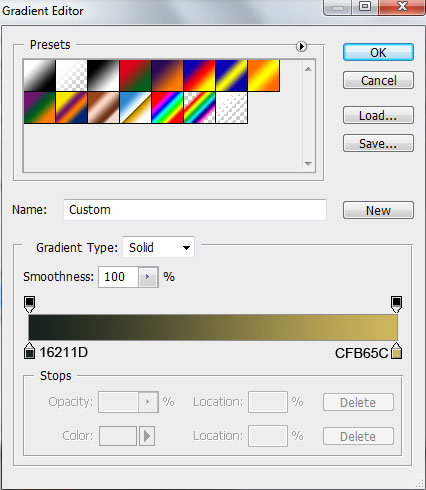
Click in the color bar to open the Gradient Editor and set the color stops as shown. Click OK to close the Gradient Editor dialog box.
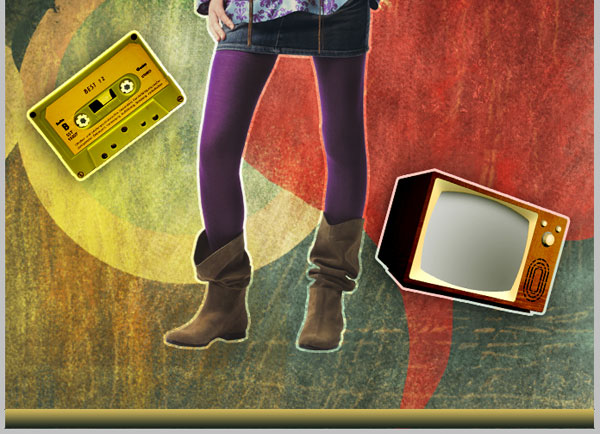
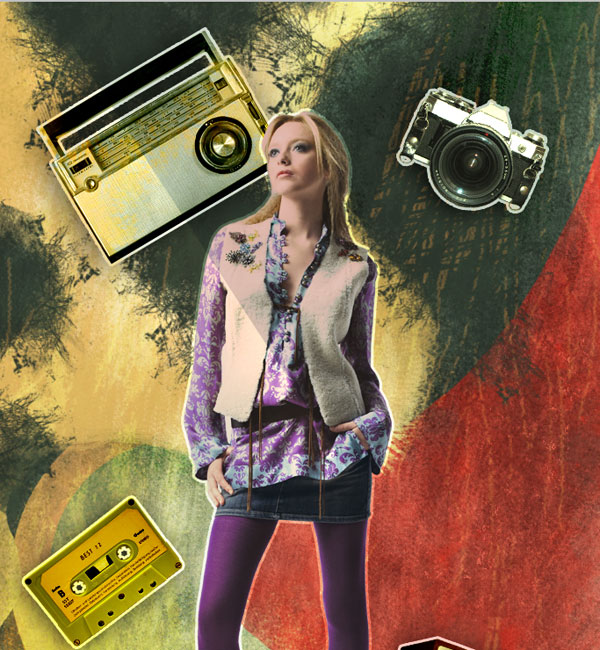
We’ve got the next result:
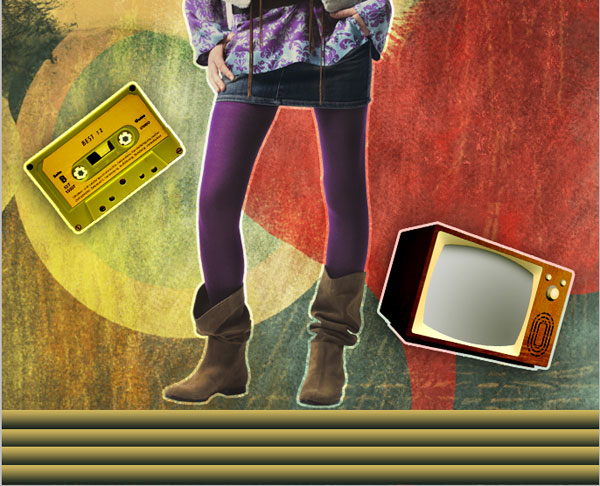
Make three copies of the last made layer and choose the Free Transform (Ctrl+T) command to place the copies the same way demonstrated below:
Combine in a group all the layers containing the rectangles (press CTRL button and select the corresponding layers in Layers panel and then hold on the left mouse’s button while dragging the selected layers on Create new group icon from bottom part of the Layers panel). Set the Blending mode to Overlay for the made group:

Create a new layer and choose the Rectangle Tool (U) to represent a rectangle which must be inclines with the Free Transform (Ctrl+T) command.
Set Fill to 0% for this layer and click on Add a layer style icon from bottom part of the Layers panel and select Gradient Overlay:
Click in the color bar to open the Gradient Editor and set the color stops as shown. Click OK to close the Gradient Editor dialog box.

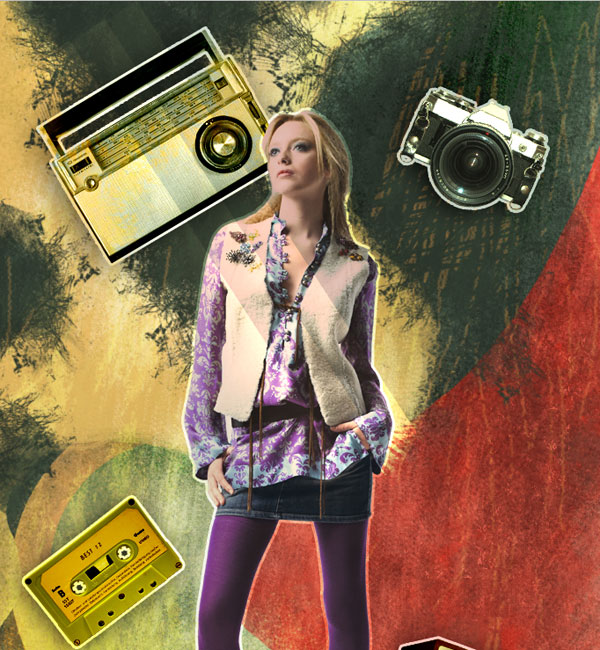
We’ve got the next result:
Make 2 copies of the rectangle’s layer and select again Free Transform (Ctrl+T) command to place the copies as on the next picture:
Select Create new fill or adjustment layer from bottom part of the Layers panel and click to Curves to adjust the curve shape as shown to make some little color corrections.
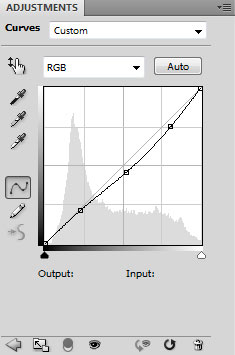
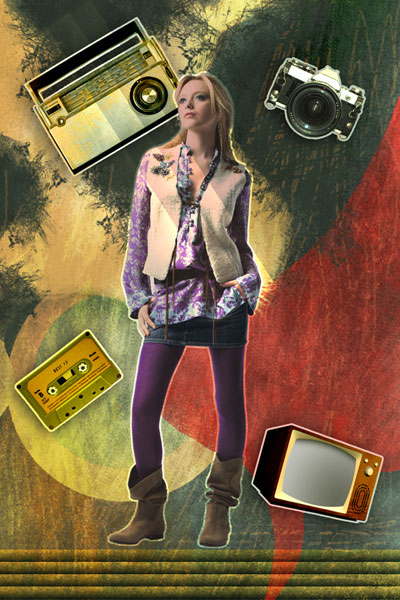
We’ve got the next result:
Select once again Create new fill or adjustment layer from bottom part of the Layers panel and click to Curves to adjust the curve shape as shown to add some lightness on the picture.
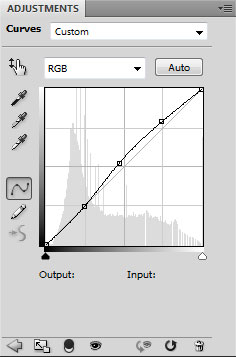
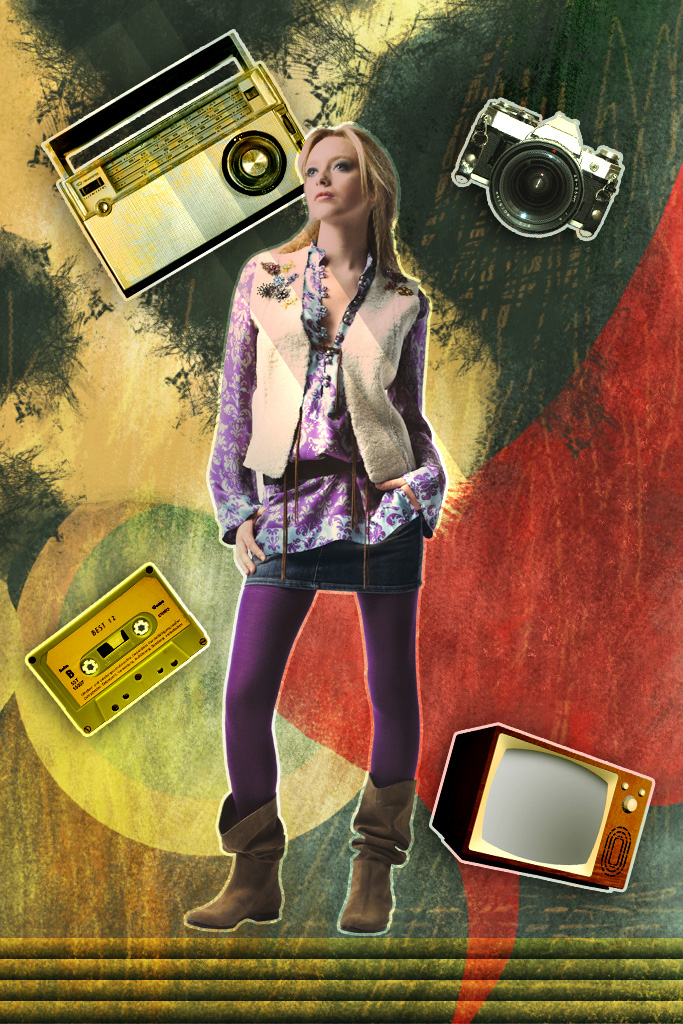
We’ve got the next result:

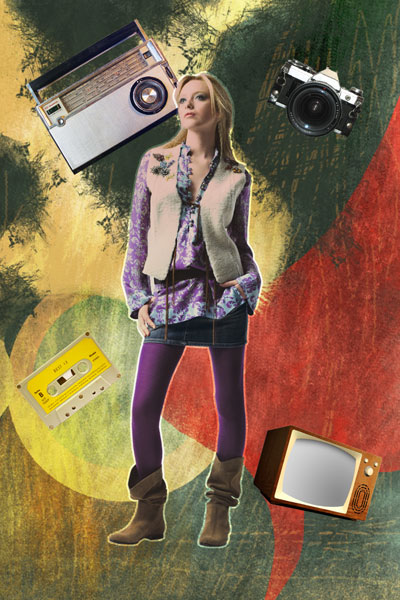
Finished!
View full size here.
Download free Layered PSD file.
Page: 1 2
Comments