
How to create a glamour style composition using patterns and masks
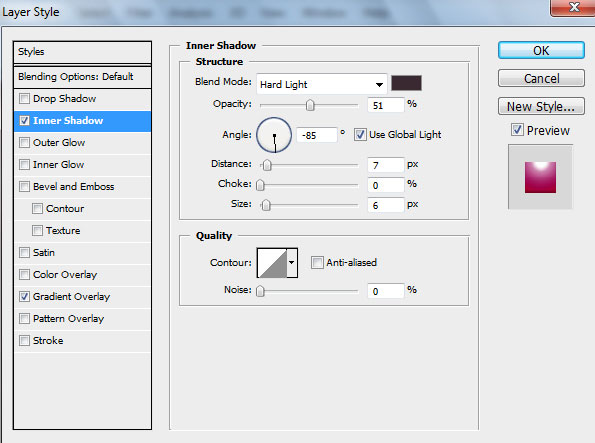
Click Add a layer style icon from bottom part of the Layers panel to select Inner Shadow.
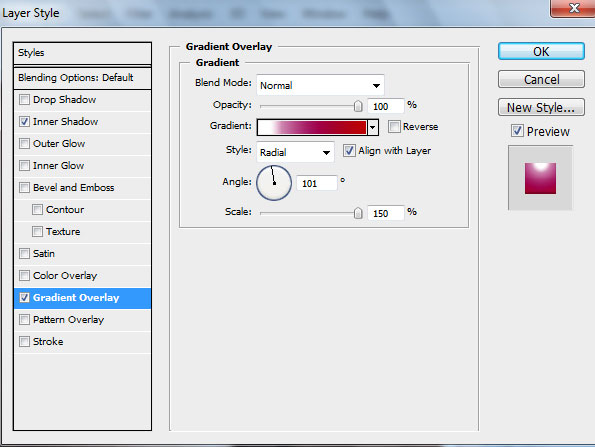
Add Gradient Overlay
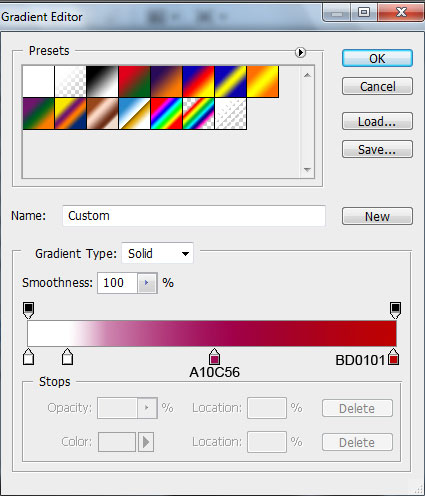
Click in the color bar to open the Gradient Editor and set the color stops as shown. Click OK to close the Gradient Editor dialog box.
We’ve got the next effect on the ellipse.

Make two copies of the layer containing the red sphere:

Next we need to create another new layer (Create new layer) and select here the Hard Mechanical brush.

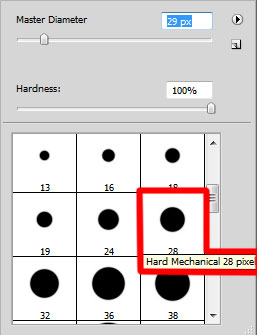
Use this brush to add some color on the girl’s lips and on her nail:
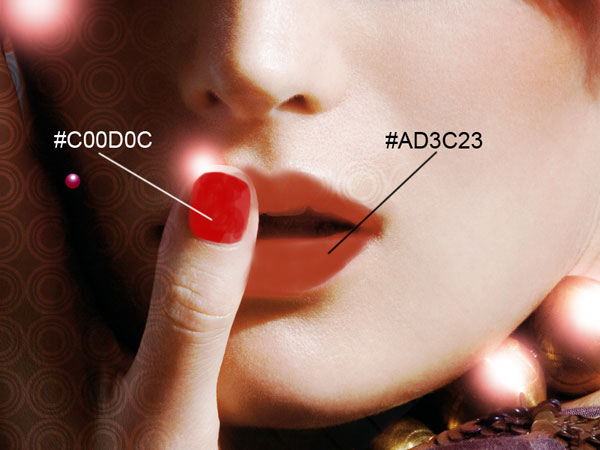
Set the Blending mode to Color Burn for this layer.

Choose now the Elliptical Marquee Tool (M) to make the next selection on a new layer.

Then click on the right mouse’s button inside this selection on the Stroke.
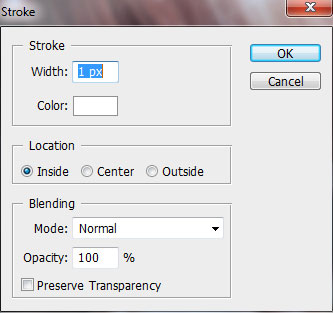
We’ve got the next result:

Using the Free Transform (Ctrl+T) command on the same layer, move the ellipse on the right lowest picture’s corner

Take now the Eraser Tool (E) to clean out uniformly the circle’s line after equal intervals.

On the next new layer (Create new layer) we need to select the Hard Round brush and Soft Mechanical brush of white color.
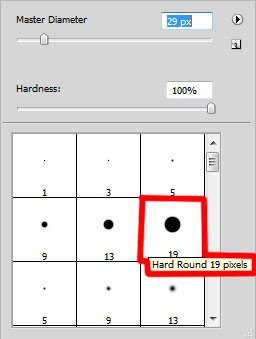
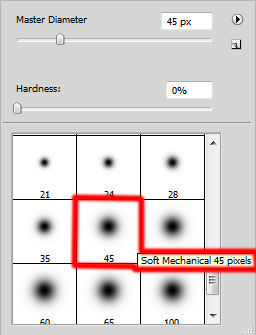
Use these brushes to represent many small dots of different diameter:

Now we’ll represent one more pattern. Create a new file (File>New) with the size 80px by 80px (RGB color mode) at a resolution of 100 pixels/inch and select here the Rectangle Tool (U) to insert four black lines which positions should be inclined a little with the Free Transform (Ctrl+T) command.
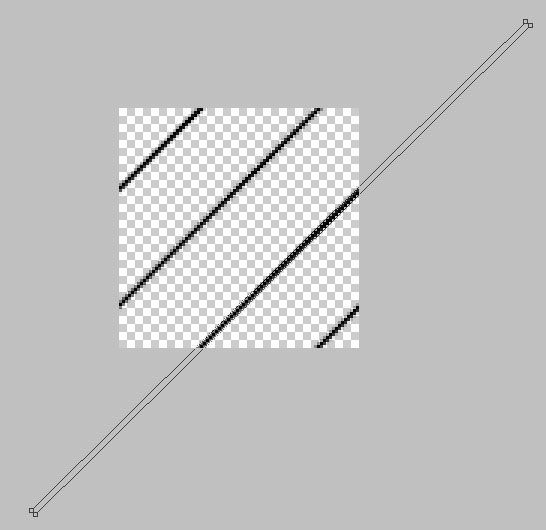
Next put together into a single layer the pattern’s layers by pressing CTRL button, selecting the layers in Layers panel and pressing in the end CTRL+E to Merge Down. Then choose Edit > Define Pattern. Enter a name for the pattern in the Pattern Name dialog box.
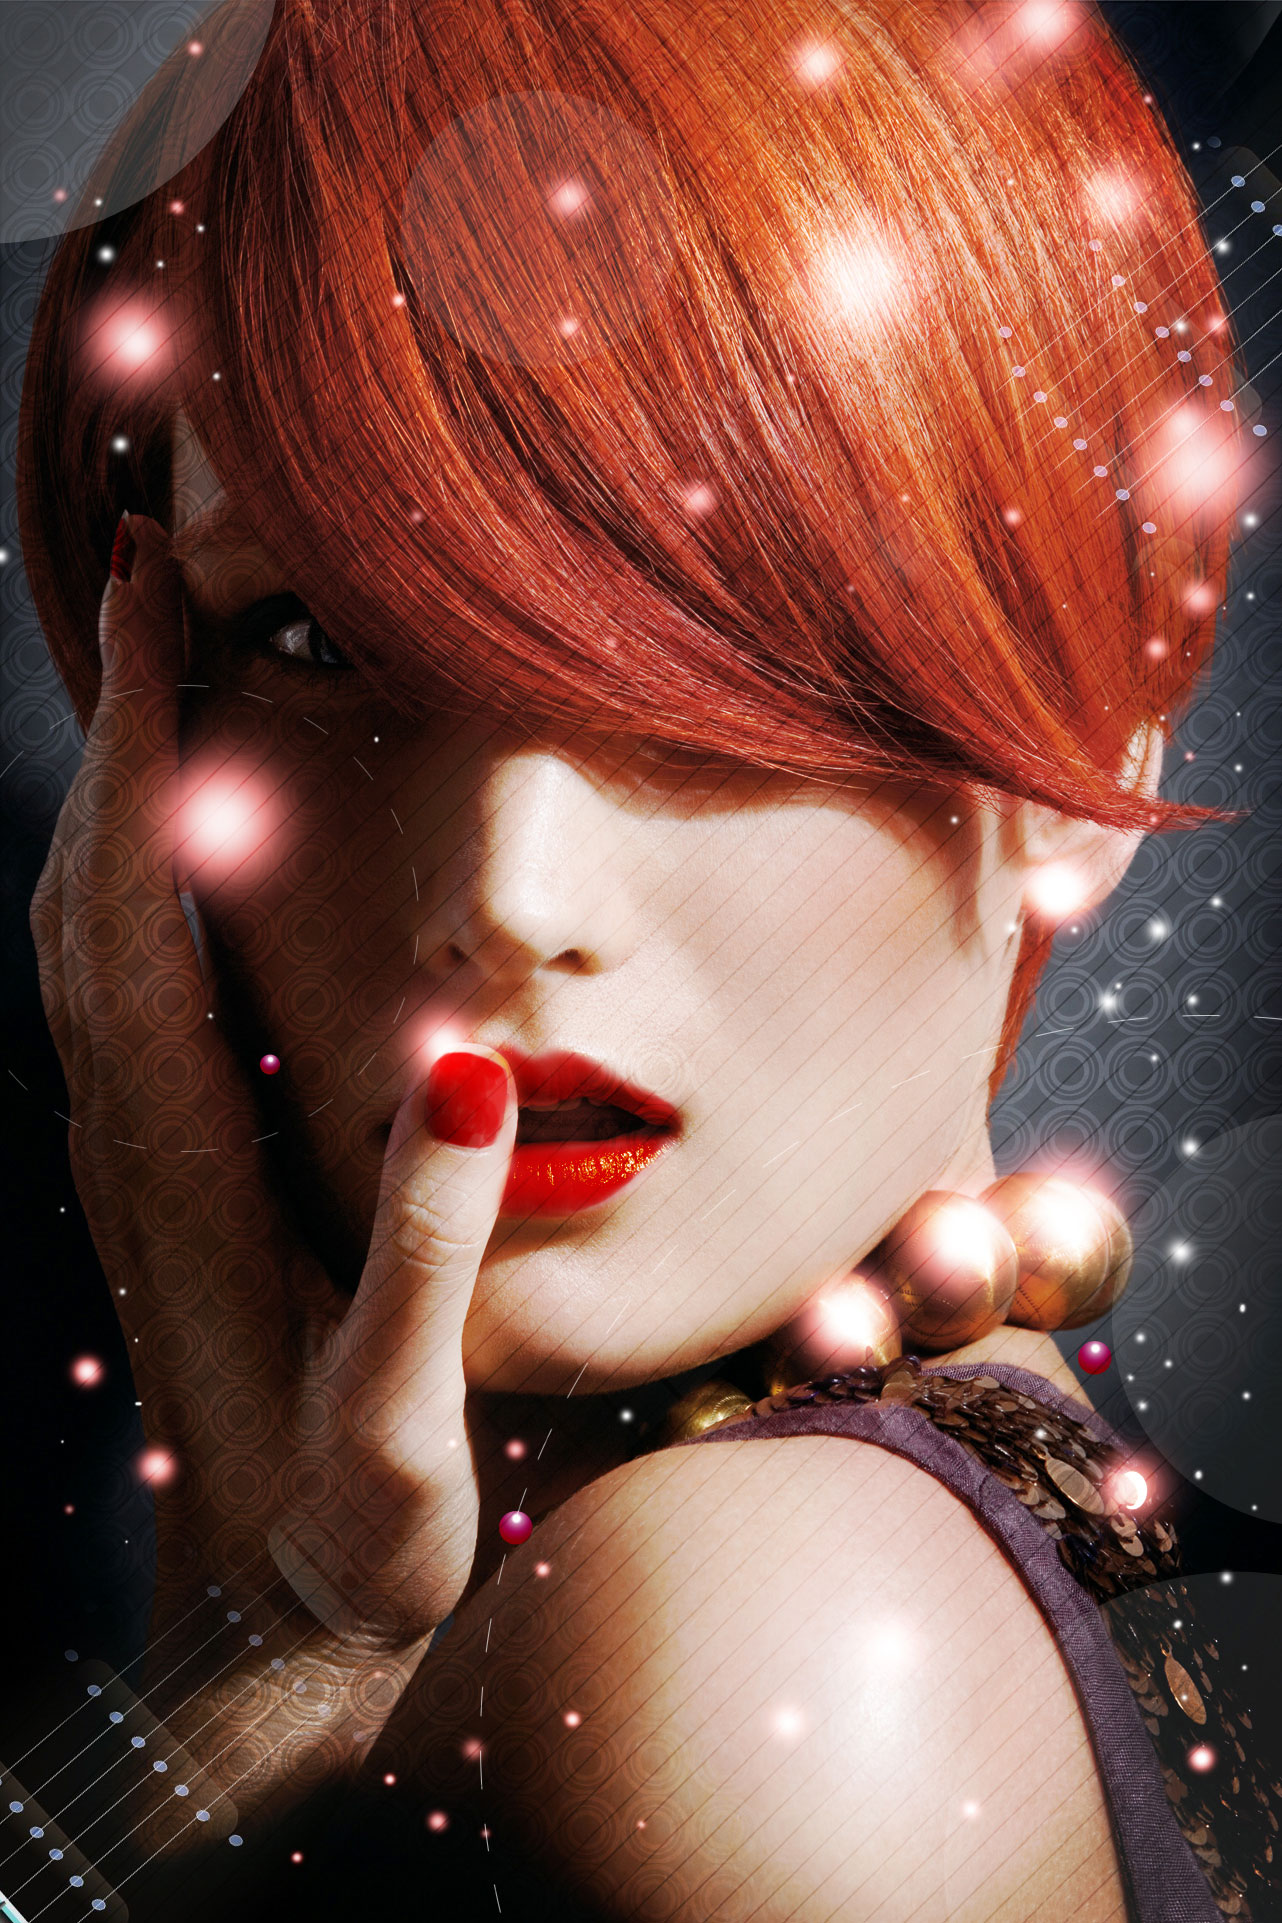
Get back to the girl’s document to represent a new layer and choosing this option – Edit>Fill. In the Fill dialog box, for Use, choose Pattern, select recent created pattern from the pop-up panel, and click OK.
Set Fill to 30% for this layer and change the Blending mode to Overlay.

Create a new layer and apply on it the earlier used method of representing one more interrupted circle. This time we’ll need the Elliptical Marquee Tool (M) too.

Set Fill to 38% for this layer.

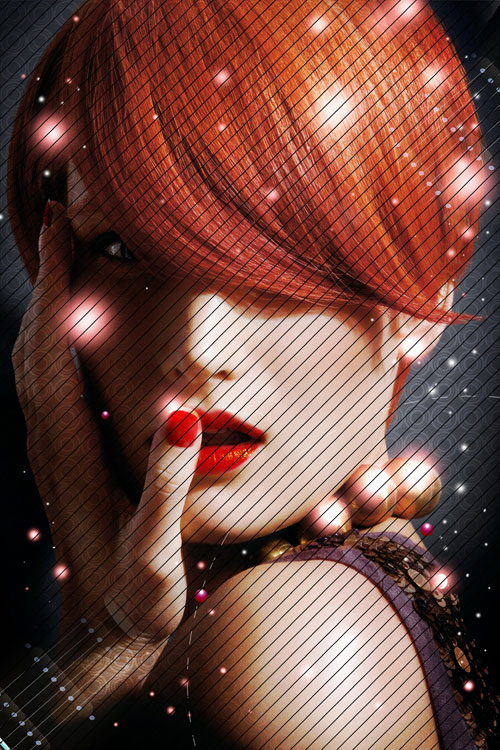
Take the Ellipse Tool (U) to introduce a small ellipse of white color.

Make three copies of the layer containing the ellipse and then choose the Free Transform (Ctrl+T) command to place the copies as in the picture below:

Set Fill to 10% for the layers containing the white ellipses:

Finished!
View full size here.
Download free Layered PSD file.
Page: 1 2
Comments