
How to create 3D Love text composition
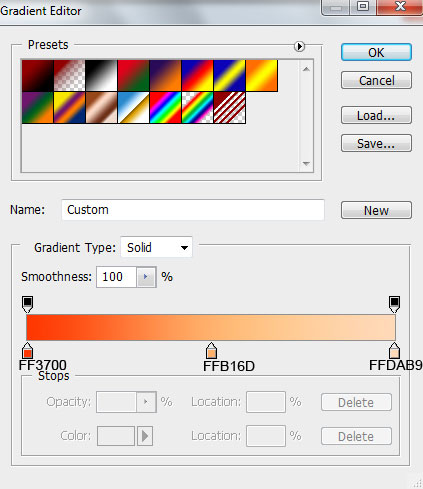
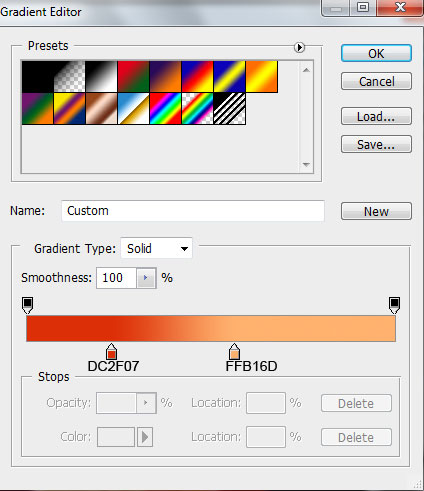
Click in the color bar to open the Gradient Editor and set the color stops as shown. Click OK to close the Gradient Editor dialog box.

Set the Stroke

We’ve got the next result:

Create again new layer and using the Pen Tool (P) in Path Mode draw the next path on the frontal part of the letter ‘E’.

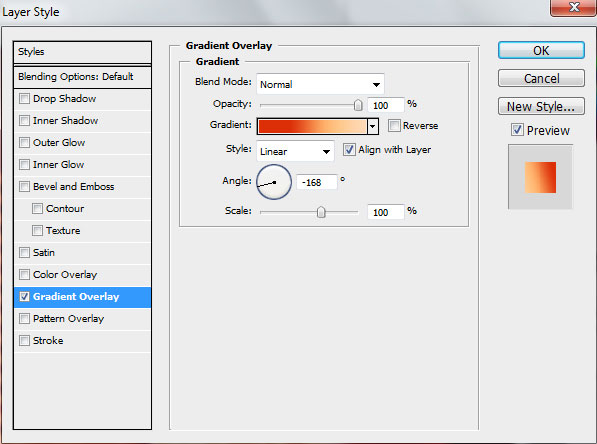
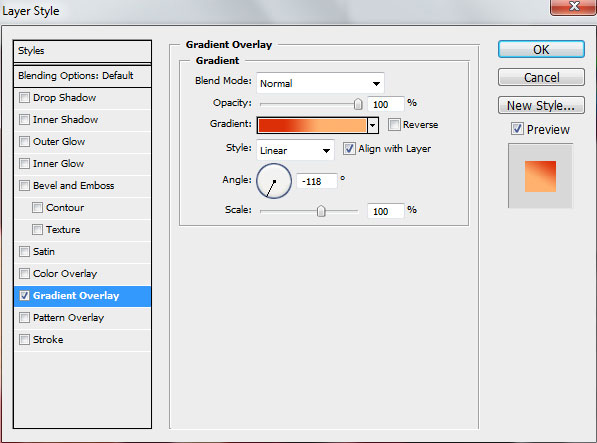
Set Fill to 0% and go to Layer Style > Gradient Overlay
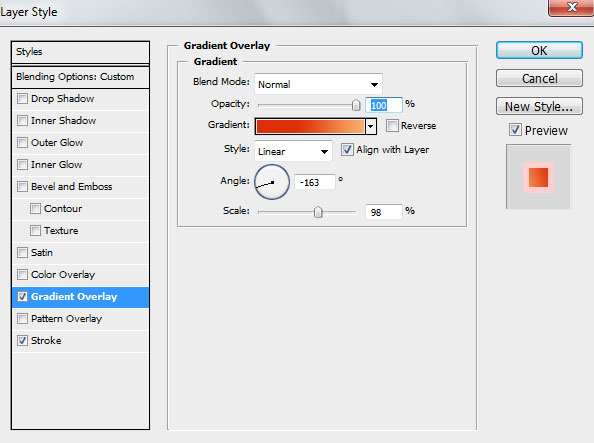
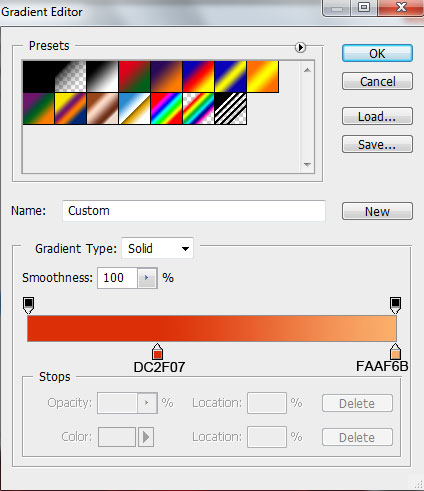
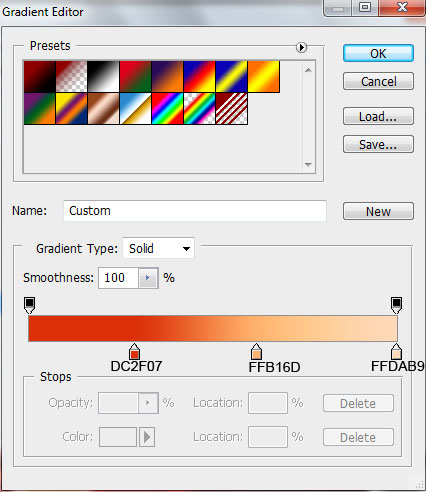
Click in the color bar to open the Gradient Editor and set the color stops as shown. Click OK to close the Gradient Editor dialog box.

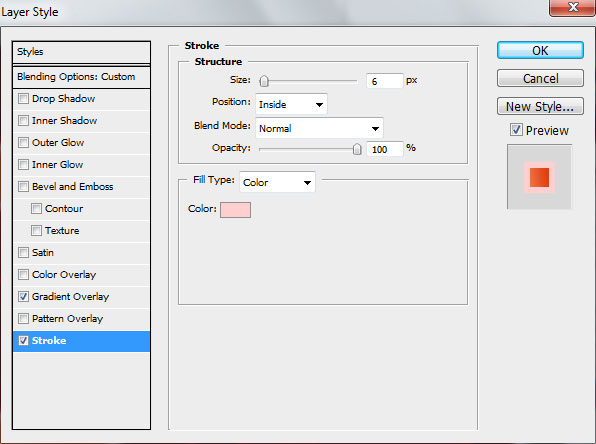
Also set the Stroke
We’ve got the next effect on the letters:

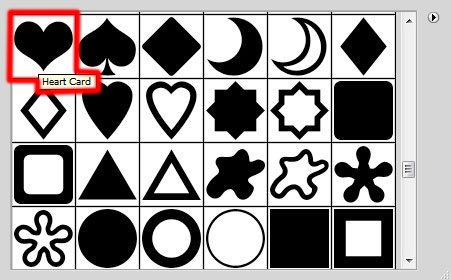
Create a new layer above the “O” letter layer. Select the Custom Shape Tool (U) in the Tools bar, in the Options bar click the Shape to open the selection menu. Find Heart Card shape at the bottom of the menu, and then double-click a shape thumbnail to select it.
Click and drag to draw the shape with color #900000. Put the heart shape in the same position as below, using the Free Transform (Ctrl+T) command.

Make many copies of the last created layer and select Free Transform (Ctrl+T) command to change the copies’ sizes and their placement as on the next picture it is indicated.

Combine in a group all the layers with the hearts on them (press CTRL button to select the corresponding layers in Layers panel and then hold on the left mouse’s button while dragging the selected layers on Create a new group icon from bottom part of the Layers panel). Let’s rasterize the group by selecting it out firstly and then press CTRL+E to Merge Down. Go to Layer Style and apply Gradient Overlay

Click in the color bar to open the Gradient Editor and set the color stops as shown. Click OK to close the Gradient Editor dialog box:
We’ve got the next gradient on the hearts:

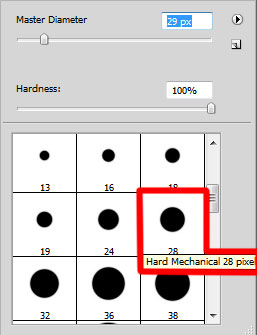
Click on the same layer on the bottom part of the Layers panel on Add layer mask icon and choose the Hard Mechanical brush of black color

Using this brush paint on the mask to hide the coming out hearts on the letters’ edges.

This way we have to represent small hearts above the “E” letter

Create a new layer above “V” letter and use here the Rectangle Tool (U) to draw several horizontal lines. The lines’ color is #900000

Combine all the lines’ layers in a group. Press CTRL button to select the corresponding layers in Layers panel and hold on the left mouse’s button when dragging the selected layers on Create a new group icon from bottom part of the Layers panel. Rasterize the new group by selecting it and press CTRL+E to Merge Down. Next we need to warp this layer, select Free Transform command by pressing Ctrl+T, click the Switch Between Free Transform And Warp Modes button in the Options bar

Use the control points to incline the lines the same way as it is shown below

Click on Add a layer style icon from bottom part of the Layers panel and select Gradient Overlay
Click in the color bar to open the Gradient Editor and set the color stops as shown. Click OK to close the Gradient Editor dialog box.
We’ve got the next gradient on the lines:

Select the lines’ layers, holding CTRL button click on the frontal letter’s layer (drawing with Pen Tool). There will be a layer’s selection.

Click on the bottom part of the Layers panel on Add layer mask icon to hide the lines around the letters. Use supplementary in the mask the same brush we used when hiding the hearts above the “O” letter. It’ll help with erasing the lines coming out the letters’ edges.

Use the same method to represent the lines above the “L” letter. We need to change only the gradient’s angle on the lines’ layer. Settings for Layer Style >
Gradient Overlay
Click in the color bar to open the Gradient Editor and set the color stops as shown. Click OK to close the Gradient Editor dialog box.
We’ve got the next decoration for the letters:

Create a new layer and select here the Hard Mechanical brush
Using this brush represent several colored spots under the layers of the LOVE word. The brush’s color is #8C0410

For the next decoration we’ll use the next vector – Swirl Floral Vector from Vecteezy.
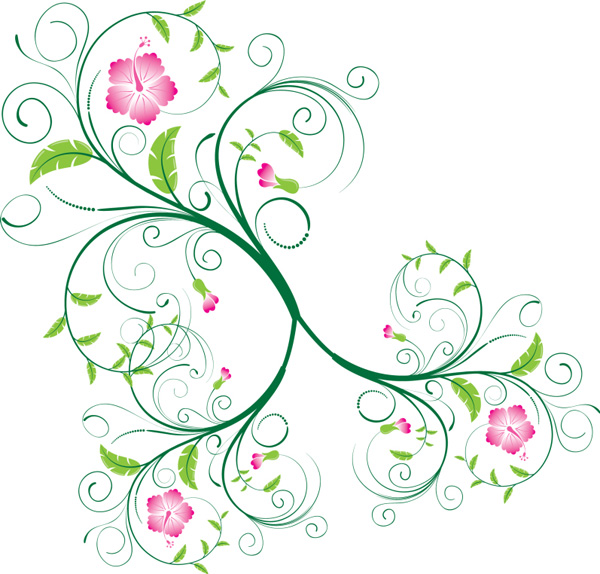
insert the vector under the layers containing LOVE word.

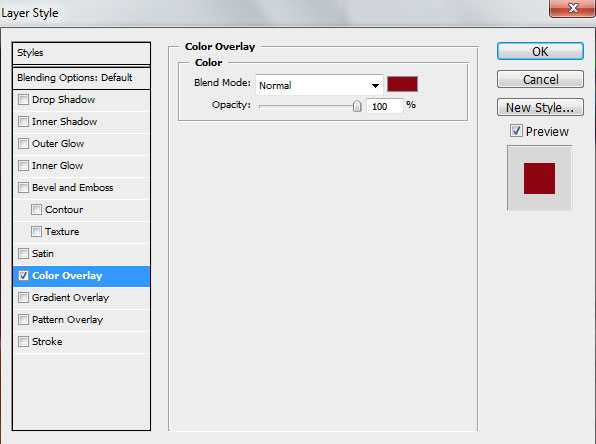
Click on Add a layer style icon from bottom part of the Layers panel and select Color Overlay

Make five copies of the layer containing the swirl and choose Free Transform (Ctrl+T) command to change the copies’ placement and their sizes. The copies’ layers should be placed lower than the layers with the LOVE word.

Insert the mask on some of the layers with the swirl (Add layer mask). Choose after that the Hard Mechanical brush of black color

Paint with this brush to hide that part of the swirl mentioned with the arrows.

We’ve got the next result:

Select the Custom Shape Tool (U) in the Tools bar, in the Options bar click the Shape to open the selection menu. Find Heart Card shape at the bottom of the menu, and then double-click a shape thumbnail to select it. Click and drag to draw several small hearts of the color #8C0410

We’ve got the next result:

Finished!
View full size here.
Page: 1 2
Comments