
High tech industrial design
Hallo and welcome In Digital still life series tutorial. Digital still life series is: organic curves in combination with high tech industrial design using digital media.
So let’s go then.
Create a document.
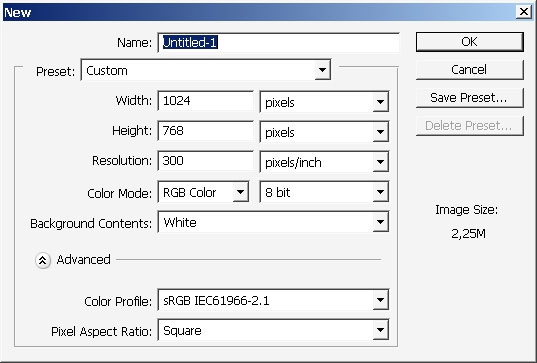
I’ve decided to choose black as my background color.

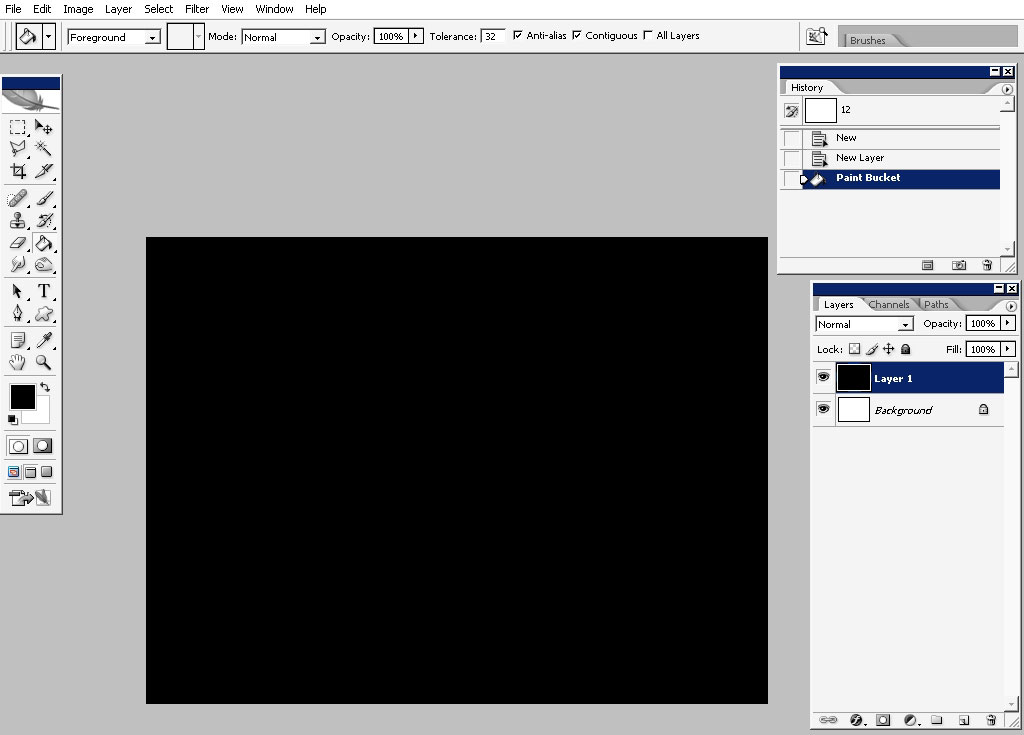
Create a new layer and make a selection using lasso tool.
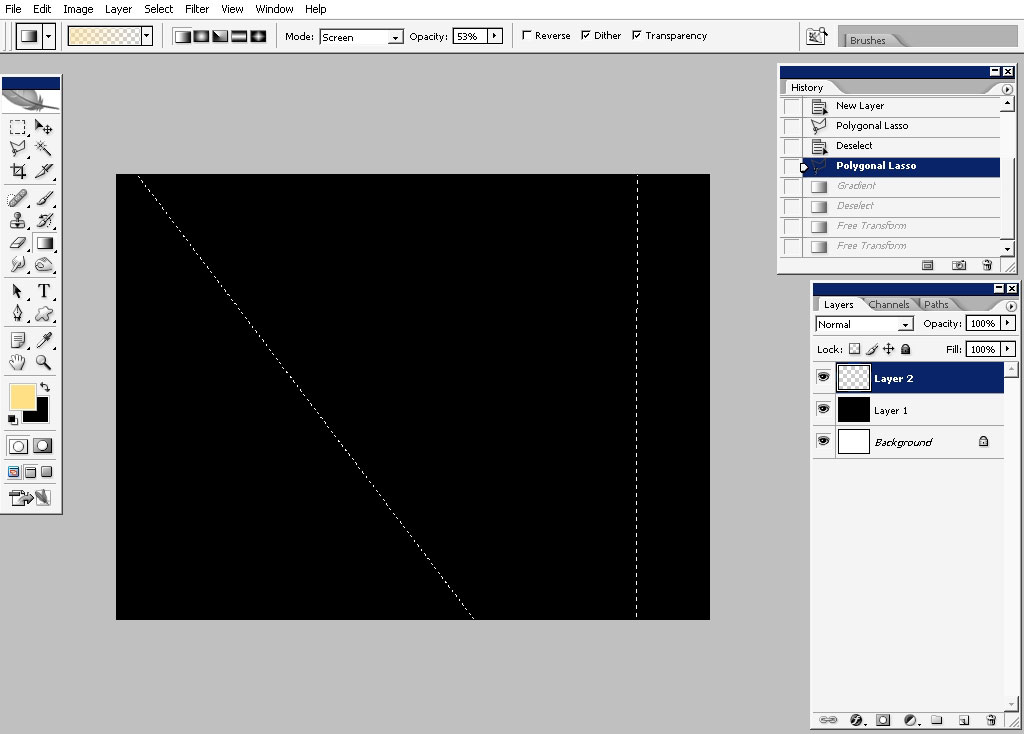
Fill the selection (and the layer) with yellow to transparency gradient – Blending mode would be – screen and the opacity equal something like 50%.
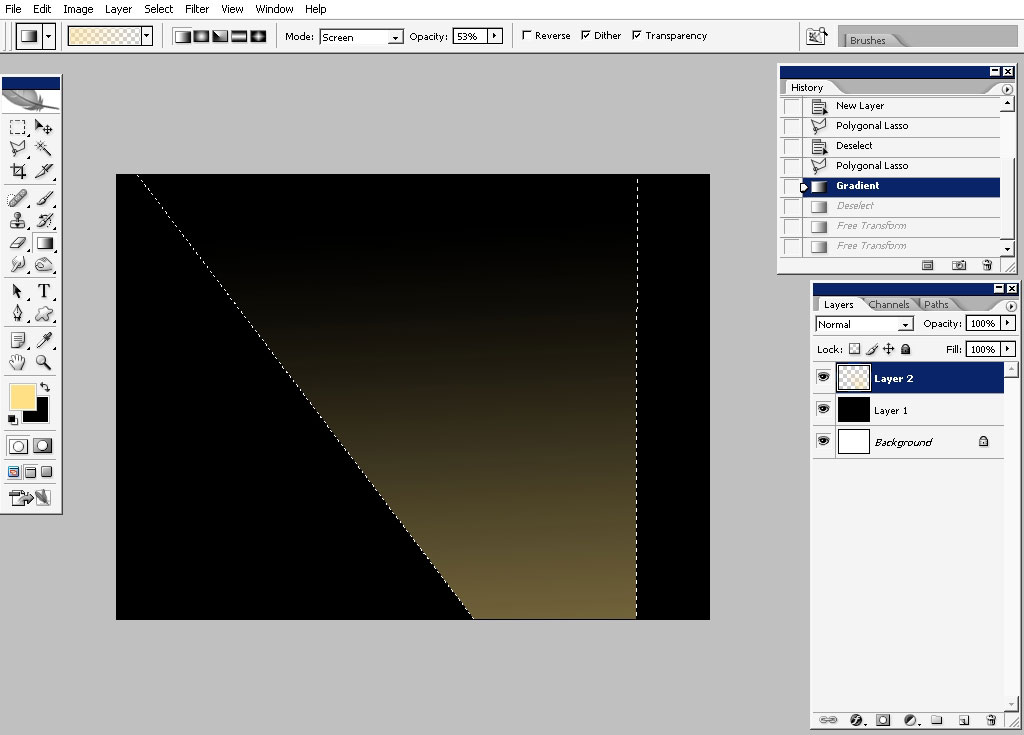
As a bonus to that I’ve added a little bit of outer glow to my layer giving more contrast.
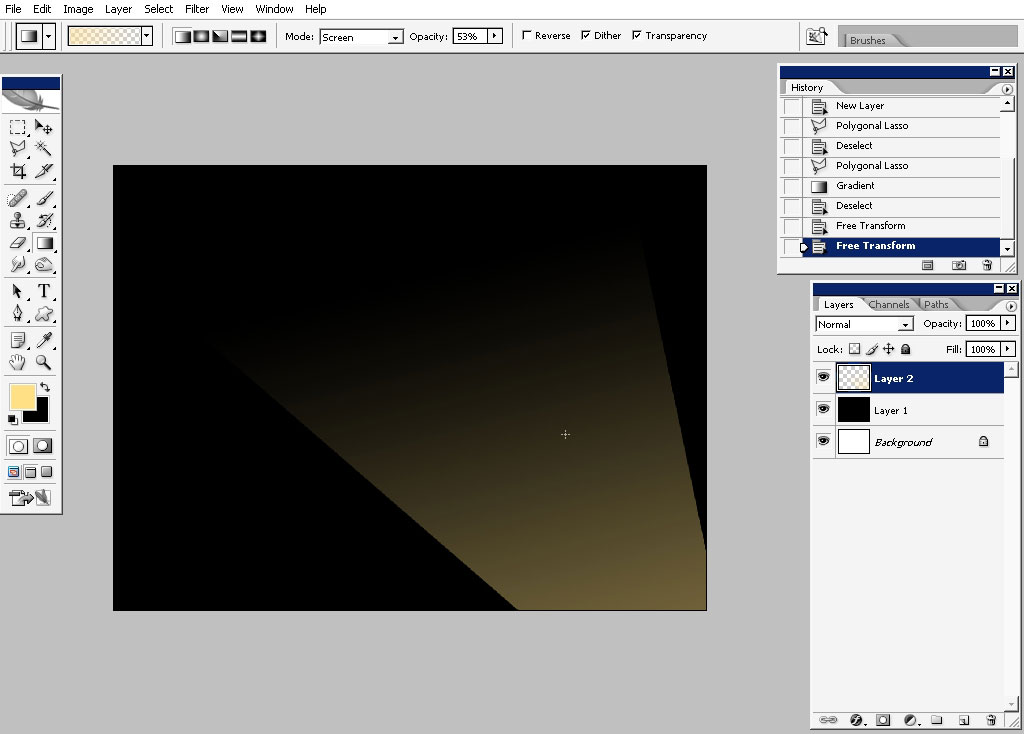
So the thing is that I’m planning to create several elements and arrange them properly.
Let’s make our next element
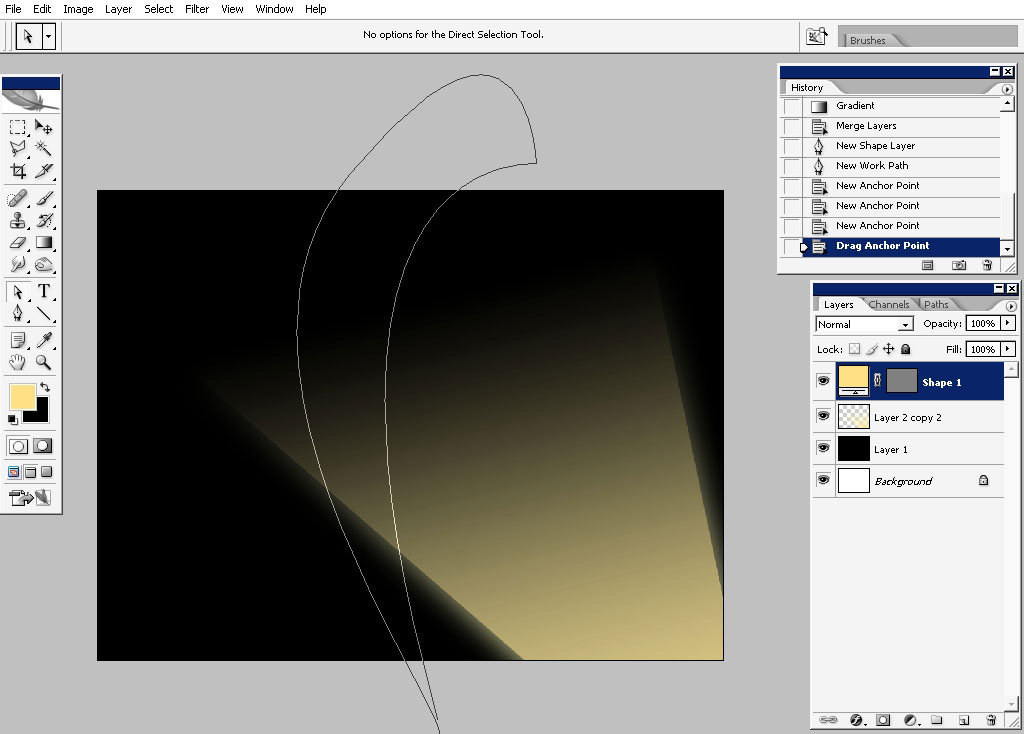
I will need a pen tool for that. I really like to create combinations of straight angle shapes with more organic ones.

As you can see I’m just making outlines without color fill.
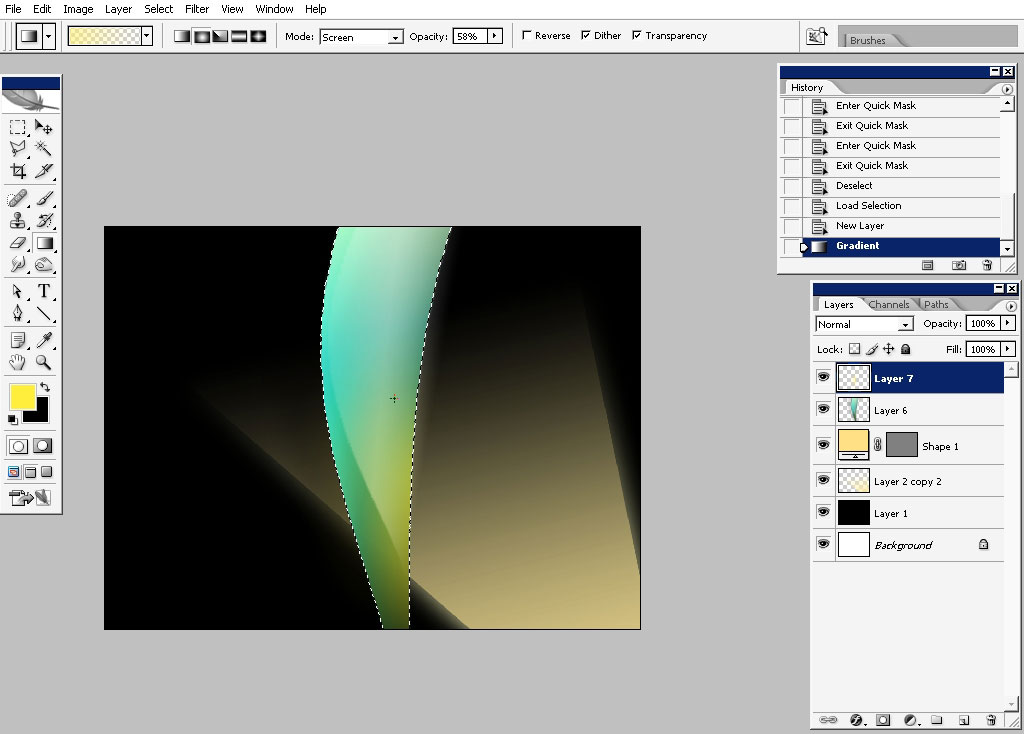
When the selection area is ready, I’m going to use a very cool and fast technique- gradient filling.

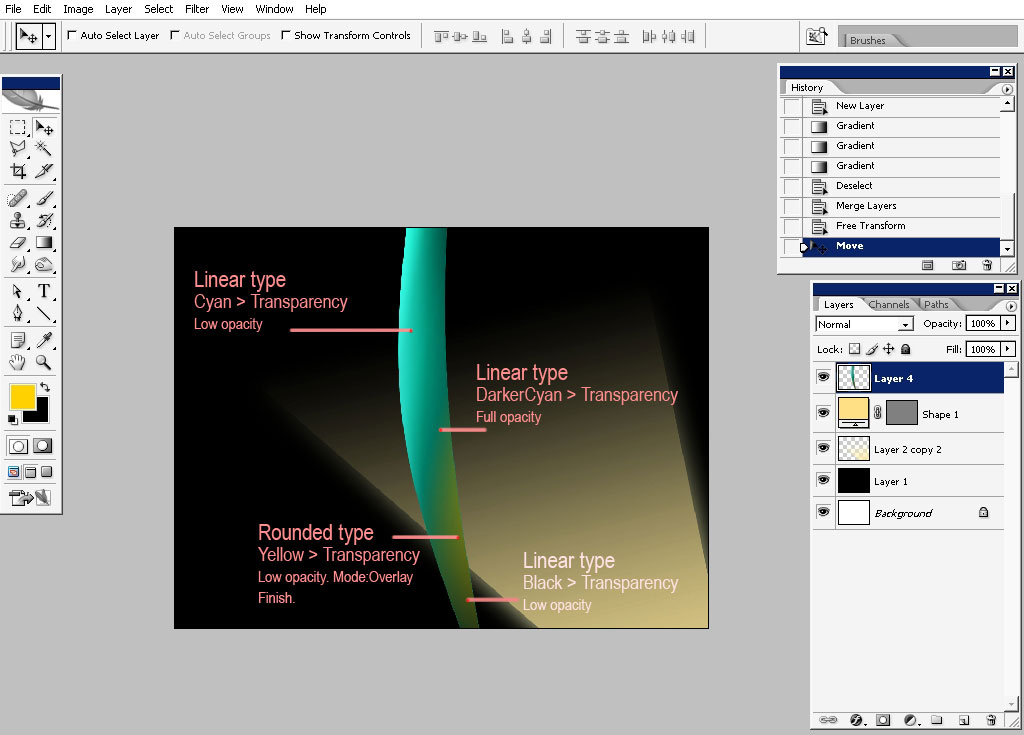
I use different form and color (opacity) gradients to fill my selection. So let’s start then filling this shape.
Here is some explanation for you.
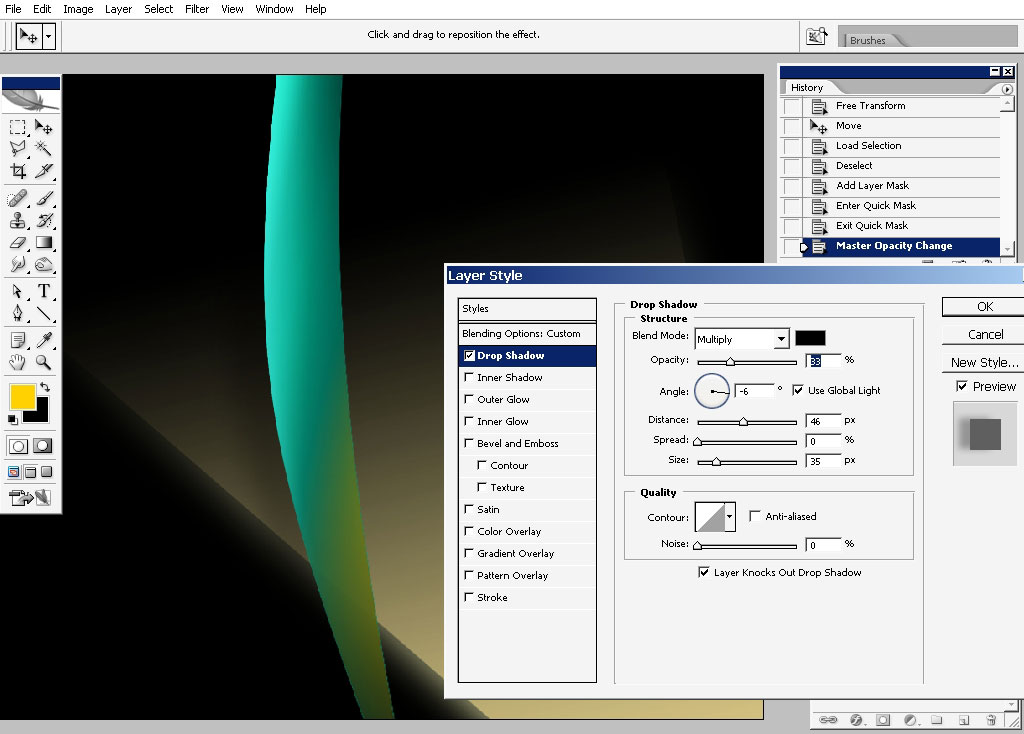
Drop a little bit of shadow for more realism.
Here is the element also done using this technique on a new layer using yellow to transparency gradient.

I’ve made a copy of this very layer and make a little bit more into the yellow tone.
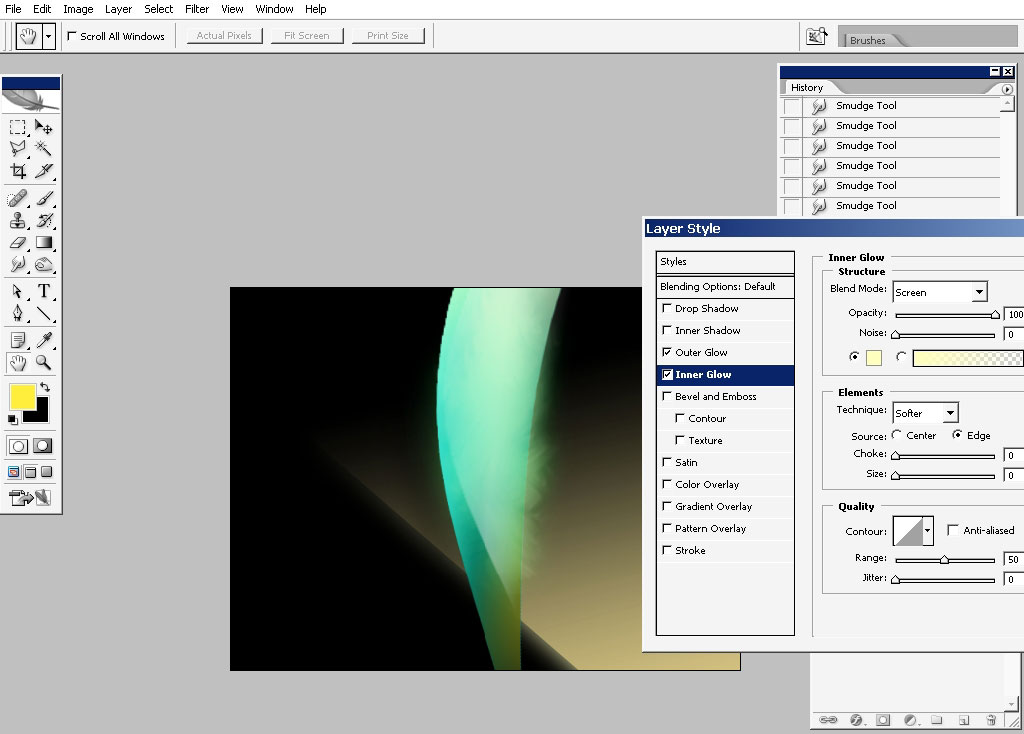
Next thing that I’ve did I took Smudge tool (R) with grainy brush tip and smudged the layer transforming it into smooth edged glowee something.
I really like the idea of glow. I took blood spot brush and taped just once to make a very cool effect.
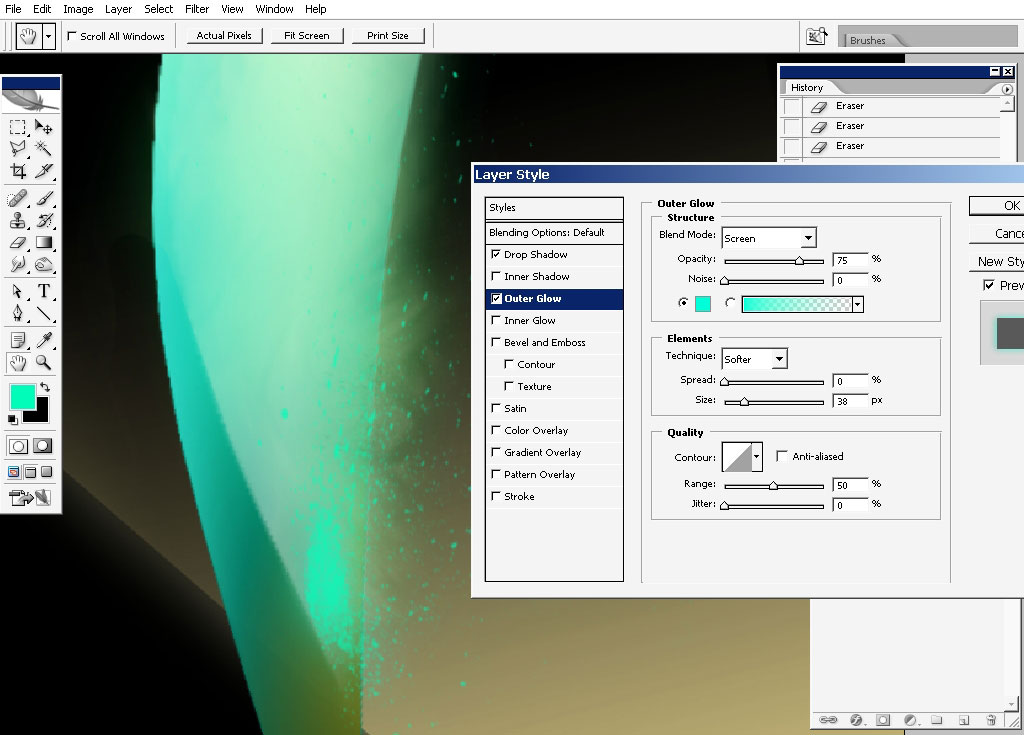
Moreover I’ve added more glow in layer styles.
The next thing I really like to is to take care of my background because I think it’s not ready yet.
So remember the very first layer we’ve created, take is and make a copy of it. As it is a layer you can transform it like you want and this is a great thing.
This is exactly what I attempt to do now.
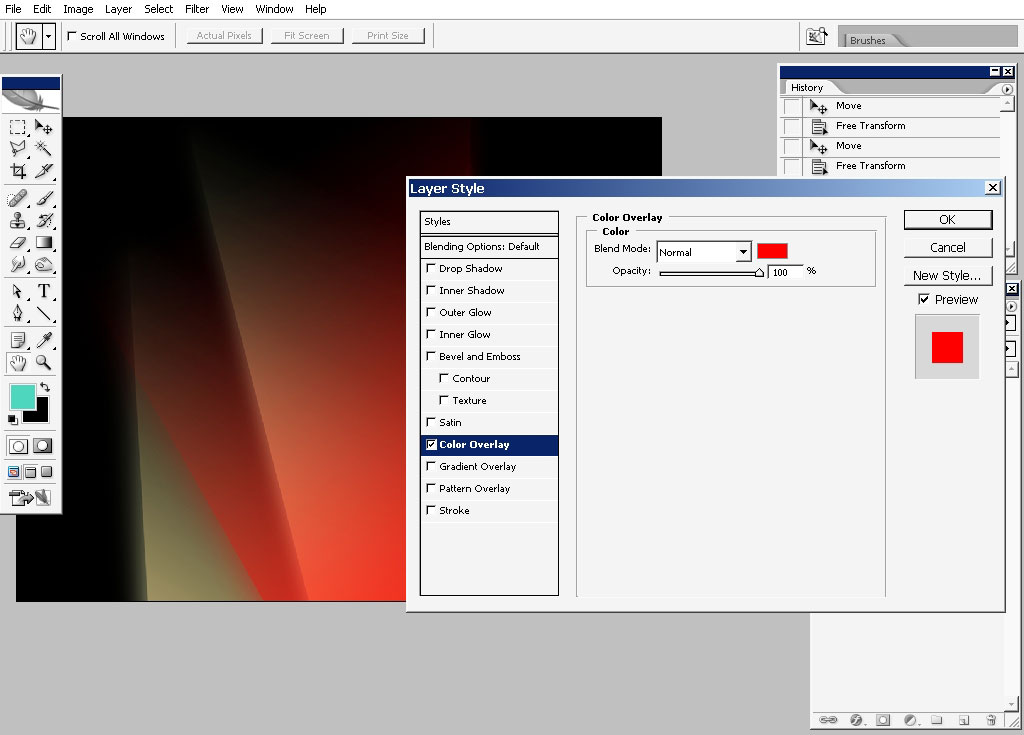
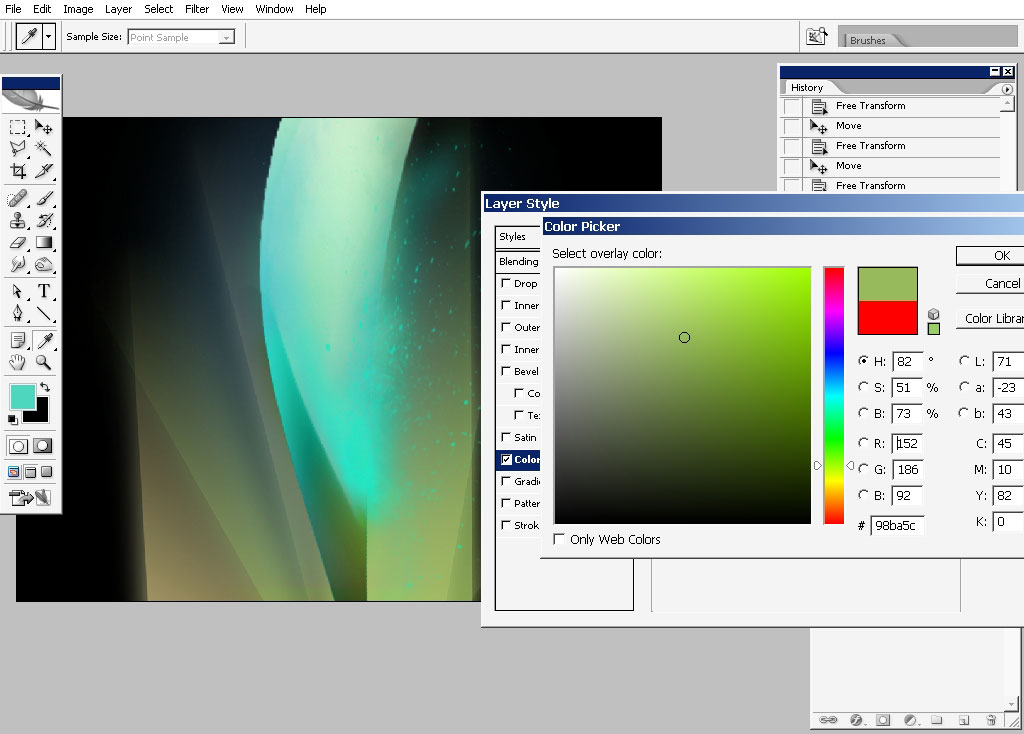
The other great thing is that you can change the layers color as you wish using layer styles (and not only layer styles)
Example:
I have 3 copies of background element now.
I’ve made it a little bit greener 2 of them.
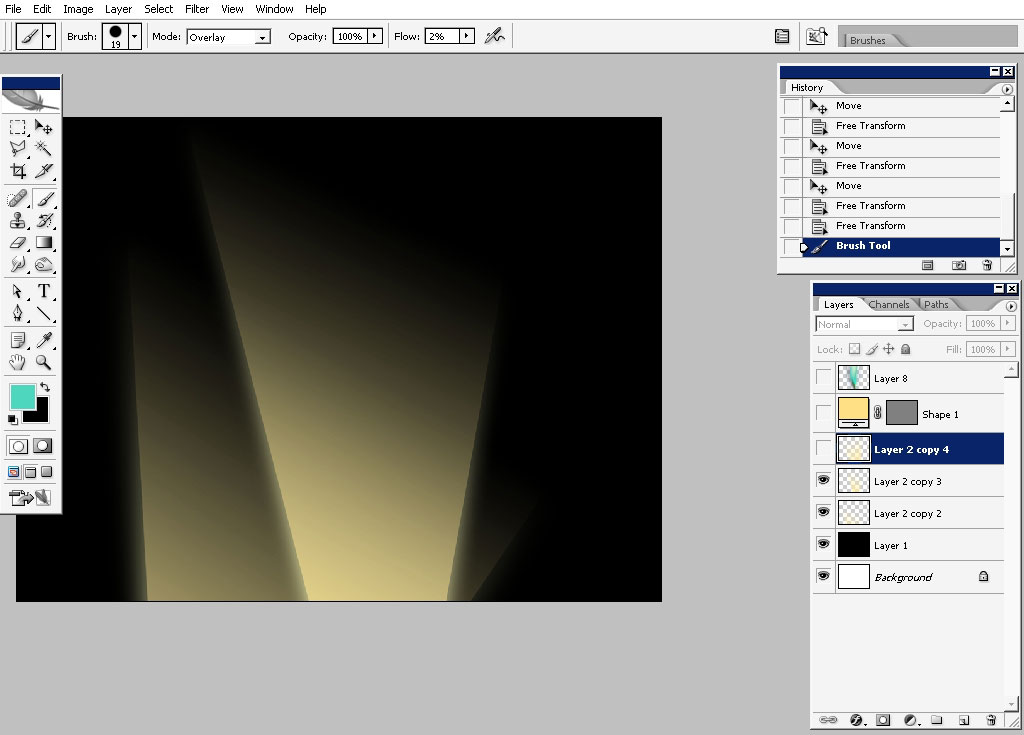
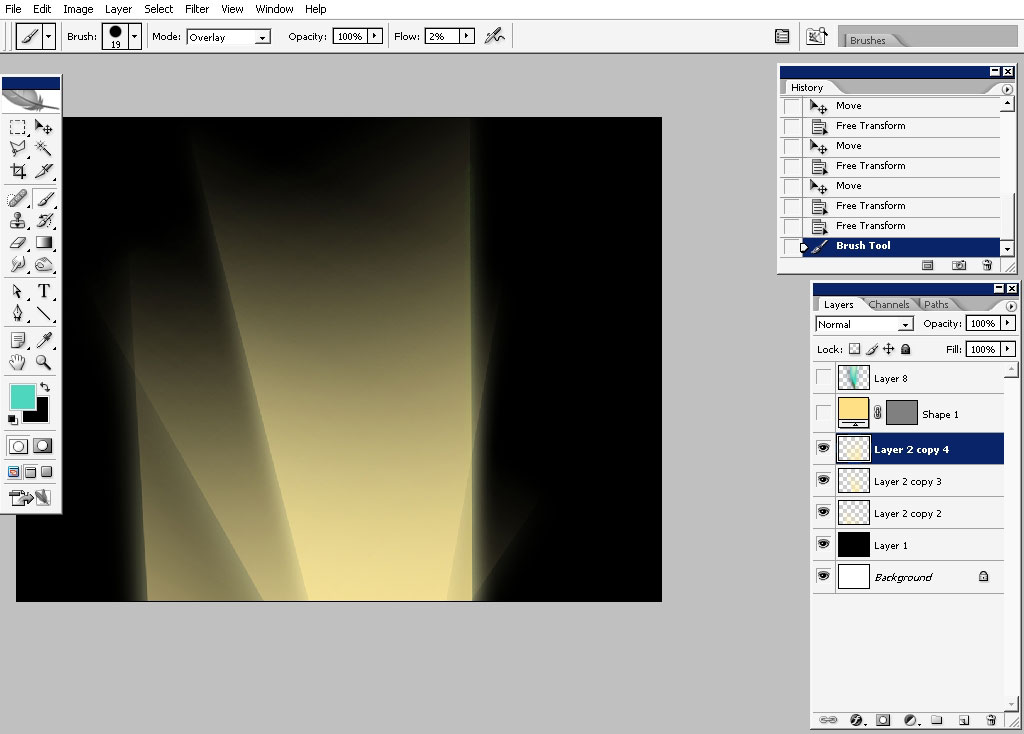
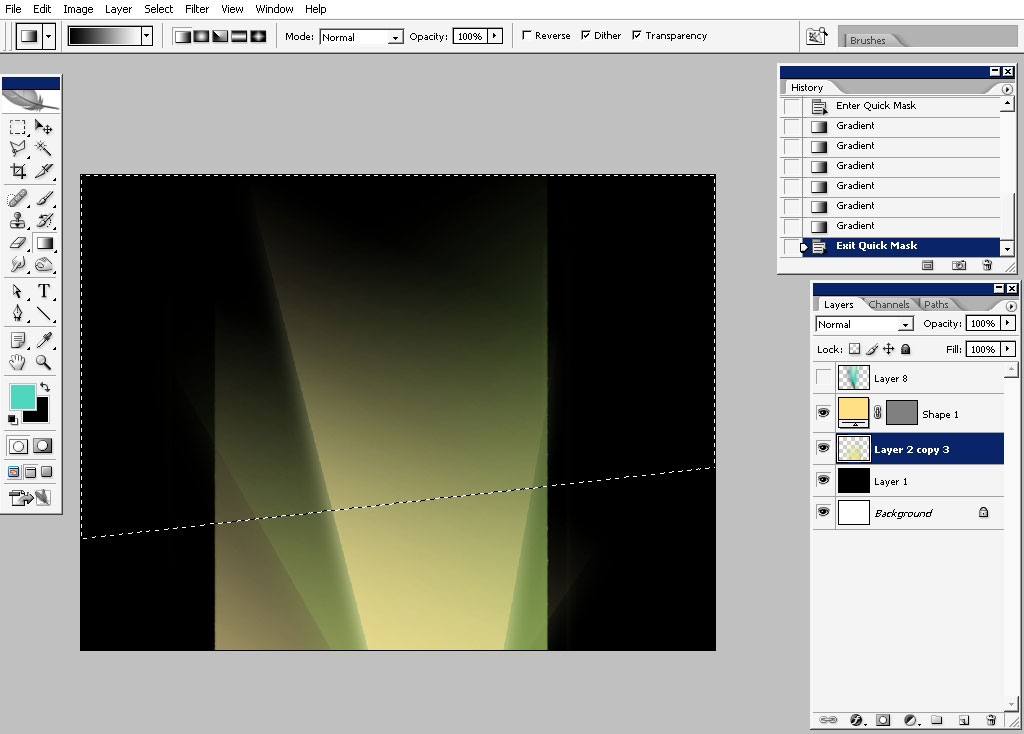
Next step: transforming the background. I’m just happy with my background – with layout, but it still feels too straight. So first thing to do to solve this problem is: merge these 3 layers together, enter quick mask, choose black to white gradient in Qmask mode, apply the gradient, exit quick mask.
So this is my selection – it has very soft edge. Now apply the radial blur filter to it.
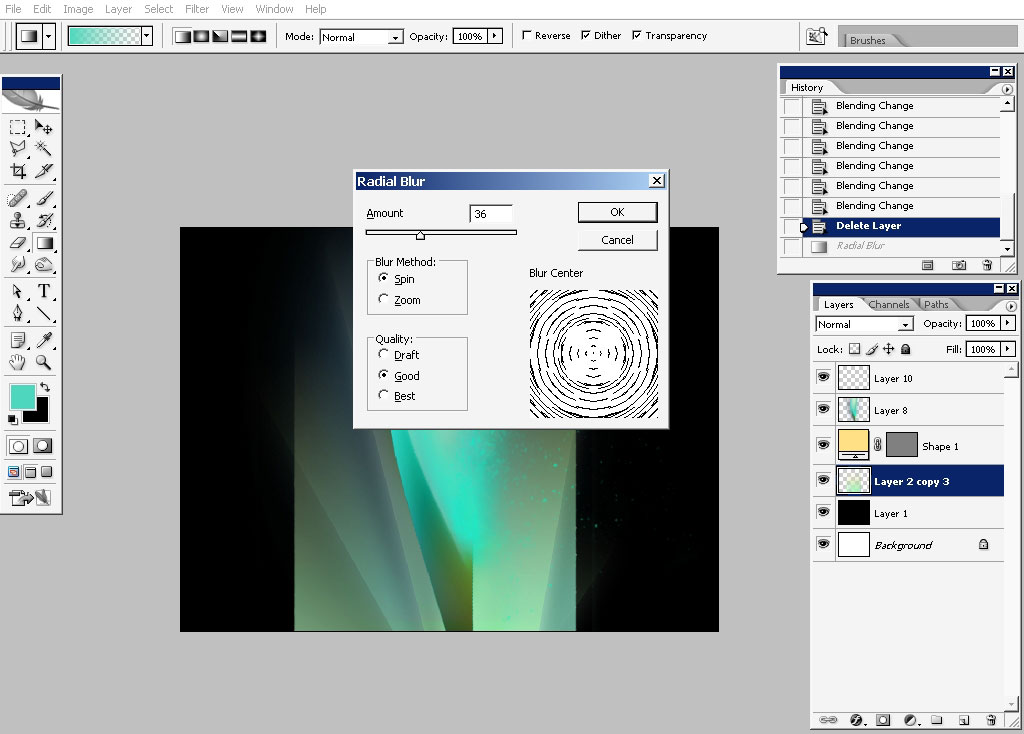
And here is the good result.

Take the soft brush tip set the flow as low as you can control it. And make the image a little bit onto blue. The effect can hardly be seen such details are always noticeable for a trained eye.
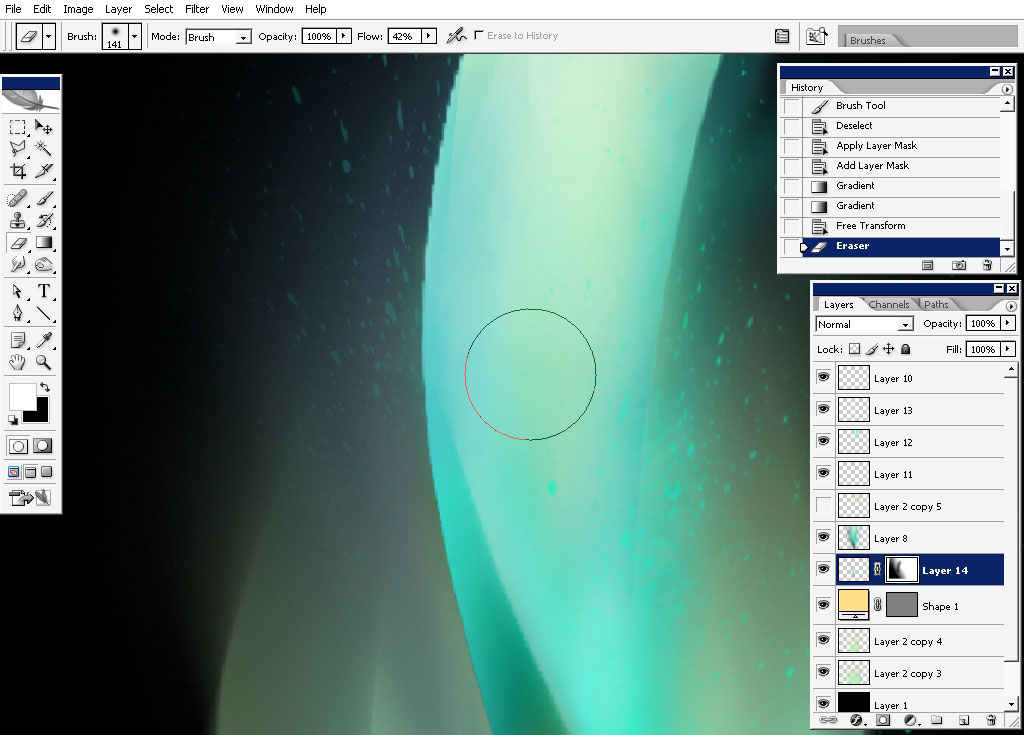
Just a little bit finishing touches: I really like the variety of colors so I always make some color touches with low flow soft or hard brush.
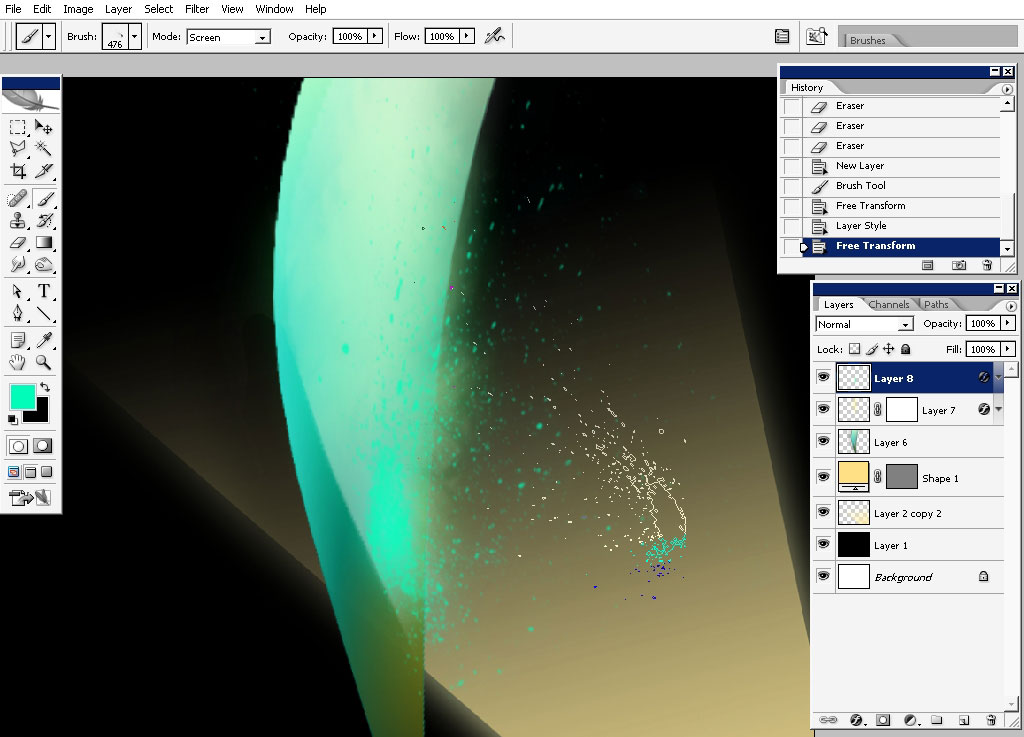
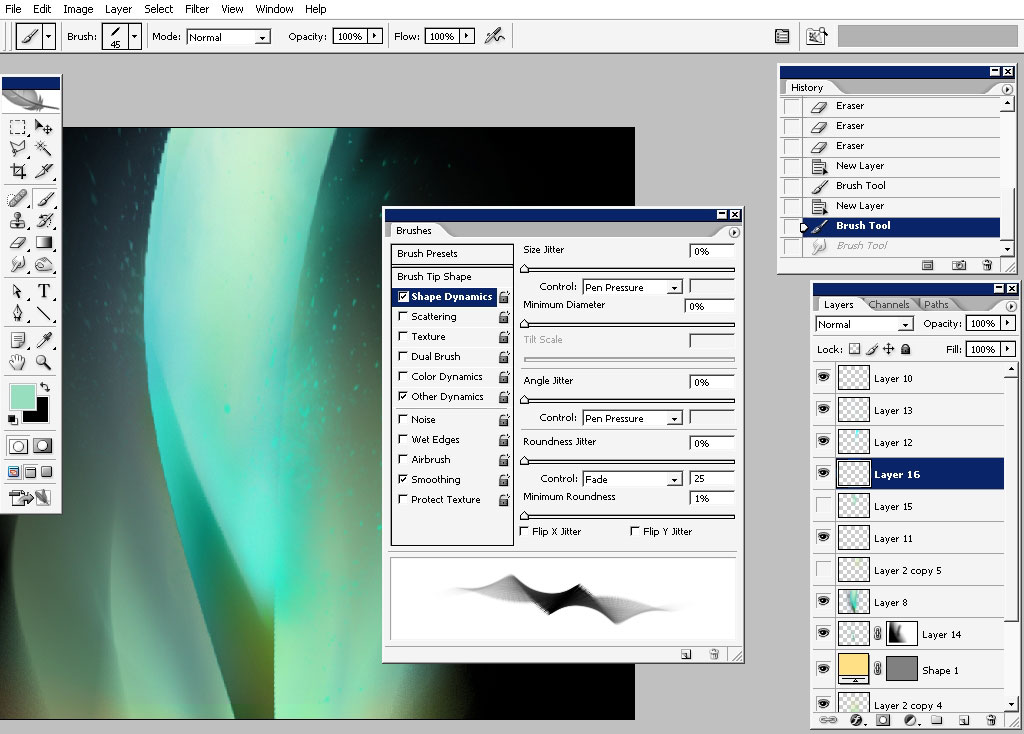
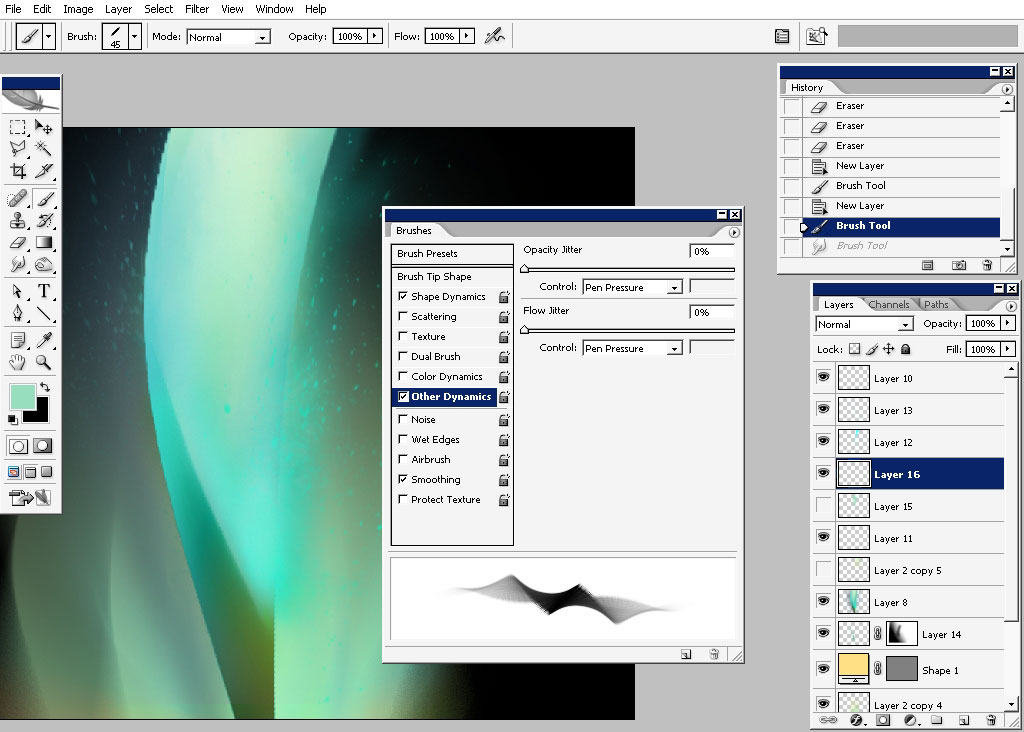
Now final step – I really want the picture to symbolize some kind of plant so now I’m choosing a flat brush, setting the brush parameters.
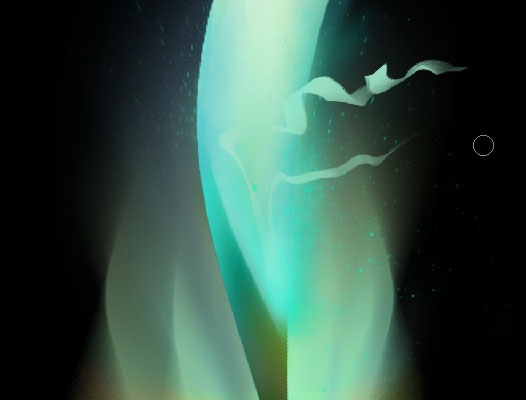
Aand just 2 strokes do the thing.
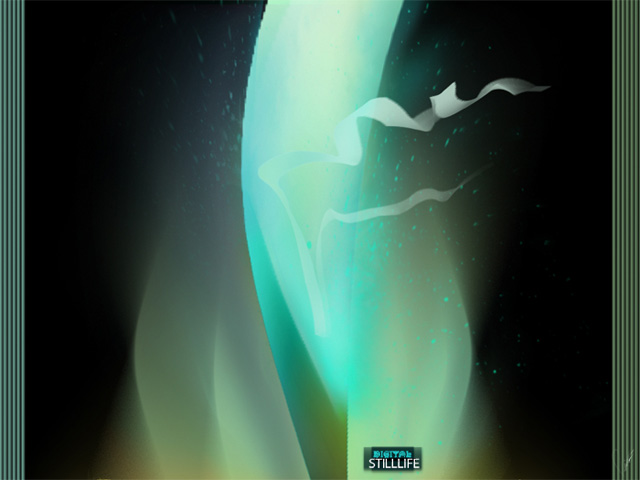
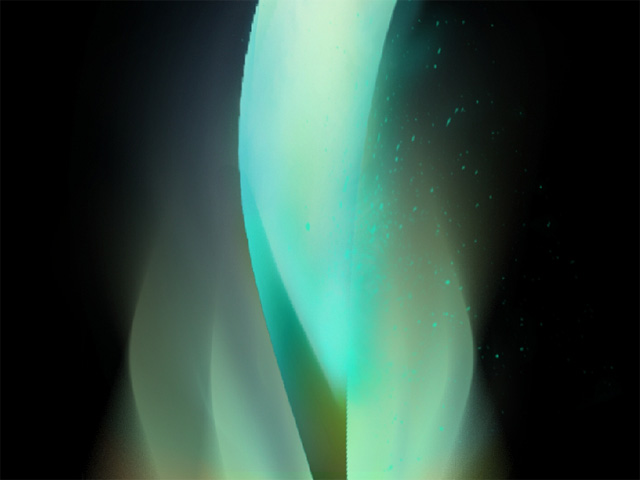
So this is finally it: the look I really like. Our digital still life wallpaper is finished now. The great thing is to arrange your pieces in collections or something like this. It is a great thing to do for portfolio or just a good order.
Enjoy.
Comments